Zig 찍먹 하고 싶다.. 라는 생각이 들어 뭔가 만들어보기로 했다
이전에 봤던 MSDF 기반 폰트 렌더링과 도깨비 884벌식을 합치면 용량 작고 보기 좋은 한글 폰트 렌더링이 되지 않을까..
Mach Engine
조금 오버킬인 것 같긴 해도 언젠간 게임을 만들 수도 있을 가능성도 없지는 않으니 엔진을 써보도록 하자!
공식 페이지: Mach Engine
#mood
처음 뵙겠습니다
사실 zig이랑 데면데면해서 코드 읽는 것도 부담되지만 열심히 읽자
(velog는 왜 zig 코드 하이라이팅을 안 해주는가)
App.zig부터 보자. (App이 대문자로 시작하는 것에서 살짝 내적 친밀감이)
// App.zig
const std = @import("std");
const mach = @import("mach");
const gpu = mach.gpu;
const App = @This();
// The set of Mach modules our application may use.
pub const Modules = mach.Modules(.{
mach.Core,
App,
});
pub const mach_module = .app;
pub const mach_systems = .{ .main, .init, .tick, .deinit };
pub const main = mach.schedule(.{
.{ mach.Core, .init },
.{ App, .init },
.{ mach.Core, .main },
});
window: mach.ObjectID,
title_timer: mach.time.Timer,
pipeline: *gpu.RenderPipeline,
pub fn init(
core: *mach.Core,
app: *App,
app_mod: mach.Mod(App),
) !void {
core.on_tick = app_mod.id.tick;
core.on_exit = app_mod.id.deinit;
const window = try core.windows.new(.{
.title = "core-triangle",
});
// Store our render pipeline in our module's state, so we can access it later on.
app.* = .{
.window = window,
.title_timer = try mach.time.Timer.start(),
.pipeline = undefined,
};
}
fn setupPipeline(core: *mach.Core, app: *App, window_id: mach.ObjectID) !void {
var window = core.windows.getValue(window_id);
defer core.windows.setValueRaw(window_id, window);
// Create our shader module
const shader_module = window.device.createShaderModuleWGSL("shader.wgsl", @embedFile("shader.wgsl"));
defer shader_module.release();
// Blend state describes how rendered colors get blended
const blend = gpu.BlendState{};
// Color target describes e.g. the pixel format of the window we are rendering to.
const color_target = gpu.ColorTargetState{
.format = window.framebuffer_format,
.blend = &blend,
};
// Fragment state describes which shader and entrypoint to use for rendering fragments.
const fragment = gpu.FragmentState.init(.{
.module = shader_module,
.entry_point = "frag_main",
.targets = &.{color_target},
});
// Create our render pipeline that will ultimately get pixels onto the screen.
const label = @tagName(mach_module) ++ ".init";
const pipeline_descriptor = gpu.RenderPipeline.Descriptor{
.label = label,
.fragment = &fragment,
.vertex = gpu.VertexState{
.module = shader_module,
.entry_point = "vertex_main",
},
};
app.pipeline = window.device.createRenderPipeline(&pipeline_descriptor);
}
pub fn tick(app: *App, core: *mach.Core) void {
while (core.nextEvent()) |event| {
switch (event) {
.window_open => |ev| {
try setupPipeline(core, app, ev.window_id);
},
.close => core.exit(),
else => {},
}
}
const window = core.windows.getValue(app.window);
// Grab the back buffer of the swapchain
const back_buffer_view = window.swap_chain.getCurrentTextureView().?;
defer back_buffer_view.release();
// Create a command encoder
const label = @tagName(mach_module) ++ ".tick";
const encoder = window.device.createCommandEncoder(&.{ .label = label });
defer encoder.release();
// Begin render pass
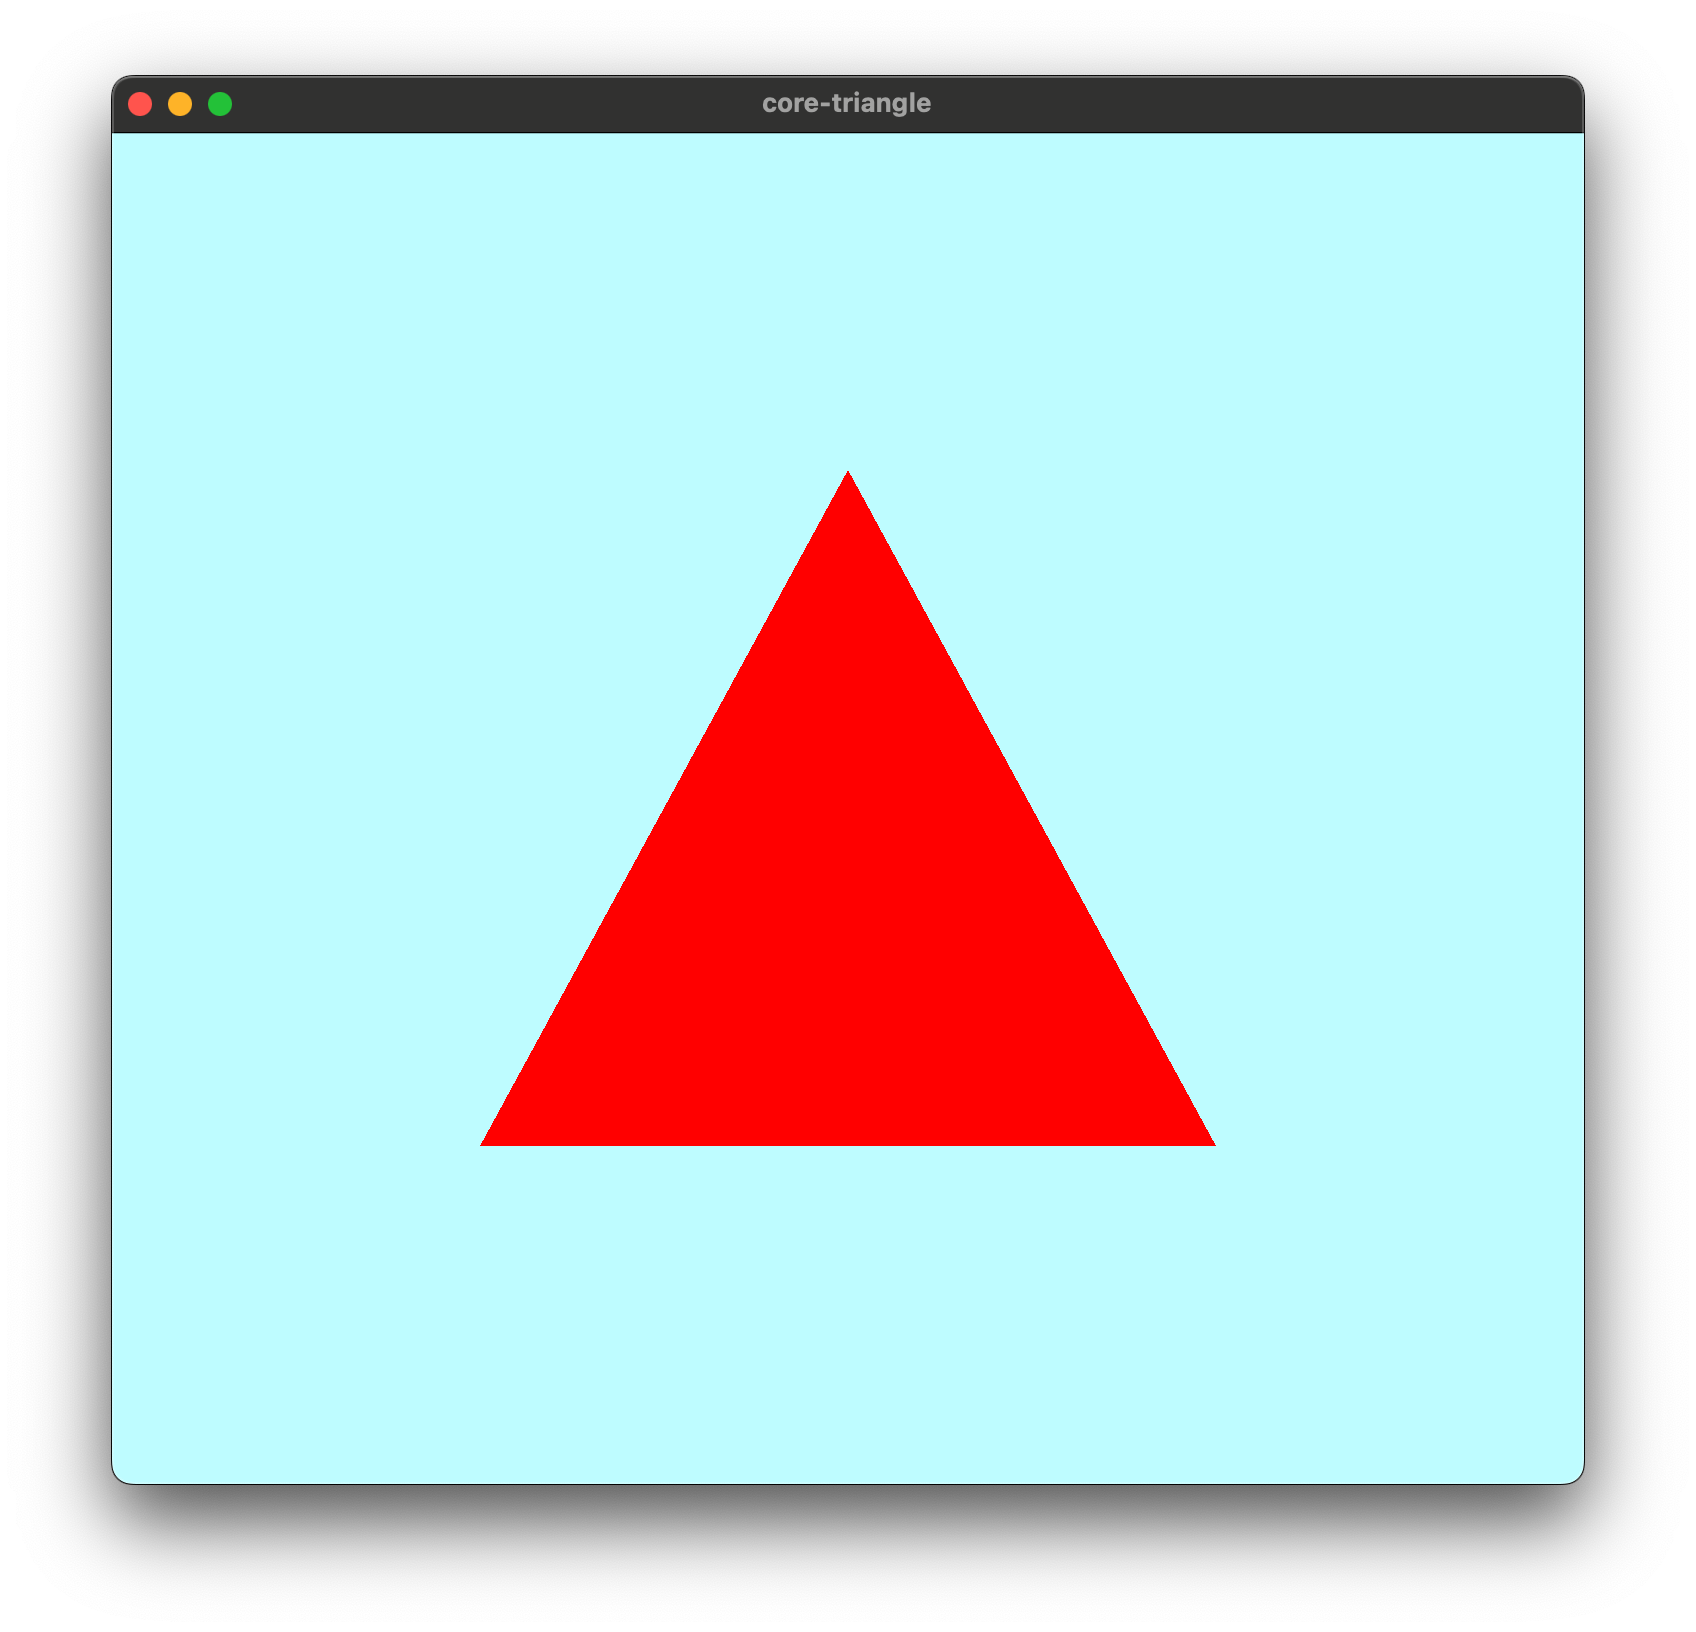
const sky_blue_background = gpu.Color{ .r = 0.776, .g = 0.988, .b = 1, .a = 1 };
const color_attachments = [_]gpu.RenderPassColorAttachment{.{
.view = back_buffer_view,
.clear_value = sky_blue_background,
.load_op = .clear,
.store_op = .store,
}};
const render_pass = encoder.beginRenderPass(&gpu.RenderPassDescriptor.init(.{
.label = label,
.color_attachments = &color_attachments,
}));
defer render_pass.release();
// Draw
render_pass.setPipeline(app.pipeline);
render_pass.draw(3, 1, 0, 0);
// Finish render pass
render_pass.end();
// Submit our commands to the queue
var command = encoder.finish(&.{ .label = label });
defer command.release();
window.queue.submit(&[_]*gpu.CommandBuffer{command});
}
pub fn deinit(app: *App) void {
app.pipeline.release();
}System의 arguments는 타입만 지정하면 comptime에 알아서 적절한 값을 넣어준다고 한다. 타입은 보면 pointer to a module이거나 mach.Mod(module)이다.
mach_module 값이 enum literal로 되어 있다. 아마 전 프로젝트에서 유일한 값이어야 했던 것 같다. 밑에 있는 @tagName(mach_module)에서 이 스트링 값을 사용하기도 한다.
tick 말고는 다 뻔한 코드이니 그 함수만 보면 되겠다. 젤 위 블록은 window_open이나 close 등 특별한 이벤트가 있을 때 처리하는 블록인 듯하다. core.nextEvent()이니 Core.Event enum의 값이 오겠다. Zig의 enum은 typescript 등의 enum보다 훨씬 좋은 algebraic sum type (rust의 enum 같은)이므로 |ev| 등으로 그 안에 있는 값을 참조할 수 있다.
특별한 이벤트가 없다면 일상에 충실해야 하므로 묵묵하게 일하는 코드를 보자 ..
encoder 부분은 WebGPU 코드랑 비슷하다. 만들고 나서 바로 defer문으로 release하는 게 너무 기쁘다. typescript엔 using keyword가 있는데(MS의 향기가) 쓰기가 너무 귀찮아서 손이 안 간다.
그 다음 렌더 패스를 보면 clear_value 값으로 하늘색을 주고 .load_op = .clear, .store_op = .store로 주고 있다.
// sysgpu > main.zig
pub const LoadOp = enum(u32) {
    undefined = 0x00000000,
    clear = 0x00000001,
    load = 0x00000002,
};

pub const StoreOp = enum(u32) {
    undefined = 0x00000000,
    store = 0x00000001,
    discard = 0x00000002,
};
참 직관적이다
그 다음 setPipeline 콜로 현재 app의 pipeline을 불러온다. window_open 때 setup 했던 걔다. 이 pipeline 코드 안에 빨간 삼각형을 그리는 코드가 있다.
setupPipeline 함수를 보면 window ID로 window를 찾은 후, 모든 변경을 하고
defer core.windows.setValueRaw(window_id, window);로 변경사항을 저장한다. 아마 이 코드가 없으면 update가 안 되지 않을까 한다.
그 후 shader들과 render pipeline descriptor을 만들고 createRenderPipeline으로 app.pipeline에 저장한다. WebGPU랑 똑같다. 그야 shader language도 같은 wgsl을 쓴다. (sysgpu가 webgpu의 superset이라던 것 같다.)
gpu.VertexState는 그냥 그대로 넣는데 gpu.FragmentState는 init으로 생성하는 이유는 안에서 .constant_count, .target_count 값을 만들어질 때 지정하기 위해서이다. 보통 init은 mem alloc을 할 때 많이 봐서 필요한가 했는데 그런 건 아닌 것 같다.
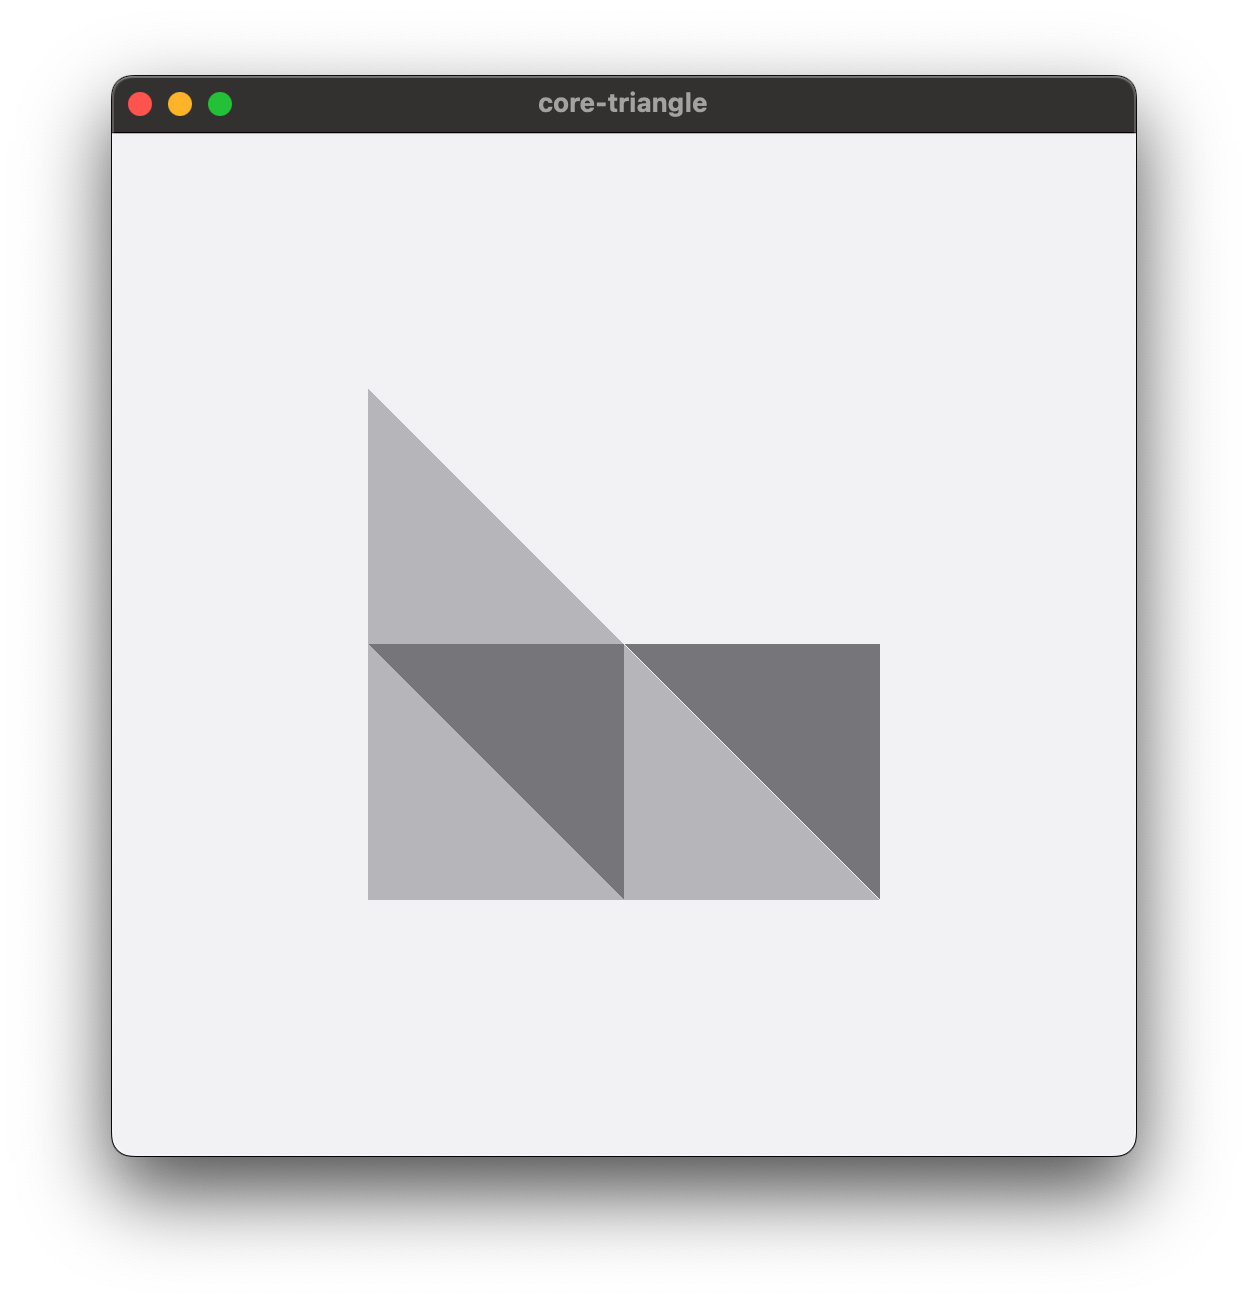
로고 만들기
간단하게 셰이더를 수정해서 로고를 만들어 봤다.
framebuffer 사이즈랑 window_resize 이벤트의 window size랑 2배 정도 차이 나는데 화면 dpr이랑 관련이 있지 않을까 싶다.
// shader.wgsl

@vertex fn vertex_main(
    @builtin(vertex_index) vertex_index : u32
) -> @builtin(position) vec4<f32> {
    var pos = array<vec2<f32>, 6>(
        vec2<f32>( -0.5,  0.5),
        vec2<f32>(-0.5, -0.5),
        vec2<f32>( 0.5, 0.5),
        vec2<f32>( 0.5, 0.5),
        vec2<f32>(-0.5, -0.5),
        vec2<f32>( 0.5, -0.5)
    );
    return vec4<f32>(pos[vertex_index], 0.0, 1.0);
}

@fragment fn frag_main(
    @builtin(position) pos: vec4<f32>,
) -> @location(0) vec4<f32> {
    const ndc = (pos / 1024.0) - 0.5;

    const light = vec4<f32>(0.741176, 0.741176, 0.760784, 1.0);
    const dark = vec4<f32>(0.501961, 0.501961, 0.521569, 1.0);

    if (ndc.x - ndc.y < 0.0) {
        if (ndc.y > 0.0 && ndc.x < 0.0 && ndc.x - ndc.y > -0.25) {
            return dark;
        } else {
            return light;
        }
    } else if (ndc.y > 0.0) {
        return dark;
    } else {
        return vec4<f32>(0.0, 0.0, 0.0, 0.0);
    }
}
또 window size는 512x512로 고정하고 blend state 값을 수정했다.
    // Blend state describes how rendered colors get blended
    const blend = gpu.BlendState{
        .color = .{
            .src_factor = .one,
            .dst_factor = .one_minus_src_alpha,
        },
        .alpha = .{
            .src_factor = .one,
            .dst_factor = .one_minus_src_alpha,
        },
    };