1. 프로젝트 구성
저의 경우 local 개발환경에서 react로 프론트 구성 후 로그인 및 회원관리 기능, 게시판 기능 등을 express로 처리했습니다. 이번 포스트에서 react를 nginx로 배포한 후 프론트에서 express로 보내는 fetch API 혹은 Axios를 nginx의 proxy pass를 통해 처리해 보겠습니다.

2. React 배포
먼저, ubuntu 환경에서 nginx를 설치하겠습니다.
sudo apt install nginx
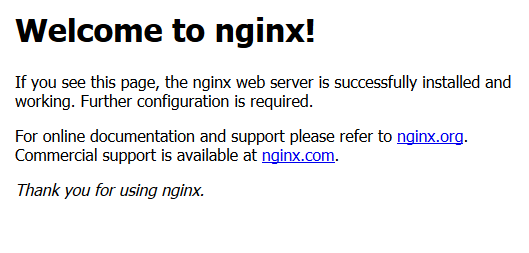
nginx를 설치하신 후 해당 서버 ip주소로 웹페이지 접속 시 자동으로 다음과 같은 화면을 볼 수 있습니다. (단, HTTP 80포트를 열어주셔야 합니다.)

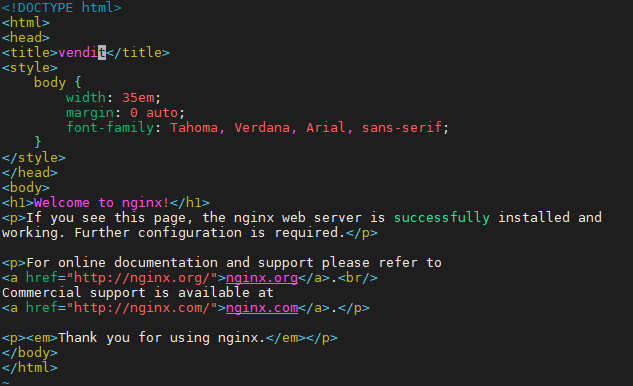
해당 html 파일은 아래의 명령어를 통해 확인할 수 있습니다.
cd /var/www/html/
sudo vim index.nginx-debian.html

다음으로 client react환경에서 npm run build를 입력합니다. 이후 build 폴더가 생긴 것을 보실 수 있습니다.

임의의 폴더를 만든 후 build폴더의 파일을 복사하겠습니다.
mkdir /var/www/폴더이름
cp -r build/* /var/www/폴더이름/
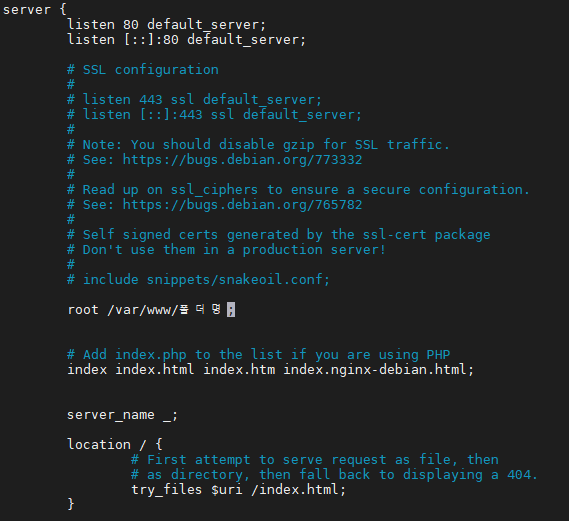
이제 nginx를 설정하겠습니다.
cd /etc/nginx/sites-available/
sudo vim default

sudo systemctl restart nginx
이제 다시 해당 서버의 ip로 웹에 접속하시면 react에서 작성하신 front화면이 구현되는 것을 볼 수 있습니다. 하지만 아직 express와 연결된 상태는 아니라서 REST API가 작동하지 않습니다.
3. pm2로 express 실행
sudo npm install -g pm2
pm2 start [express서버명] --name "server"
nginx default 파일에서 api 라우트에 대해 proxy pass를 설정 하겠습니다. 저의 경우 api라우팅 주소를 3001번(express 포트)로 proxy pass를 했습니다.
location /api/ {
proxy_pass http://localhost:3001;
proxy_http_version 1.1;
proxy_set_header Upgrade $http_upgrade;
proxy_set_header Connection 'upgrade';
proxy_set_header Host $host;
proxy_cache_bypass $http_upgrade;
}
이후 nginx를 restart하시면 express와 연동된것을 확인 할 수 있습니다.


