0. 예상 시나리오
docker-compose를 통해angular와django를 동시에 실행하고
angular에서 로그인 요청을 보내면
django에서 처리하고 응답하는 로직을 구현해보자.
- 요청은
nginx에서 경로에 따라 분리
1. 프로젝트 구조
.
├── angular_221229
│   ├── Dockerfile
│   └── ...
├── django_221229
│   ├── Dockerfile
│   └── ...
├── nginx
│   └── nginx.conf
└── docker-compose.yaml
2. Dockerfile, docker-compose.yaml
# angular_221229/Dockerfile

FROM node:14.21-alpine

RUN mkdir /angular
WORKDIR /angular

RUN npm update & npm install -g @angular/cli@13

COPY package.json package-lock.json ./

COPY . .
# django_221229/Dockerfile

FROM python:3.10.0-alpine

ENV PYTHONDONTWRITEBYTECODE=1
ENV PYTHONUNBUFFERED=1

RUN mkdir /django
WORKDIR /django
COPY requirements.txt .

RUN pip install -r requirements.txt

COPY . .
# docker-compose.yaml

version: "3.8"

services:
  angular:
    build:
      context: ./angular_221229
      dockerfile: ./Dockerfile
    volumes:
      - ./angular_221229:/angular
      - /angular/node_modules
    restart: always
    command: ng serve --host 0.0.0.0 --poll=500
    container_name: angular

  django:
    build:
      context: ./django_221229
      dockerfile: ./Dockerfile
    volumes:
      - ./django_221229:/django
    restart: always
    command: python manage.py runserver 0.0.0.0:8000
    container_name: django

  nginx:
    image: nginx:1.22.0-alpine
    volumes:
      - ./nginx/nginx.conf:/etc/nginx/nginx.conf
    ports:
      - 80:80
    depends_on:
      - angular
      - django
    restart: always
    container_name: nginx
3. django 유저 로그인 기능 구현
# django_221229/user/views.py

from django.contrib import auth

from rest_framework import status
from rest_framework.response import Response
from rest_framework.views import APIView

class UserView(APIView):
    def post(self, request):
        user = auth.authenticate(**request.data)
        if not user:
            auth.login(request, user)

        return Response({"message": "로그인 완료"}, status=status.HTTP_200_OK)
4. angular 로그인 요청 구현
// angular_221229/src/app/app.component.ts

import { Component, OnInit } from '@angular/core';
import { HttpClient } from '@angular/common/http';

import { Observable } from 'rxjs';

@Component({
  selector: 'app-root',
  templateUrl: './app.component.html',
  styleUrls: ['./app.component.css'],
})

export class AppComponent implements OnInit {
  title = 'angular_221229';

  constructor(private http: HttpClient) {}

  ngOnInit(): void {}

  onClick(): void {
    this.reqeust_login().subscribe(
      (response: any) => (this.title = response.message),
      (error) => (this.title = error.error.message)
    );
  }

  reqeust_login<T>(): Observable<T> {
    let request_data = {
      username: 'admin',
      password: '0000',
    };

    return this.http.post<T>('api/user/login', request_data);
  }
}
<!-- angular_221229/src/app/app.component.html --> <h1>{{ title }}</h1> <button (click)="onClick()">로그인버튼</button>
5. 버튼 클릭시 동작 확인
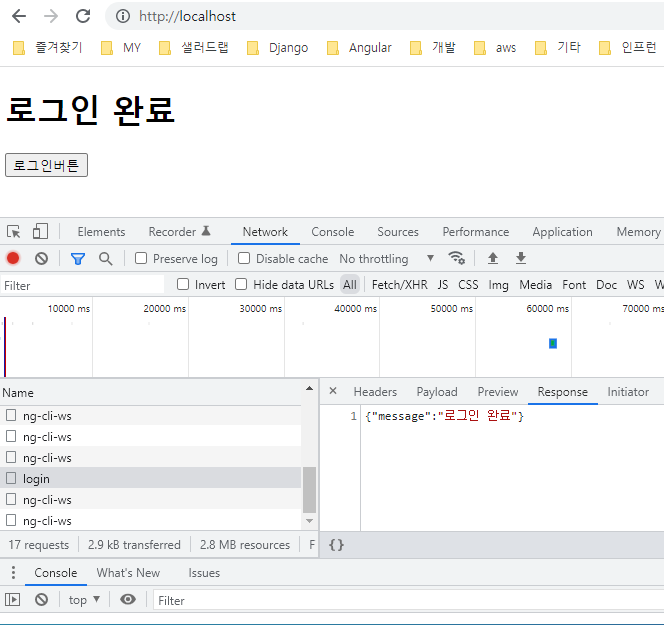
구현 코드
참고

kimphysicsman