1. API Gateway Service란?
사용자가 설정한 라우팅 설정에 따라서 각 엔드포인트로 클라이언트를 대신해서 요청하고 응답을 받으면 다시 클라이언트한테 전달해주는 프록시 역할을 합니다.
시스템의 내부 구조는 숨기고 외부의 요청에 대해서 적절한 형태로 가공해서 응답할 수 있다는 장점을 가지고 있습니다.
1.1. API Gateway Service 역할
- 인증 및 권한 부여
- 서비스 검색 통합
- 응답 캐싱
- 정책, 회로 차단기 및 QoS 다시 시도
- 속도 제한
- 부하 분산
- 로깅, 추적, 상관 관계
- 헤더, 쿼리 문자열 및 청구 변환
- IP 허용 목록에 추가
2. Netflix Ribbon & Netfilx Zuul
2.1. Netfilx Ribbon
먼저 Netfilx Ribbon에 대해서 알기전에 Spring Cloud에서의 MSA간 통신 방법 두가지를 확인하고 가겠습니다.
- RestTemplate
RestTemplate restTemplate = new RestTemplate();
restTemplate.getForObject("http://localhost:8080/", User.class, 200);- Feign Client
@FeignClient("stores")
pulbic interface StoreClient {
	@RequestMapping(method = RequestMethod.GET, value = "/stores")
    List<Store> getStores();
2.2. Netfilx Zuul
Netfilx에서 Spring 재단으로 기부한 Client side Load Balancer 입니다.
하지만 비동기로 처리할 수 없어 밀려나고 있는 추세입니다.
Netfilx Zuul은 API Gateway 와 같은 역할을 하며 라우팅역활도 하고 있습니다.
하지만 현재는 잘 다른 대안이 나왔기 때문에 잘 사용하지 않고 사용하려면 Spring Boot 2.4 미만의 버젼을 사용해야 합니다.
3. Spring Cloud Gateway
위에서 현재 잘 사용하지 않는 내용들을 확인하였고 이번에는 자주 사용하고 있는 Spring Cloud Gateway 에 대해서 알아보도록하겠습니다.
Dependencise
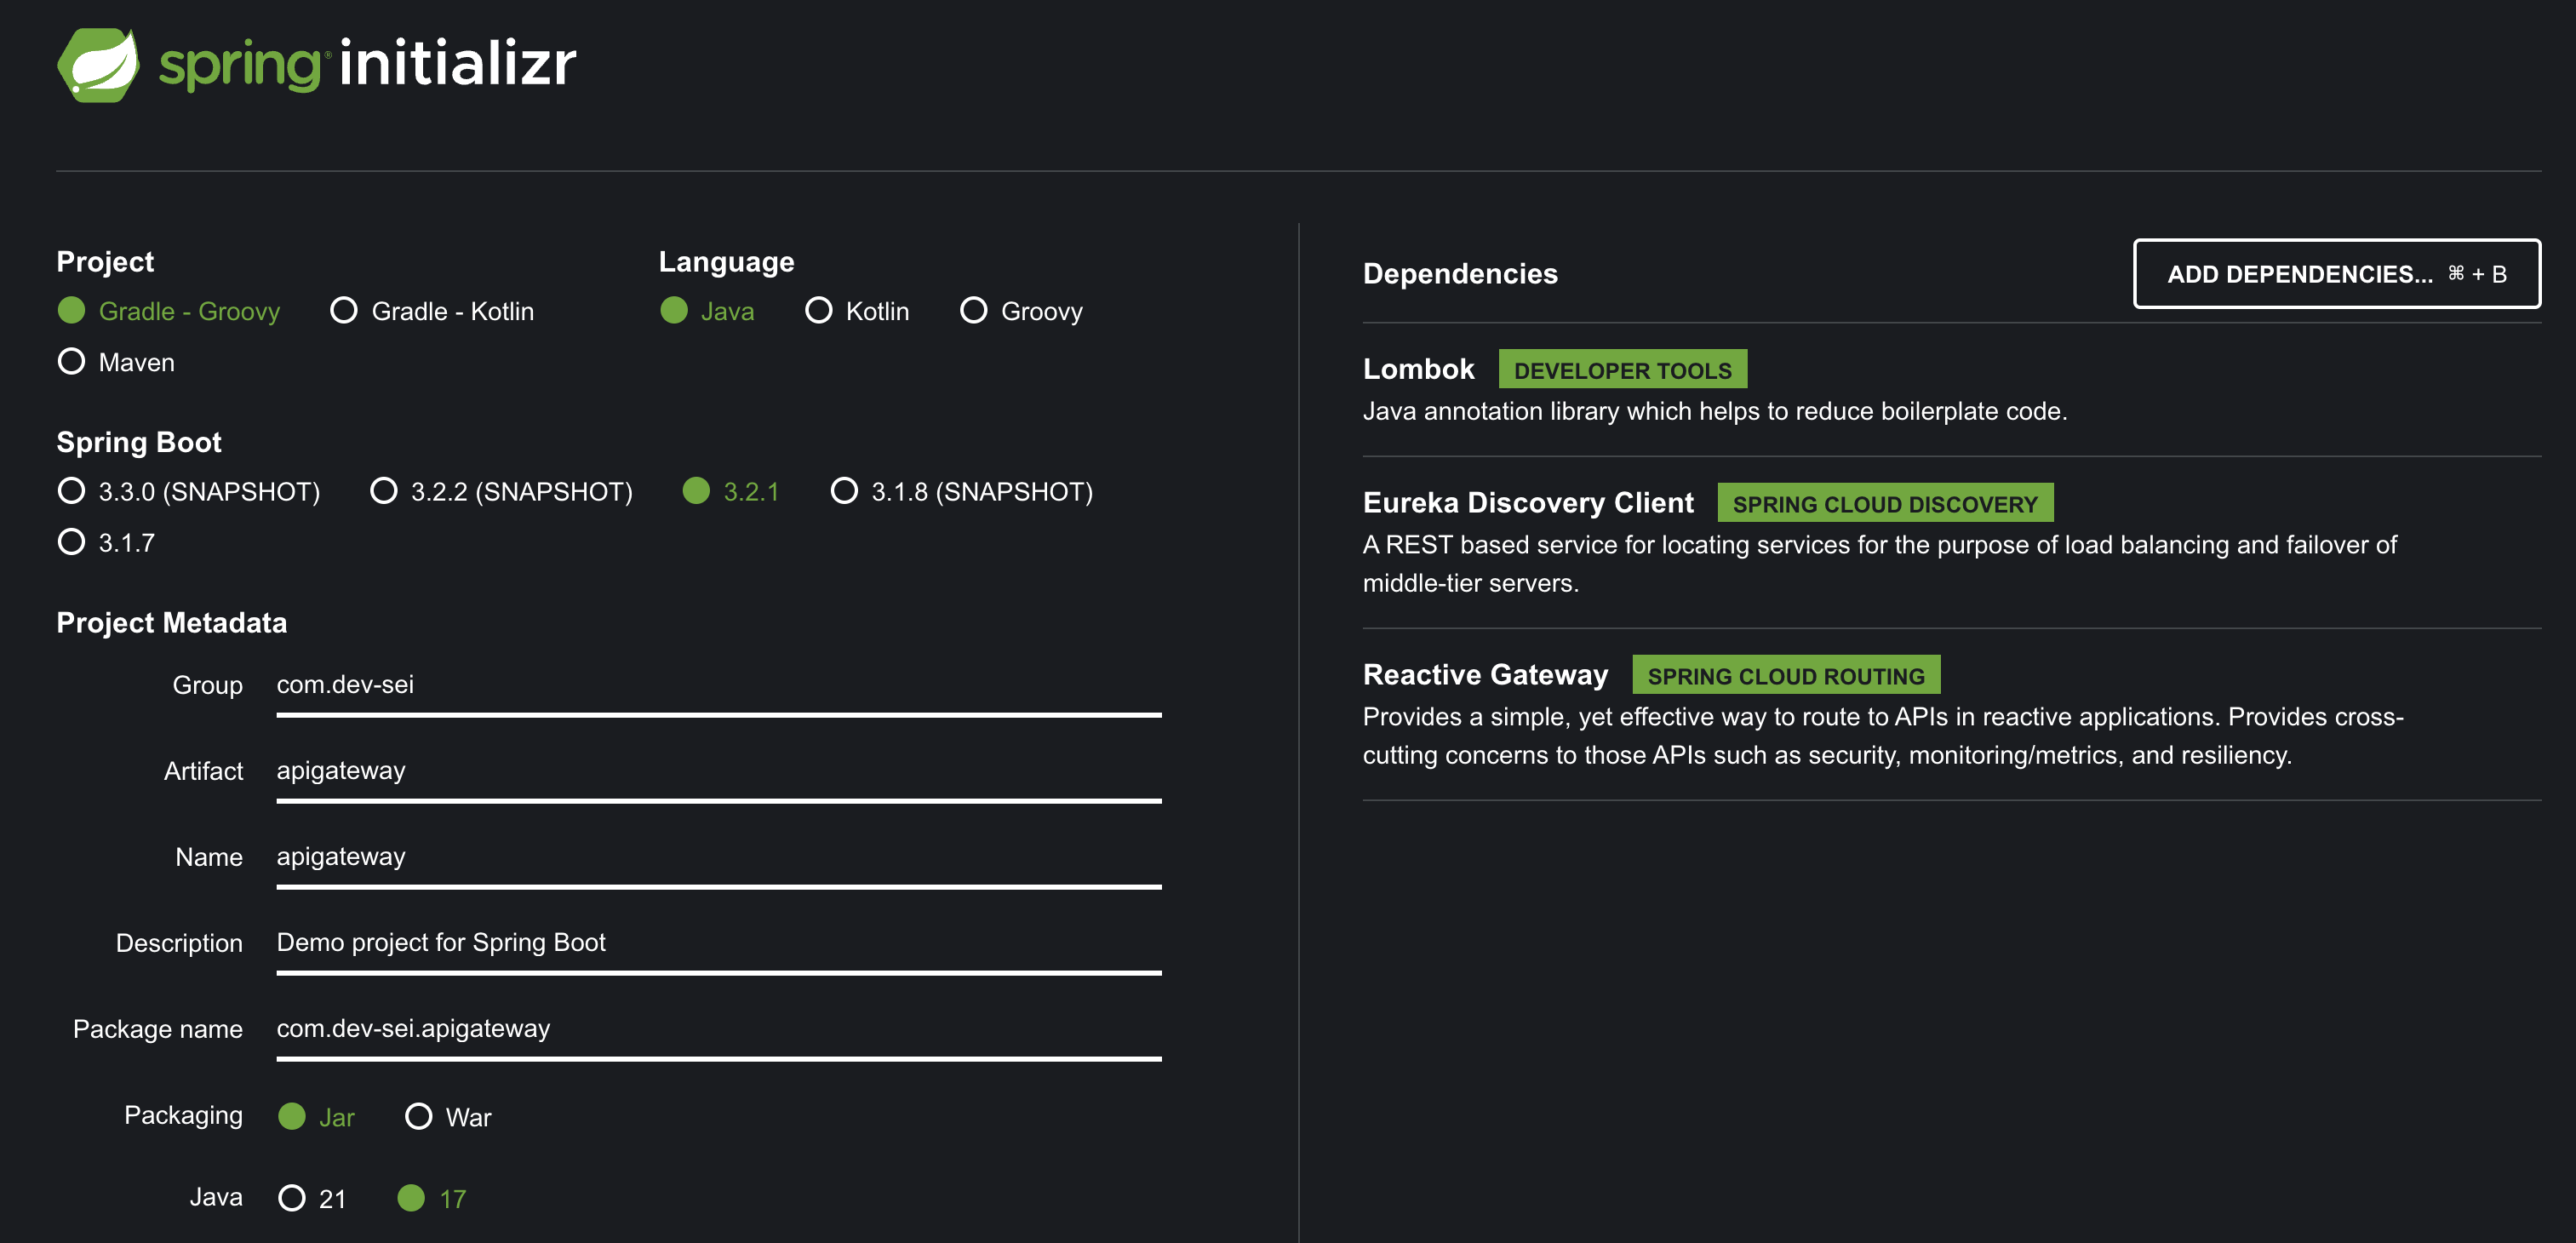
- Spring Cloud Gateway
- Eureka Discovery Client
- Lombok
yaml 파일은 아래와 같이 설정하였습니다.
server:
port: 8000
eureka:
client:
register-with-eureka: false
fetch-registry: false
service-url:
defaultZone: http://127.0.0.1:8761/eureka
spring:
application:
name: apigateway-service
cloud:
gateway:
routes:
- id: first-service
uri: http://localhost:8081/
predicates:
- Path=/first-service/**
- id: second-service
uri: http://localhost:8082/
predicates:
- Path=/second-service/**
두 개의 서비스를 작성한다고 가정하였고 각 8081, 8082 포트에서 동작하는 서버입니다.
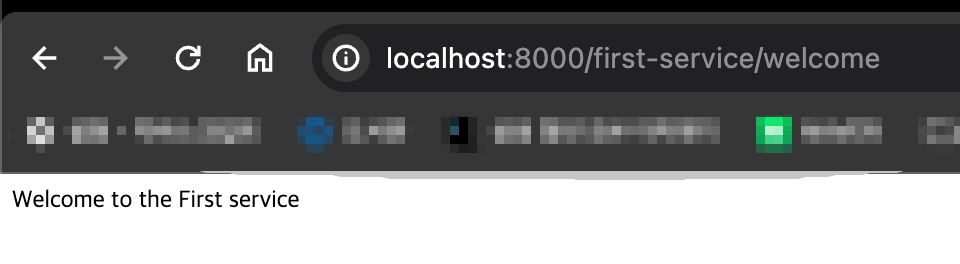
실제 API를 호출할 때는 "uri + redicates 에 적어둔 Path"가 합쳐져서 동작하고 http://localhost:8081/first-service/welcome 와 같은 URL로 호출이 됩니다.
3.1. 예제 코드에서 사용된 서비스
# application.yml
server:
  port: 8081
spring:
  application:
    name: my-first-service
eureka:
  client:
    fetch-registry: false
    register-with-eureka: false
@RestController
@RequestMapping("/first-service")
public class FirstServiceController {
@GetMapping("/welcome")
public String welcome() {
return "Welcome to the First service";
}
}위에서 uri + path 가 합쳐져서 동작한다고 하였는데 호출되는 API의 URL을 위와같이 설정해야 합니다.
RequestMapping에는 Spring Cloud Gateway 에서 적은Path를 적습니다.GetMapping에는 실제 호출하는 API의 URI를 적습니다.
3.2. Java로 설정하기
위 코드에서는 yaml파일로 설정을 하였는데 컴파일 에러를 확인할 수 없다는 단점이 있습니다. 그래서 Java로 설정을 하는 법을 알아보도록 하겠습니다.
@Configuration
public class FilterConfig {

    @Bean
    public RouteLocator gatewayRoutes(RouteLocatorBuilder builder) {
        return builder.routes()
                .route(r -> r.path("/first-service/**")
                        .filters(f -> f.addRequestHeader("first-request", "first-request-header")
                                .addResponseHeader("first-response", "first-response-header"))
                        .uri("http://localhost:8081"))
                .route(r -> r.path("/second-service/**")
                        .filters(f -> f.addRequestHeader("second-request", "second-request-header")
                                .addResponseHeader("second-response", "second-response-header"))
                        .uri("http://localhost:8082"))
                .build();
    }
}
다음과 같이 RouteLocator을 @Bean으로 등록만 해주면 됩니다.
각 라우터에 대한 설정은 람다를 활용하여 할 수 있으며 해더 관련 정보들도 추가할 수 있습니다.