
Firebase admin SDK 설정
build.gradle 추가
implementation 'com.google.firebase:firebase-admin:9.3.0'환경변수 설정 추가
는 실패.. 일단 resources에 json 파일을 넣고 config에서 가져오는 방법으로 구현을 해부렀습니다.
export GOOGLE_APPLICATION_CREDENTIALS="/home/user/Downloads/service-account-file.json"FCM 푸시 API
구현 목표
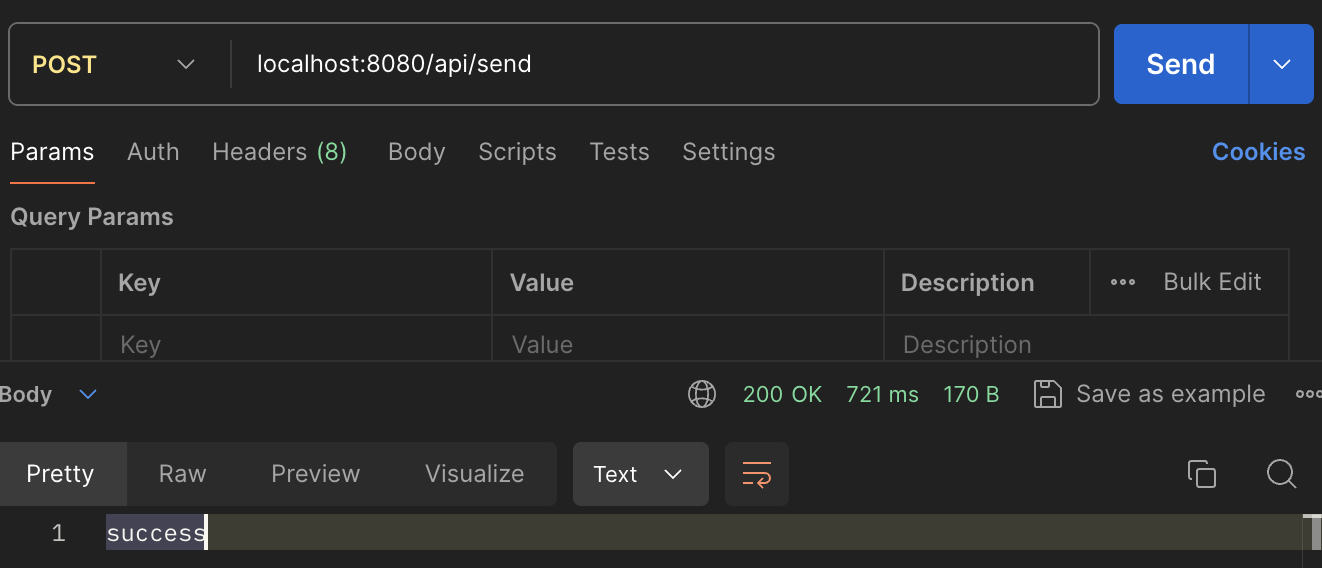
/api/sendendpoint로 post push 알림 요청을 받는다.- 로컬 안드로이드 에뮬레이터로 push 알림이 도착한다.
결과 화면

구현 계획
push 알림이 백엔드에서 클라이언트까지 무사히 도착하는 걸 테스트하는게 목적인 만큼 일단 동작만 하게 엉망진창와장창으로 만들어봤습니다.
util로 구현은 3탄에서 to be continue,,,
아무튼! 테스트를 용이하게 하기 위해(postman밖에 모르는 나,,)
config, controller, service
다른 도메인 객체처럼 설계를 해봤습니다.
/api/send 엔드포인트에서 controller가 service로 넘겨줍니다.
service는 원래대로라면 controller에서 검증한 데이터들로 메시지를 구성해서 푸쉬 알림을 줘야겠지만,
저는 과감하게 하드코딩을 했습니다.(3탄으로 ㄱㄱ)
그리고 firebaseconfig로 Firebase 서비스를 이용할 수 있도록 준비하는 과정을 가져줍니다.
FirebaseConfig
@Configuration
public class FirebaseConfig {

    @Bean
    public FirebaseApp initializeFirebase() throws IOException {
        InputStream serviceAccount = getClass().getClassLoader().getResourceAsStream("serviceAccountKey.json");

        if (serviceAccount == null) {
            throw new IOException("File not found: serviceAccountKey.json");
        }

        FirebaseOptions options = FirebaseOptions.builder()
                .setCredentials(GoogleCredentials.fromStream(serviceAccount))
                .build();

        return FirebaseApp.initializeApp(options);
    }

    @Bean
    public FirebaseMessaging firebaseMessaging(FirebaseApp firebaseApp) {
        return FirebaseMessaging.getInstance(firebaseApp);
    }
}
FCMService
@Service
public class FCMService {
    private final FirebaseMessaging firebaseMessaging;

    @Autowired
    public FCMService(FirebaseMessaging firebaseMessaging) {
        this.firebaseMessaging = firebaseMessaging;
    }

    public void sendMessage() throws Exception {
        Notification notification = Notification.builder()
                .setTitle("test")
                .setBody("Hello")
                .build();

        Message message = Message.builder()
                .setToken("토큰")
                .setNotification(notification)
                .build();

        String response = firebaseMessaging.send(message);
        System.out.println("Successfully sent message: " + response);
    }
}
FCMController
@RestController
@RequestMapping("/api")
public class FCMController {

    @Autowired
    private FCMService fcmService;

    @PostMapping("/send")
    public String sendPushNotification() {
        try {
            fcmService.sendMessage();
            return "success";
        } catch (Exception e) {
            return "Error";
        }
    }
}
결론은 성공!
다음 편에는 재사용가능한, 객체지향적인, 스프링틱한 Push 알림 객체를 만들어보겠습니다.

티스토리 이사 준비 중..