레인보우 레인
다양한 색상과 그라데이션 적용으로 마치 무지개 빛의 비가 내리는 듯한 효과를 내는 css 트릭입니다.
제작 원본
수정본
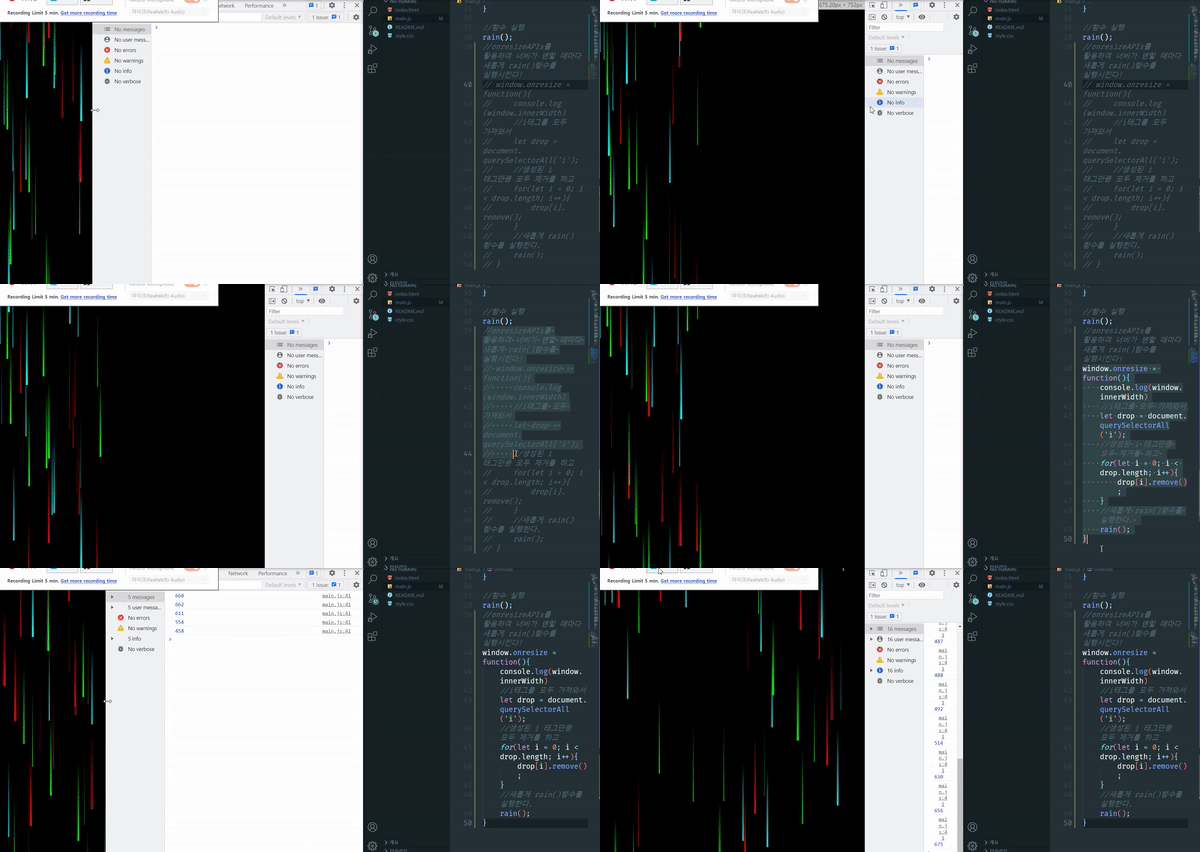
먼저 위의 동영상에서 보이지는 않지만 직접 만들어보면 아래와 같이 화면 크기에 따라서 비의 위치가 수정되지 않는다. 따라서 좁은 창에서 실행되었다면 너비를 넓게 수정하였을때 공백이 발생하는데 이 공백을 수정하였다.
- 공백을 없애기 위해 window.resize로 너비의 변화량을 추적하였다.
- 너비의 변화에 따라 기존의 함수의 i태그(i태그로 비를 표현하였다.)들을 모두 없애고 다시 rain()함수를 실행시켰다.
아래는 위 2가지 방법을 적용한 결과이다.

코드보기
html
바디태그는 비워두었다. 자바스크립트를 활용하여 i태그를 추가하였다.
<!DOCTYPE html>
<html lang="en">
<head>
    <meta charset="UTF-8">
    <meta http-equiv="X-UA-Compatible" content="IE=edge">
    <meta name="viewport" content="width=device-width, initial-scale=1.0">
    <title>Rainfall</title>
    <link rel="stylesheet" href="style.css">
    <script src="main.js" defer></script>
</head>
<body>

</body>
</html>
css
i태그에 그라데이션과 애니메이션을 적용하였다
/* 전체 옵션 기본값설정 */
* {
  margin: 0;
  padding: 0;
  box-sizing: border-box;
}
/* body 옵션 설정 */
body {
  background: #000;
  /* 넘친 내용들을 가리기 위함임 */
  overflow: hidden;
  /*  뷰포트 너비의 100%임 */
  height: 100vh;
}
/* i는 비를 의미함. */
i {
  /* i태그의 위치를 고정하였다. */
  position: absolute;
  /* i태그의 높이를 지정함(비가 내리면서 잔상으로 표현) */
  height: 200px;
  /* i태그의 그라데이션을 적용함 */
  background: linear-gradient(transparent, #fff);
  /* 물방울 처럼 보이게 함 */
  border-bottom-left-radius: 5px;
  border-bottom-right-radius: 5px;
  animation: animate 5s linear infinite;
}
/* 레인보우 색상을 결정 ㅎ */
i:nth-child(3n + 1) {
  background: linear-gradient(transparent, #0ff);
}
i:nth-child(3n + 2) {
  background: linear-gradient(transparent, #0f0);
}
i:nth-child(3n + 3) {
  background: linear-gradient(transparent, #f00);
}
/* 애니메이션을 설정함. */
@keyframes animate {
  0% {
    /* 비의 시작위치와 */
    transform: translateY(-200px);
  }
  100% {
    /* 비가 내려가는 위치를 설정함. 뷰포트 보다 높이만큼 끝냄 */
    transform: translateY(calc(100vh + 200px));
  }
}
javascript
// 함수명 rain
function rain(){
    //함수 내용
    let amount = 50;
    //body 태그 선택, let 변수에 넣기
    let body = document.querySelector('body');
    let i = 0;
    //i태그가 추가되면서 생성된 i태그의 옵션을 다르게 설정함.
    //양과 i태그를 비교하여 while  불리언 결정
        while(i < amount){
            //i태그를 생성하는데 drop 변수에 넣는다.
            //amount와 비교하여 계속 생성함
            let drop = document.createElement('i');
            //너비를 구하기 위한 작은 랜덤값 설정
            let size = Math.random() * 5;
            //비의 위치를 결정하기 위한 floor 설정, innerwidth에 따른 값설정
            let posX = Math.floor(Math.random() * window.innerWidth);
            //비를 내리는 시간을 딜레이 함.
            let delay = Math.random() * -20;
            //duration 값을 설정함.
            let duration = Math.random() *5
            //비의 너비를 생성
            drop.style.width = 0.2 + size+'px'
            //비의 위치를 결정함.
            drop.style.left = posX + 'px'
            //애니메이션 값을 설정함.
            drop.style.animationDelay = delay + 's'
            drop.style.animationDuration = 1+ duration + 's'
            //body에 i 태그를 생성함.
            body.appendChild(drop);
            //조건을 만족할때 i의 개수를 늘려나감.
            i++
        }
}
//기존의 자바스크립트는 여기서 끝남. 따라서 오류처럼 보이는 현상이 나타남
//아래의 코드를 추가하여 해결하였음
//함수 실행
rain();
//onresizeAPIs를 활용하여 너비가 변할 때마다 새롭게 rain()함수를 실행시킨다!
window.onresize = function(){
    console.log(window.innerWidth)
    //i태그를 모두 가져와서
    let drop = document.querySelectorAll('i');
    //생성된 i 태그만큼 모두 제거를 하고
    for(let i = 0; i < drop.length; i++){
        drop[i].remove();
    }
    //새롭게 rain()함수를 실행한다.
    rain();
}