Spring Boot 채팅 구현(SockJS,Stomp) 1. 기본 동작 구현
STOMP와 SockJS를 이용해
실제로 동작하는 간단한 채팅을 구현해보자
StompConfig.java
import org.springframework.context.annotation.Configuration;
import org.springframework.messaging.simp.config.MessageBrokerRegistry;
import org.springframework.web.socket.config.annotation.EnableWebSocketMessageBroker;
import org.springframework.web.socket.config.annotation.StompEndpointRegistry;
import org.springframework.web.socket.config.annotation.WebSocketMessageBrokerConfigurer;

@Configuration
@EnableWebSocketMessageBroker
public class StompConfig implements WebSocketMessageBrokerConfigurer {
    @Override
    public void registerStompEndpoints(StompEndpointRegistry registry) {
        registry.addEndpoint("/chatting")
                .setAllowedOriginPatterns("*")
                .withSockJS();
    }

    @Override
    public void configureMessageBroker(MessageBrokerRegistry registry) {
        registry.enableSimpleBroker("/topic","/queue");
        registry.setApplicationDestinationPrefixes("/app");
    }
}
WebSocketMessageBrokerConfigurer를 구현한 클래스입니다.
메소드를 오버라이드 하여 메시지 브로커에 대한 다양한 설정을 할 수 있습니다.
registerStompEndpoints()
addEndpoint()
-> 웹소켓 엔드포인트를 지정합니다. 추후 클라이언트에서
해당 경로로 서버와 handshake 하게 됩니다.
setAllowedOriginPatterns()
-> 허용할 origin 패턴을 지정합니다. (CORS 설정)
withSockJS()
-> SockJS를 사용하여 브라우저에서 websocket을 지원하지 않을 경우 대체 옵션을 지원 합니다.
configureMessageBroker()
enableSimpleBroker
-> 메시지 브로커를 활성화하고 subscribe 메시지 접두사를 설정합니다.
setApplicationDestinationPrefixes
-> 클라이언트에서 발송한 메시지중 Destination이 해당 경로(/app)로 시작하는 메시지를 메시지 브로커에서 처리하게합니다. ( 자세한 설명 )
StompController.java
package com.velog.controller;

import lombok.RequiredArgsConstructor;
import org.springframework.messaging.handler.annotation.MessageMapping;
import org.springframework.messaging.handler.annotation.Payload;
import org.springframework.messaging.simp.SimpMessagingTemplate;
import org.springframework.stereotype.Controller;

import java.util.Map;

@Controller
@RequiredArgsConstructor
public class StompController {
    private final SimpMessagingTemplate simpMessagingTemplate;

    @MessageMapping("/chat/send")
    public void sendMsg(@Payload Map<String,Object> data){
        simpMessagingTemplate.convertAndSend("/topic/1",data);
    }
}
클라이언트로부터 전달받은 메시지를 처리하는 클래스입니다.
@MessageMapping으로 메시지 경로를 매핑해주고
@SendTo 혹은 SimpMessagingTemplate을 사용하여 메시지를 클라이언트에게 전달할 수 있습니다.
클라이언트에서 전달한 데이터는 @PayLoad를 통해 매핑 할수 있습니다(DTO도 사용가능) 현재는 채팅방 개념이 없기때문에 '/topic/1'로 send하고
추후에 채팅방을 구현할때 /topic/ + 채팅방번호로 구현하겠습니다.
HTML
<!DOCTYPE html>
<html lang="en">
<head>
    <meta charset="UTF-8">
    <title>Title</title>
    <style>
        *{
            margin:0;
            padding:0;
        }
        .container{
            width: 500px;
            margin: 0 auto;
            padding: 25px
        }
        .container h1{
            text-align: left;
            padding: 5px 5px 5px 5px;
            color: black;
            margin-bottom: 20px;
        }

        .chatting{
            border : 1px solid gray;
            width: 700px;
            height: 700px;
            overflow: auto;
        }
        .chatting p{
            text-align: left;
        }
        input{
            width: 450px;
            height: 50px;
        }

        th{
            width : 100px;
        }
        #yourMsg{
            width: 700px;
        }
        .me{
            color: blue;
        }

        .other{
           color: red;
        }
    </style>
</head>
<body>
    <div class="container" id="container">
        <h1 id="title_room">채팅방제목</h1>
        <div id="chatting" class="chatting">
        </div>
        <div id="yourMsg">
            <table class="inputTable">
                <tr>
                    <th>메시지</th>
                    <th><input id="msg" placeholder="보내실 메시지를 입력하세요."></th>
                    <th><button onclick="send()" id="sendBtn">보내기</button></th>
                </tr>
            </table>
        </div>
    </div>
    <script src="https://ajax.googleapis.com/ajax/libs/jquery/3.6.0/jquery.min.js"></script>
    <script src="https://cdn.jsdelivr.net/npm/sockjs-client@1/dist/sockjs.min.js"></script>
    <script src="https://cdnjs.cloudflare.com/ajax/libs/stomp.js/2.3.3/stomp.min.js"></script>
<script>

    var userId = window.prompt("사용자 닉네임?");

    function connect() {
        //StompConfig.java에 설정된 endpoint로 SockJS 객체, StompClient 객체 생성
        var socket = new SockJS("/chatting");
  		//do Handshake
        stompClient = Stomp.over(socket);

        // connect(header,연결 성공시 콜백,에러발생시 콜백)
        stompClient.connect({}, function () {
                //subscribe(subscribe url,해당 url로 메시지를 받을때마다 실행할 함수)
                sub = stompClient.subscribe('/topic/1', function (e) {
                    //e.body에 전송된 data가 들어있다
                    showMessage(JSON.parse(e .body));
                });
            },
            function(e){
                //에러 콜백
                alert('에러발생!!!!!!');
            }
        );
    }

    connect();

    //엔터 눌렀을때 전송
    $('#msg').keypress(function(e){
        if(e.keyCode===13) send();
    });

    //화면에 메시지를 표시하는 함수
    function showMessage(data){
        if(data.sender===userId){
            $('#chatting').append("<p class='me'>"+data.sender+" : "+data.contents+"</p>");
        } else {
            $('#chatting').append("<p class='other'>"+data.sender+" : "+data.contents+"</p>");
        }
    }

    //메시지 브로커로 메시지 전송
    function send(){
        data = {
            'sender' :userId,
            'contents': $("#msg").val()
        };
        // send(destination,헤더,페이로드)
        stompClient.send("/app/chat/send", {}, JSON.stringify(data));
        $("#msg").val('');
    }

</script>
</body>
</html>
stompClient의 설명은 해당링크를 참고해주세요
코드 흐름은
Handshake -> CONNECT -> SUBSCRIBE 입니다.
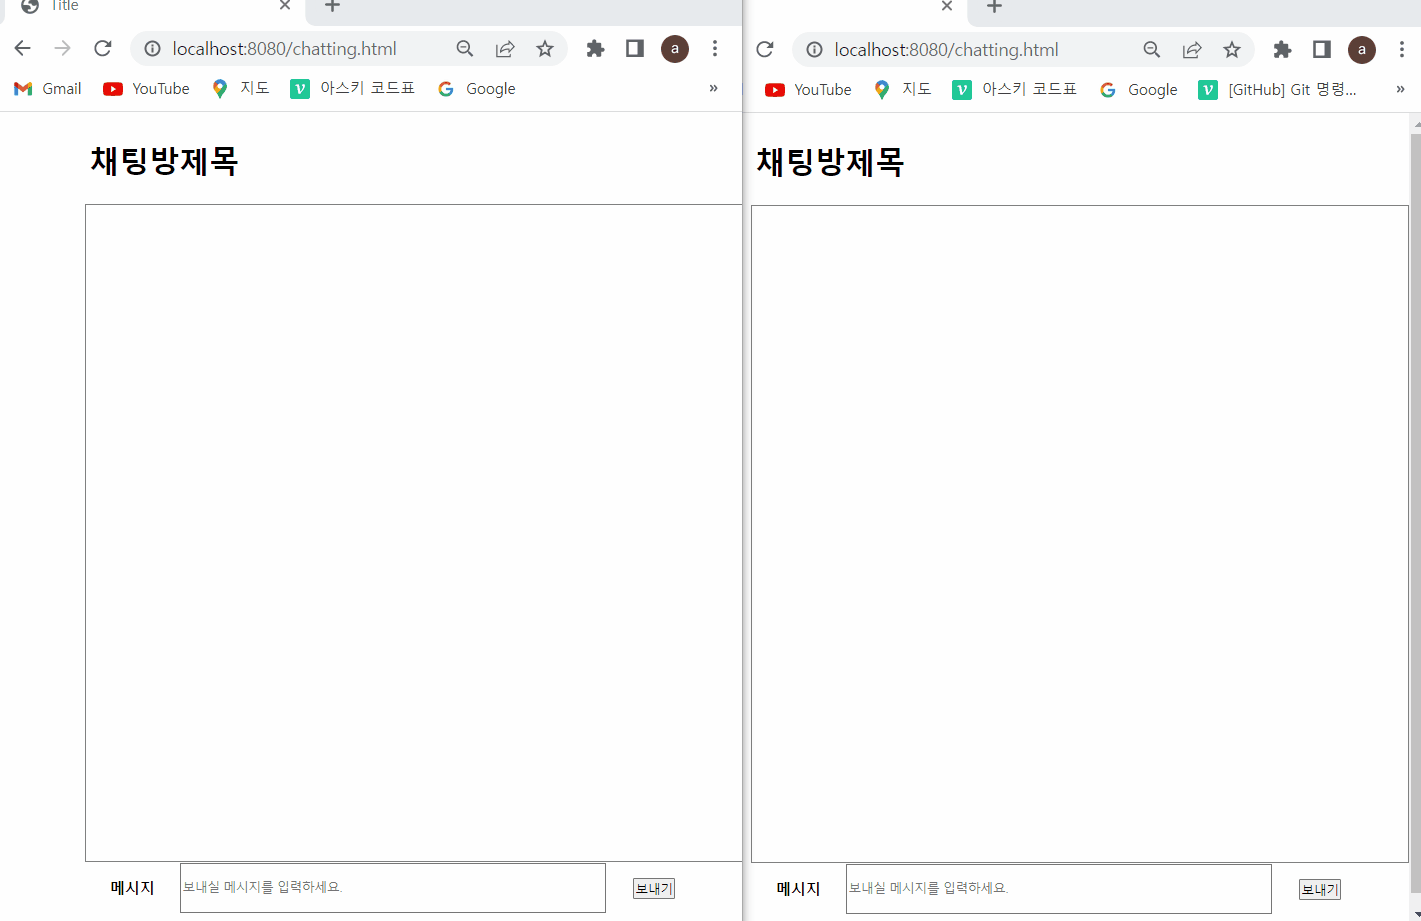
작동
전체코드는 깃허브에서 확인할 수 있습니다.
