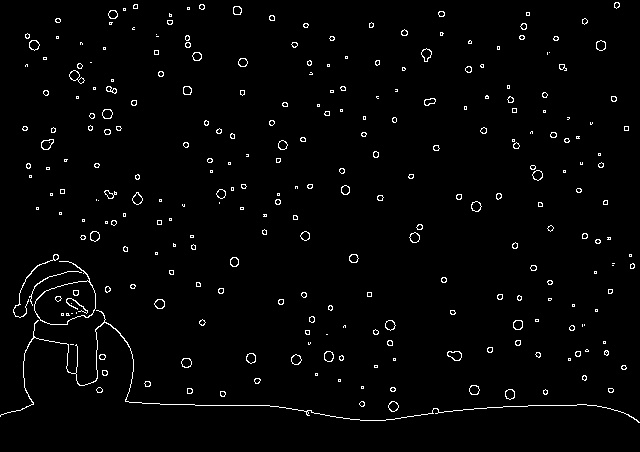
경계선
- 픽셀 색이 갑자기 확 변하는 부분을 경계선으로 인식함
Canny Edge Detection을 사용
- 예시 사진

import cv2

img = cv2.imread('snowman640.png')

canny = cv2.Canny(img, 150, 200)
# cv2.Canny(대상 이미지, minValue(하위 임계값), maxValue(상위 임계값))


cv2.imshow('img',img)
cv2.imshow('canny',canny)
cv2.waitKey(0)
cv2.destroyAllWindows()- 결과
트랙바 사용
import cv2

def empty(Pos):
    pass
img = cv2.imread('snowman640.png')

name = 'Trackbar'
cv2.namedWindow(name)

cv2.createTrackbar('threshold1',name,0,255, empty) #하위임계값
cv2.createTrackbar('threshold2',name,0,255, empty) #상위임계값

while True:
    threshold1 = cv2.getTrackbarPos('threshold1', name)#트랙바 생성
    threshold2 = cv2.getTrackbarPos('threshold2', name)

    canny = cv2.Canny(img, threshold1, threshold2) # 경계선 검출
    # cv2.Canny(대상 이미지, minValue(하위 임계값), maxValue(상위 임계값))
    cv2.imshow('img',img)
    cv2.imshow(name,canny)

    if cv2.waitKey(1) == ord('q'):
        break

cv2.destroyAllWindows()
윤곽선(Contour) : 경계선을 연결한 선
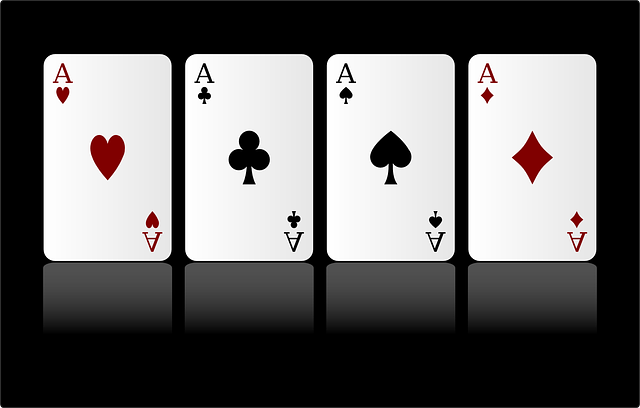
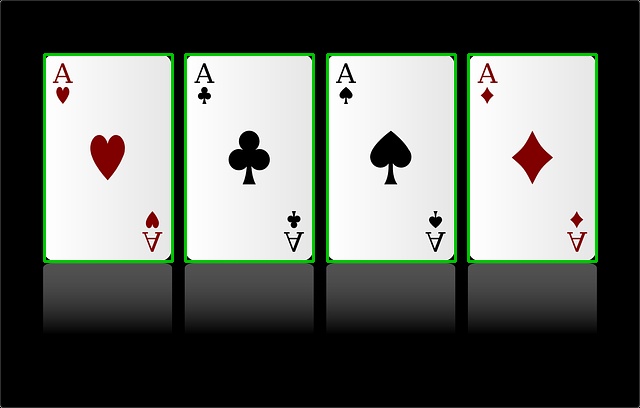
- 원본 사진
import cv2
img = cv2.imread('card.png')
target_img = img.copy() # 사본 만듬
gray = cv2.cvtColor(img, cv2.COLOR_BGR2GRAY) #원본을 흑백화한 이미지를 gray에 대입
ret, otsu = cv2.threshold(gray, -1,255, cv2.THRESH_BINARY | cv2.THRESH_OTSU) #오츠알고리즘으로 흑백화된 사진을 이진화 작업
contours, hierarchy = cv2.findContours(otsu, cv2.RETR_LIST, cv2.CHAIN_APPROX_NONE) #이진화된 이미지에서 윤곽선 검출
#contours : 윤곽선 정보, hierarchy : 윤곽선 계층
#cv2.findContours(대상이미지, 윤곽선 찾는 모드, 윤곽선을 찾을 때 사용하는 근사치(method))
COLOR = (0,200,0)
cv2.drawContours(target_img, contours, -1,COLOR, 2) #윤곽선 그리기 (-1은 모든 윤곽선을 그려라)
# cv2.drawContours(대상이미지, 윤곽선 정보, 인덱스, 색, 두께)
#이진화된 이미지 otsu에서 검출한 윤곽선 정보를 target_img라는 원본 이미지의 복사본에 그림
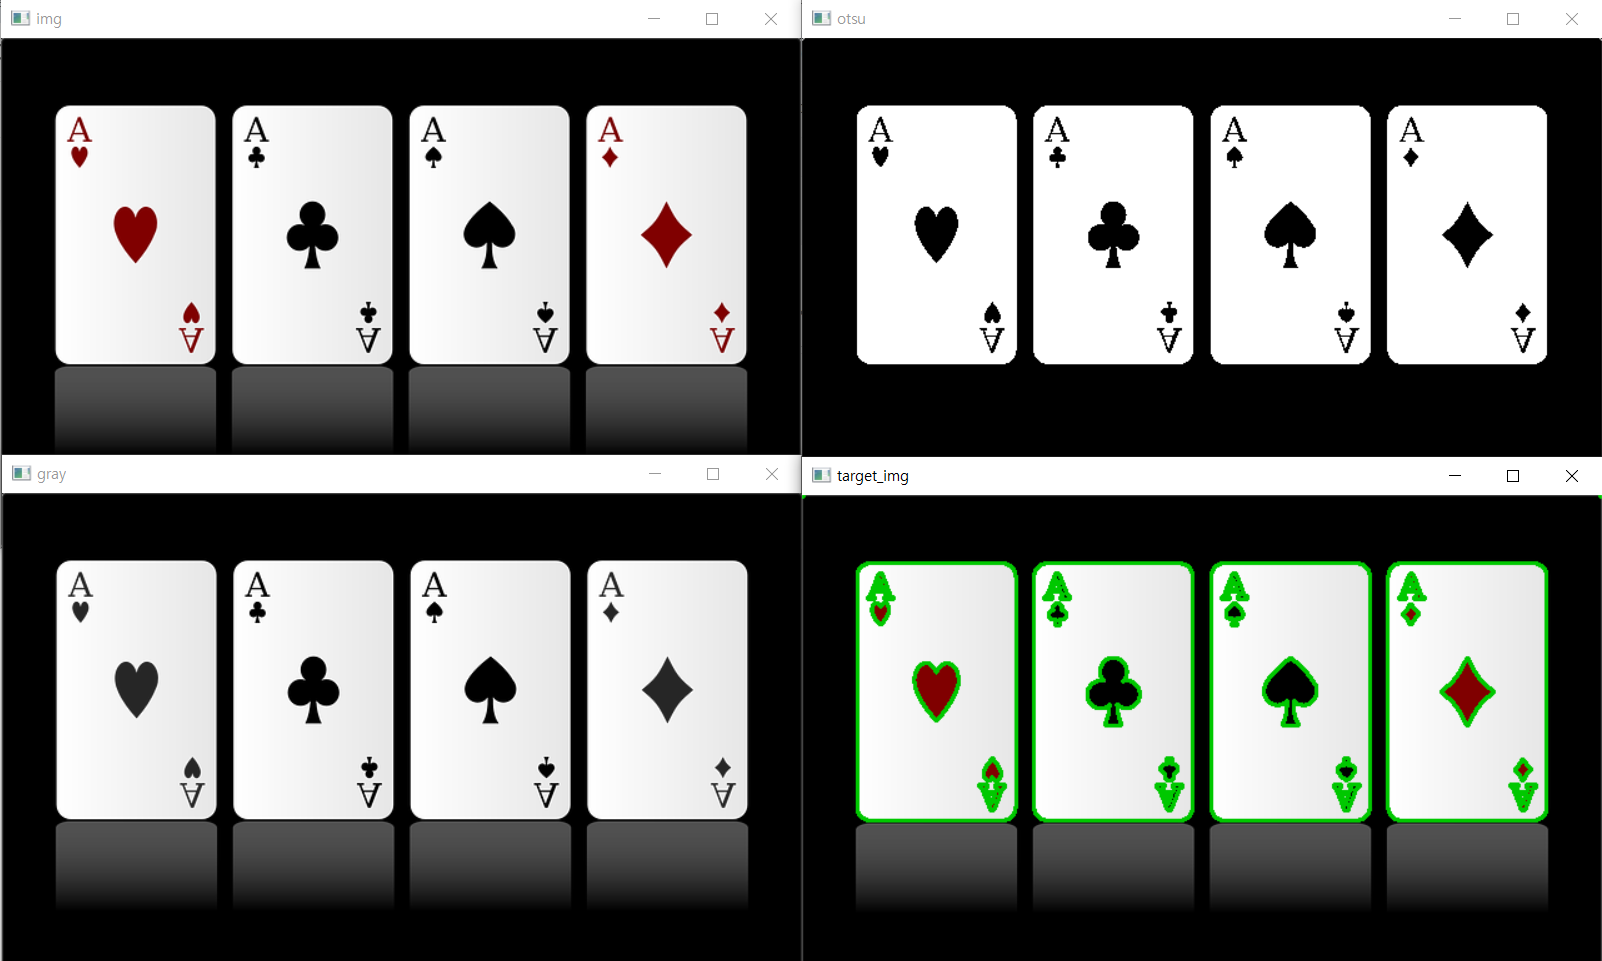
cv2.imshow('img',img) #원본
cv2.imshow('gray',gray) #원본을 흑백화함
cv2.imshow('otsu',otsu) #흑백화된 이미지를 이진화해 흑과 백만 남김(오츠알고리즘으로 자동으로 임계값을 찾아 적용)
cv2.imshow('target_img',target_img) #이진화된 이미지에서 윤곽선을 검출한 후 target_img에 입력
cv2.waitKey(0)
cv2.destroyAllWindows()- 결과
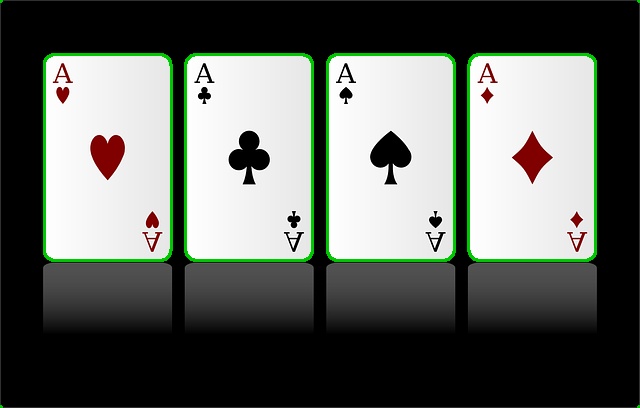
윤곽선 찾기 모드
- cv2.RETR_EXTERNAL : 가장 외곽의 윤곽선만 찾음
- cv2.RETR_LIST : 모든 윤곽선 찾음(계층 정보 없음)
- cv2.RETR_TREE : 모든 윤곽선 찾음(계층 정보를 트리 구조로 생성)
윤곽선 찾을 때 사용하는 근사치 방법
- cv2.CHAIN_APPROX_NONE : 윤곽선을 모든 좌표 반환
- cv2.CHAIN_APPROX_SIMPLE : 꼭짓점 좌표만 중복 제외하고 반환 (메모리를 줄일 수 있는 장점이 있음)
- cv2.RETR_EXTERNAL 을 사용한 결과
경계 사각형
윤곽선의 겅계면을 둘러싸는 사각형
boundingRect()
- 얼굴 인식, 사물 인식에서 주로 사용
import cv2

img = cv2.imread('card.png')
target_img = img.copy() # 사본 만듬

gray = cv2.cvtColor(img, cv2.COLOR_BGR2GRAY)
ret, otsu = cv2.threshold(gray, -1,255, cv2.THRESH_BINARY | cv2.THRESH_OTSU)

contours, hierarchy = cv2.findContours(otsu, cv2.RETR_LIST, cv2.CHAIN_APPROX_NONE)

COLOR = (0,200,0)

for cnt in contours: #contours에 저장된 윤곽선 정보를 cnt에 넣어주고
    x, y, width, height = cv2.boundingRect(cnt) #윤곽선에 사각형을 그려주는 boundingRect함수에 대입
    cv2.rectangle(target_img,(x, y),(x + width, y + height), COLOR, 2)
#cv2.drawContours(target_img, contours, -1,COLOR, 2)

cv2.imshow('img',img)
cv2.imshow('gray',gray)
cv2.imshow('otsu',otsu)
cv2.imshow('target_img',target_img) #이진화된 이미지에서 윤곽선을 검출한 후 target_img에 입력

cv2.waitKey(0)
cv2.destroyAllWindows()- 결과
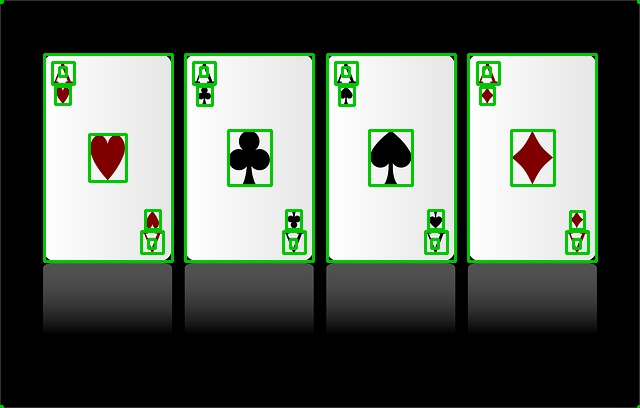
면적 구하기
contourArea()
- 일정 면적 이상의 사각형만 보고 싶을 때 사용하는 함수
import cv2

img = cv2.imread('card.png')
target_img = img.copy() # 사본 만듬

gray = cv2.cvtColor(img, cv2.COLOR_BGR2GRAY)
ret, otsu = cv2.threshold(gray, -1,255, cv2.THRESH_BINARY | cv2.THRESH_OTSU)

contours, hierarchy = cv2.findContours(otsu, cv2.RETR_LIST, cv2.CHAIN_APPROX_NONE)

COLOR = (0,200,0)

for cnt in contours:
    if cv2.contourArea(cnt) > 25000: # 위 사각형 그리기에서 면적 범위를 지정해준 뒤 그 범위 이상일 때만 작동
        x, y, width, height = cv2.boundingRect(cnt)
        cv2.rectangle(target_img,(x, y),(x + width, y + height), COLOR, 2)

cv2.imshow('img',img)
cv2.imshow('target_img',target_img)

cv2.waitKey(0)
cv2.destroyAllWindows()- 결과

C++, Python 활용 중