
Configuration Service
spring cloud config
분산 시스템에서 서버 클라이어트 구성에 필요한 설정 정보를 외부시스템에서 관리
application.yml파일이 아닌, 되부 시스템에서 관리한다는 뜻
yml 파일의 우선순위를 지정할 수 있다.
application.yml → application-nam.yml(user-service)와 같이 이름을 바탕으로 만들 수도 있다.
application-name- :application-user-service- 와같이 profile을 지정해서 만들 수도 있다.
이렇게 지정한 yml파일을 바탕으로 config서버가 이를 지정하여서 service로 전달
Config-service -msa
springcloud → config →config server
<?xml version="1.0" encoding="UTF-8"?>
<project xmlns="http://maven.apache.org/POM/4.0.0" xmlns:xsi="http://www.w3.org/2001/XMLSchema-instance"
         xsi:schemaLocation="http://maven.apache.org/POM/4.0.0 https://maven.apache.org/xsd/maven-4.0.0.xsd">
    <modelVersion>4.0.0</modelVersion>
    <parent>
        <groupId>org.springframework.boot</groupId>
        <artifactId>spring-boot-starter-parent</artifactId>
        <version>2.5.6</version>
        <relativePath/> <!-- lookup parent from repository -->
    </parent>
    <groupId>com.example</groupId>
    <artifactId>config-service-msa-1</artifactId>
    <version>0.0.1-SNAPSHOT</version>
    <name>config-service-msa-1</name>
    <description>config-service-msa-1</description>
    <properties>
        <java.version>11</java.version>
        <spring-cloud.version>2020.0.4</spring-cloud.version>
    </properties>
    <dependencies>
        <dependency>
            <groupId>org.springframework.cloud</groupId>
            <artifactId>spring-cloud-config-server</artifactId>
        </dependency>

        <dependency>
            <groupId>org.springframework.boot</groupId>
            <artifactId>spring-boot-starter-test</artifactId>
            <scope>test</scope>
        </dependency>
    </dependencies>
    <dependencyManagement>
        <dependencies>
            <dependency>
                <groupId>org.springframework.cloud</groupId>
                <artifactId>spring-cloud-dependencies</artifactId>
                <version>${spring-cloud.version}</version>
                <type>pom</type>
                <scope>import</scope>
            </dependency>
        </dependencies>
    </dependencyManagement>

    <build>
        <plugins>
            <plugin>
                <groupId>org.springframework.boot</groupId>
                <artifactId>spring-boot-maven-plugin</artifactId>
            </plugin>
        </plugins>
    </build>

</project>server:
port: 8888
spring:
application:
name: config-service
cloud:
config:
server:
git:
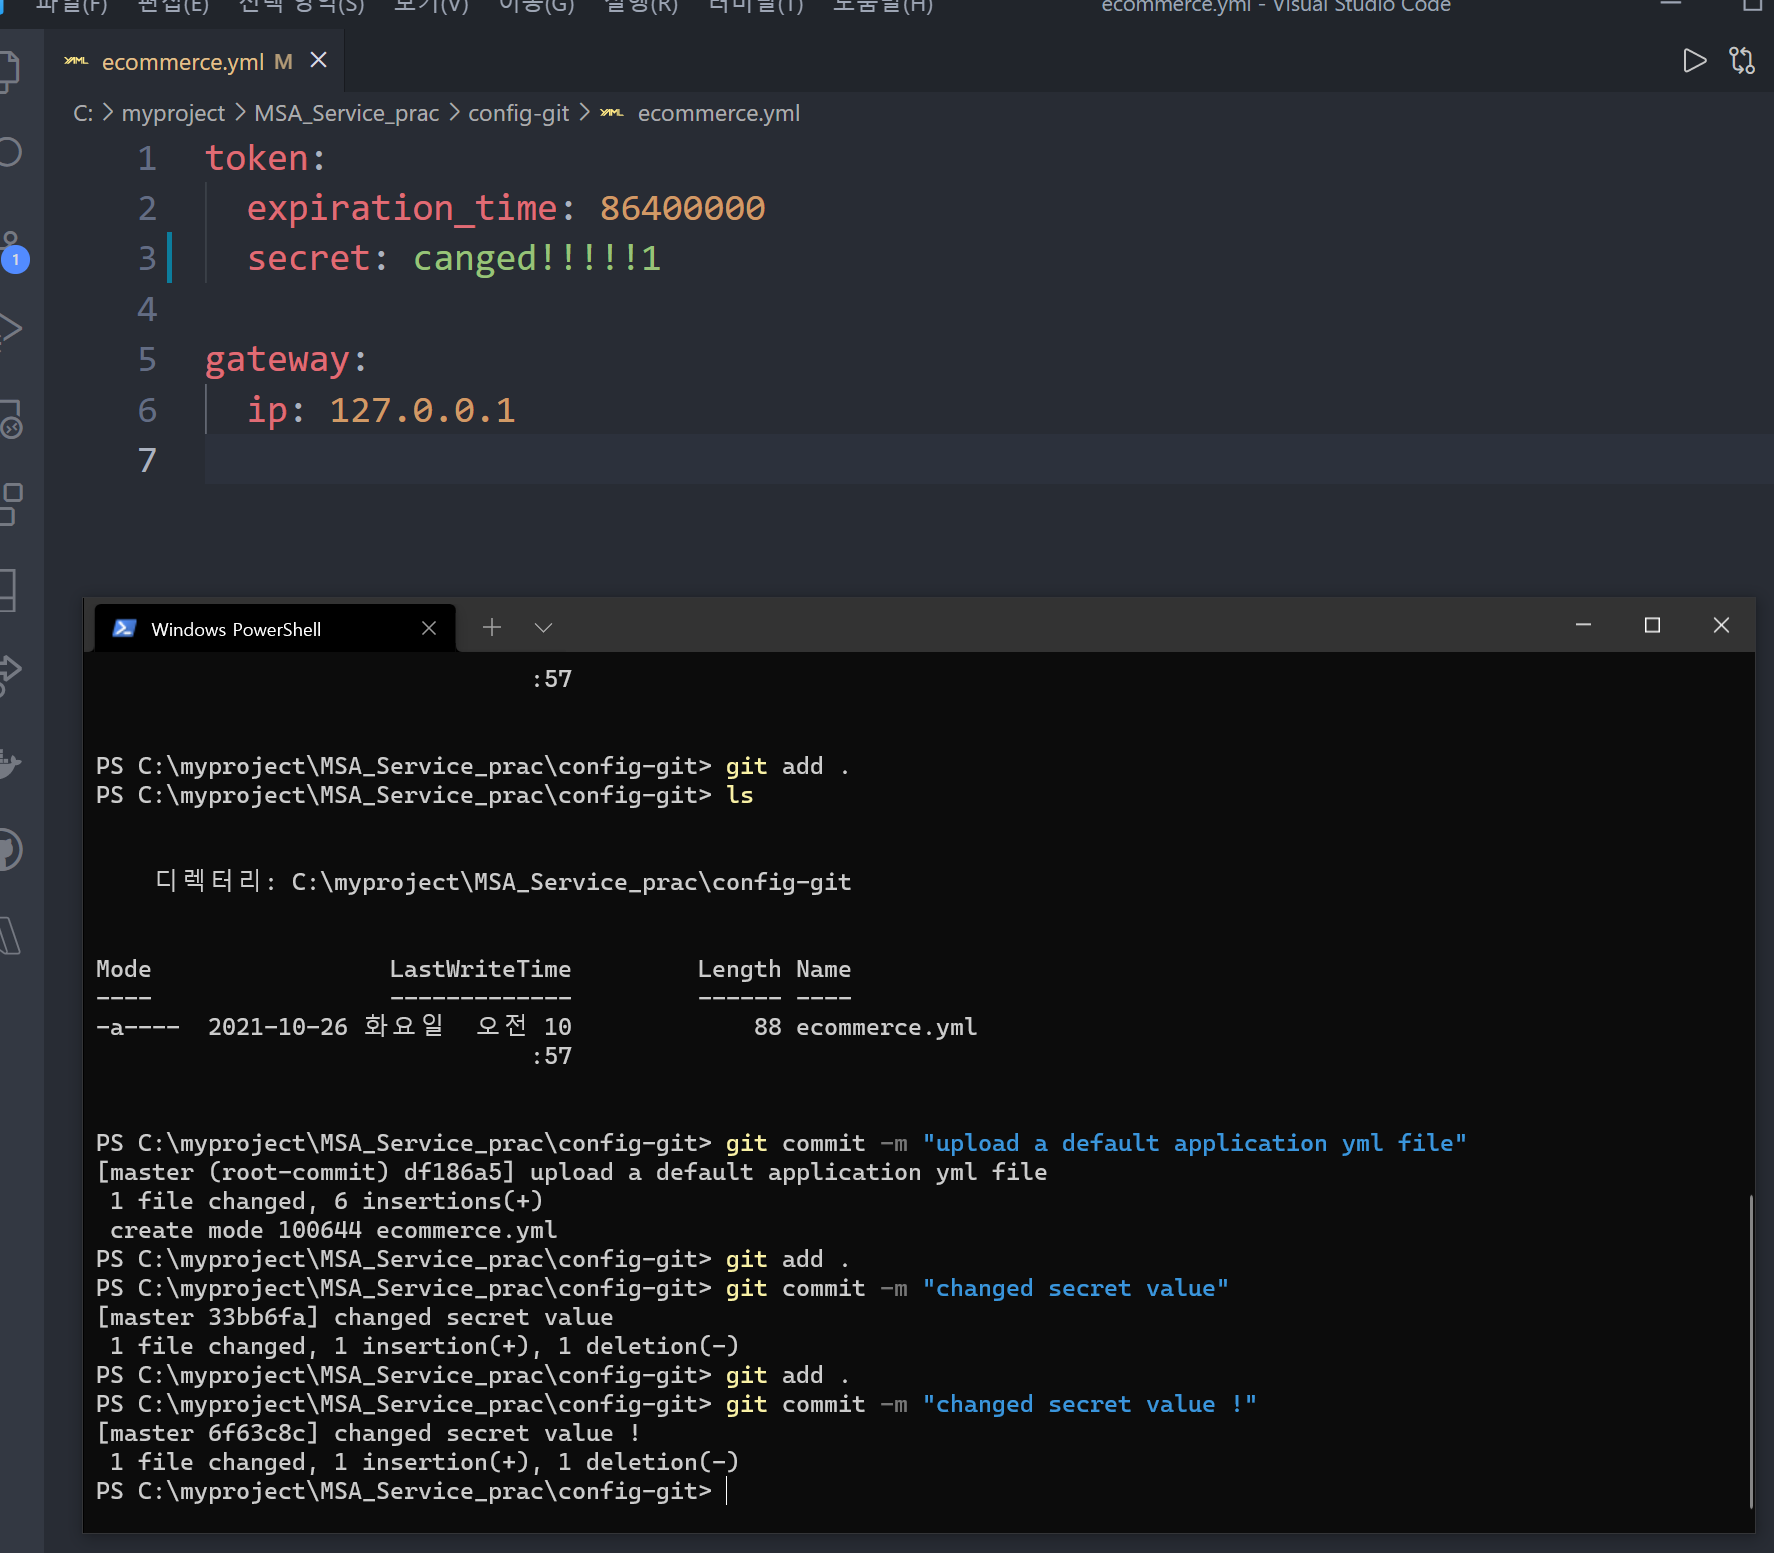
uri: file://C:\myproject\MSA_Service_prac\config-git #yml file directory that i designated location of git add
이 파일 위치는 내가 작성한 config yml파일 위치이다(git이랑 연동한)
그런데 문제가 이 git은 git add . git commit-m "" 까지 해야 된다(추적관리된 상태만 적용되기 때문)
따라서 config파일을 바꾸면 다시 git commit 까지 해주고 해당 서버를 재실행 시켜줘야 한다. package com.example.configservicemsa1;
import org.springframework.boot.SpringApplication;
import org.springframework.boot.autoconfigure.SpringBootApplication;
import org.springframework.cloud.config.server.EnableConfigServer;
@SpringBootApplication
@EnableConfigServer //config서버역할을 하기 위해 어노테이션 설정 필요!!
public class ConfigServiceMsa1Application {
public static void main(String[] args) {
SpringApplication.run(ConfigServiceMsa1Application.class, args);
}
}위 설정을 적용시키려면 users-microservice에 dependency2 개더 추가해줘야 한다
-spring-cloud-start-config
-springcloud-starter-bootstrap : configuration에 등록되어있는 정보를 인식하기 위해 설정
bootstrap.yml → application yml파일보다 우선순위가 더 높다
bootstrap .yml

spring:
  cloud:
    config:
      uri: http://127.0.0.1:8888 #config 서버가 돌아가는 주소
      name: ecommerce #repo에 있는 파일이름
추가된 dependency
				<dependency>
            <groupId>org.springframework.cloud</groupId>
            <artifactId>spring-cloud-starter-config</artifactId>
        </dependency>

        <dependency>
            <groupId>org.springframework.cloud</groupId>
            <artifactId>spring-cloud-starter-bootstrap</artifactId>
        </dependency>
It's Wokring in User Service, port(local.server.port)=5350, port(server.port)=0, token secret=user_token, token expiration_time=86400000외부의 config파일을 갖고와서 출력됨을알 수 있다. (ecommerce.yml)
config파일이 변경되면갖고 올 수 있는 방법
- 서버 재기동 → 완전 비추
- Actuator refresh → actuator기능을사용(스프링부트)
- spring cloud bus 사용
Actuator란?
- applicaiton 상태 모니터링
- metric 수집을 위한 http end point 제공
				<dependency>
            <groupId>org.springframework.boot</groupId>
            <artifactId>spring-boot-starter-actuator</artifactId>
        </dependency>
@Override
protected void configure(HttpSecurity http) throws Exception {
http.csrf().disable();
//http.authorizeRequests().antMatchers("/users/**").permitAll();
http.authorizeRequests().antMatchers("/actuator/**").permitAll() //actuator는 모두 통과
http.authorizeRequests().antMatchers("/**") //모든 코드를 통과시키지 않음
.hasIpAddress("127.0.0.1")//아이피 제약조건 설정
.and()
.addFilter(getAuthenticationFilter()); //필터를 추가 -> 이 필터를 통과하면 그제서야 서비스 이용가능
http.headers().frameOptions().disable(); //frame옵션을 disable함으로서 h2 console사용가능
}
yml
#actuator 정보 추가
management:
endpoints:
web:
exposrue:
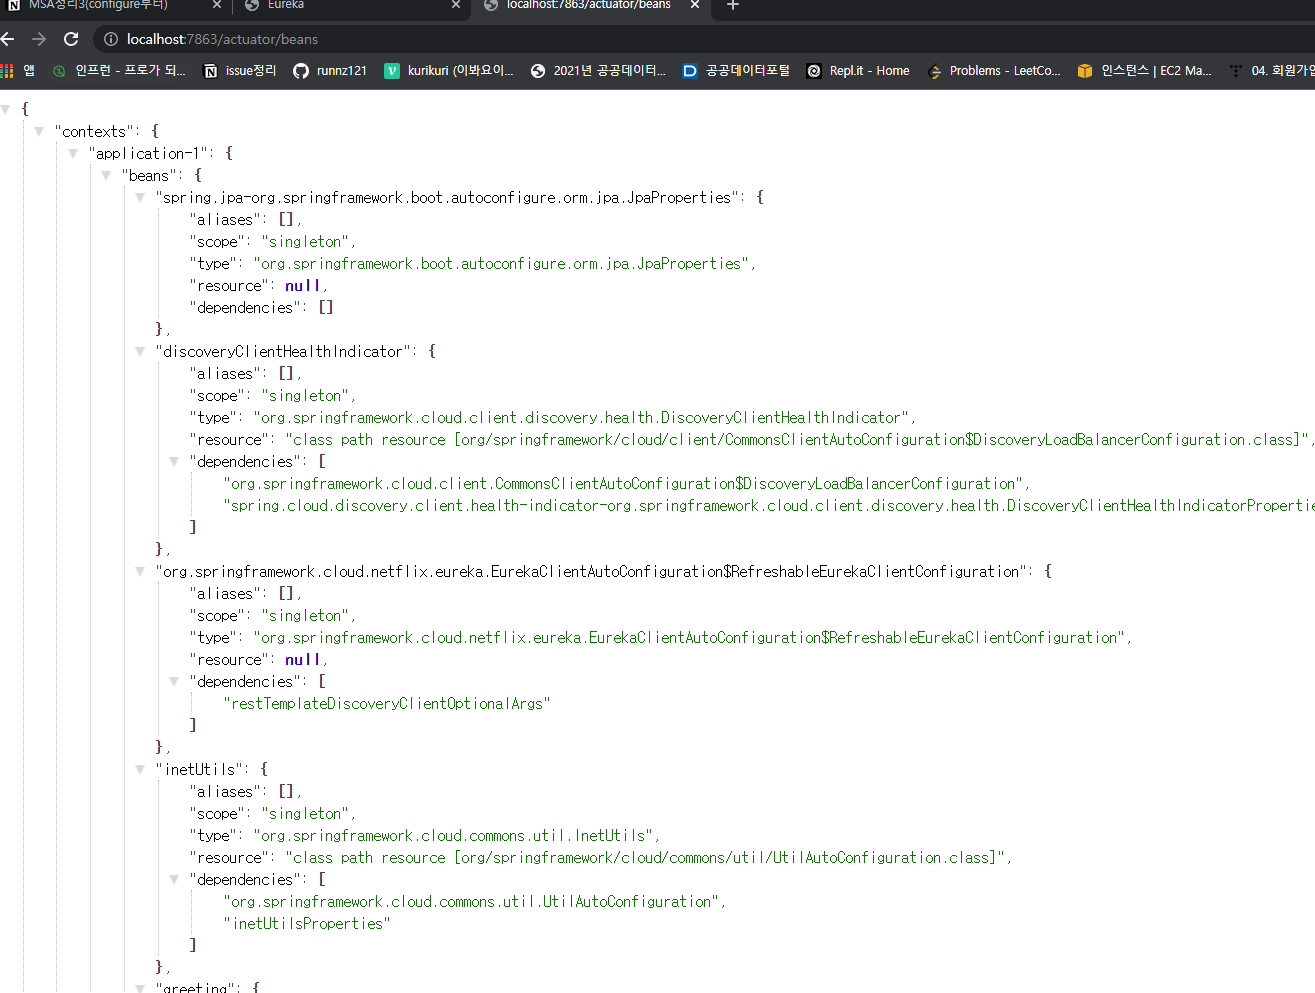
include: refresh, health, beans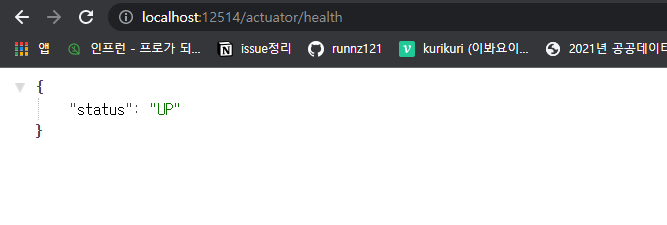
refresh는 post로 전달해야됨(refresh는 바뀐 config파일을 서버를 내리지 않고 적용시킬수 있다)
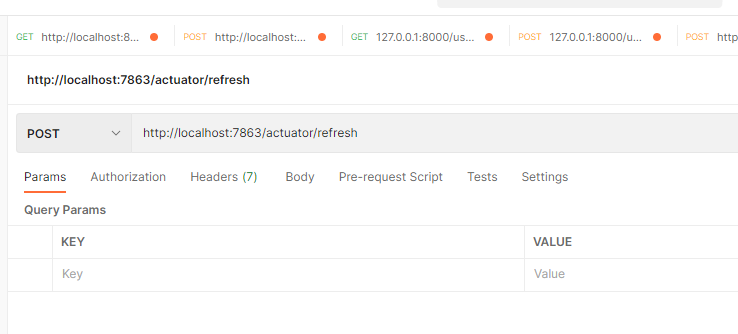
Config 바뀌기 전의 정보

refresh실행후 config가 바뀜 → 물론 config.yml파일 바꾸고 저장, git add, git commit까지 해야한다!!!!!!

Api Gateway설정하기
api gateway 에 다음 dependency 추가
			<dependency>
            <groupId>org.springframework.cloud</groupId>
            <artifactId>spring-cloud-starter-config</artifactId>
        </dependency>

        <dependency>
            <groupId>org.springframework.cloud</groupId>
            <artifactId>spring-cloud-starter-bootstrap</artifactId>
        </dependency>

        <dependency>
            <groupId>org.springframework.boot</groupId>
            <artifactId>spring-boot-starter-actuator</artifactId>
        </dependency>
bootstrap yml 파일 추가 (config서버 포트와 yml이름 맞추는게 중요)
spring:
  cloud:
    config:
      uri: http://127.0.0.1:8888
      name: ecommerce #repo에 있는 이름
application yml 추가
#actuator 정보 추가
management:
  endpoints:
    web:
      exposure:
        include: refresh, health, beans, httptrace
application 실행파일에 httptracerepository추가
package com.example.apigatewayservice;

import org.springframework.boot.SpringApplication;
import org.springframework.boot.actuate.trace.http.HttpTraceRepository;
import org.springframework.boot.actuate.trace.http.InMemoryHttpTraceRepository;
import org.springframework.boot.autoconfigure.SpringBootApplication;
import org.springframework.context.annotation.Bean;

@SpringBootApplication
public class ApigatewayServiceApplication {

    public static void main(String[] args) {
        SpringApplication.run(ApigatewayServiceApplication.class, args);
    }

    @Bean <- 추가
    public HttpTraceRepository httpTraceRepository(){
        return new InMemoryHttpTraceRepository(); -> http trace정보가 메모리에 담김
    }
}
yml 파일에 route을 추가
#actuator 추가
        - id: user-service
          uri: lb://USER-SERVICE
          predicates:
            - Path=/user-service/actuator/**
            - Method=GET,POST
          filters:
            - RemoveRequestHeader=Cookie
            - RewritePath=/user-service/(?<segment>.*), /$\{segment}
PROFILE에 따른 YML 설정
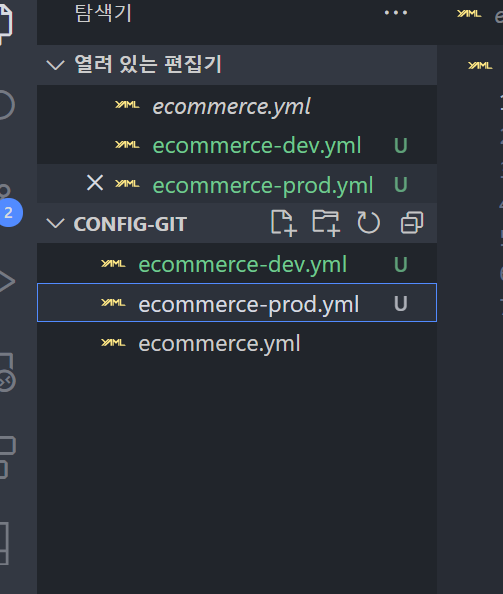
ex)
ecommerce-dev.yml
ecommerce-prod.yml
user-microservice, bootstrap.yml
spring:
  cloud:
    config:
      uri: http://127.0.0.1:8888
      name: ecommerce #repo에 있는 이름

  # ecommerce-dev 가 적용되게끔 설정
  prfiles:
    active: dev
apigateway, bootstrap.yml
profiles:
    active: prod
원격 리포에연동하기
- configure리포를 하나 판다
- 설정한 ecommerce.yml을 리포에 푸시한다
- 해당 리포 주소를 configur-server의 yml파일을
server:
  port: 8888

spring:
  application:
    name: config-service
  cloud:
    config:
      server:
        git:
          //uri: file://C:\myproject\MSA_Service_prac\config-git #yml file directory that i designated location of git add
						uri : 깃 리포 주소
						//username:
						//password
						이 2개는 private repository일 경우 따로 설정
Spring Cloud Bus
AMQP → Advanced message Queueing porotocol
: 메시지 지향 미들웨어를 위한 개방형 표준 응용 계층 프로토콜
- 메시지 지향, 큐잉, 라우팅, 신뢰성, 보안
(ex, rabbit mq, eralng) → 윈도우의 경우 eralng 언어 설치후 rabbit설치해야됨, 맥은 그냥 가능
Spring cloud config server + srping cloud bus
kafka
: apache software Fondation 이 Scalar 언어로 개발함
: 분산형 스트리밍 플랫폼
:대용량 데이터 처리 가능 메시지 시스템
: pub/sub, topic에 메시지 전달
: Ack을 기다리지 않고 전달
: 생산자 중심
rabbitMQ
:메시지 브로커
:메시지 전달 보장, 시스템간 메시지 전달
:브로커, 소비자 중심
Actutator bus-refresh Endpoint
//busrefresh actuator를 호출한다
Http post / busrefresh → cloud config server + spring cloud bus
//이 호출을 cloud bus가 감지하고 이를 또 다른 서비스에도 전달한다
rabbitmq 설치
윈도우 : eralng 설치
Windows10에 RabbitMQ 빠르게 설치하기 (with Erlang), 그리고 RabbitMQ management 띄우기
-
start누르고
-
cmd 에서
-
netstat -nap | findstr 5672로 확인
-
cmd에서 설치 sbin폴더로 이동
C:\Program Files\RabbitMQ Server\rabbitmq_server-3.9.8\sbin>
명령어
rabbitmq-plugins enable rabbitmq_management입력
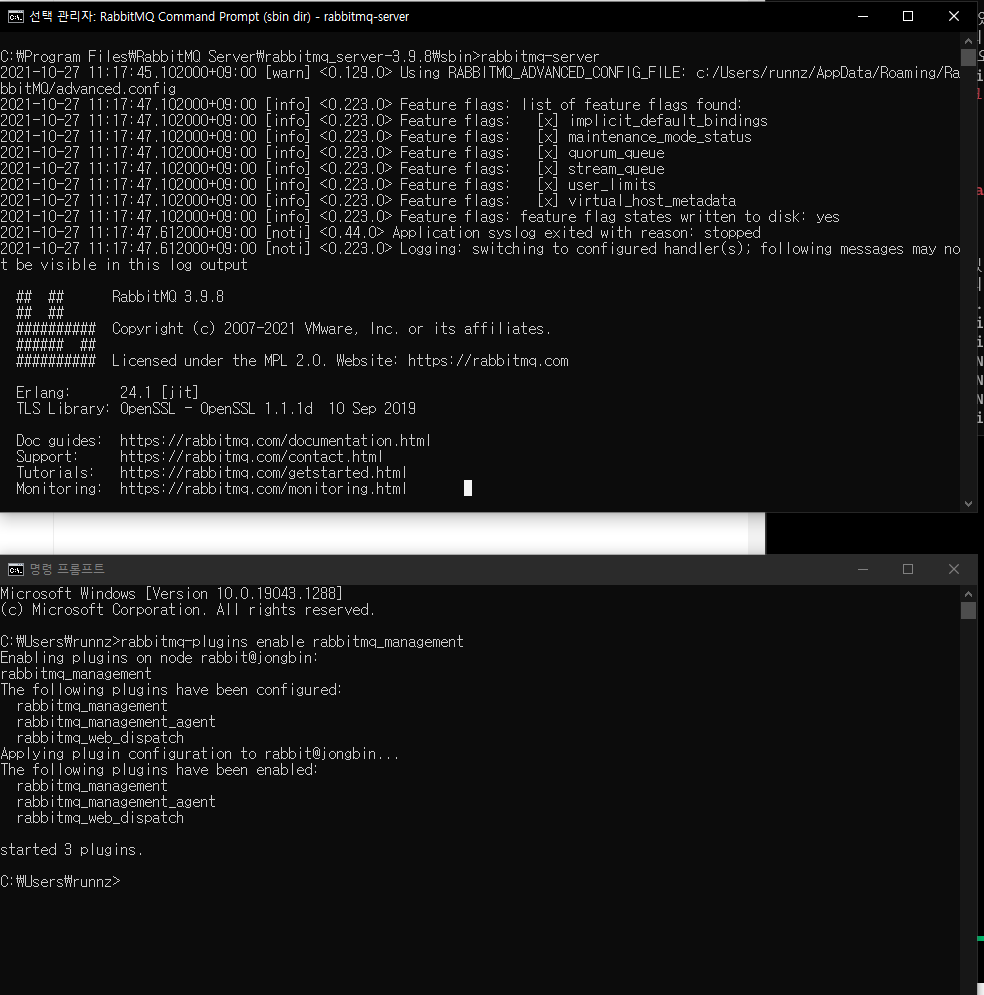
정상작동되면
http://localhost:15672/
여기로 접속 가능
시스템에서 접속시에는  5672로 접속해야됨

기본
guest//guest
Config-service
dependency 추가
			<dependency>
            <groupId>org.springframework.boot</groupId>
            <artifactId>spring-boot-starter-actuator</artifactId>
        </dependency>

        <dependency>
            <groupId>org.springframework.cloud</groupId>
            <artifactId>spring-cloud-starter-bus-amqp</artifactId>
        </dependency>

        <dependency>
            <groupId>org.springframework.cloud</groupId>
            <artifactId>spring-cloud-starter-bootstrap</artifactId>
        </dependency>
yml 파일 수정
server:
  port: 8888

spring:
  application:
    name: config-service
  rabbitmq: #레빗엠큐 정보 등록
    host: 127.0.0.1
    port: 5672
    username: guest
    password: guest
  profiles:
    active: native
  cloud:
    config:
      server:
        native:
          search-locations: file://${user.home}/C:\myproject\MSA_Service_prac\config-git
        git:
          uri: file://C:\myproject\MSA_Service_prac\config-git #yml file directory that i designated location of git add

management: #엑츄에이터를 위한 정보 추가
  endpoints:
    web:
      exposure:
        include: health, busrefresh
User-service, api-gateway
dependency 추가
				<dependency>
            <groupId>org.springframework.cloud</groupId>
            <artifactId>spring-cloud-starter-bus-amqp</artifactId>
        </dependency>
user-service, yml파일 추가
server:
  port: 0

spring:
  application:
    name: user-service
  rabbitmq:
    host: 127.0.0.1
    port: 5672
    username: guest
    password: guest
  h2:
    console:
      enabled: true
      settings:
        web-allow-others: true #?? ?? ??
      path: /h2-console #??? ??
  datasource: # ??? ?? ??? ?? ??!!!
    driver-class-name: org.h2.Driver
    url: jdbc:h2:mem:testdb
#    username: sa
#

eureka:
  instance:
    instance-id: ${spring.application.name}:${spring.application.instance-id:${random.value}}
  client:
    register-with-eureka: true
    fetch-registry: true
    service-url:
      defaultZone: http://127.0.0.1:8761/eureka

greeting:
  message: Welcome to the Simple E-commerce.
logging:
  level:
    com.example.userservice: DEBUG

#actuator 정보 추가
management:
  endpoints:
    web:
      exposure:
        include: refresh, health, beans, busrefresh

# cloud service config로부터 정보를 갖고올것임
#token:
#  expiration_time: 86400000
#  secret: user_token
apigateway-yml파일 수정
server:
  port: 8000

eureka:
  client:
    register-with-eureka: true
    fetch-registry: true
    service-url:
      defaultZone: http://localhost:8761/eureka

spring:
  application:
    name: apigateway-service
  rabbitmq: -> 레빗엠큐 정보 추가
    host: 127.0.0.1
    port: 5672
    username: guest
    password: guest

  cloud:
    config:
      uri: http://127.0.0.1:8000
      name: user-service

    gateway:
      default-filters:
        - name: GlobalFilter #??? ??? ??? ??
          args:
            baseMessage: Spring Cloud Gateway Global Filter #??? ??? ??? ?? baseMessaege?????? ??? ?? ??
            preLogger: true
            postLogger: true

        #        - id: user-service #user-service에 대한 라우팅 설정
        #          uri: lb://USER-SERVICE # 유레카에 등록된 서비스를 적어줘야 함
        #          predicates:
        #              - Path=/user-service/**

        # Security가 적용된 라우팅
      routes:
        #login -> no need authorization
        - id: user-service
          uri: lb://USER-SERVICE
          predicates:
            - Path=/user-service/login
            - Method=POST
          filters:
            - RemoveRequestHeader=Cookie #post로 전달되는 데이터는 매번 새롭게 인식하는 것처럼 하기위해서 쿠키 제거
            - RewritePath=/user-service/(?<segment>.*), /$\{segment} #/user-service/(?<segment>.*) 이형태로 데이터가 들어오면   /$\{segment} 이렇게 바꾸겠다
              #이렇게 작성하게되면 더이상 controller에 RequestMapping(user-service) 안해도됨

        #sign up -> no need authorization
        - id: user-service
          uri: lb://USER-SERVICE
          predicates:
            - Path=/user-service/users
            - Method=POST
          filters:
            - RemoveRequestHeader=Cookie
            - RewritePath=/user-service/(?<segment>.*), /$\{segment}

        #need authorization
        - id: user-service
          uri: lb://USER-SERVICE
          predicates:
            - Path=/user-service/**
            - Method=GET
          filters:
            - RemoveRequestHeader=Cookie
            - RewritePath=/user-service/(?<segment>.*), /$\{segment}
            - AuthorizationHeaderFilter # write class name to add filter!!!!!!!!!!!!

        #actuator 추가
        - id: user-service
          uri: lb://USER-SERVICE
          predicates:
            - Path=/user-service/actuator/**
            - Method=GET,POST
          filters:
            - RemoveRequestHeader=Cookie
            - RewritePath=/user-service/(?<segment>.*), /$\{segment}

        - id: catalog-service #Catalog service
          uri: lb://CATALOG-SERVICE # 유레카에 등록된 서비스를 적어줘야 함
          predicates:
            - Path=/catalog-service/**

        - id: order-service #Catalog service
          uri: lb://ORDER-SERVICE # 유레카에 등록된 서비스를 적어줘야 함
          predicates:
            - Path=/order-service/**

        - id: first-service
          uri: lb://MY-FIRST-SERVICE
          predicates:
            - Path=/first-service/**
          filters:
#            - AddRequestHeader=first-request, first-reqeust-header2
#            - AddResponseHeader=first-request, first-response-header2
             - CustomFilter #??? ??? ??? ??? ??
             # ??? ?? pre??? Logging ??? ?? ???
        - id: second-service
          uri: lb://MY-SECOND-SERVICE
          predicates:
            - Path=/second-service/**
          filters:
#            - AddRequestHeader=second-request, second-reqeust-header2
#            - AddResponseHeader=second-request, second-response-header2
             - name: CustomFilter
             - name: LoggingFilter #?? ?? ???? ???? ??, ??? 2????? name?? ????? ?
               args:
                 baseMessage: Logging, filter.
                 preLogger: true
                 postLogger: true

# jwt 복호화를 위해 user-service에서 갖고옴
token:
  expiration_time: 86400000
  secret: user_token

#actuator 정보 추가
management:
  endpoints:
    web:
      exposure:
        include: refresh, health, beans, httptrace, busrefresh ->  busrefresh추가
busrefresh로 confi파일 갱신하느법
post로
http://127.0.0.1:8000/user-service/actuator/busrefresh 호출한다
그러면 user-service에서
2021-10-27 12:14:38.350 INFO 27292 --- [nfoReplicator-0] com.netflix.discovery.DiscoveryClient : DiscoveryClient_USER-SERVICE/user-service:bcbfce5a23c0e6709b7460f3cbe3c0ec - registration status: 204
라는 메시지를 볼 수 있음
또한
api gateway에서도
