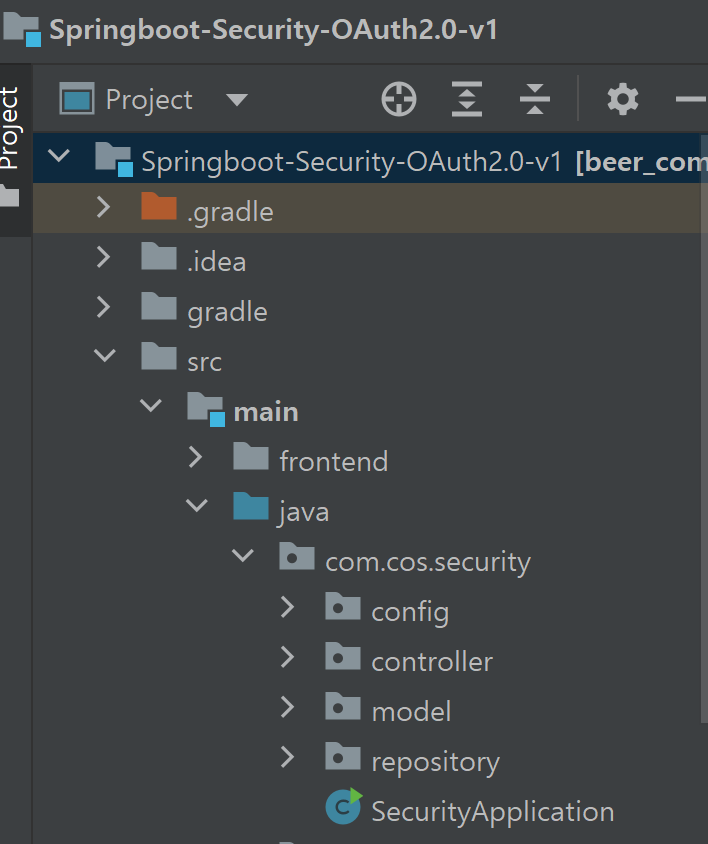
src/main/java/com/cos/security 라는 기존 프로젝트와 겹치지 않게 별도의 폴더 경로에서 작업진행하겠음.
mustache, jpa, lombok, security 등을 사용할 것이기에 build.gradle의 dependencies는 아래와 같다.
dependencies {
	implementation 'org.springframework.boot:spring-boot-starter-data-jpa'
	implementation 'org.springframework.boot:spring-boot-starter-security'
	implementation 'org.springframework.boot:spring-boot-starter-web'
	implementation 'org.springframework.boot:spring-boot-starter-mustache'
	implementation 'org.springframework.boot:spring-boot-devtools'
	compileOnly 'org.projectlombok:lombok'
	runtimeOnly 'mysql:mysql-connector-java'
	annotationProcessor 'org.projectlombok:lombok'
	testImplementation 'org.springframework.boot:spring-boot-starter-test'
	testImplementation 'org.springframework.security:spring-security-test'
	testImplementation 'org.springframework.boot:spring-boot-starter-mustache'
}
mustache와 lombok은 File->Settings->Plugs에서 검색해서 추가로 플러그를 설치해줘야한다.
# SecurityApplication.java
package com.cos.security;


import org.springframework.boot.SpringApplication;
import org.springframework.boot.autoconfigure.SpringBootApplication;

@SpringBootApplication
public class SecurityApplication {

    public static void main(String[] args) {
        SpringApplication.run(SecurityApplication.class, args);
        System.out.println("SecurityApplication.main");
    }
}
model 폴더안에 User_temp.java 클래스 생성 후
package com.cos.security.model;


import lombok.Data;
import org.hibernate.annotations.CreationTimestamp;

import javax.persistence.Entity;
import javax.persistence.GeneratedValue;
import javax.persistence.GenerationType;
import javax.persistence.Id;
import java.time.LocalDateTime;
@Entity
@Data
public class User_temp {
    @Id
    @GeneratedValue(strategy = GenerationType.IDENTITY)
    private int id;
    private String username;
    private String password;
    private String email;
    private String role; // ROLE_USER, ROLE_ADMIN
    @CreationTimestamp
    private LocalDateTime createDate;
}
위와 같이 Entity를 생성해 준다. 추후 로그인 및 회원가입에 사용될 것이다.
현재로썬 Mastache이라는 탬플릿 엔진을 활용해서 html페이지에서 API를 주고받을때 Security에서 default로 요구하는 필드이름이 username, password이기 때문에 현재 Entity에서도 이름을 동일하게 가져가겠다. 나머지는 필요에 맞게 추가하면 된다.
@Data란?
import 해서 사용하게 되면 getter/setter/toString 모두 적용해주어서 유용한 Annotaion이다.
추후 main에서 join or login 페이지에서 POST로 받은 User_temp 정보를 출력할 때 @Data에서 제공하는 toString() 함수를 사용하기 때문에 User_temp의 필드의 모든정보가 출력되는 것을 확인할 수 있다.
controller 폴더안에 IndexController.java 클래스를 생성하고 다음과 같은 코드를 작성한다.
@ResponseBody 어노테이션은 별도의 html페이지를 만들지 않아도 Mapping을 통한 함수호출이 잘 이루어졌는지 확인하기 위해 웹페이지 상에서 return되는 값을 dry하게 띄우기 위해 사용한 것이다. Mustache를 사용하지만 추후에 나올 config폴더에서 templates폴더 안에있는 .mustache 확장자가 아닌 .html확장자로 인식할 수 있도록 suffix 설정하는 코드를 첨부할 것이다.
그리고 password를 암호화하기 위해 필요한 BCryptPasswordEncoder클래스와 내부 함수구현한 코드도 추후 첨부할 것이다.
package com.cos.security.controller;

import com.cos.security.model.User_temp;
import com.cos.security.repository.UserRepository;
import org.springframework.beans.factory.annotation.Autowired;
import org.springframework.security.crypto.bcrypt.BCryptPasswordEncoder;
import org.springframework.stereotype.Controller;
import org.springframework.web.bind.annotation.GetMapping;
import org.springframework.web.bind.annotation.PostMapping;
import org.springframework.web.bind.annotation.ResponseBody;
import team_project.beer_community.domain.User;

@Controller // View를 리턴하겠다
//@EnableJpaRepositories
public class IndexController {

    @Autowired
    private UserRepository userRepository;

    @Autowired
    private BCryptPasswordEncoder bCryptPasswordEncoder;

    // localhost:8080/
    // localhost:8080
    @GetMapping({"", "/"})
    public String index(){
        // 머스테치 기본폴더 src/main/resources/
        // 뷰리졸버 설정: templates/ ~.mustache 를 읽는대
        // .html로 바꿔보겠음
        return "index";
    }

    @GetMapping("/user")
    public @ResponseBody String user(){
        return "user";
    }

    // Spring Security 가 낚아채버림
    @GetMapping("/login")
    public String login(){
        return "login";
    }

    @GetMapping("/join")
    public String join_get(){
        return "join";
    }
    @PostMapping("/join")
    public String join_post(User_temp user){
        System.out.println(user);
        System.out.println(user.getUsername()); // Entity에서 @Data로 getter/setter생성했기 때문에 가능
        String rawPassword = user.getPassword();
        String encPassword = bCryptPasswordEncoder.encode(rawPassword);
        user.setPassword(encPassword); // 일반적인 String 타입의 password는 Security를 통한 회원가입이 되지 않기 때문에 암호화 필요함o
        userRepository.save(user);
        return "redirect:/login"; //  "/login" url로 redirect 시킴
    }

    @GetMapping("/admin")
    public @ResponseBody String admin(){
        return "admin";
    }

    @GetMapping("/loginProc")
    public @ResponseBody String loginProc(){
        return "회원가입 완료되었습니다";
    }
}
config 폴더안에 WebMvcConfig.java 클래스를 생성한다.
# WebMvcConfig.java
package com.cos.security.config;

import org.springframework.boot.web.servlet.view.MustacheViewResolver;
import org.springframework.context.annotation.Configuration;
import org.springframework.web.servlet.config.annotation.ViewResolverRegistry;
import org.springframework.web.servlet.config.annotation.WebMvcConfigurer;

@Configuration
public class WebMvcConfig implements WebMvcConfigurer {

    @Override
    public void configureViewResolvers(ViewResolverRegistry registry){
        MustacheViewResolver resolver = new MustacheViewResolver();
        resolver.setCharset("UTF-8");
        resolver.setContentType("text/html; charset=UTF-8");
        resolver.setPrefix("classpath:/templates/");
        resolver.setSuffix(".html");

        registry.viewResolver(resolver);

    }
}
위 파일에서 mustache를 사용할때 기본적인 세팅을 변경해준다(ex. .mustache확장자 -> .html확장자)
이후 config폴더안에 SecurityConfig.java 클래스를 생성한다.
# SecurityConfig.java
package com.cos.security.config;

import org.springframework.context.annotation.Bean;
import org.springframework.context.annotation.Configuration;
import org.springframework.security.config.annotation.web.builders.HttpSecurity;
import org.springframework.security.config.annotation.web.configuration.EnableWebSecurity;
import org.springframework.security.config.annotation.web.configuration.WebSecurityConfigurerAdapter;
import org.springframework.security.crypto.bcrypt.BCryptPasswordEncoder;


@Configuration
@EnableWebSecurity // Spring Security 필터가 Spring 필터체인에 등록됨
public class SecurityConfig extends WebSecurityConfigurerAdapter {

    @Bean // 해당 메서드의 리턴되는 오브젝트를 IoC로 등록해준다.
    public BCryptPasswordEncoder encodePassword(){
        return new BCryptPasswordEncoder();
    }

    @Override
    protected void configure(HttpSecurity http) throws Exception {
        http.csrf().disable();
        http.authorizeHttpRequests()
                .antMatchers("/user/**").authenticated()
                .antMatchers("/admin/**").access("hasRole('ROLE_ADMIN')")
                .anyRequest().permitAll()
                .and()
                .formLogin()
                .loginPage("/login")
                .loginProcessingUrl("/login") // login주소가 호출되면 Spring Security가 낚아채서 대신 로그인 진행
                .defaultSuccessUrl("/");
    }
}
.authenticated() 함수는 인증이 필요하다는 뜻이다.
.permitAll() 함수는 앞서 설정한 url외의 모든 url 요청을 허용한다는 것이다.
/login 을 입력하면 Security에서 낚아채서 Security에서 default로 제공하는 login page가 나오는데 이를 현재 프로젝트에선 resources/temlplateslogin.html를 생성하여 별도로 html페이지를 작성하였다.
# login.html
<!DOCTYPE html>
<html lang="en">
<head>
    <meta charset="UTF-8">
    <title>로그인 페이지</title>
</head>
<body>
<h1>로그인 페이지</h1>
<br/>
<form action="/login" method="POST">
    <input type="text" name="username" placeholder="username을 입력해주세요"/>
    <br/>
    <input type="password" name="password" placeholder="password을 입력해주세요"/>
    <button>로그인</button>
</form>
<a href="/join">회원가입</a>
</body>
</html>
위와 동일하게 templates 폴더안에 Controller에서 랜더링해주는 html페이지들은
join.html, index.html 이고 아래와 같다.
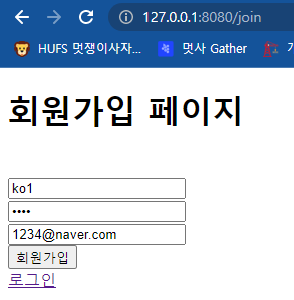
# join.html
<!DOCTYPE html>
<html lang="en">
<head>
    <meta charset="UTF-8">
    <title>회원가입 페이지</title>
</head>
<body>
<h1>회원가입 페이지</h1>
<br/>
<form action="/join" method="POST">
    <input type="text" name="username" placeholder="username을 입력해주세요"/>
    <br/>
    <input type="password" name="password" placeholder="password을 입력해주세요"/>
    <br/>
    <input type="email" name="email" placeholder="email을 입력해주세요"/>
    <br/>
    <button>회원가입</button>

</form>
<a href="/login">로그인</a>
</body>
</html>
# index.html
<!DOCTYPE html>
<html lang="en">
<head>
<meta charset="UTF-8">
<title>네캔만원</title>
</head>
<body>
<h1>인텍스 페이지 입니다.</h1>
</body>
</html>repository 폴더안에
UserRepository.java 클래스를 생성하고 다음과 같이 코드를 작성하면 된다.
# UserRepository.java
package com.cos.security.repository;

import com.cos.security.model.User_temp;
import org.springframework.data.jpa.repository.JpaRepository;
import team_project.beer_community.domain.User;

// CRUD 함수를 JpaRepository가 들고 있음.
// @Repository라는 Annotation이 업ㅅ어도 IoC됨.
//          이유는 JpaRepositry를 상속했기 때문
//@EnableJpaRepositories
public interface UserRepository extends JpaRepository<User_temp, Integer> {

}
시연
터미널 출력결과는 아래와 같다.
Using generated security password: 602ca9a6-6f0b-413c-ad29-c393fdd95238

User_temp(id=0, username=ko1, password=1234, email=1234@naver.com, role=null, createDate=null)
ko1
2022-07-29 17:34:43.170 DEBUG 16932 --- [nio-8080-exec-9] org.hibernate.SQL                        :
    insert
    into
        user_temp
        (create_date, email, password, role, username)
    values
        (?, ?, ?, ?, ?)
Hibernate:
    insert
    into
        user_temp
        (create_date, email, password, role, username)
    values
        (?, ?, ?, ?, ?)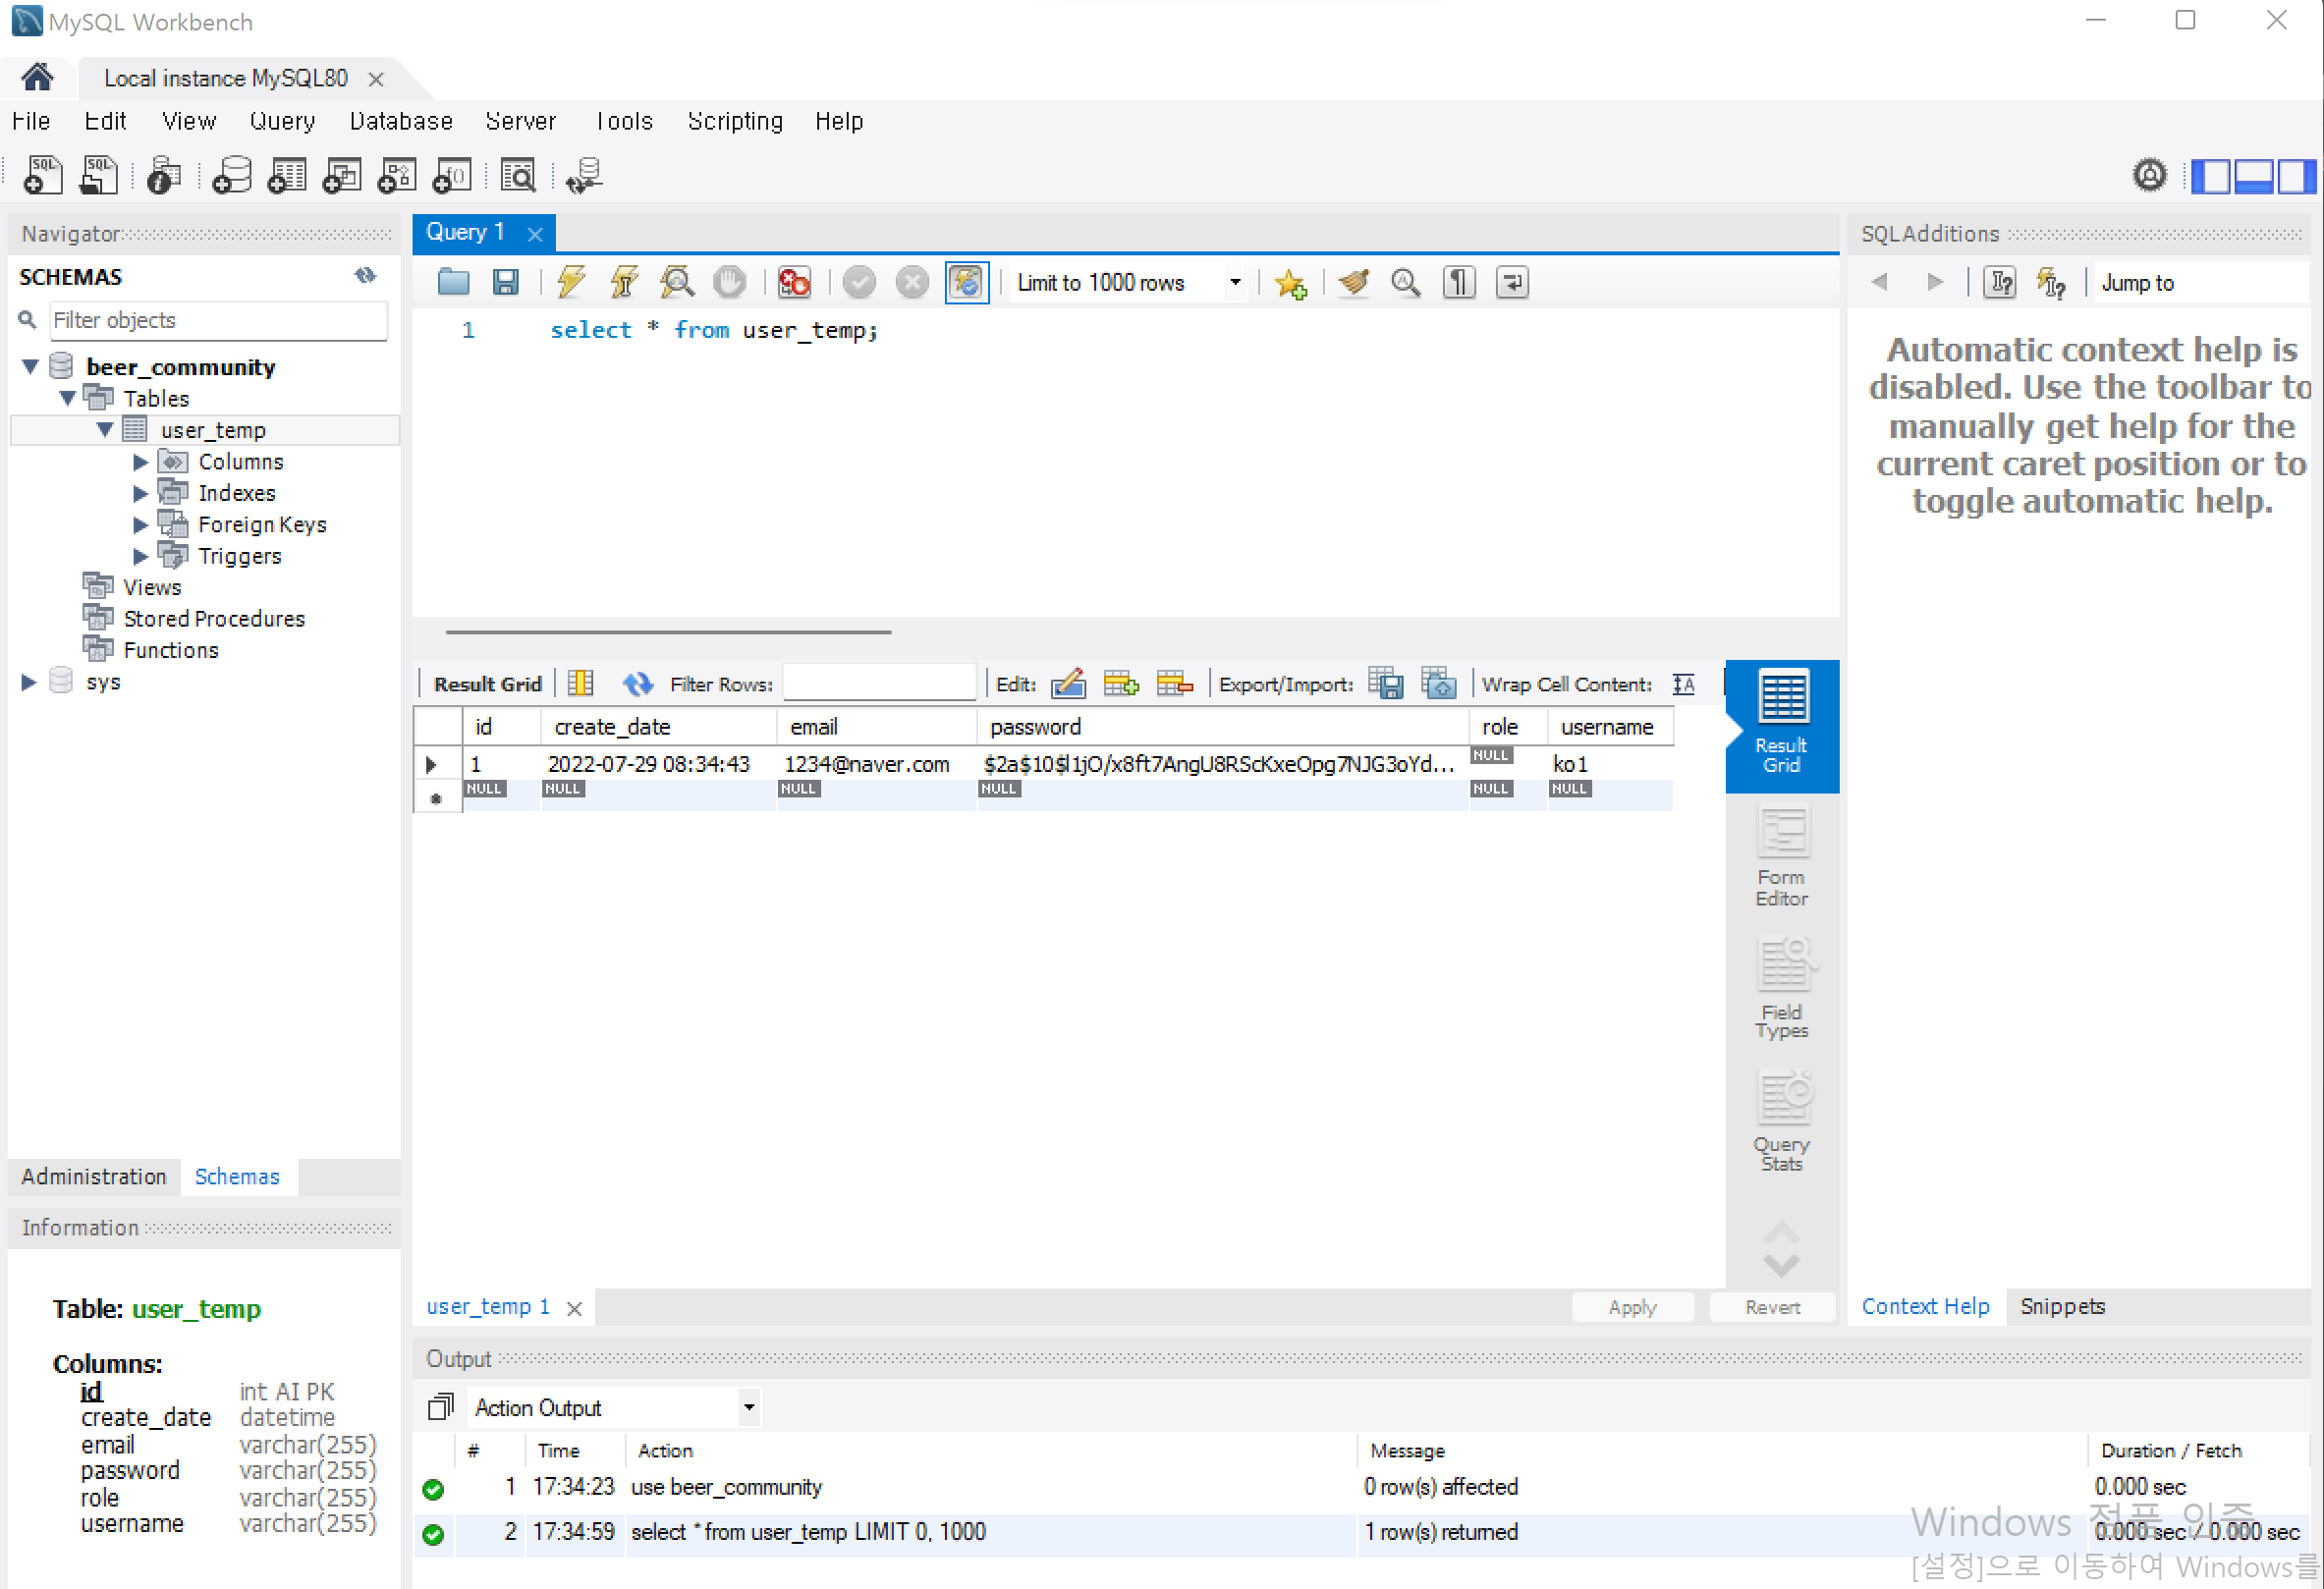
아직 로그인 성공/실패에 따른 로직을 구현하지 않았기에 로그인을 시도해도 별다른 response가 없을 것이다. DB에 잘 저장되는 것을 확인할 수 있다.
