📌 마크다운 이용하기
📖 마크다운을 JSX로 렌더링하기
- 서드파티 패키지 설치 :
npm install react-markdown - 해당 패키지는 마크다운을 JSX로 변환하여 출력해준다.
// components/posts/post-detail/post-content.js
import classes from "./post-content.module.css";
import PostHeader from "./post-header";
import ReactMarkdown from "react-markdown";

const DUMMY_POST = {
  title: "Getting Started With NextJS",
  image: "getting-started-nextjs.png",
  slug: "getting-started-with-nextjs",
  content: "# This is a first post.",
  date: "2024-04-15",
};

export default function PostContent() {
  return (
    <article className={classes.content}>
      <PostHeader
        title={DUMMY_POST.title}
        image={`/images/posts/${DUMMY_POST.slug}/${DUMMY_POST.image}`}
      />
      <ReactMarkdown>{DUMMY_POST.content}</ReactMarkdown>
    </article>
  );
}
📖 마크다운 파일을 데이터 소스로 추가하기
- 루트 폴더 안에 posts라는 이름의 폴더 생성
- posts/getting-started-with-nextjs.md 생성
---
title: "Getting Stared with NextJS"
data: "2023-04-17"
image: getting-started-nextjs.png
slug: "getting-started-with-nextjs"
excerpt: "NextJS is a the React framework for production."
isFeatured: true
---
# This is a title

🔗 [Google](www.google.com)---안에는 메타데이터를 작성하였다.- 그 외는 본문.
📖 마크다운 파일로부터 데이터를 읽고 페칭하는 함수 추가하기
- 루트 폴더에 lib 또는 helpers 중 하나로 폴더 이름을 지정.
- 해당 폴더 내에 posts-util.js 생성
- 패키지 설치 :
npm install gray-matter - 해당 패키지는 마크다운 파일을 읽어들이고 이를 메타데이터와 실제 마크다운 콘텐츠로 구분한다.
// lib/posts-util.js
import fs from "fs";
import path from "path";
import matter from "gray-matter";

const postsDirectory = path.join(process.cwd(), "posts"); // 마크다운이 들어있는 전체 posts 디렉토리 경로 설정

function getPostData(fileName) {
  const filePath = path.join(postsDirectory, fileName);
  const fileContent = fs.readFileSync(filePath, "utf-8");

  // gray-matter 이용해 데이터 가져오기
  const { data, content } = matter(fileContent); // data: 메타데이터 포함, content: 실제 콘텐츠 포함

  const postSlug = fileName.replace(/\.md$/, ""); // 파일 확장자 제거

  const postData = { slug: postSlug, ...data, content };
  return postData;
}

export function getAllPosts() {
  // 마크다운 파일이 몇 개 있는지 확인.
  const postFiles = fs.readdirSync(postsDirectory); // 동기적으로 모든 콘텐츠 가져옴. 한번에 전체 콘텐츠 읽어옴.

  // 메타데이터 + 내부 데이터 가져오기
  const allPosts = postFiles.map((postFile) => {
    return getPostData(postFile);
  });

  const sortedPosts = allPosts.sort((postA, postB) =>
    postA.date > postB.date ? -1 : 1
  );

  return sortedPosts;
}

export function getFeaturedPosts() {
  const allPosts = getAllPosts();
  const featuredPosts = allPosts.filter((post) => post.isFeatured);
  return featuredPosts;
}
📖 게시물의 렌더링을 위해 마크다운 데이터 사용하기
💎 getFeaturedPosts 함수를 이용하여 FeaturedPosts 표현하기
// pages/index.js
import Hero from "@/components/home-page/hero";
import FeaturedPosts from "@/components/home-page/featured-posts";
import { getFeaturedPosts } from "@/lib/posts-util";

export default function HomePage({ posts }) {
  return (
    <>
      <Hero />
      <FeaturedPosts posts={posts} />
    </>
  );
}

export function getStaticProps() {
  const featuredPosts = getFeaturedPosts();
  return {
    props: {
      posts: featuredPosts,
    },
    revalidate: 1000, //1000초 당 다시 확인하여 최신 데이터 반영.
  };
}getStaticProps를 이용해 사전 렌더링을 하여 해당 데이터를HomePage에 전달
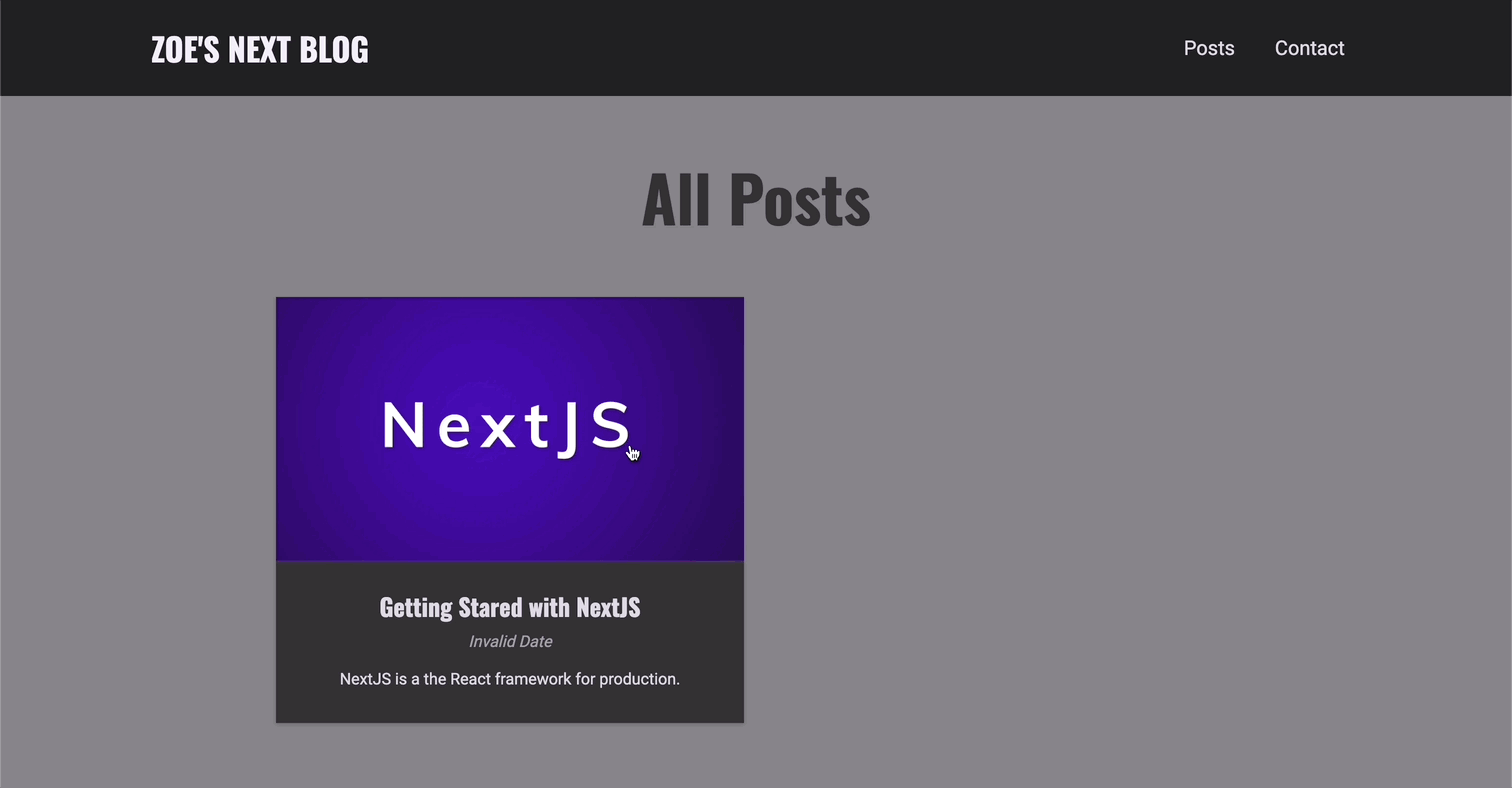
💎 getAllPosts 함수를 이용하여 AllPosts 표현하기
import AllPosts from "@/components/posts/all-posts";
import { getAllPosts } from "@/lib/posts-util";

export default function AllPostsPage({ posts }) {
  return <AllPosts posts={posts} />;
}

export function getStaticProps() {
  const allPosts = getAllPosts();
  return {
    props: {
      posts: allPosts,
    },
    revalidate: 600,
  };
}
📖 동적 게시물 페이지 & 경로 렌더링하기 → 단일 게시물 페칭하기
💎 posts-util.js
- 동적으로 게시물 페이지 데이터를 받아오기 때문에
getPostData의 수정이 필요하다.
// lib/posts-util.js
import fs from "fs";
import path from "path";
import matter from "gray-matter";

const postsDirectory = path.join(process.cwd(), "posts"); // 마크다운이 들어있는 전체 posts 디렉토리 경로 설정

// 리팩토링
export function getPostsFiles() {
  return fs.readdirSync(postsDirectory);
}

// slug를 이용하여 데이터를 가져오도록..
export function getPostData(postIdentifier) {
  const postSlug = postIdentifier.replace(/\.md$/, ""); // 파일 확장자 제거

  const filePath = path.join(postsDirectory, `${postSlug}.md`);
  const fileContent = fs.readFileSync(filePath, "utf-8");

  // gray-matter 이용해 데이터 가져오기
  const { data, content } = matter(fileContent); // data: 메타데이터 포함, content: 실제 콘텐츠 포함

  const postData = { slug: postSlug, ...data, content };
  return postData;
}

export function getAllPosts() {
  // 마크다운 파일이 몇 개 있는지 확인.
  const postFiles = getPostsFiles(); // 동기적으로 모든 콘텐츠 가져옴. 한번에 전체 콘텐츠 읽어옴.

  // 메타데이터 + 내부 데이터 가져오기
  const allPosts = postFiles.map((postFile) => {
    return getPostData(postFile);
  });

  const sortedPosts = allPosts.sort((postA, postB) =>
    postA.date > postB.date ? -1 : 1
  );

  return sortedPosts;
}

export function getFeaturedPosts() {
  const allPosts = getAllPosts();
  const featuredPosts = allPosts.filter((post) => post.isFeatured);
  return featuredPosts;
}
💎 pages/posts/[slug].js
// pages/posts/[slug].js
import PostContent from "@/components/posts/post-detail/post-content";
import { getPostData, getPostsFiles } from "@/lib/posts-util";

export default function PostDetailPage({ post }) {
  return <PostContent post={post} />;
}

export function getStaticProps(context) {
  const { params } = context;
  const { slug } = params;
  const postData = getPostData(slug);

  return {
    props: {
      post: postData,
    },
    revalidate: 600, //전체 어플리케이션을 다시 구축하지 않고 마크다운 파일이 업데이트 되어 있는지 확인.
  };
}

// 동적인 페이지이므로 getStaticProps만으로는 안됨. 미리 생성해야 하는 모든 경로를 갖게 한다.
export function getStaticPaths() {
  const postFileNames = getPostsFiles();
  const slugs = postFileNames.map((fileName) => fileName.replace(/.md$/, ""));
  return {
    paths: slugs.map((slug) => ({ params: { slug: slug } })),
    fallback: false,
    // fallback: "blocking", // 페이지에 방문할 때, 게시물이 뜰 때까지 기다림(인기있는 게시물만 미리 생성.). true를 통해서 fallback 페이지 설정 가능.
  };
}
💎 PostContent 수정
import classes from "./post-content.module.css";
import PostHeader from "./post-header";
import ReactMarkdown from "react-markdown";

export default function PostContent({ post }) {
  return (
    <article className={classes.content}>
      <PostHeader
        title={post.title}
        image={`/images/posts/${post.slug}/${post.image}`}
      />
      <ReactMarkdown>{post.content}</ReactMarkdown>
    </article>
  );
}
📖 <Image> 컴포넌트를 통해 마크다운으로부터 이미지 렌더링하기
💎 posts/getting-started-with-nextjs.md
---
title: "Getting Started with NextJS"
date: "2022-10-16"
image: getting-started-nextjs.png
excerpt: NextJS is a the React framework for production - it makes building fullstack React apps and sites a breeze and ships with built-in SSR.
isFeatured: true
---
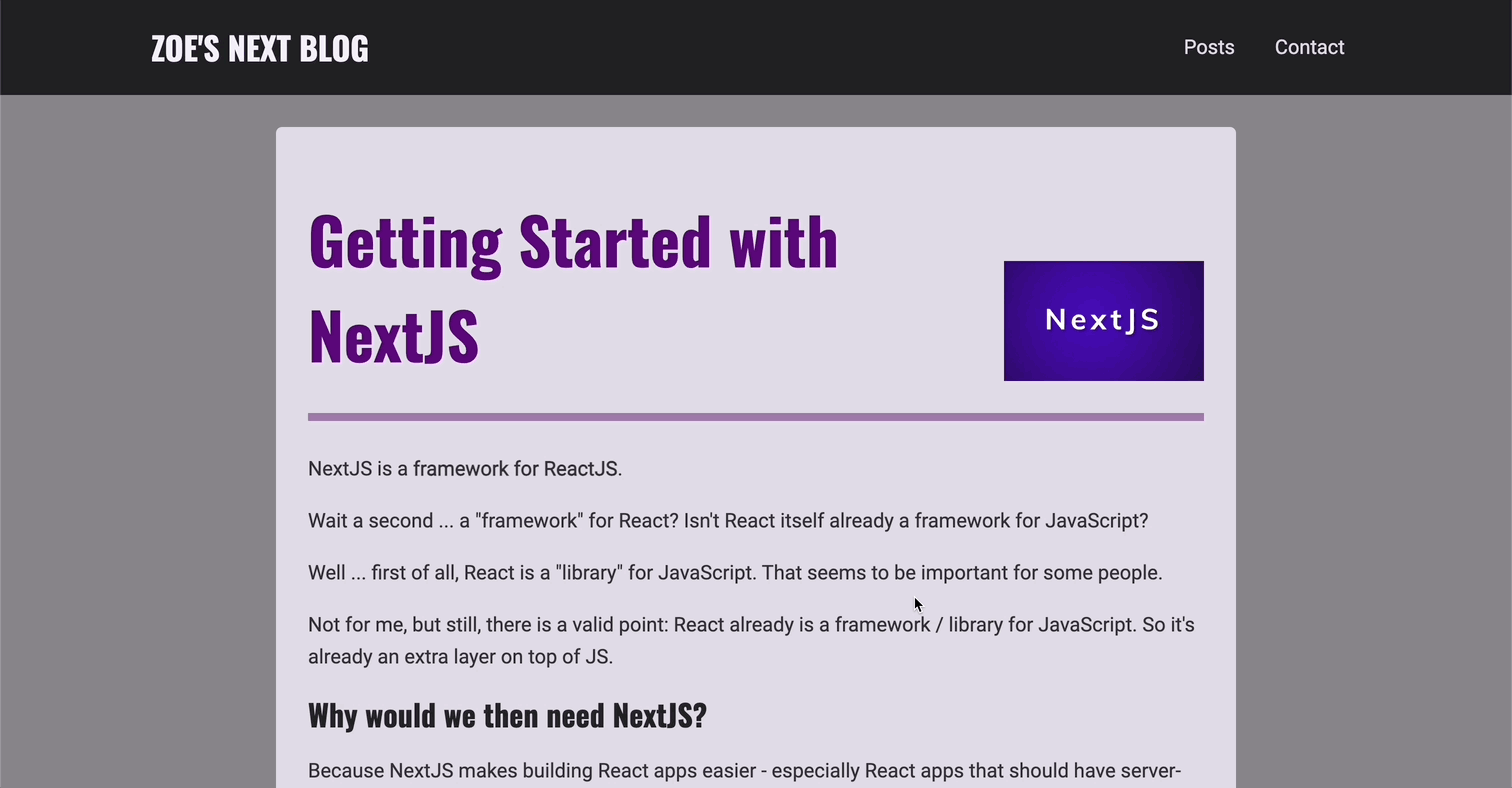
NextJS is a **framework for ReactJS**.
Wait a second ... a "framework" for React? Isn't React itself already a framework for JavaScript?
Well ... first of all, React is a "library" for JavaScript. That seems to be important for some people.
Not for me, but still, there is a valid point: React already is a framework / library for JavaScript. So it's already an extra layer on top of JS.
## Why would we then need NextJS?
Because NextJS makes building React apps easier - especially React apps that should have server-side rendering (though it does way more than just take care of that).
In this article, we'll dive into the core concepts and features NextJS has to offer:
- File-based Routing
- Built-in Page Pre-rendering
- Rich Data Fetching Capabilities
- Image Optimization
- Much More
## File-based Routing

... More content ...
- 스타일이 적용되지 않는 문제가 있다. → components/posts/post-detail/post-content.module.css 에서 스타일 적용
/* 예시 */
.content img {
  max-width: 200px;
}
그러나 스타일보다 더 큰 문제는 이미지가 Next.js로 최적화되지 않았다는 것이다.
- 이미지를 불러올 때, lazy-loading을 이용하는 것이 좋을 것이다. 왜냐하면 게시글을 읽을 때는 이미자 보이지 않으니 이미지가 있는 부분까지 스크롤 했을 때 불러오는 편이 훨씬 성능 측면에서 좋다.
- 그러나 현재 react-markdown을 통해 이미지를 처리하기 때문에 Next.js를 통해 최적화되지 않아 lazy-loading 불가능하다.
- 참고 : react-markdown은 마크다운 파일 내의 이미지 코드를 일반 이미지 태그로 변환한다.
💎 Next.js의 이미지 최적화를 이용하기 위한 수정
- 경로까지 입력하는 대신, 이름만!
- 왜냐하면 react-markdown이 마크다운 콘텐츠를 처리하는 방식을 오버라이드하기 위해서!
// components/posts/post-detail/post-content.js
import classes from "./post-content.module.css";
import PostHeader from "./post-header";
import ReactMarkdown from "react-markdown";
import Image from "next/image";
export default function PostContent({ post }) {
const customRenderers = {
// img(image) {
// //react-markdown은 이 메서드를 호출해서 마크다운 콘텐츠의 이미지를 찾아낸다.
// // 
// return (
// <Image
// src={`/images/posts/${post.slug}/${image.src}`}
// alt={image.alt}
// width={600}
// height={300}
// />
// );
// },
p(paragraph) {
// 단순 문자열 뿐만 아니라, ![]()으로 렌더링 된 이미지도 포함된다.
// 일반 문자열은 오버라이드 하지 않고 이미지와 관련된 것만 오버라이드 할 것
const { node } = paragraph;
if (node.children[0].tagName === "img") {
const image = node.children[0];
return (
<div className={classes.image}>
<Image
src={`/images/posts/${post.slug}/${image.properties.src}`}
alt={image.properties.alt}
width={600}
height={300}
/>
</div>
);
}
return <p>{paragraph.children}</p>;
},
};
return (
<article className={classes.content}>
<PostHeader
title={post.title}
image={`/images/posts/${post.slug}/${post.image}`}
/>
<ReactMarkdown components={customRenderers}>{post.content}</ReactMarkdown>
</article>
);
}- 강사는
<ReactMarkdown renderers={} />를 사용했으나 현재는renderers대신components를 이용하도록 변경되었고, 해당 props에서 image를 오버라이드 할 때 단순히image가 아닌img로 사용해야하고paragraph대신p로 사용해야 한다.
🔗 참고 | react-markdown
🔗 react-markdown changelog
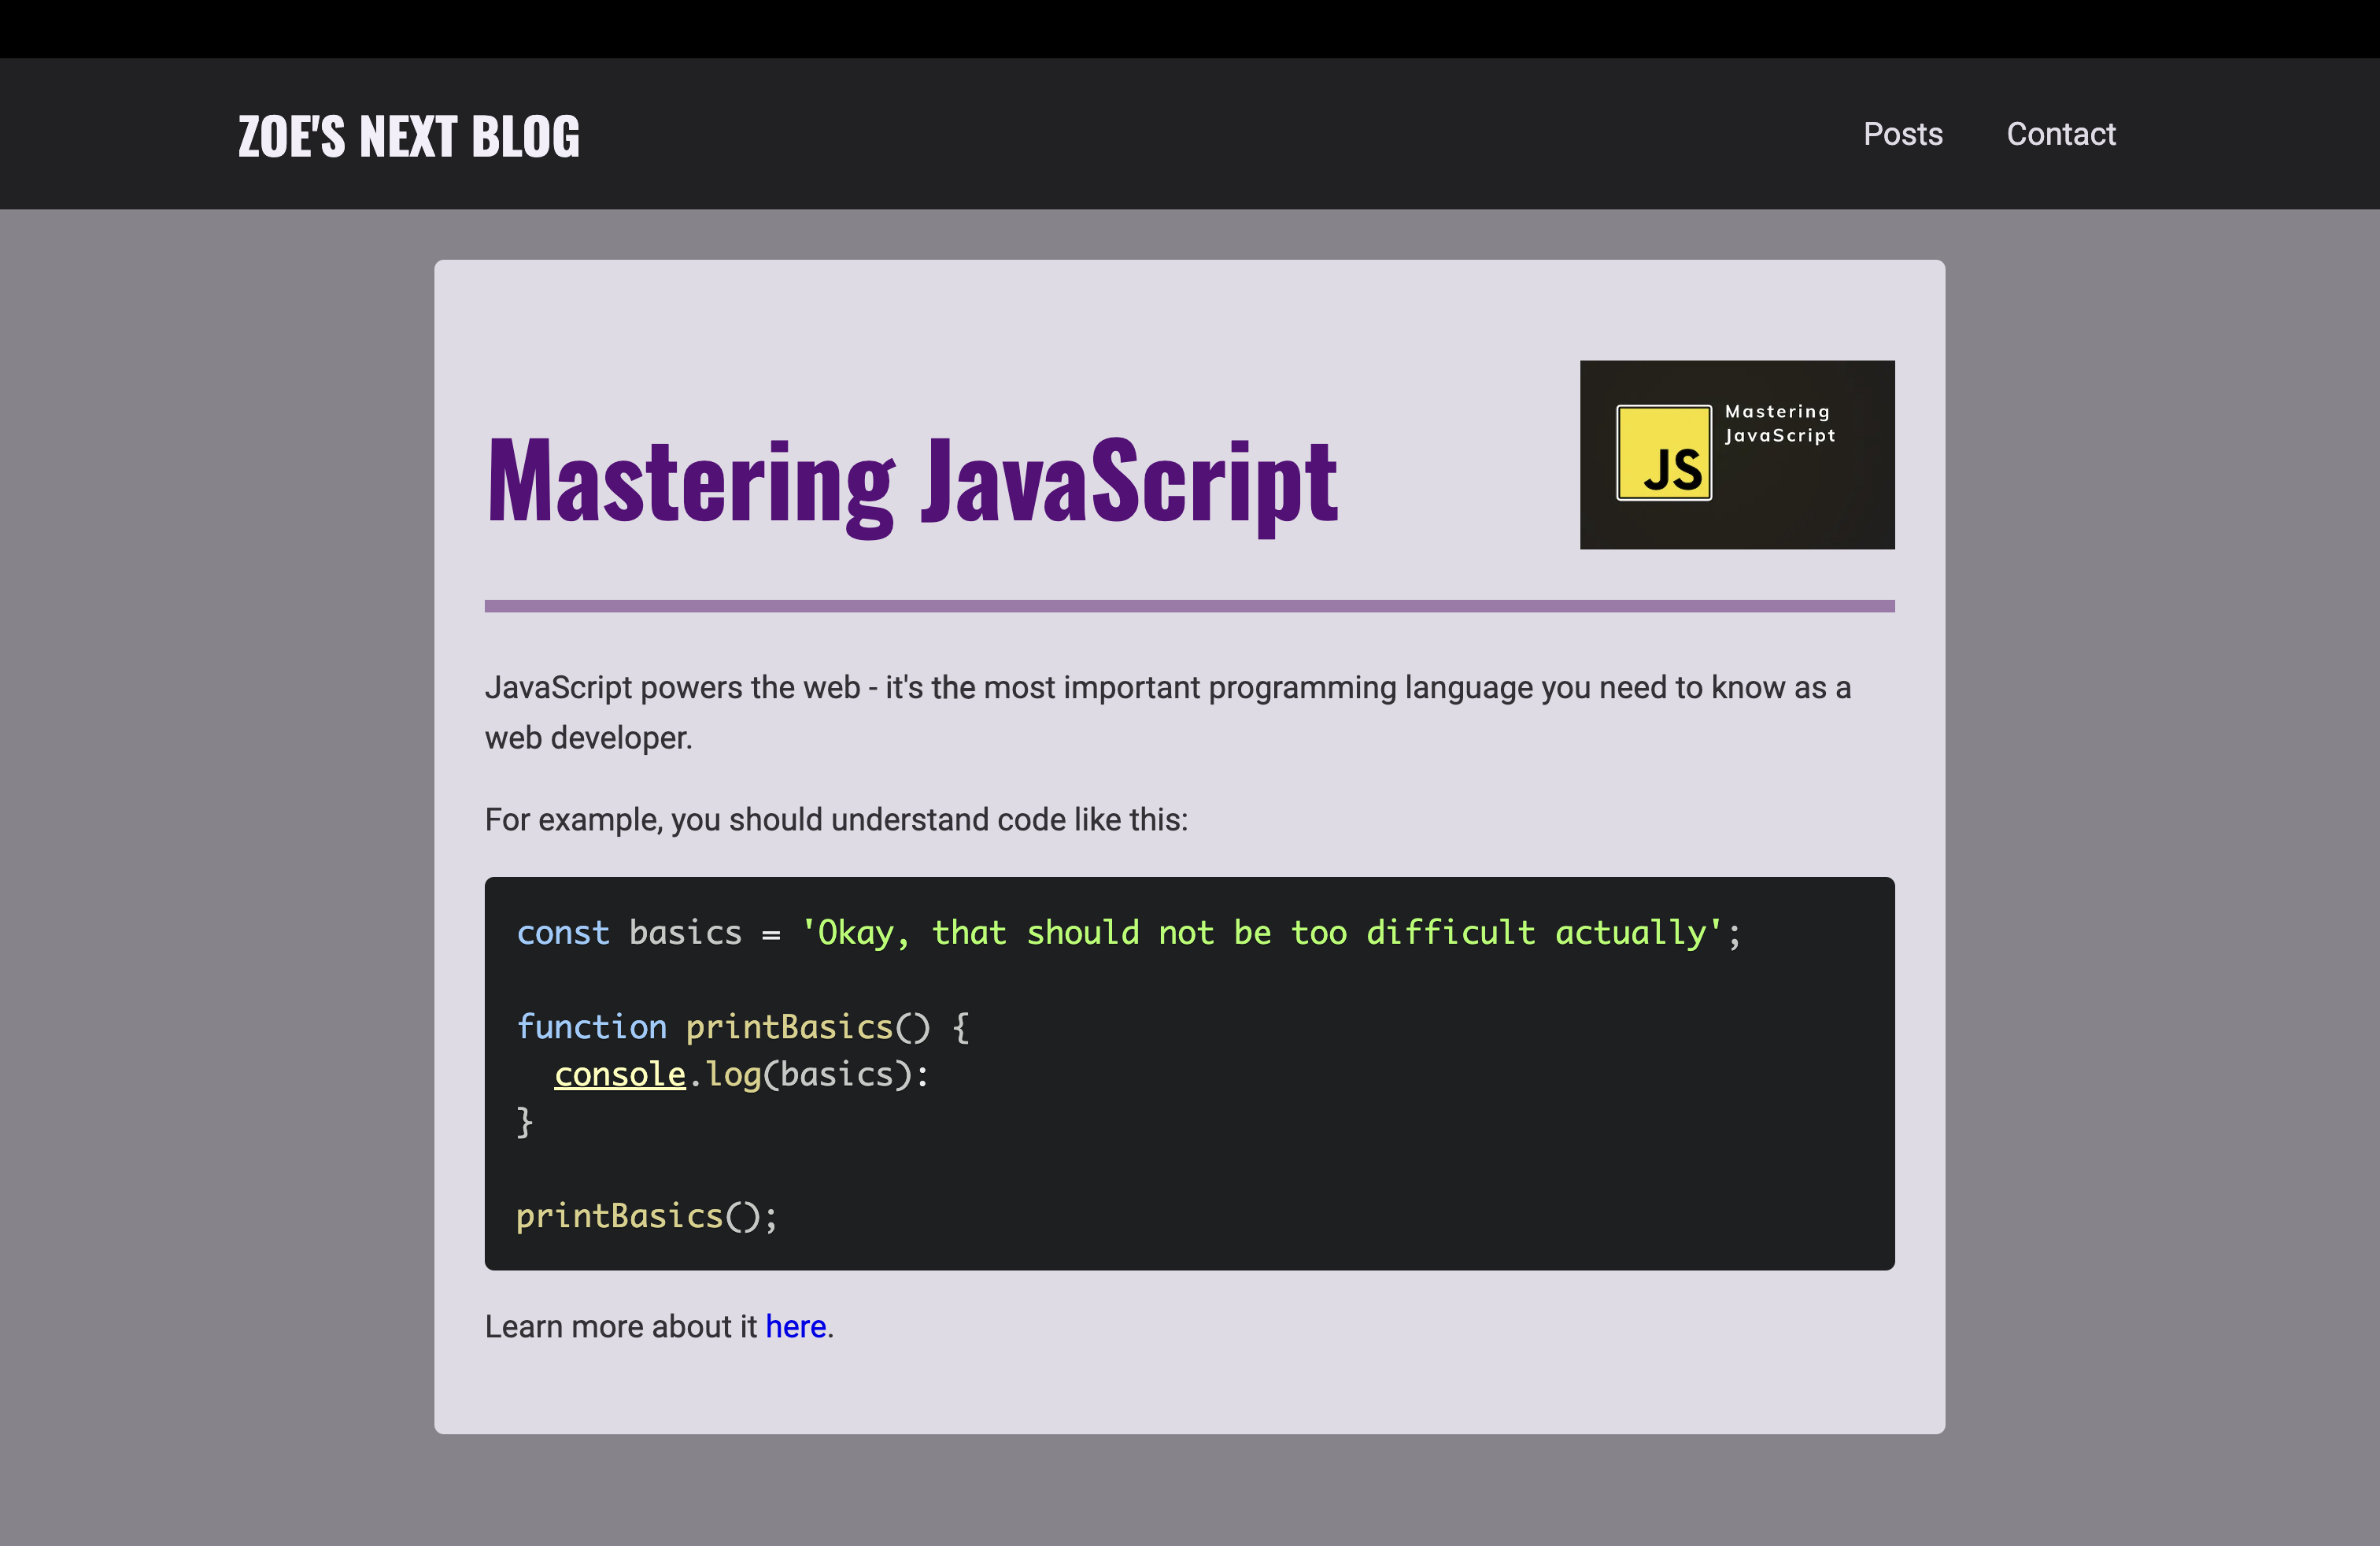
📖 마크다운으로부터 코드 조각 렌더링하기
- 코드 예시를 표현하는 방법!
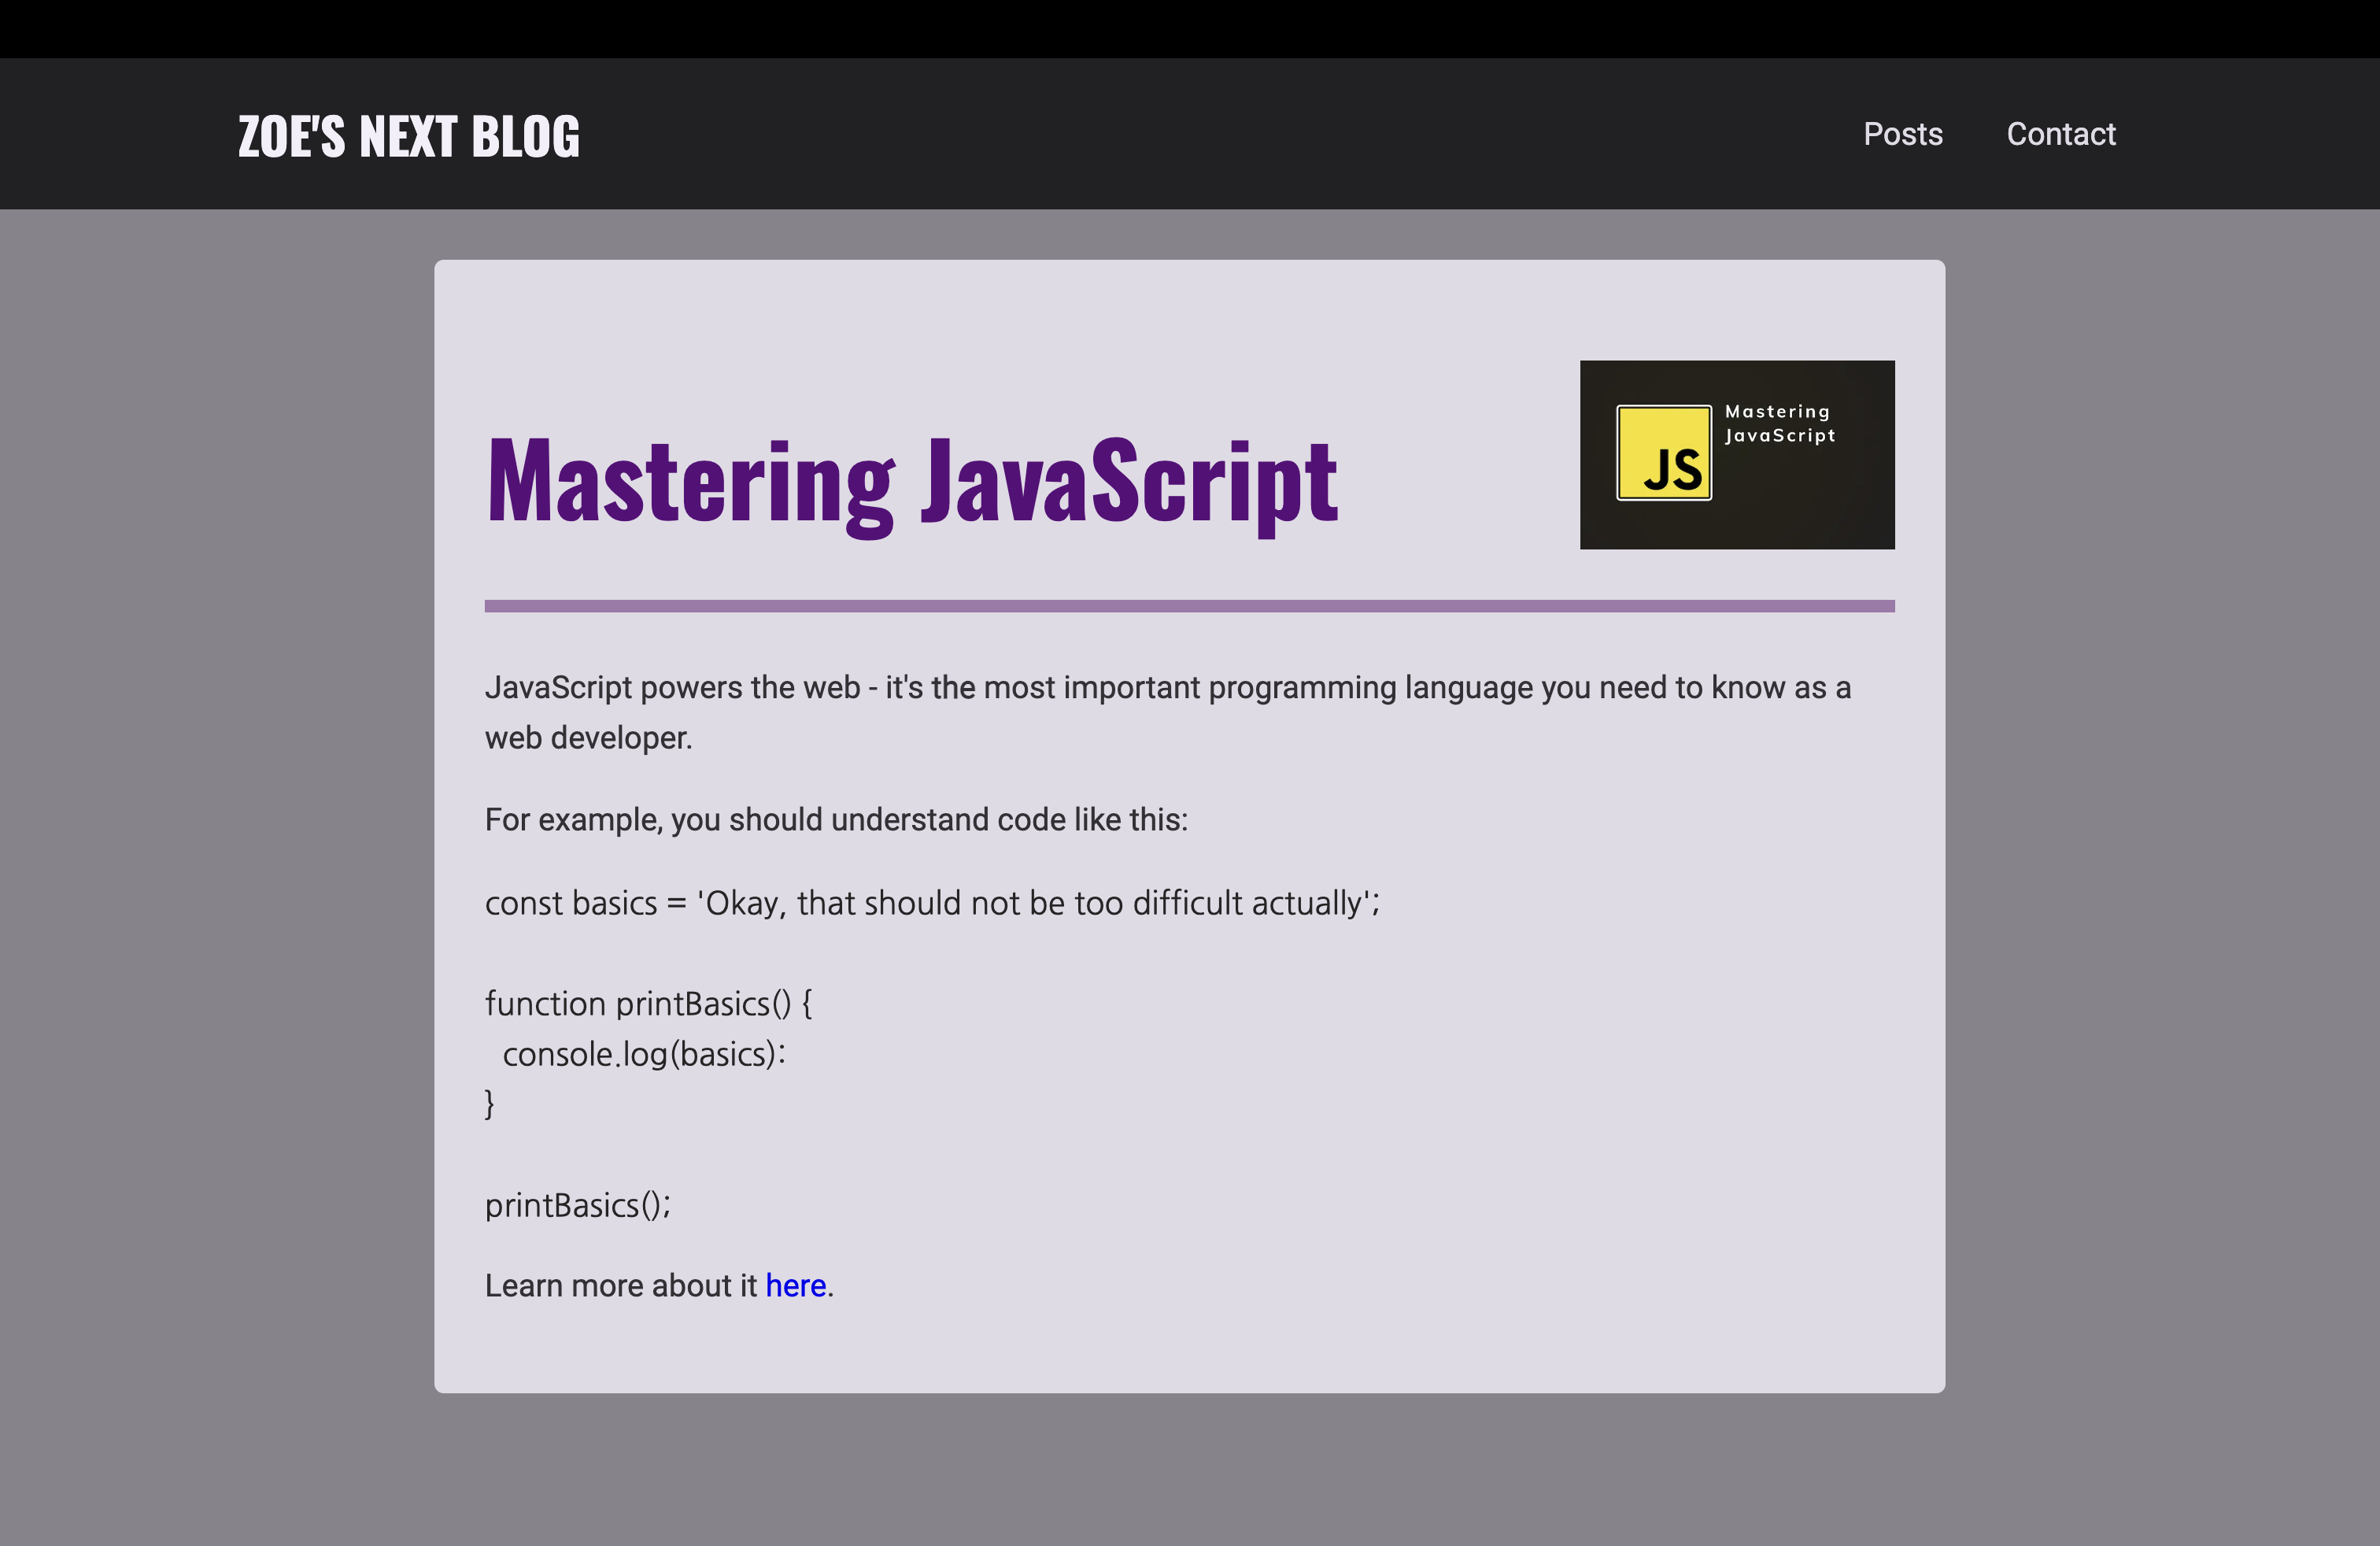
- 코드 예시가 렌더링 되는 방식을 오버라이드 할 필요가 있다.
- 서드 파티 패키지 설치 :
npm install react-syntax-highlighter→ 코드를 쉽게 강조할 수 있는 패키지
🔗 react-syntax-highlighter
// components/posts/post-detail/post-content.js
import classes from "./post-content.module.css";
import PostHeader from "./post-header";
import ReactMarkdown from "react-markdown";
import Image from "next/image";
import { Prism as SyntaxHighlighter } from "react-syntax-highlighter";
import { atomDark } from "react-syntax-highlighter/dist/cjs/styles/prism"; // 테마
export default function PostContent({ post }) {
const customRenderers = {
// img(image) {
// //react-markdown은 이 메서드를 호출해서 마크다운 콘텐츠의 이미지를 찾아낸다.
// // 
// return (
// <Image
// src={`/images/posts/${post.slug}/${image.src}`}
// alt={image.alt}
// width={600}
// height={300}
// />
// );
// },
p(paragraph) {
// 단순 문자열 뿐만 아니라, ![]()으로 렌더링 된 이미지도 포함된다.
// 일반 문자열은 오버라이드 하지 않고 이미지와 관련된 것만 오버라이드 할 것
const { node } = paragraph;
if (node.children[0].tagName === "img") {
const image = node.children[0];
return (
<div className={classes.image}>
<Image
src={`/images/posts/${post.slug}/${image.properties.src}`}
alt={image.properties.alt}
width={600}
height={300}
/>
</div>
);
}
return <p>{paragraph.children}</p>;
},
code(code) {
const { className, children } = code;
const language = className.split("-")[1]; // className is something like language-js => We need the "js" part here
return (
<SyntaxHighlighter
language={language}
style={atomDark}
children={children}
/>
);
},
};
return (
<article className={classes.content}>
<PostHeader
title={post.title}
image={`/images/posts/${post.slug}/${post.image}`}
/>
<ReactMarkdown components={customRenderers}>{post.content}</ReactMarkdown>
</article>
);
}