오늘 만들 프로젝트는 아트보드이다! 마우스로 시각적인 즐거움을 느껴보고자 만들어 보았다.
✅ Goal
- 자바스크립트를 활용하여 아트보드 구현한다.
- 이미지 저장기능 구현
- 작업 이미지 리셋기능 구현
✅ Keyword
html2canvas
click event
Math.floor(Math.random())
위 3가지 키워드를 통해 이번 프로젝트를 만들었고 새롭게 알게된 것은 html2canvas 이다. cdn방식으로 import하여 해당 이미지를 저장 기능을 구현하였다.
🟢 create art box
우선 박스의 갯수를 설정하고 for문을 통해 박스들을 만들었다. 또한 해당박스를 클릭하면 렌덤 컬러가 나올수있도록 구현하였다.
//index.js
const colors = ["#e84118","#fbc531","#4cd137",  "#00a8ff","#8c7ae6","#e74c3c","#8e44ad","#3498db","#e67e22","#2ecc71"];
const BOXS = 540;

for (let i = 0; i < BOXS; i++) {
  const box = document.createElement("div");
  box.classList.add("box");
  box.addEventListener("click", () => setColor(box));
  container.appendChild(box);

  //...
}

function setColor(element) {
  const color = getRandomColor();
  element.style.background = color;
  element.style.boxShadow = `0 0 2px ${color}, 0 0 10px ${color}`;
}

function getRandomColor() {
  return colors[Math.floor(Math.random() * colors.length)];
}
🟢 save img
아트보드에 있는 디자인을 어떻게 하면 저장할 수 있을지 고민을 많이 했다. 서치한 결과 html2canvas 에서 답을 찾을수 있었다. html2canvas 실시간으로 화면을 캡처할 수 있는 플러그인이고 저장할 영역을 설정하고 html2canvas감싸주고 저장기능에 대한 로직을 작성하면 된다.
// index.js
const saveBtn = document.getElementById("saveImg");
saveBtn.addEventListener("click", () => {
  html2canvas(document.querySelector("#container")).then((canvas) => {
    saveAs(canvas.toDataURL("image/jpg"), "image.jpg");
  });
});
function saveAs(url, filename) {
  const link = document.createElement("a");
  link.href = url;
  link.download = filename;
  link.click();
}
https://html2canvas.hertzen.com/
https://developer.mozilla.org/en-US/docs/Web/API/HTMLCanvasElement/toDataURL
🟢 reset img
reset기능은 for문 안에서 로직을 작성하였다. 버튼을 클릭하면 모든 div box가 원래 색상으로 되돌리도록 구현하였다.
for (let i = 0; i < BOXS; i++) {
  const box = document.createElement("div");
  box.classList.add("box");
  box.addEventListener("click", () => setColor(box));
  container.appendChild(box);

  // reset부분
  const resetBtn = document.getElementById("reset");
  resetBtn.addEventListener("click", () => {
    box.style.background = "#1d1d1d";
    box.style.boxShadow = "0 0 2px #000";
  });
}
🟥 조금은 고민했던 부분
고민보다는 이미지 저장에 대한 자료 서치가 시간이 많이 걸렸다. 공식문서랑 블로그를 참고하면서 test.index에서 실험하다보니 해결이 되었다.
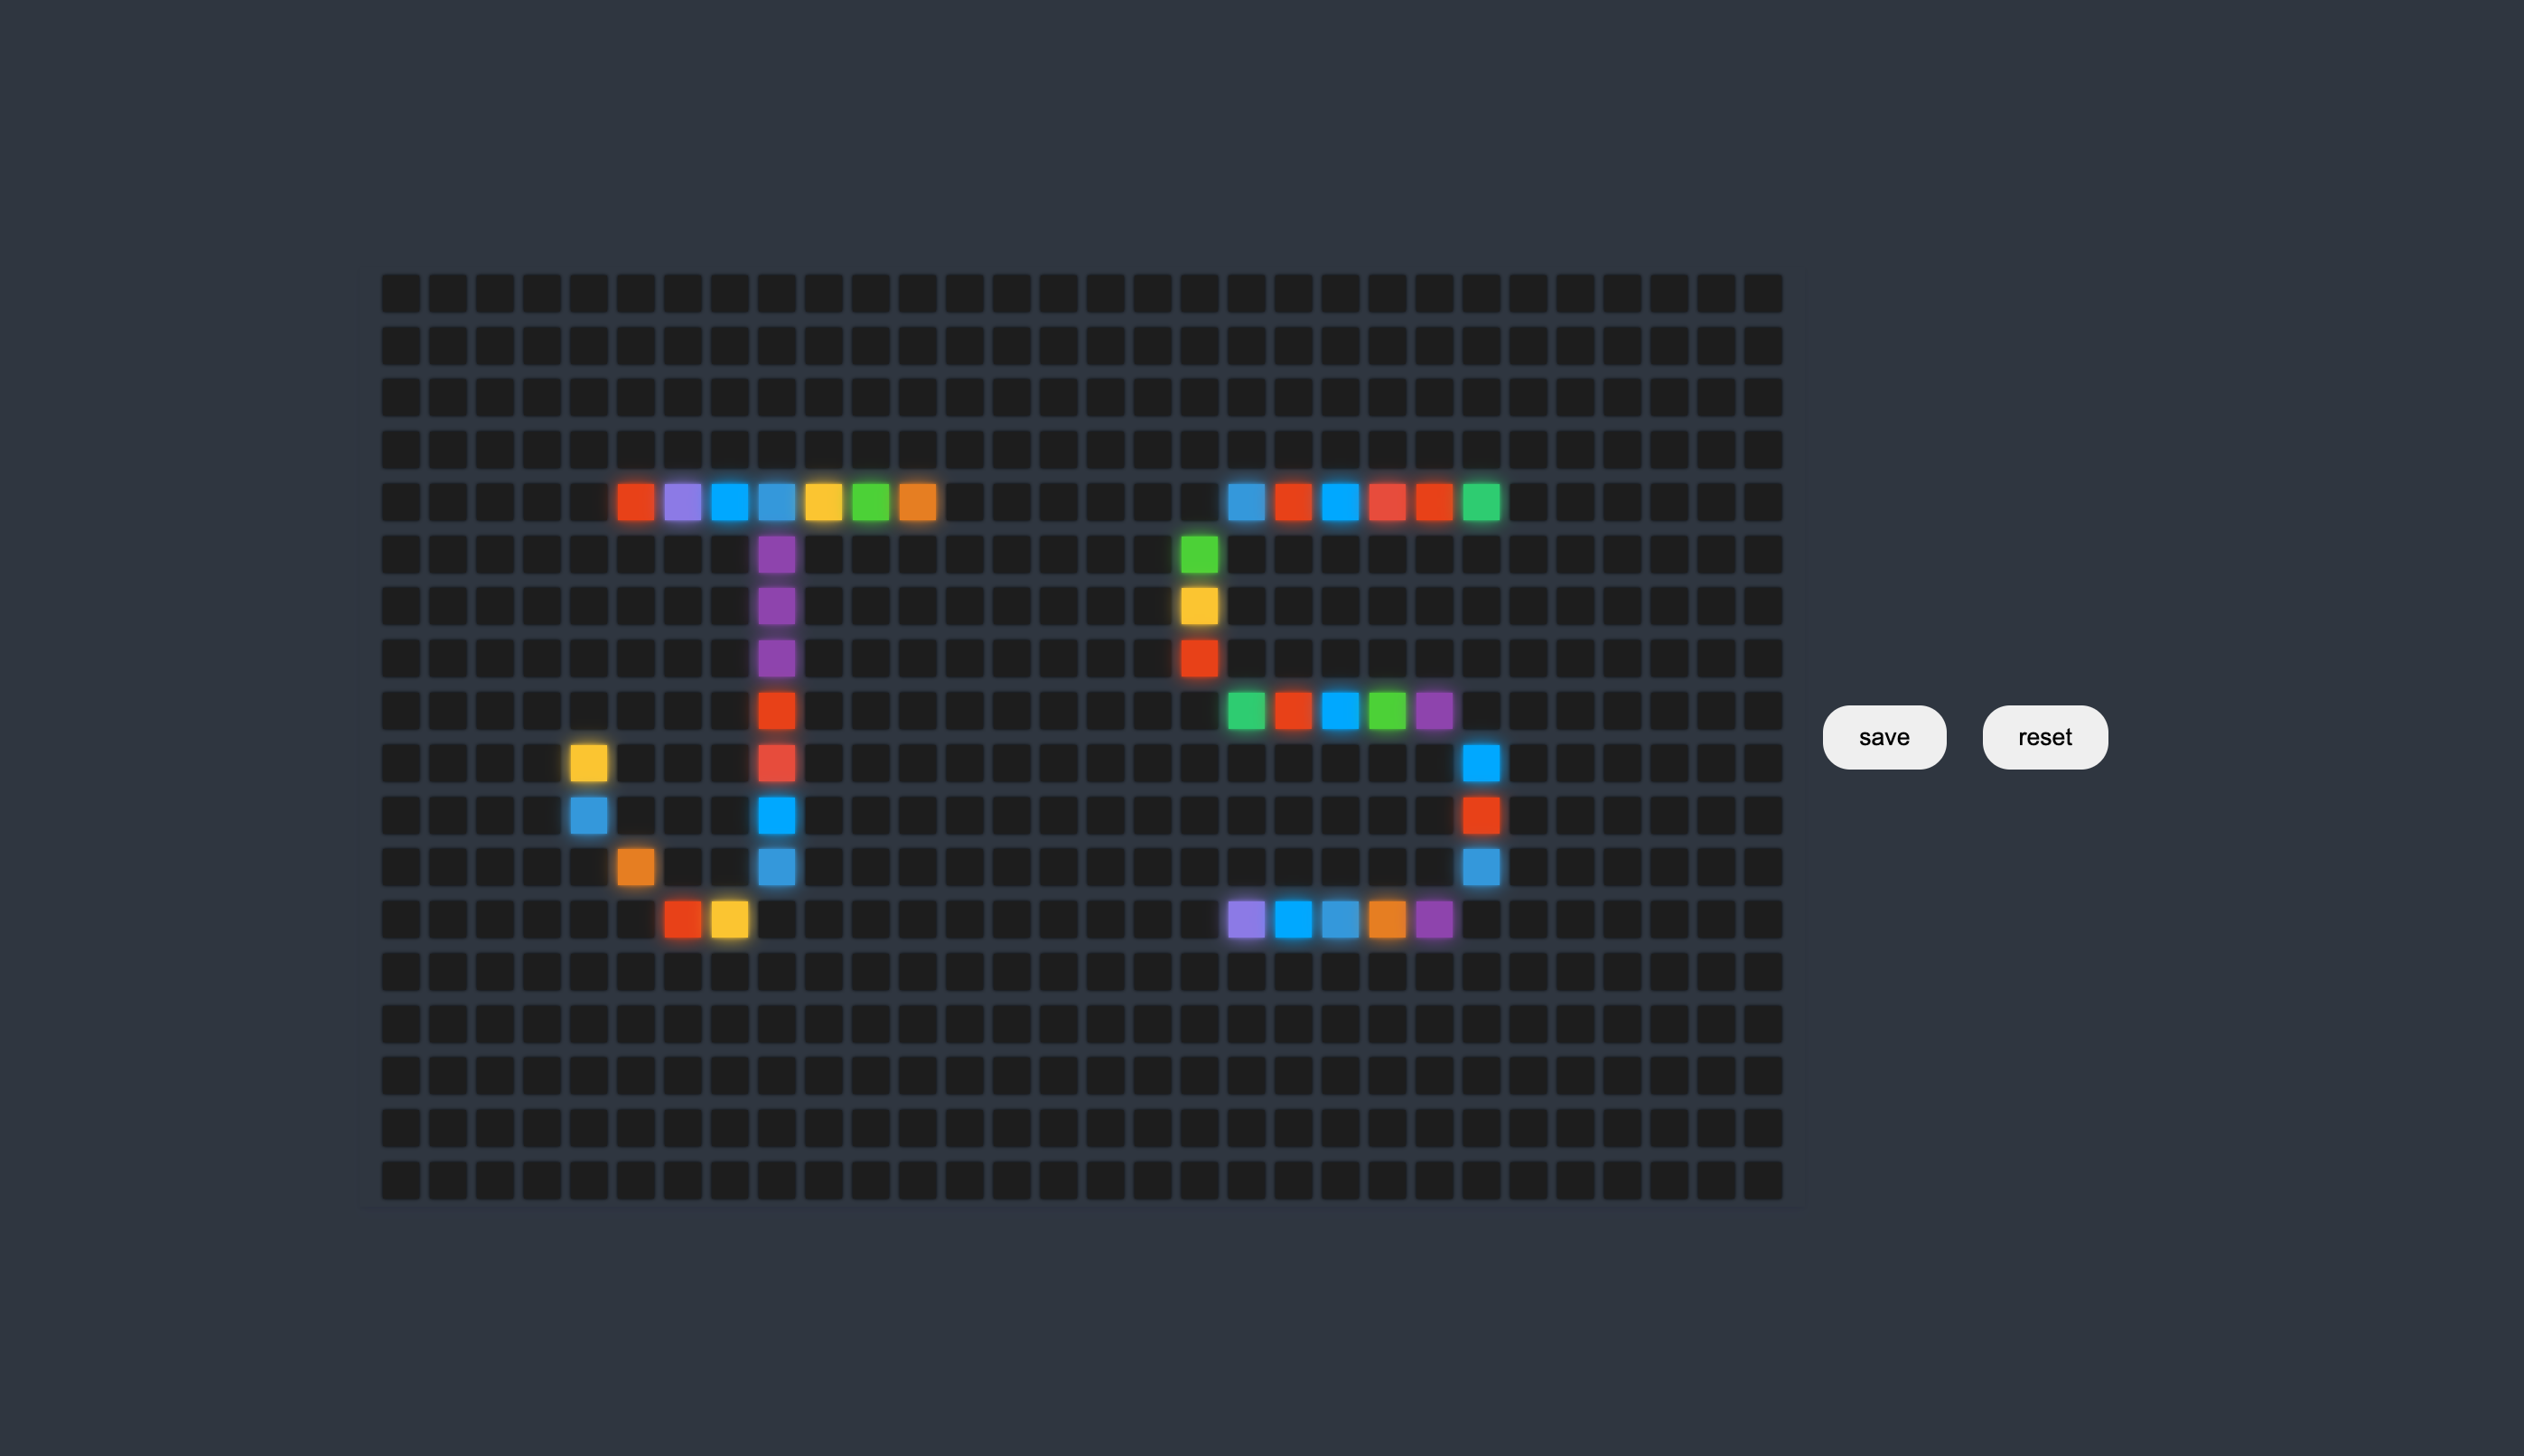
✅ 기능 시연 및 코드
마크업을 거의 안하고 순수 자바스크립트로만 구현하려보니 시간이 걸리는 것 같다. 또 한 엘리먼트를 생성하고 붙이고 하는 작업으로 인해 코드도 길어지는 것 같다. 그래도 뭔가 잼있다 !
🟢 아트박스 클릭 (렌덤 컬러 추출)

🟢 저장 기능
🟢 리셋 기능
🟢 js code
// index.js
const container = document.getElementById("container");
const btnWrapper = document.getElementById("btnWrapper");
const saveImgBtn = document.createElement("button");
const reseImgtBtn = document.createElement("button");

btnWrapper.appendChild(saveImgBtn);
btnWrapper.appendChild(reseImgtBtn);

saveImgBtn.innerText = "save";
reseImgtBtn.innerText = "reset";

saveImgBtn.id = "saveImg";
reseImgtBtn.id = "reset";

const colors = ["#e84118","#fbc531","#4cd137",  "#00a8ff","#8c7ae6","#e74c3c","#8e44ad","#3498db","#e67e22","#2ecc71"];
const BOXS = 540;

for (let i = 0; i < BOXS; i++) {
  const box = document.createElement("div");
  box.classList.add("box");
  box.addEventListener("click", () => setColor(box));
  container.appendChild(box);

  const resetBtn = document.getElementById("reset");
  resetBtn.addEventListener("click", () => {
    box.style.background = "#1d1d1d";
    box.style.boxShadow = "0 0 2px #000";
  });
}

function setColor(element) {
  const color = getRandomColor();
  element.style.background = color;
  element.style.boxShadow = `0 0 2px ${color}, 0 0 10px ${color}`;
}

function getRandomColor() {
  return colors[Math.floor(Math.random() * colors.length)];
}

const saveBtn = document.getElementById("saveImg");
saveBtn.addEventListener("click", () => {
  html2canvas(document.querySelector("#container")).then((canvas) => {
    saveAs(canvas.toDataURL("image/jpg"), "image.jpg");
  });
});
function saveAs(url, filename) {
  const link = document.createElement("a");
  link.href = url;
  link.download = filename;
  link.click();
}
https://github.com/fake-dp/Js-Challenge14-Mini-Project/tree/main/Artboard