조건부 렌더링
정의
리액트에서 조건부 렌더링(Conditional Rendering)은 특정 조건에 따라 컴포넌트나 요소를 렌더링하는 것을 의미한다. 자바스크립트의 조건문을 사용하여, 특정 조건이 참일 때만 컴포넌트를 렌더링하거나, 조건에 따라 다른 컴포넌트를 렌더링할 수 있습니다. 이를 통해 효율적으로 UI를 관리할 수 있다.
if 문을 사용한 조건부 렌더링
전통적인 if 문을 사용하여 조건부 렌더링을 구현할 수 있다. 이 방법은 특정 조건이 참일 때만 컴포넌트를 반환하도록 한다.
if (isLogin) {
   return <h1>Not Auth Validation</h1>;
}
삼항 연산자를 사용한 조건부 렌더링
삼항 연산자는 짧은 조건부 렌더링을 할 때 유용하다.
{isLogin ? <h1>App Component</h1> : <h1>Not Auth Validation</h1>}논리 연산자 &&를 사용한 조건부 렌더링
논리 연산자 &&를 사용하면 조건이 참일 때만 특정 컴포넌트를 렌더링할 수 있다.
{isLogin && <h1>App Component</h1>}
반복 렌더링
리액트에서 반복 렌더링은 특정 컴포넌트 요소를 반복적으로 출력하는 렌더링 방식을 말한다.
문자열 배열은 렌더링
문자열 배열 items를 map 메서드로 반복하여, 각 항목을 <li> 요소로 렌더링한다.
--> key 속성은 배열 항목의 고유성을 보장하기 위해 사용됩니다.
export default function App() {
  const items = ['apple', 'banana', 'cherry'];
  return (
    <>
      {items.map((item, index) => (
        <li key={index}>{item}</li>
      ))}
    </>
  );
}
객체 배열 렌더링
객체 배열을 렌더링하는 경우, 객체의 각 속성에 접근하여 렌더링할 수 있다.
import React from 'react';

const App = () => {
  const users = [
    { id: 1, name: 'John Doe', age: 30 },
    { id: 2, name: 'Jane Smith', age: 25 },
    { id: 3, name: 'Alice Johnson', age: 28 }
  ];

  return (
    <div>
      <h1>User List</h1>
      <ul>
        {users.map(user => (
          <li key={user.id}>
            {user.name} - Age: {user.age}
          </li>
        ))}
      </ul>
    </div>
  );
};
export default App;
연습문제
수스타그램
주어진 디자인을 보면 이미지가 더미 이미지(placeholder.svg)가 들어가 있습니다. 해당 UI에 아름다운 이미지를 추가하여 이미지 6장을 렌더링해주세요. 이미지 리소스는 픽사베이(https://pixabay.com) 에서 구하시면 됩니다.
function App() {
  const images = [
    'https://cdn.pixabay.com/photo/2015/04/10/01/41/fox-715588_1280.jpg',
    'https://cdn.pixabay.com/photo/2024/03/07/10/38/simba-8618301_1280.jpg',
    'https://cdn.pixabay.com/photo/2014/10/01/10/44/animal-468228_1280.jpg',
    'https://cdn.pixabay.com/photo/2023/12/13/06/40/cat-8446390_1280.jpg',
    'https://cdn.pixabay.com/photo/2022/09/28/05/53/squirrel-7484292_1280.jpg',
    'https://cdn.pixabay.com/photo/2023/06/03/17/11/giraffe-8038107_1280.jpg',
  ];
  return (
    <div className="w-full max-w-4xl mx-auto py-6 px-4">
      <header className="flex items-center justify-between mb-6">
        <h1 className="text-2xl font-bold">SUSTAGRAM</h1>
      </header>
      <div className="grid grid-cols-3 gap-4">
        {images.map((image, index) => (
          <a key={index} className="group" href="#">
            <img
              src={image}
              width="400"
              height="400"
              alt={`Photo ${index + 1}`}
              className="w-full h-full object-cover rounded-lg group-hover:opacity-80 transition-opacity"
              style={{ aspectRatio: '400 / 400', objectFit: 'cover' }}
            />
          </a>
        ))}
      </div>
    </div>
  );
}

export default App;
images로 이미지 (src에서 사용할 것들)을 배열로 정의하고, 이 배열을 map() 함수 개별적으로 image로 불러와
src={}를 통해서 image를 뿌려주면 된다!
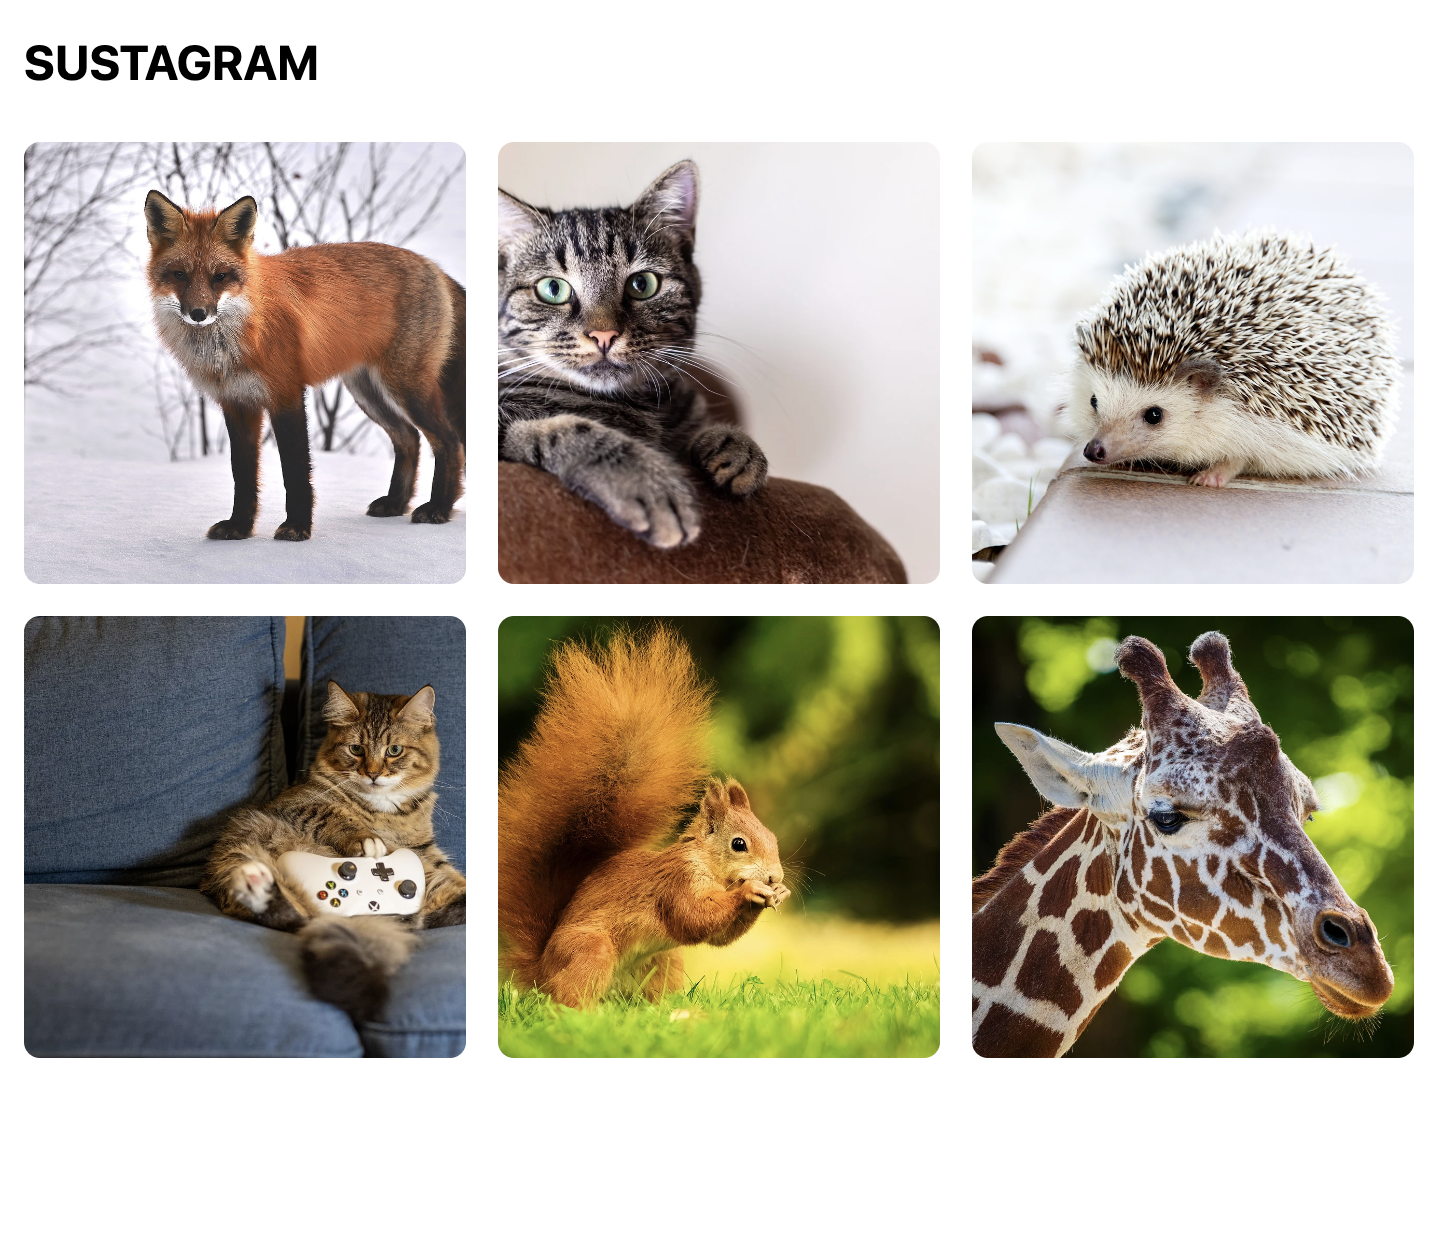
그럼 이렇게 나타나는 것을 확인할 수 있다!
useState
리액트에서 상태 변수를 선언하고 관리하는 데 사용하는 훅이다.
가장 기본이면서도 가장 많이 사용하는 중요한 훅.
import { useState } from 'react';

export default function App() {
  const [count, setCount] = useState(0);
  const increment = () => {
    setCount((prev) => prev + 1);
  };
  return (
    <div>
      <h1>Count : {count}</h1>
      <button onClick={increment}>클릭</button>
    </div>
  );
}
폼 요소
useState를 사용한 상태 관리 변수를 사용해서 폼 입력 요소의 값을 제어할 수 있다.
input[type=”text”]
import { useState } from "react";

const App = () => {
  const [input, setInput] = useState("");
  return (
    <div>
      <input
        type="text"
        value={input}
        onChange={(e) => setInput(e.target.value)}
      />
    </div>
  );
};

export default App;
useState 연습
1 . 램프 켜기
문제
램프 이미지를 클릭할 때마다 램프의 이미지를 b_on.png ↔ b_off.png로 변경시켜서 마치 전구가 켜졌다가 꺼졌다 하는 것처럼 보이게 하세요.
import { useState } from 'react';

export default function Light() {
  const [ligth, setLigth] = useState(false);

  const onClick = () => {
    setLigth((prev) => !prev);
  };

  return (
    <>
      <img src={ligth ? '/b_on.png' : '/b_off.png'} onClick={onClick} />
    </>
  );
}
2 . 컬러박스(ColorBox)
문제
다음 주어진 코드에서 인풋 박스에 ‘red’, ‘orange’, ‘#ff0000’ 처럼 컬러 코드값이 들어가면 사각형 박스의 배경 이미지 색상도 함께 변경될 수 있도록 코드를 작성해주세요.
import { useState } from 'react';

export default function ColorBox() {
  const [color, setColor] = useState('');

  return (
    <>
      <div className="item-middle">
        <div className="flex flex-col">
          <div
            className={`w-40 h-40 border border-slate-500`}
            style={{ backgroundColor: color }}
          ></div>
          <input
            type="text"
            className="border border-slate-500 w-40 mt-2"
            onChange={(e) => setColor(e.target.value)}
          />
        </div>
      </div>
    </>
  );
}
3. 수스타그램
[이미지 렌더링] 파트의 연습문제로 진행했던 수스타그램에 삭제 기능을 추가해봅시다.
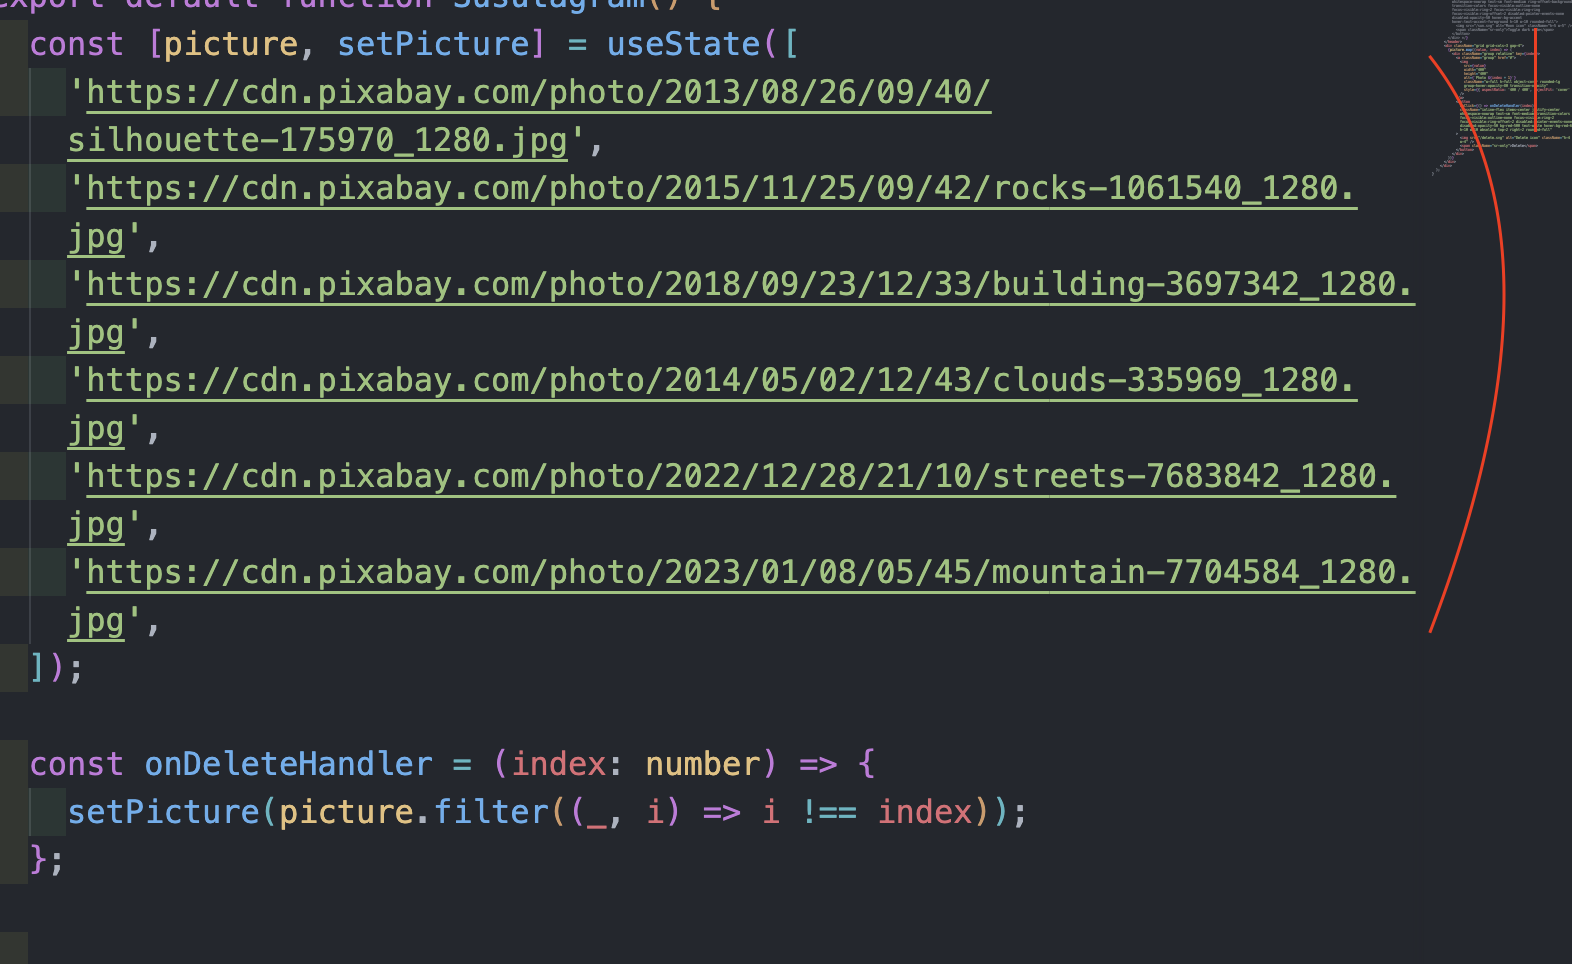 이미지를 useState()의 배열에 넣고, 관리를 할 수 있는데, 이때, onDeleteHandler를 호출하게 되면,
picture(이미지들의 배열)을 filter 처리를 한다 -> 내가 클릭한 이미지의 index 번호를 넘겨주고,
내가 클릭한 이미지의 index와, picture의 index가 다른 것을 제외하고 다시 picture의 배열을 만든다 (setPicture()) 라고 이해하면 된다!
useRef
특정 요소를 참조하고 싶을 때
--> useRef는 리액트에서 HTML 요소에 접근하거나 컴포넌트의 렌더링에 영향없이 값을 유지하고 싶을 때 사용합니다.
import { useRef, useState } from 'react';

export default function App() {
  const [email, setEmail] = useState('');
  const [password, setPassword] = useState('');
  const inputEl = useRef<HTMLInputElement>(null);

  const onClickHandler = () => {
    if (email.trim() === '') {
      alert('이메일을 입력해주세요');
      inputEl.current?.focus();
      return;
    }
    if (password.trim() === '') {
      alert('이메일을 입력해주세요');
      return;
    }
  };
  return (
    <>
      <form>
        <input
          ref={inputEl}
          type="text"
          onChange={(e) => setEmail(e.target.value)}
        />
        <input
          ref={inputEl}
          type="password"
          onChange={(e) => setPassword(e.target.value)}
        />
        <button onClick={onClickHandler} type="button">
          로그인
        </button>
      </form>
    </>
  );
}
본 후기는 본 후기는 [유데미x스나이퍼팩토리] 프로젝트 캠프 : Next.js 3기 과정(B-log) 리뷰로 작성 되었습니다.
#유데미 #udemy #웅진씽크빅 #스나이퍼팩토리 #인사이드아웃 #미래내일일경험 #프로젝트캠프 #부트캠프 #React #리액트프로젝트 #프론트엔드개발자양성과정 #개발자교육과정