
11강 / sort, map, filter 상품정렬기능 응용 숙제
가나다순 정렬버튼을 만들어보자
가나다 정렬하는 방법은 이전에 다나가 정렬했던 방법과 반대로 하면된다.
다시 알아보기 위해 아래사이트를 참고해보자
배열 정렬하기 sort()
가나다 정렬에 대한 버튼을 만들어주자
    <div class="container my-3">
      <button class="btn btn-danger" id="ascending">오름차순</button>
    </div>
가나다 정렬에 대한 버튼 변수 설정
const ascending = document.querySelector("#ascending");
오름차순 버튼이 눌리면 상품명들이 가나다 순으로 정렬되는 함수 생성
/** 가나다 정렬버튼 **/
ascending.addEventListener("click", () => {
  products.sort(function (a, b) {
    if (a.title > b.title) {
      return 1;
    } else {
      return -1;
    }
  });

  card.innerHTML = "";

  products.forEach((product) => {
    let template = `<div class="col-sm-4">
        <img src="https://via.placeholder.com/600" class="w-100">
        <h5>${product.title}</h5>
        <p>가격 : ${product.price}</p>
      </div>`;
    card.insertAdjacentHTML("beforeend", template);
  });
});
다나가 정렬 버튼 코드를 복사해와서 연산자만 바꾸어주었다.
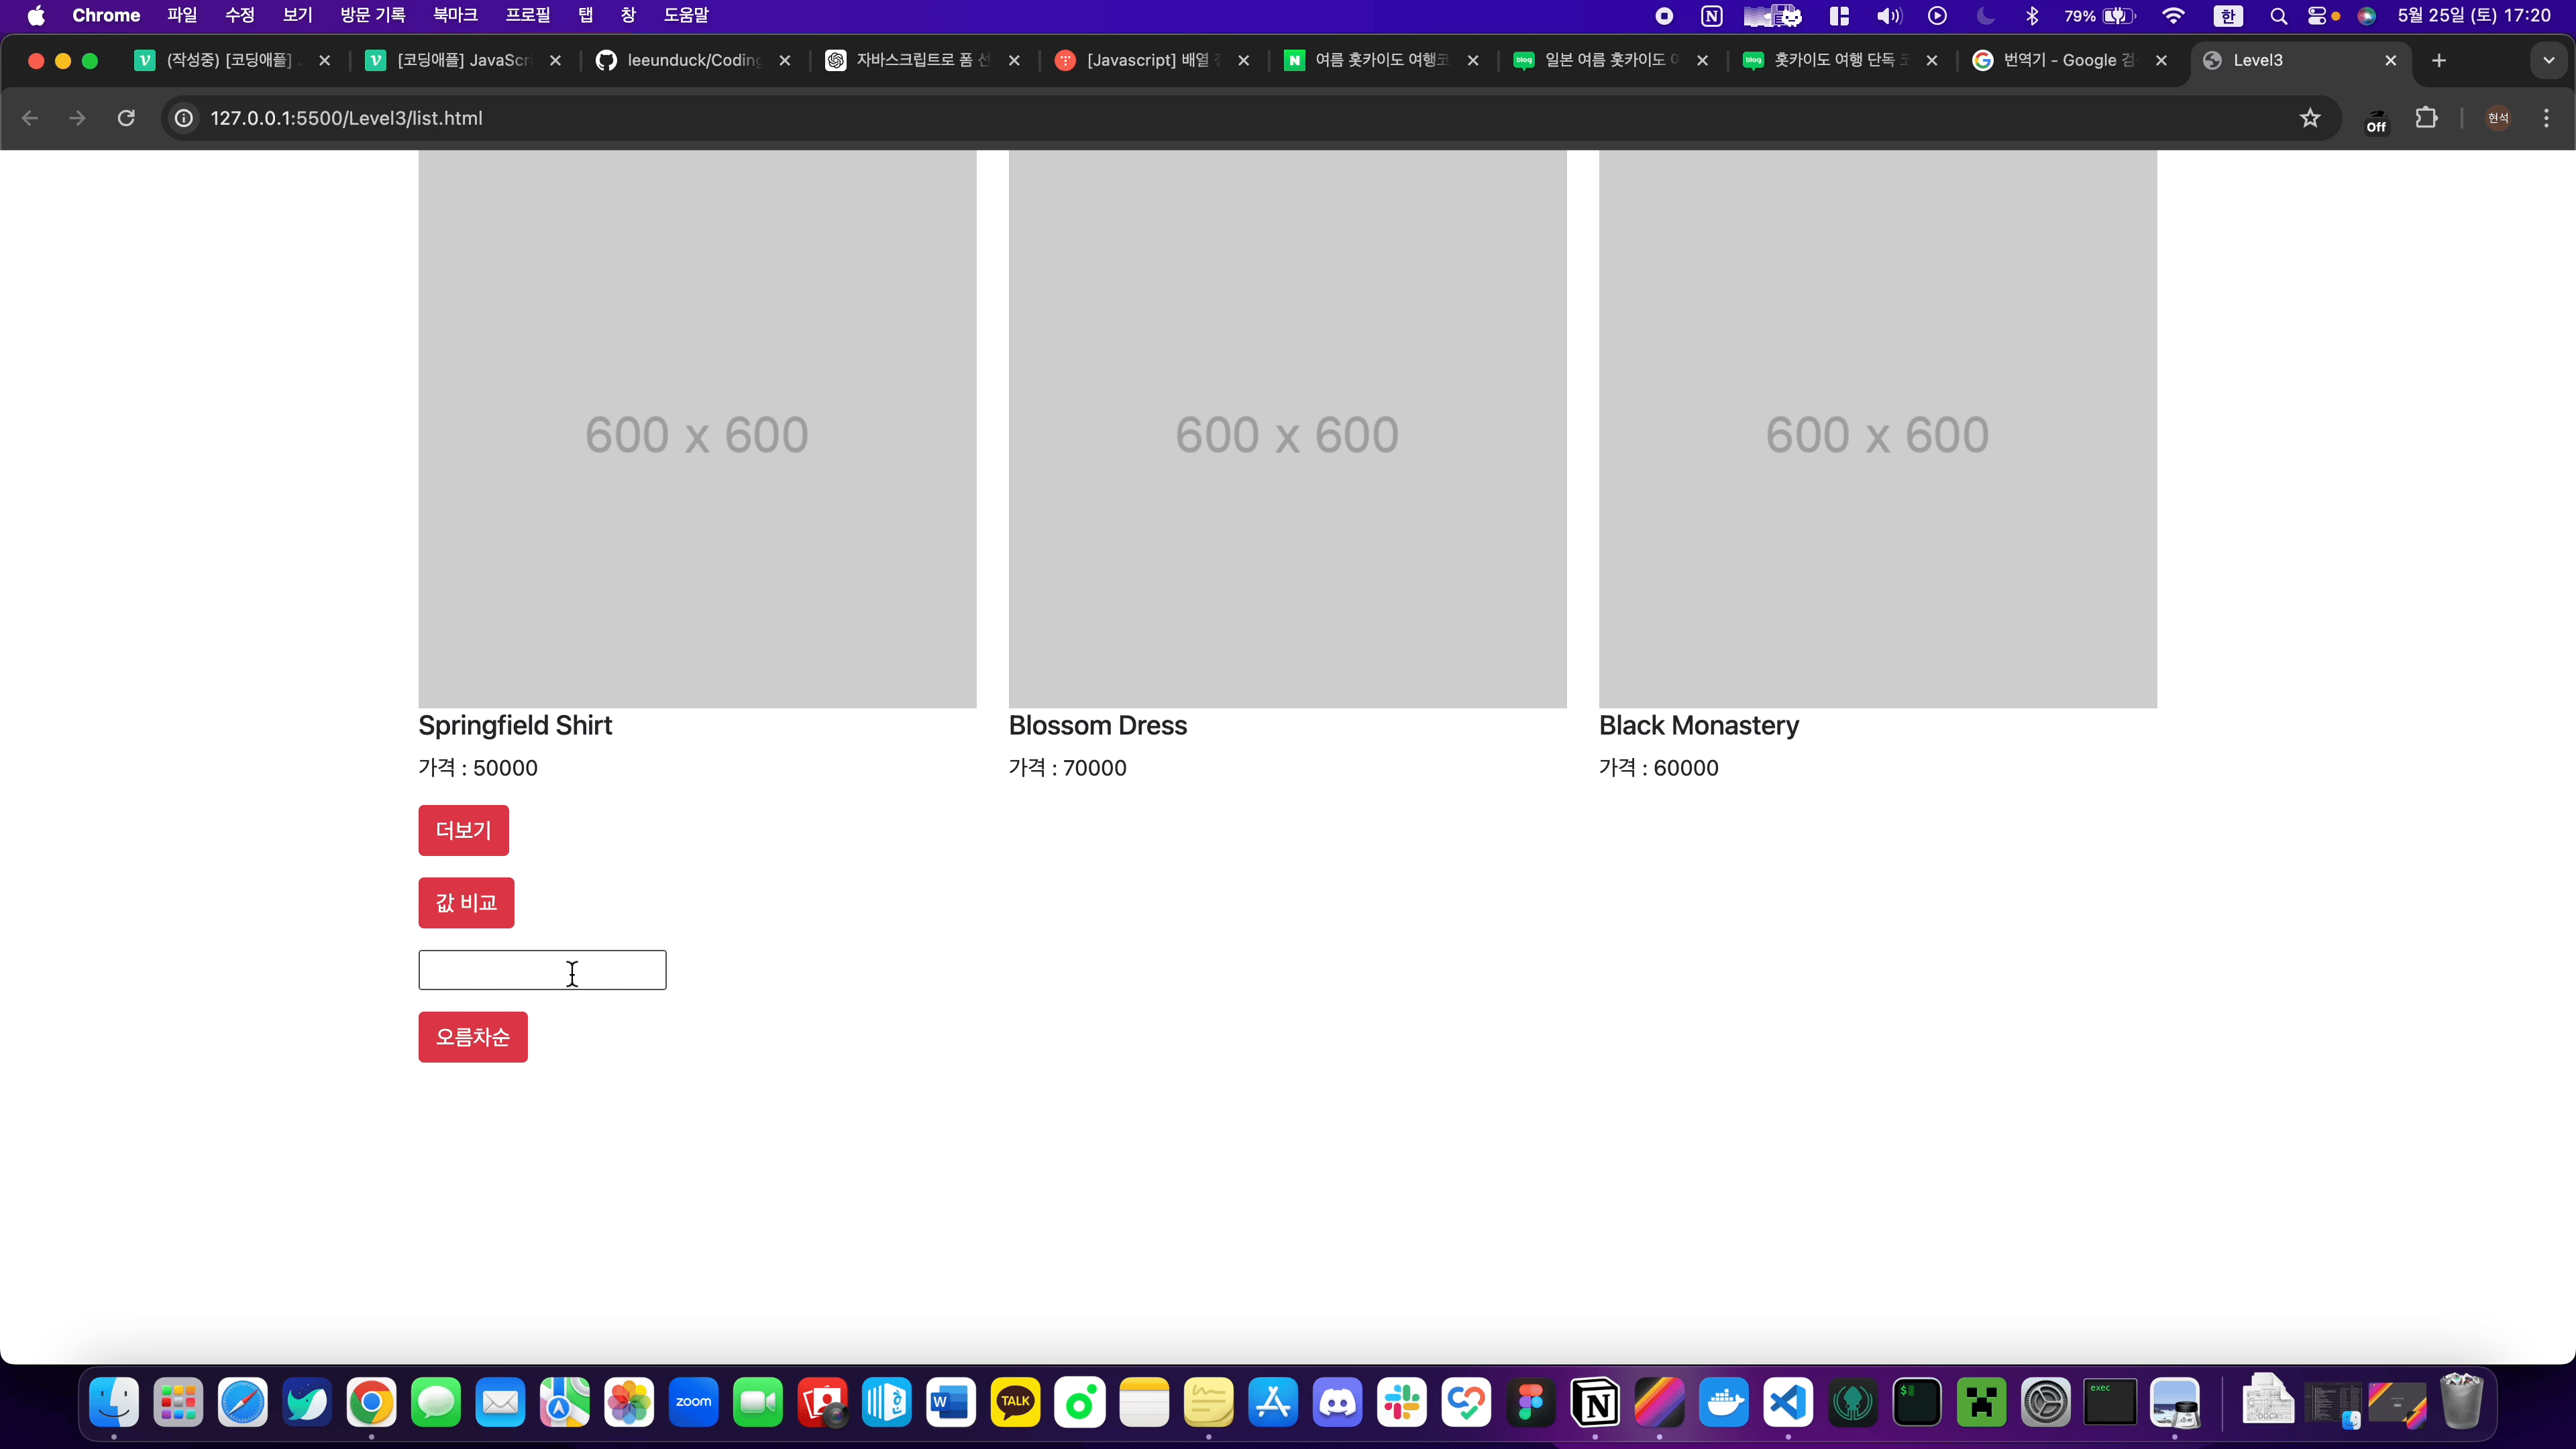
오름차순 버튼을 눌러보면 실제로 가나다(a - z) 순으로 바뀌는 것을 볼 수 있다.

<input>을 이용해 유저가 직접 가격을 입력해서 필터하는 기능을 만들어보자
이 방법에 대해서는 input에서 친 값을 가져와 비교하면 될 것 같다.
<input>에 대한 HTML을 추가하자
    <form class="container">
      <input id="input" />
    </form>
이제 6만원 이하인 코드를 수정해보자
/** input 값 비교 **/
btnUnder.addEventListener("click", () => {
  let inputPrice = input.value;

  let newProduct = products.filter(function (a) {
    return a.price <= inputPrice;
  });

  card.innerHTML = "";

  newProduct.forEach((newProduct) => {
    let template = `<div class="col-sm-4">
        <img src="https://via.placeholder.com/600" class="w-100">
        <h5>${newProduct.title}</h5>
        <p>가격 : ${newProduct.price}</p>
      </div>`;
    card.insertAdjacentHTML("beforeend", template);
  });
});
input 값을 inputPrice변수에 넣어주고 60000을 빼고 그 안에 inputPrice를 넣어주어 inputPrice이 친 값에 대한 비교를 통해 카드가 표시되도록 해주었다.
테스트는 60000, 50000 , 40000을 하였다.
값에 따라 카드가 표시되는 것을 볼 수 있다.
숙제 전체코드
list.html
<!DOCTYPE html>
<html lang="en">
  <head>
    <link
      href="https://cdn.jsdelivr.net/npm/bootstrap@5.1.3/dist/css/bootstrap.min.css"
      rel="stylesheet"
      integrity="sha384-1BmE4kWBq78iYhFldvKuhfTAU6auU8tT94WrHftjDbrCEXSU1oBoqyl2QvZ6jIW3"
      crossorigin="anonymous" />
    <meta charset="UTF-8" />
    <meta name="viewport" content="width=device-width, initial-scale=1.0" />
    <title>Level3</title>
  </head>
  <body>
    <div class="container">
      <div class="row"></div>
    </div>
    <div class="container">
      <button class="btn btn-danger" id="more">더보기</button>
    </div>

    <div class="container my-3">
      <button class="btn btn-danger" id="filter">값 비교</button>
    </div>
    <form class="container">
      <input id="input" />
    </form>

    <div class="container my-3">
      <button class="btn btn-danger" id="ascending">오름차순</button>
    </div>

    <script src="./list.js"></script>
  </body>
</html>
list.js
const card = document.querySelector(".row");
const btnUnder = document.querySelector("#filter");
const input = document.querySelector("#input");
const plusBtn = document.querySelector("#more");
const ascending = document.querySelector("#ascending");
let products = [
  { id: 0, price: 70000, title: "Blossom Dress" },
  { id: 1, price: 50000, title: "Springfield Shirt" },
  { id: 2, price: 60000, title: "Black Monastery" },
];

/** 더보기 버튼 **/
function appendProducts(products) {
  products.sort(function (a, b) {
    if (a.title < b.title) {
      return 1;
    } else {
      return -1;
    }
  });

  products.forEach((product) => {
    let template = `<div class="col-sm-4">
        <img src="https://via.placeholder.com/600" class="w-100">
        <h5>${product.title}</h5>
        <p>가격 : ${product.price}</p>
        </div>`;
    card.insertAdjacentHTML("beforeend", template);
  });
}

appendProducts(products);

let clickCount = 0;

plusBtn.addEventListener("click", () => {
  clickCount++;
  if (clickCount == 1) {
    getGoods1();
  } else if (clickCount == 2) {
    getGoods2();
    plusBtn.style.display = "none";
  }
});

function getGoods1() {
  fetch(`https://codingapple1.github.io/js/more1.json`)
    .then((response) => response.json())
    .then((data) => {
      appendProducts(data);
    });
}

function getGoods2() {
  fetch(`https://codingapple1.github.io/js/more2.json`)
    .then((response) => response.json())
    .then((data) => {
      appendProducts(data);
    });
}

/** input 값 비교 **/
btnUnder.addEventListener("click", () => {
  let inputPrice = input.value;

  let newProduct = products.filter(function (a) {
    return a.price <= inputPrice;
  });

  card.innerHTML = "";

  newProduct.forEach((newProduct) => {
    let template = `<div class="col-sm-4">
        <img src="https://via.placeholder.com/600" class="w-100">
        <h5>${newProduct.title}</h5>
        <p>가격 : ${newProduct.price}</p>
      </div>`;
    card.insertAdjacentHTML("beforeend", template);
  });
});

/** 가나다 정렬버튼 **/
ascending.addEventListener("click", () => {
  products.sort(function (a, b) {
    if (a.title > b.title) {
      return 1;
    } else {
      return -1;
    }
  });

  card.innerHTML = "";

  products.forEach((product) => {
    let template = `<div class="col-sm-4">
        <img src="https://via.placeholder.com/600" class="w-100">
        <h5>${product.title}</h5>
        <p>가격 : ${product.price}</p>
      </div>`;
    card.insertAdjacentHTML("beforeend", template);
  });
});
12강 / DOM이라는 용어 개념정리 & load 이벤트
DOM 이라는 말이 자주 등장합니다.
Document Object Model 이라는 뜻인데 배경설명부터 알아보자
자바스크립트는 HTML 조작에 특화된 언어이다.
그런데 자바스크립트가 어떻게 HTML을 조작할 수 있는지 원리는 알 수 없다.
생각해보면 HTML과 자바스크립트는 다른 언어이다.
그래서 자바스크립트에선 <p></p> 이런 HTML을 직접 해석하고 조작할 수 없다.
<script>

  <p></p>.innerHTML = '안녕' (당연히 에러난다)

</script>자바스크립트는 <p> 이런건 못알아듣는다.
그러면 어떻게 HTML 태그들을 알아보고 조작할 수 있는 것일까?
자바스크립트가 HTML 조작을 하기 위해선 HTML을 자바스크립트가 해석할 수 있는 문법으로 변환해놓면 된다.
HTML을 자바스크립트가 좋아하는 array 혹은 object 자료형에 담아버리면 자바스크립트가 해석할 수 있는 문법으로 변환되는 것이지 않을까?
그래서 실제로 브라우저는 HTML 페이지를 열어줄 때
HTML을 자바스크립트로 쉽게 찾고 바꾸기 위해 object와 비슷한 자료형에 담아준다.
예를 들어
<div style="color : red">안녕하세요</div>브라우저는 이런 HTML을 발견하면 object 자료로 바꿔서 보관해둔다.
구체적으로는 let document = { } 이런 변수를 하나 만들어서 거기 넣어준다.
let document = {
  div1 : {
    style : {color : 'red'}
    innerHTML : '안녕하세요'
  }
}
▲ 대충 이렇게 object 자료에 정리를 해놓는다는 소리이다.
왜일까? 이래야 저렇게 점찍어서 원하는 자료를 출력하고 조작하고 할 수 있기 때문이다.
이제 document.div1.innerHTML = '안녕' 이렇게 자바스크립트를 짜면 HTML 조작이 가능할 것 같다.
그래서 저렇게 object에 담아두는 것이다.
(물론 실제 DOM과 생김새는 좀 다르겠지만)
위 변수를 document object라고 부른다. + model이라고 붙여서 Document Object Model이라고 한다.
요약하자면 자바스크립트가 HTML에 대한 정보들 (id, class, name, style, innerHTML 등)을
object 자료로 정리한걸 DOM이라고 부른다.
브라우저는 HTML 문서를 위에서 부터 읽으며 DOM을 생성합니다.
브라우저는 HTML문서를 위에서 부터 차례로 읽어내려간다.
읽을 때 마다 HTML을 발견하면 DOM에 추가해준다.
그래서 이걸 알면 왜 하단 코드가 에러가 나는지도 알 수 있을 것 같다.
(html 파일)

<script>
  document.getElementById('test').innerHTML = '안녕'
</script>

<p id="test">임시글자</p>
이렇게 코드짜면 에러가 난다.
왜일까?
왜냐면 브라우저는 HTML을 위에서부터 한줄한줄 읽기 때문이다.
그런데 갑자기 자바스크립트로 <p id="test">인 요소를 DOM에서 찾고 바꾸라고하는 것이다.
그래서 에러가 날 뿐이다.
왜냐면 아직 <p id="test">를 읽기 전이라 p태그에 대한 DOM이 아직 생성되지 않았기 때문이다.
이렇듯 자바스크립트는 DOM이 생성된 경우에만 HTML을 변경할 수 있다.
혹은 자바스크립트 실행을 약간 나중으로 미루는 방법도 있다.
"이 코드는 HTML 전부 다 읽고 실행해주세요" 라고 코드짜놓을 수 있다.
그러면 아까 예제같은 문제가 발생하지 않는다.
$(document).ready(function(){ 실행할 코드 })  //Jquery
document.addEventListener('DOMContentLoaded', function() { 실행할 코드 }) // javascript
이 이벤트리스너는 "HTML을 다 읽어들였는지"를 알려주는 이벤트리스너이다.
(html 파일)

<script>
  document.addEventListener('DOMContentLoaded', function() {
    document.getElementById('test').innerHTML = '안녕'
  })
</script>

<p id="test">임시글자</p>
그래서 거기 안에 "저 밑에있는 <p id="test"> 변경해주세요~" 라고 코드 짜도 잘 동작한다.
그래서 예전스타일 강의들 보면 ready 아니면 DOMContentLoaded 이벤트리스너를 꼭 쓰라고 가르친다.
안정적이기 때문이다.
요즘은 그냥 자바스크립트를 <body>태그 끝나기 전에 전부 작성하기 때문에 그런 걱정은 안해도 된다.
자바스크립트 위치를 내가 정할 수 없을 경우에만 유용한 방법이라고 보시면 된다.
load 이벤트리스너
load 이벤트리스너도 한번 배워보자
load 라는 이벤트리스너를 사용하면 DOM 생성뿐만 아니라 이미지, css, js파일이 로드가 됐는지도 체크가능하다.
이미지 같은게 로드되면 load라는 이벤트가 발생하기 때문이다.
셀렉터로찾은이미지.addEventListener('load', function(){
//이미지 로드되면 실행할 코드
})
이런 식으로 쓰면 된다.
근데 외부 자바스크립트 파일에 저걸 적어놓으면
그 js 파일보다 이미지가 더 먼저 로드되는 경우도 있으니 이벤트 발생체크를 못할 수도 있을 것 같다.
$(window).on('load', function(){
//document 안의 이미지, js 파일 포함 전부 로드가 되었을 경우 실행할 코드  Jquery
});

window.addEventListener('load', function(){
//document 안의 이미지, js 파일 포함 전부 로드가 되었을 경우 실행할 코드 javascript
})window에 붙여도 된다. document에 포함된 이미지, CSS파일 등 모든것이 로드가 되었는지 체크해준다.
ready 이런거랑 차이는 앞선 .ready()는 DOM 생성만 체크하는 함수인데,
이것보다 약간 더 나아가서 모든 파일과 이미지의 로드상태를 체크한다고 보시면 된다.