0. Summary
I'm currently planning to test Azure VPN configuration.
To do so, I'm setting up my own pfSense environment.
In this post, I’ll walk you through the pfSense installation process and briefly share my on-premises network setup.
In the next post, I’ll go over the Azure VPN configuration I applied.
Architecture
For now, I've set up the environment as shown in the architecture below.
The configuration might change as I proceed with the Azure VPN setup, but this is the initial setup for now.
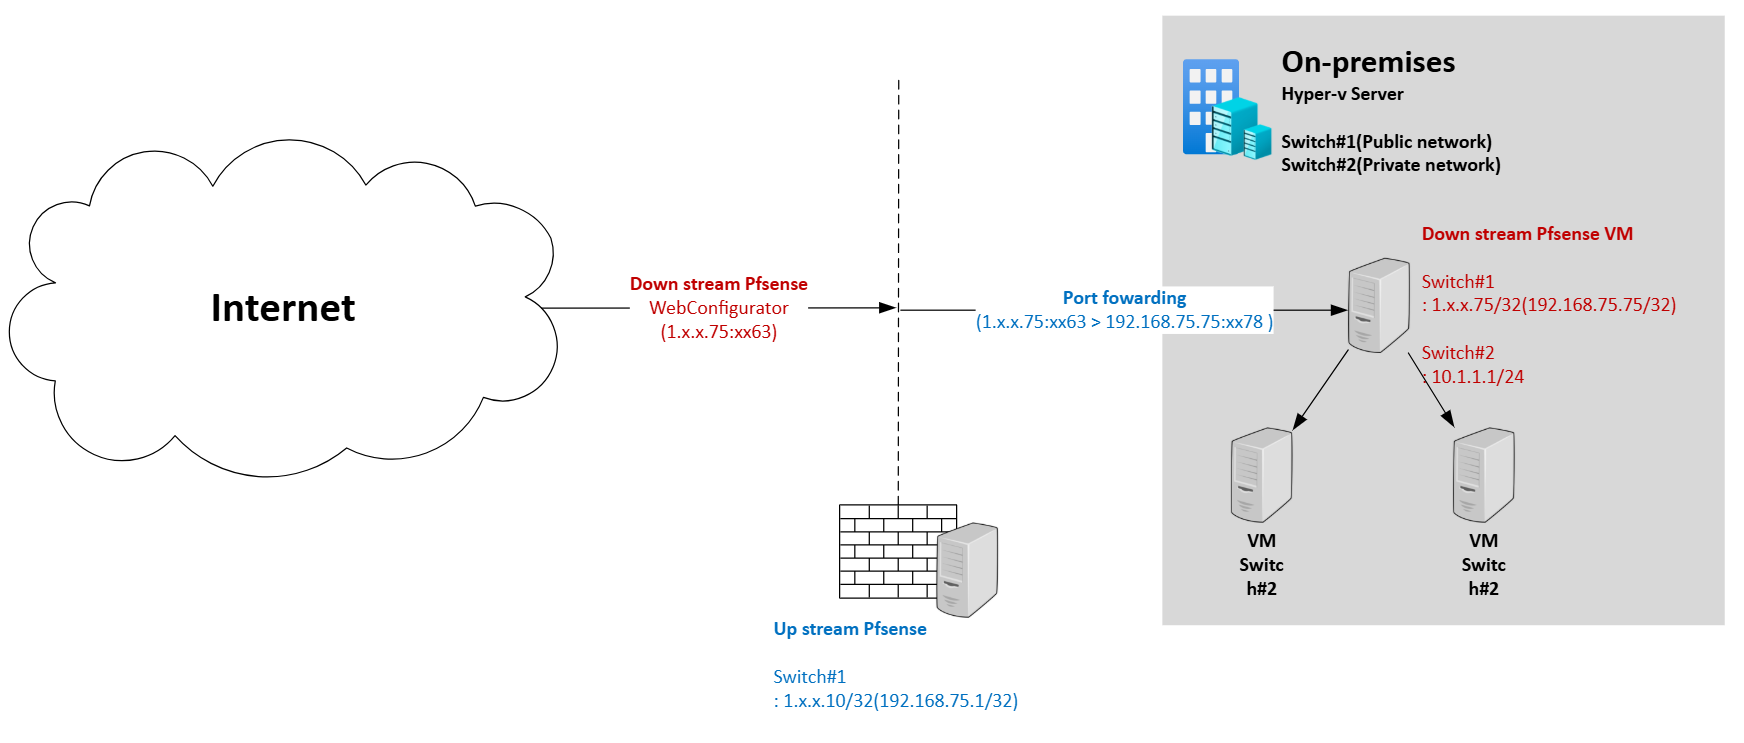
1. On-premises Pfsense and switches
1. Prerequsites
Based on the Pfsense article, we are getting started.
Ref) https://docs.netgate.com/pfsense/en/latest/recipes/virtualize-hyper-v.html
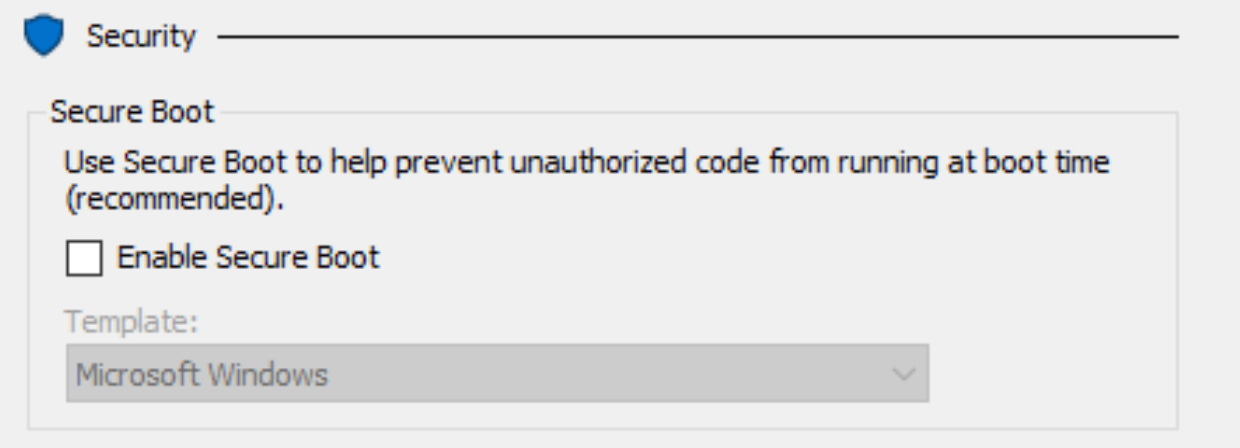
Ensure that the virtual machine for the Pfsense have to unchecked the Secure Boot.
2. Installation Pfsense
Ref)https://www.youtube.com/watch?v=wUD1ZjPb4kw
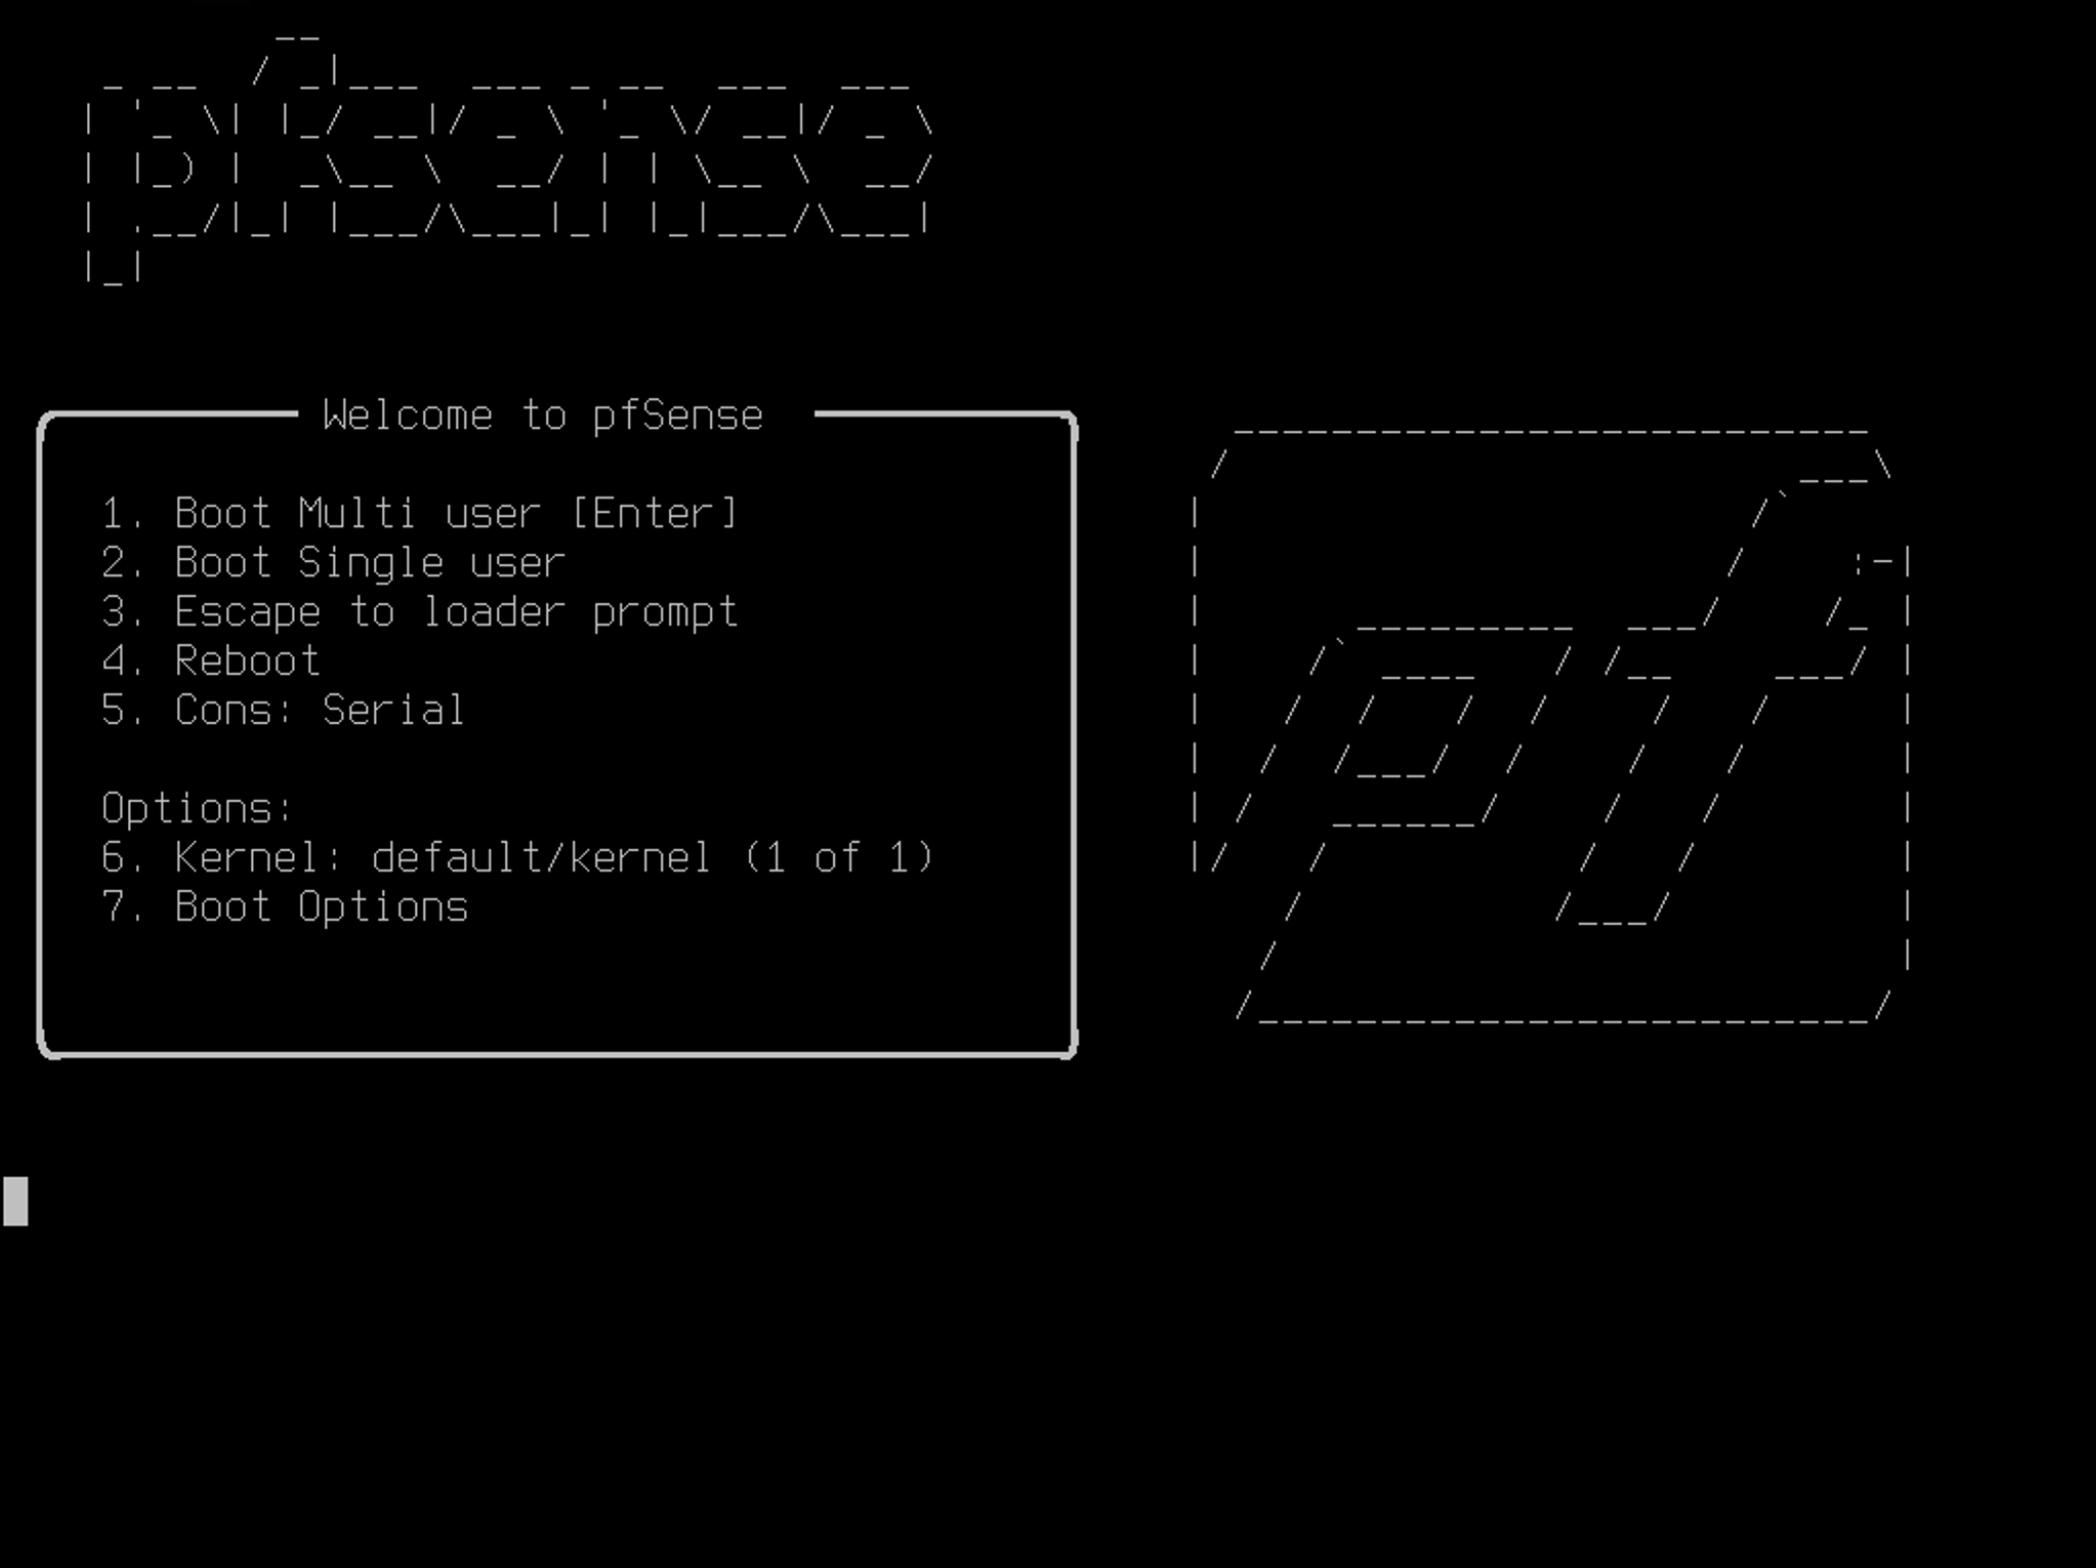
Select 1 to proceed the installation
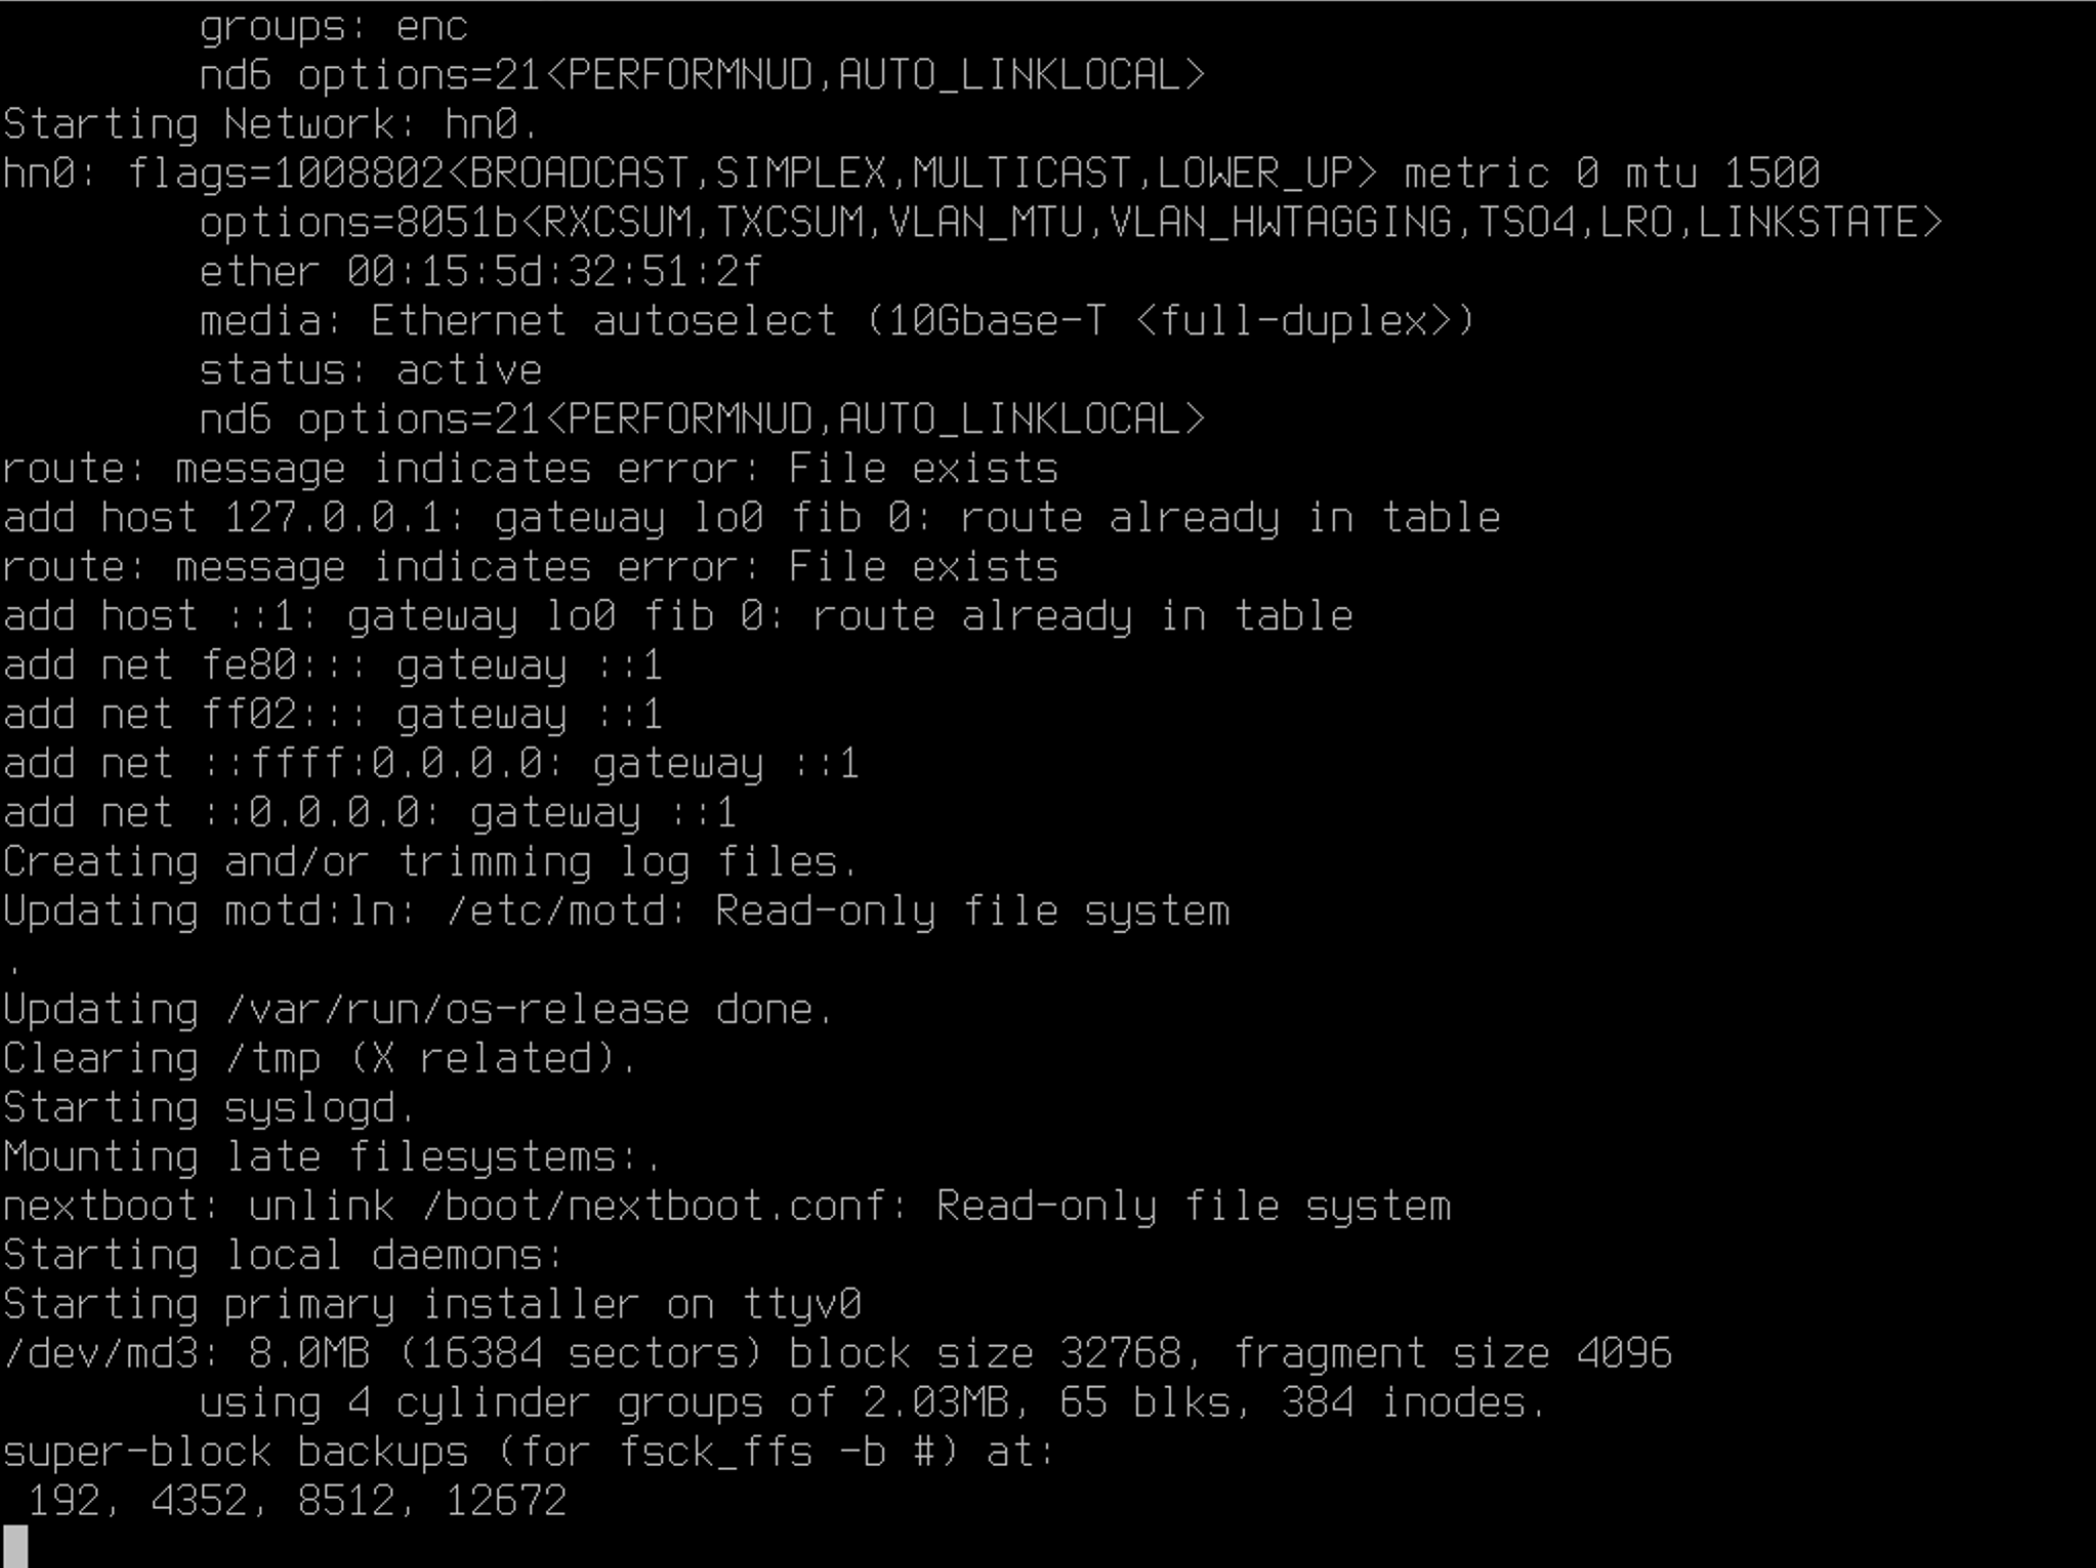
Loading..
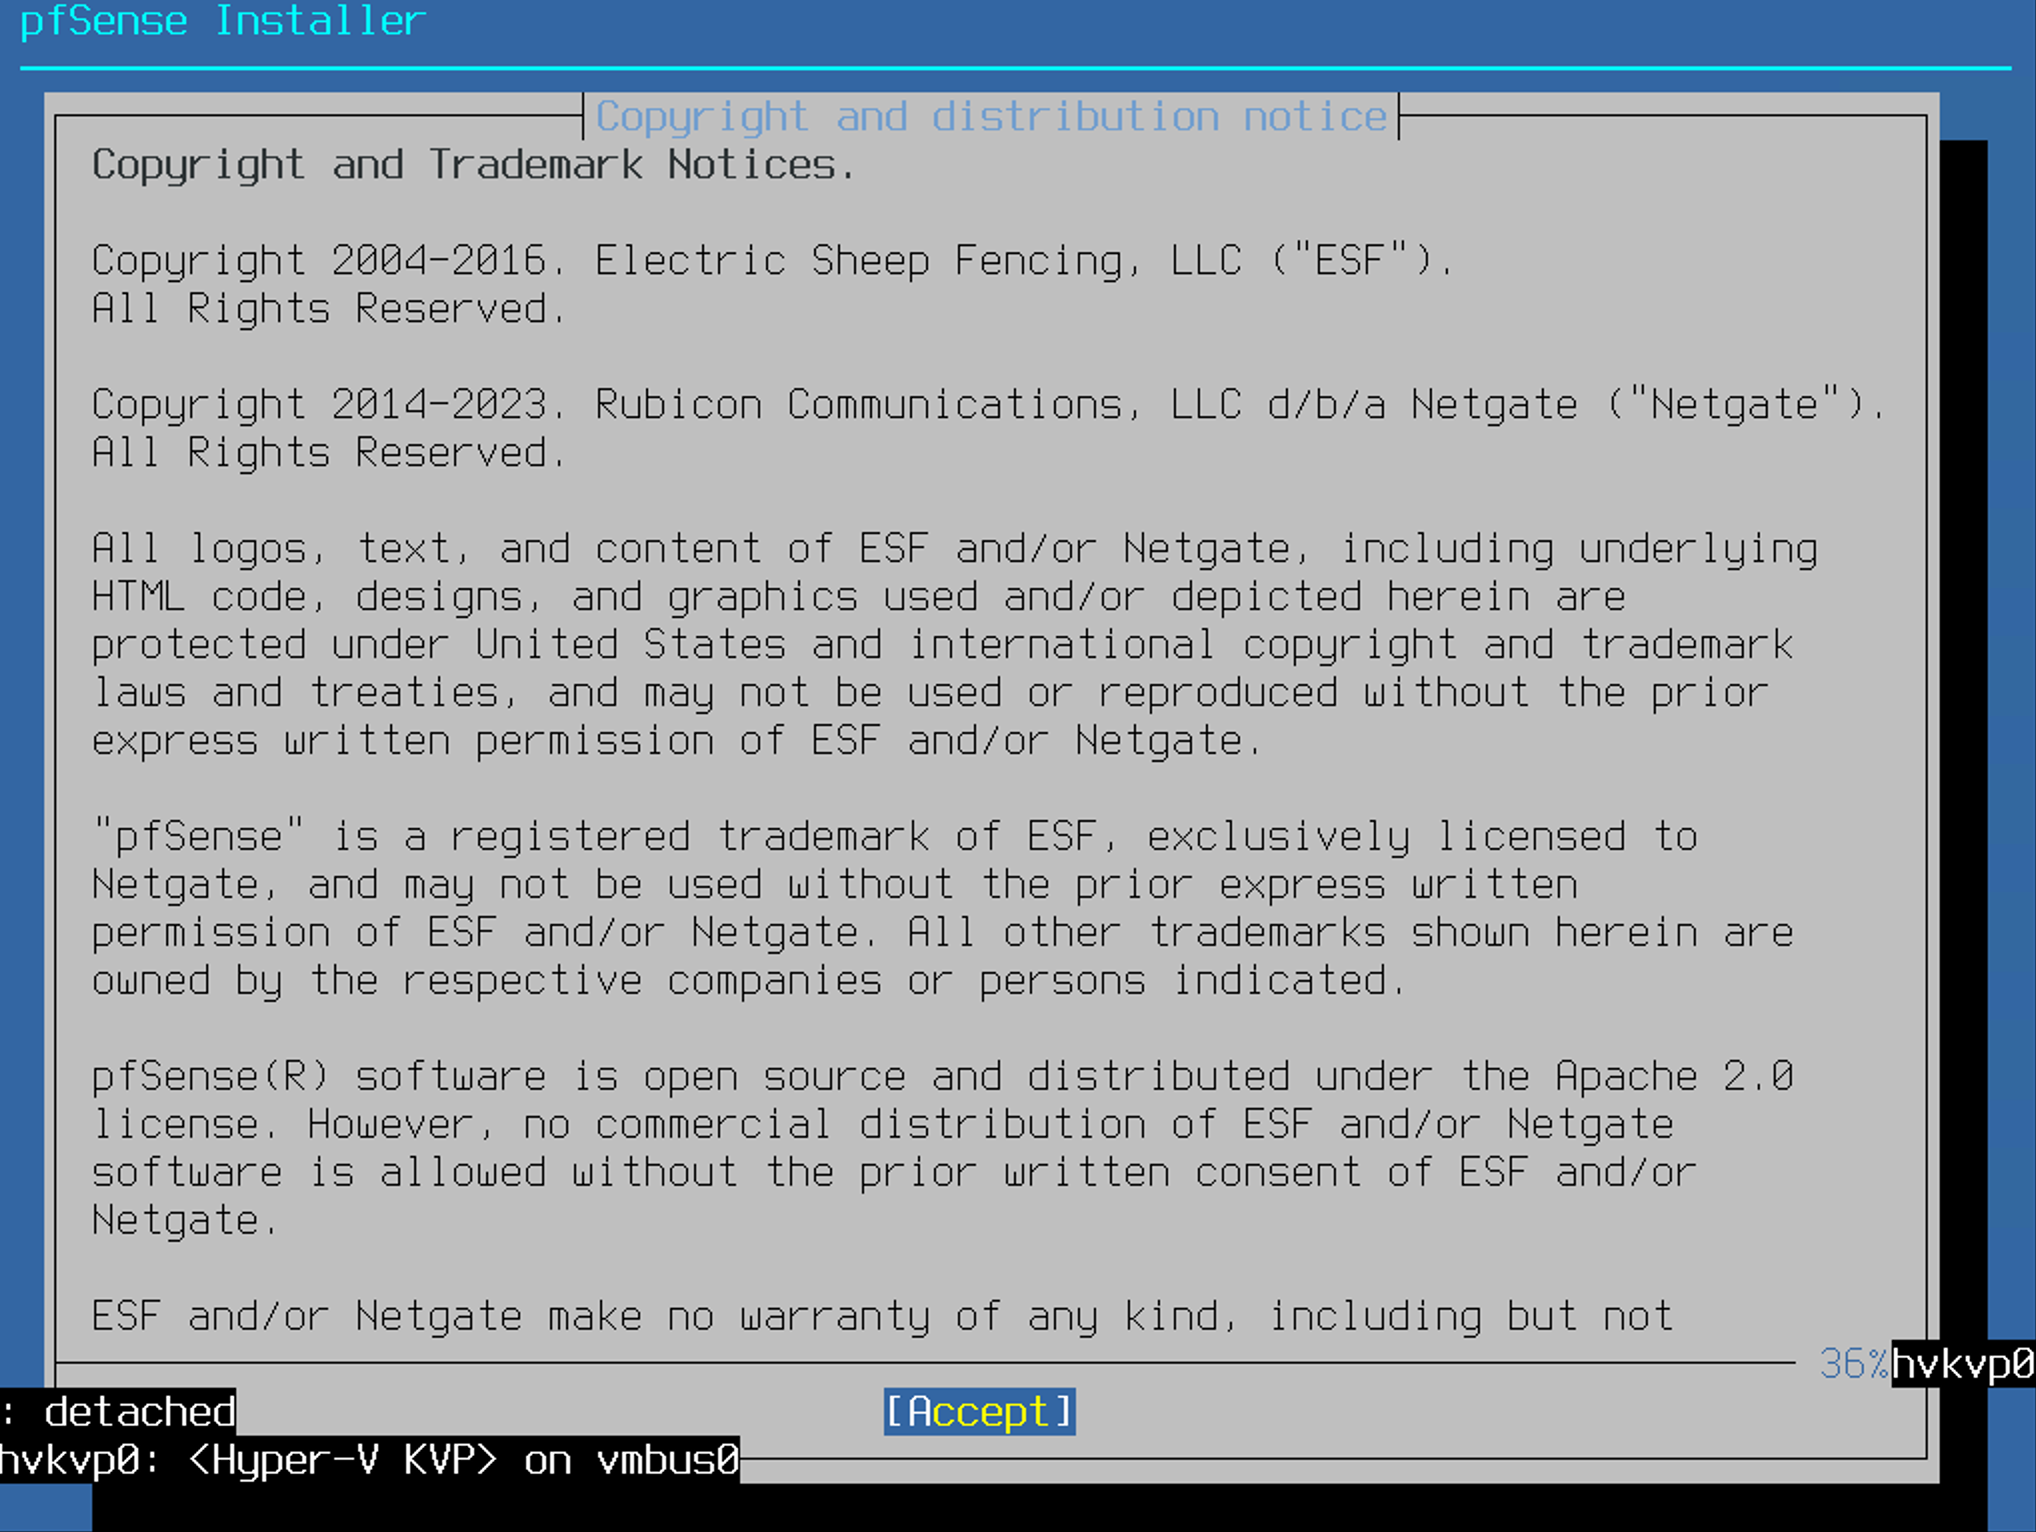
Hit Enter to Accept
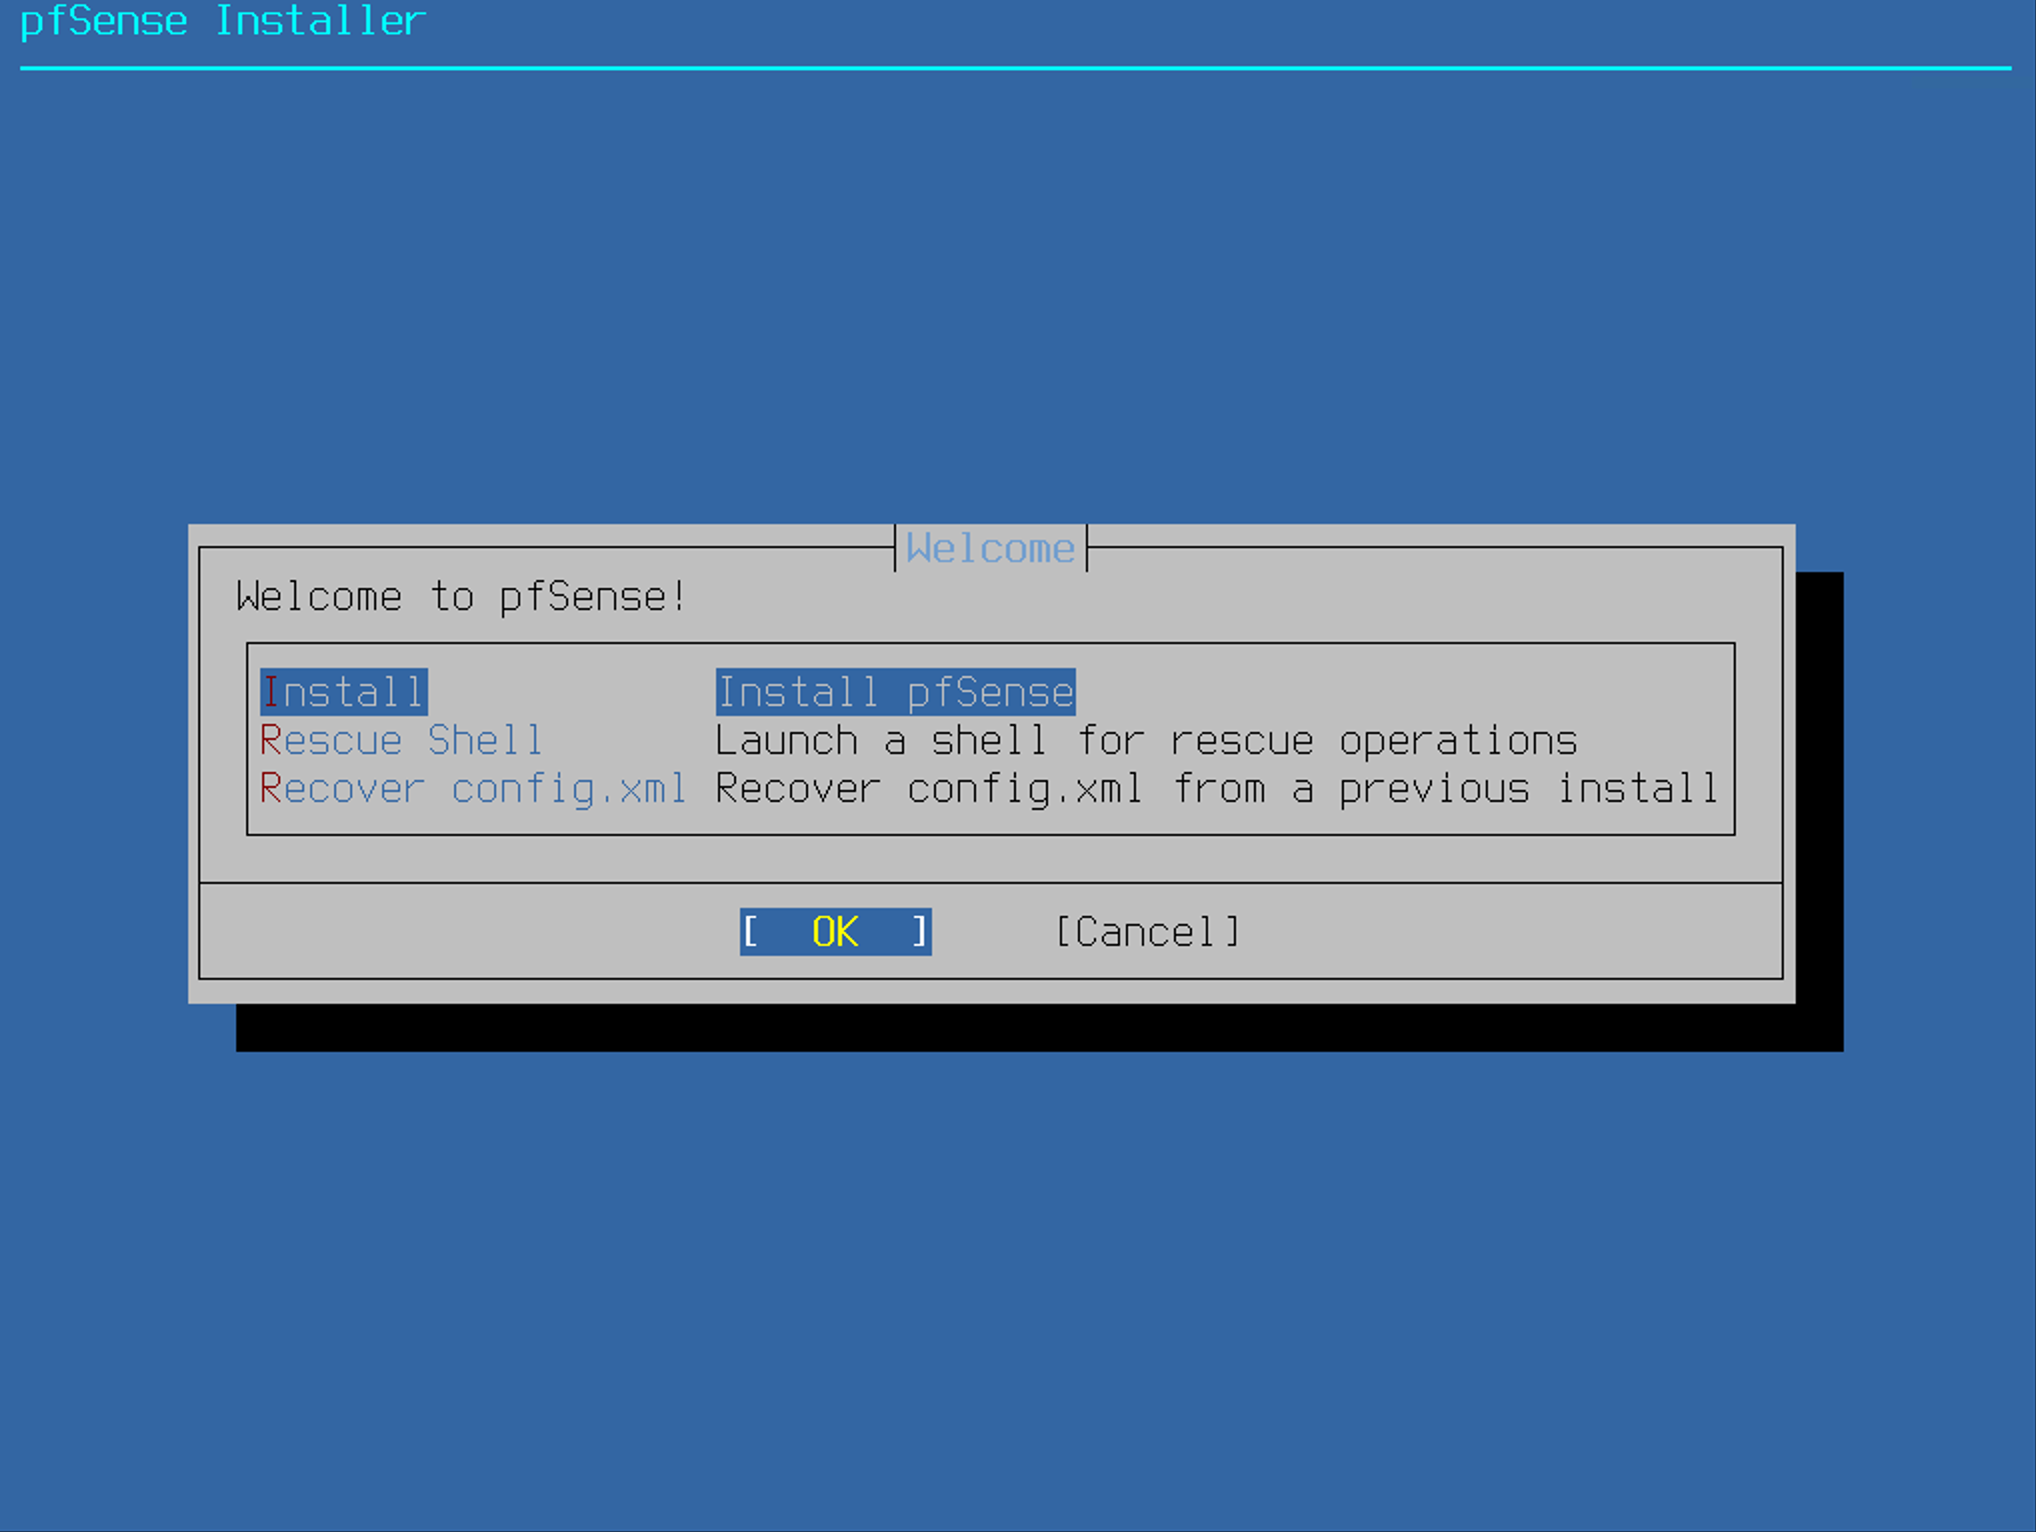
Select Install pfSense
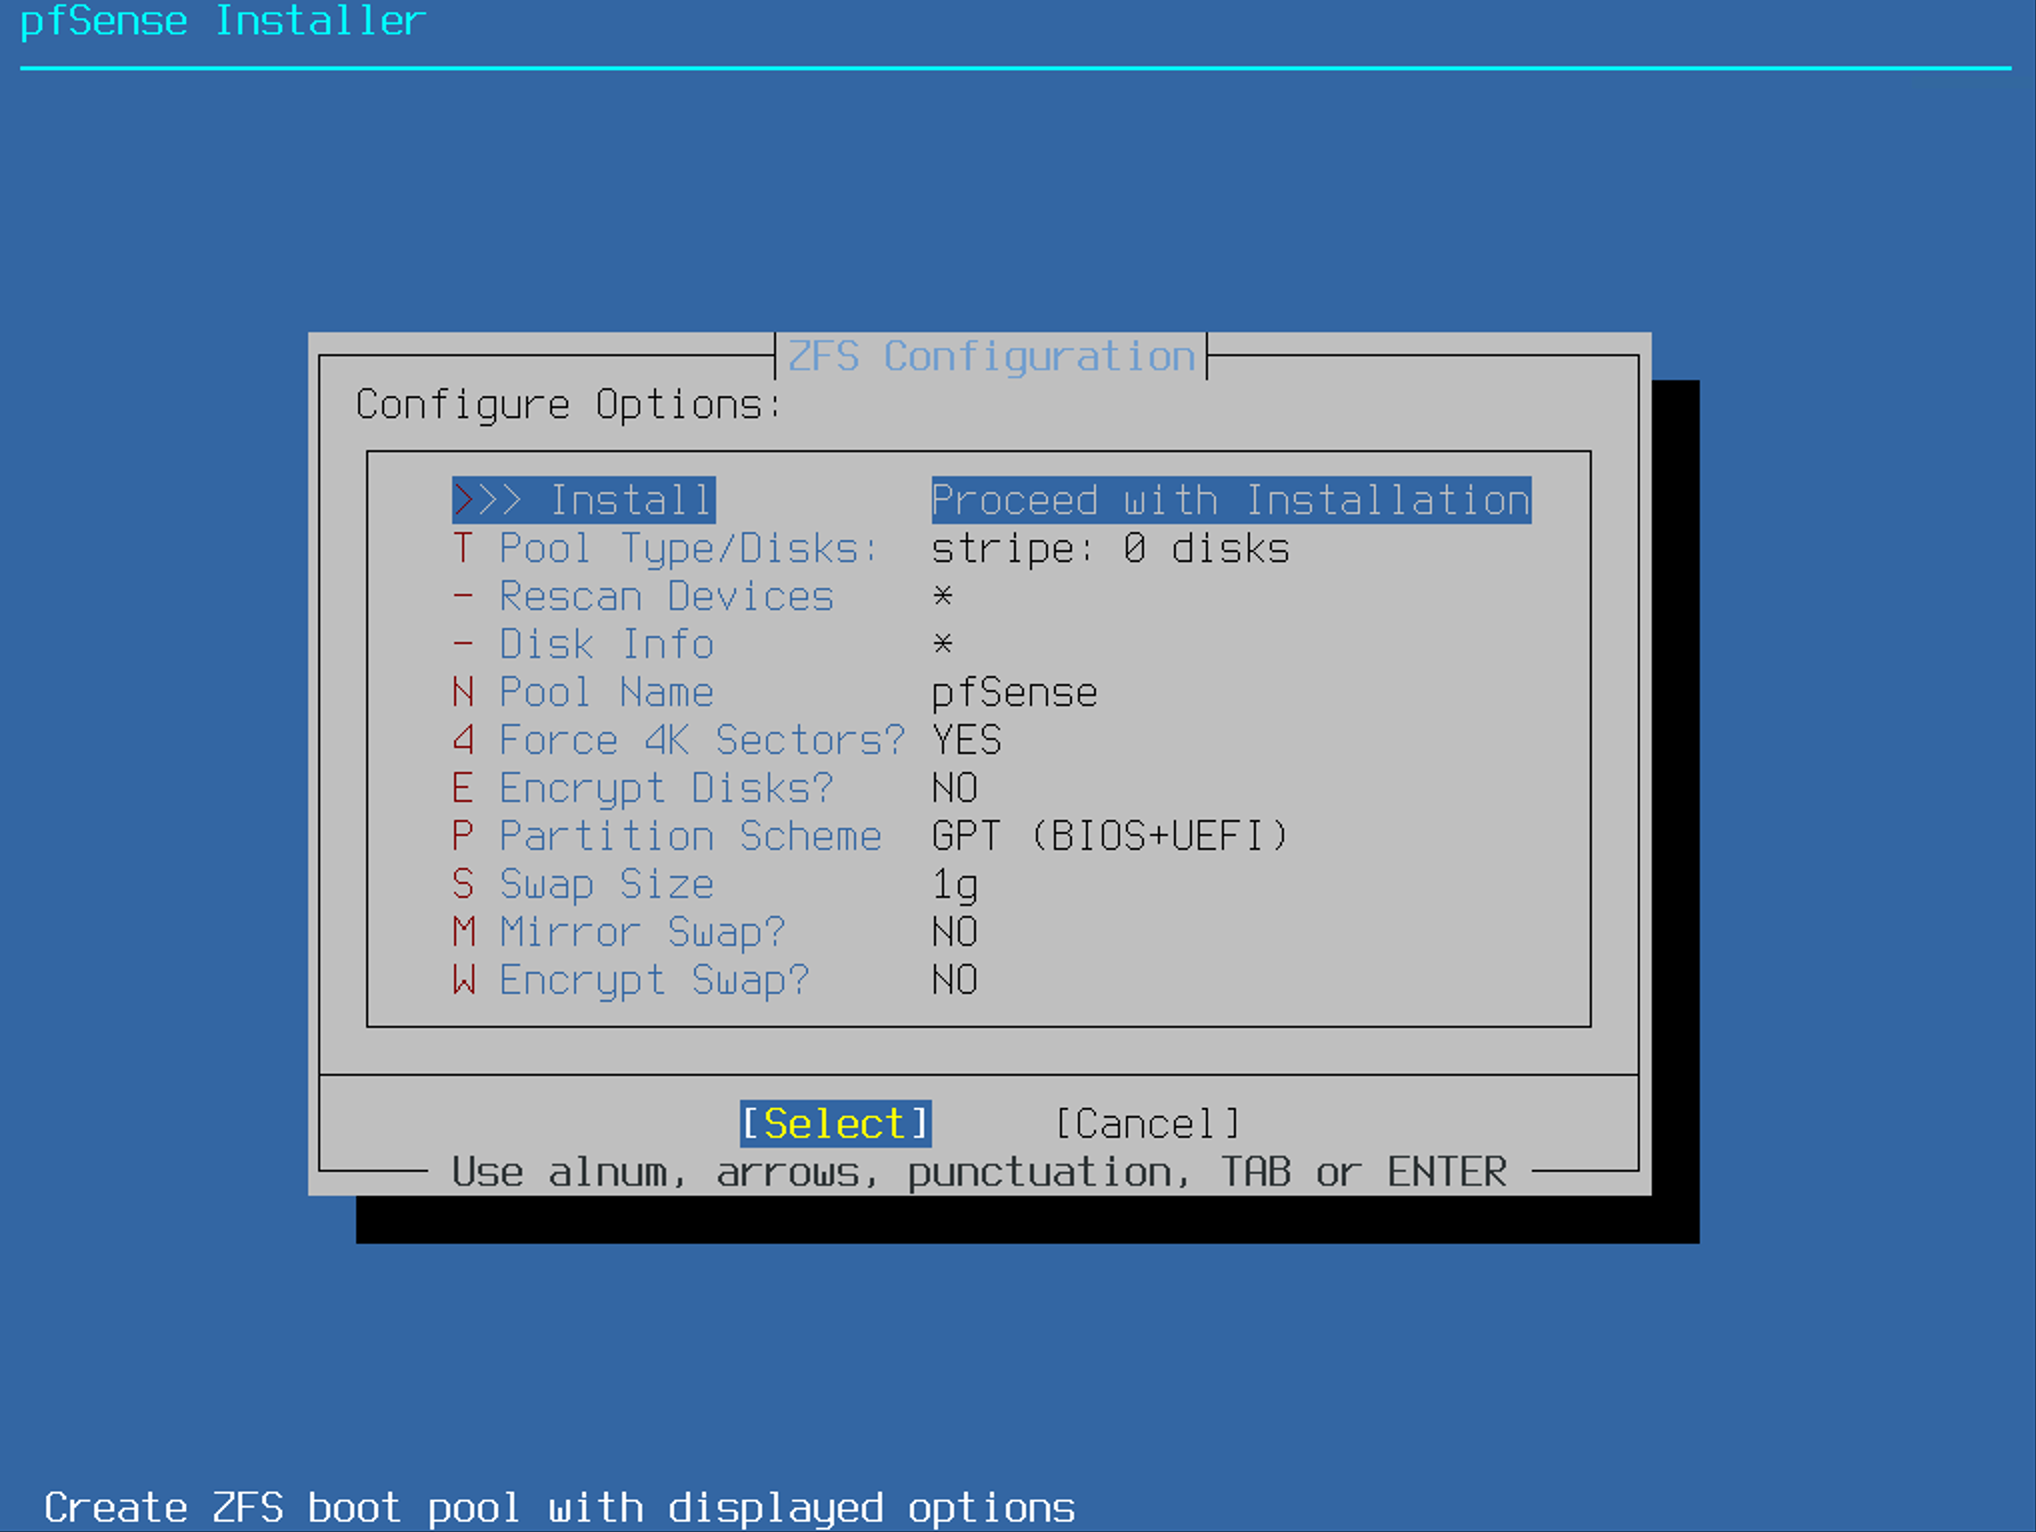
Select Auto(ZFS) Guided Root-on-ZFS

Select Install Proceed with Installation
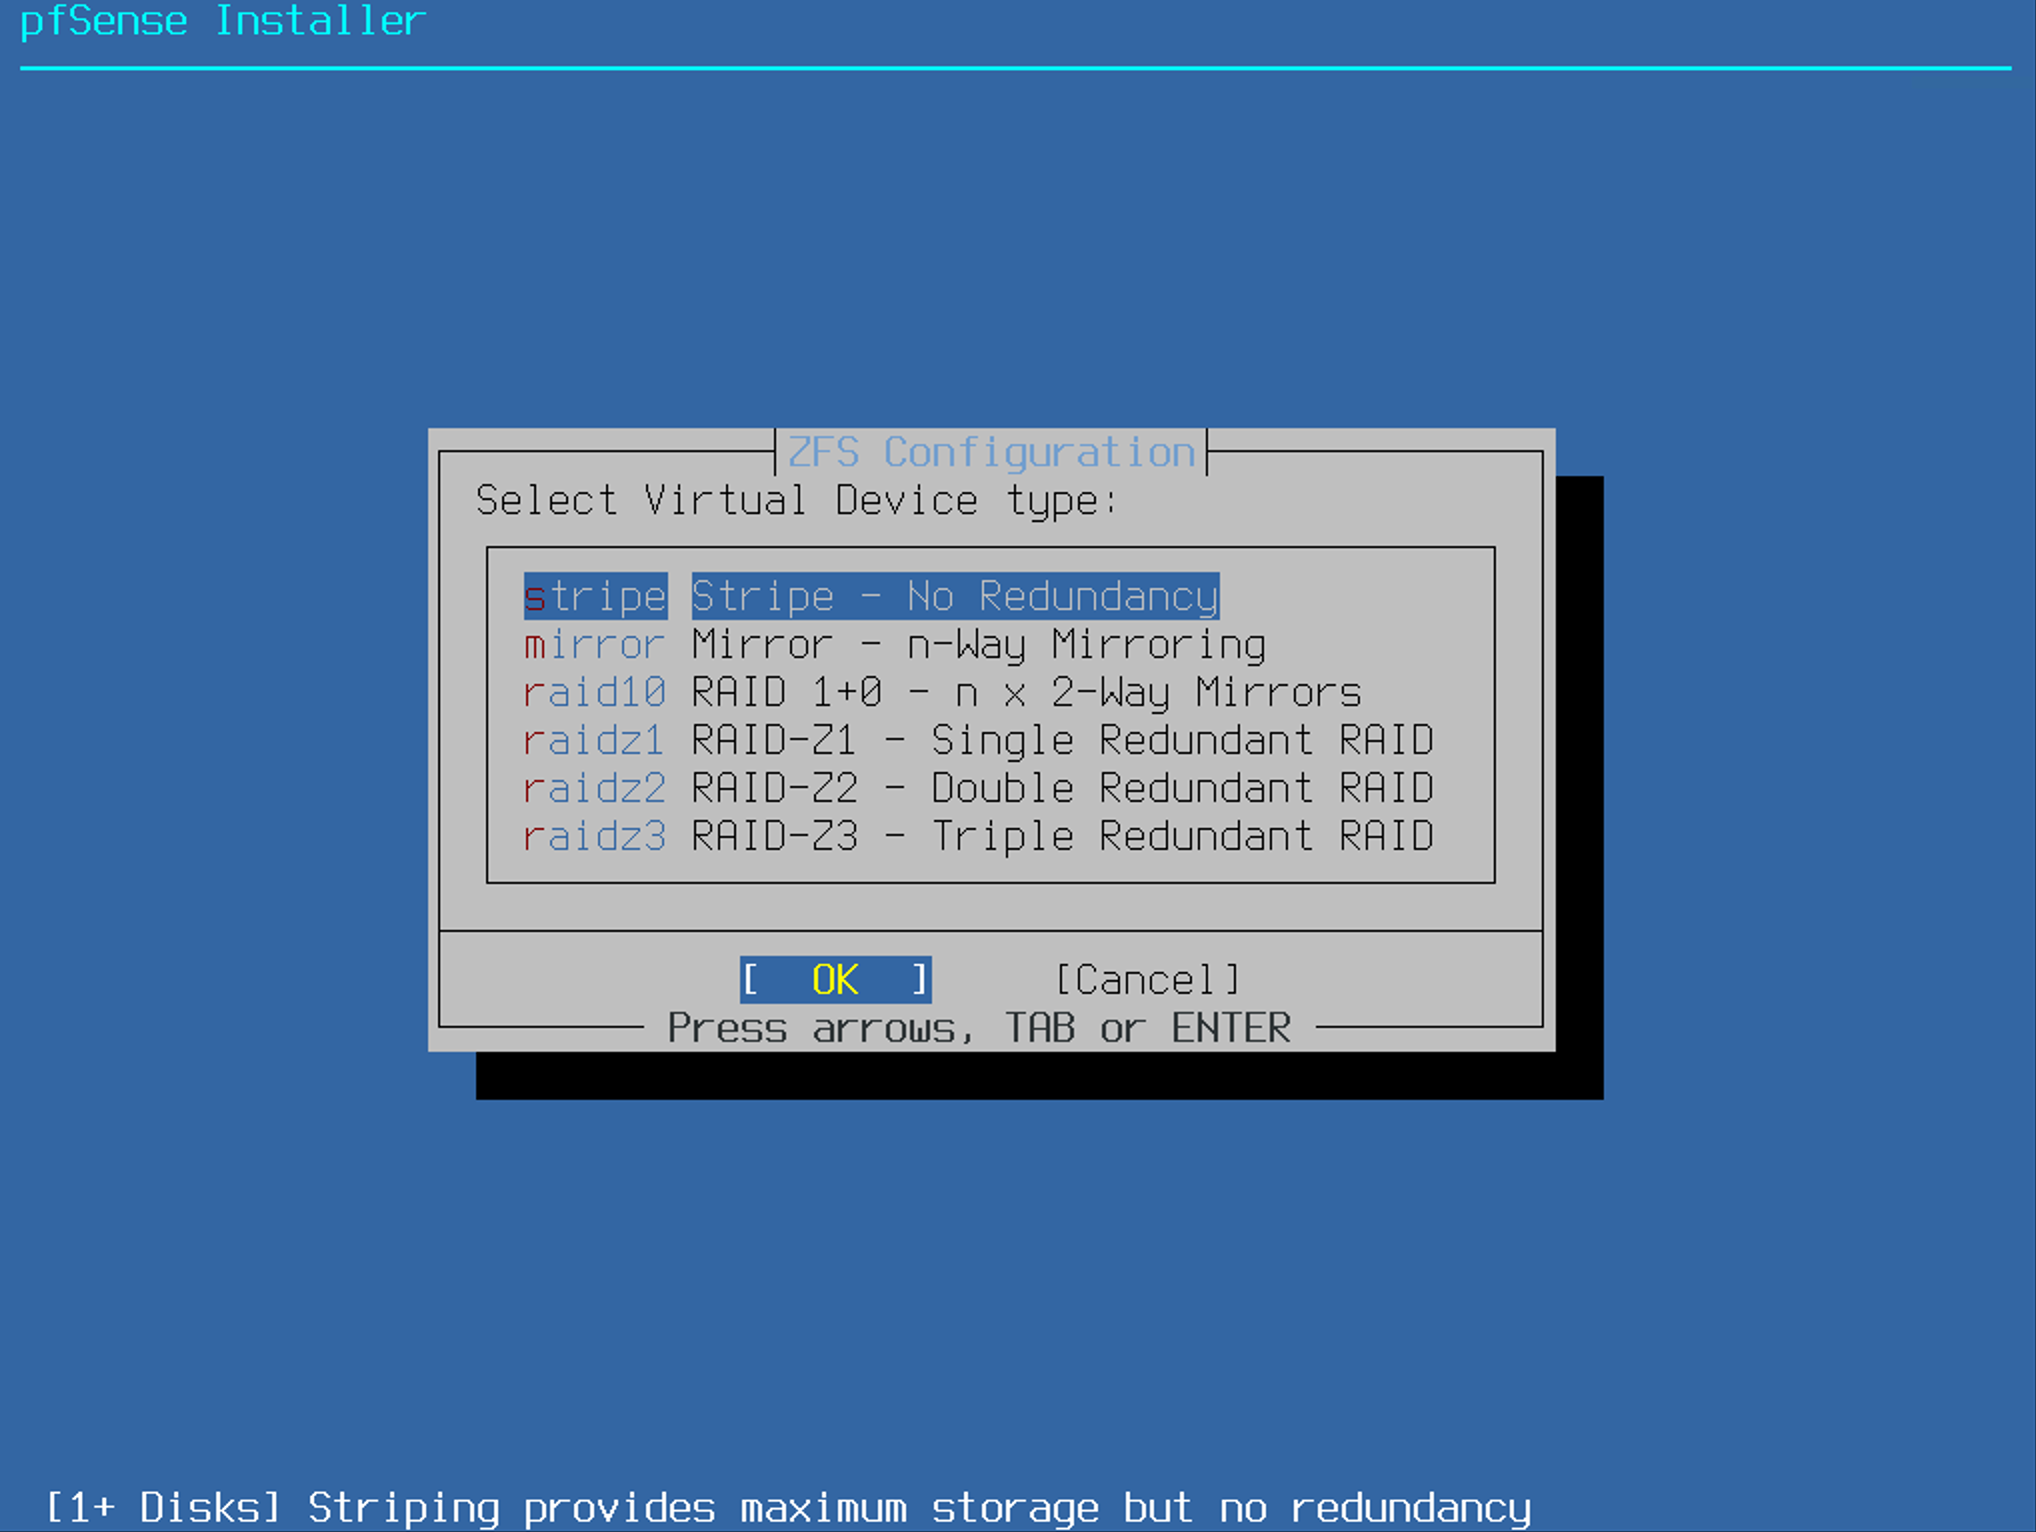
Select Stripe
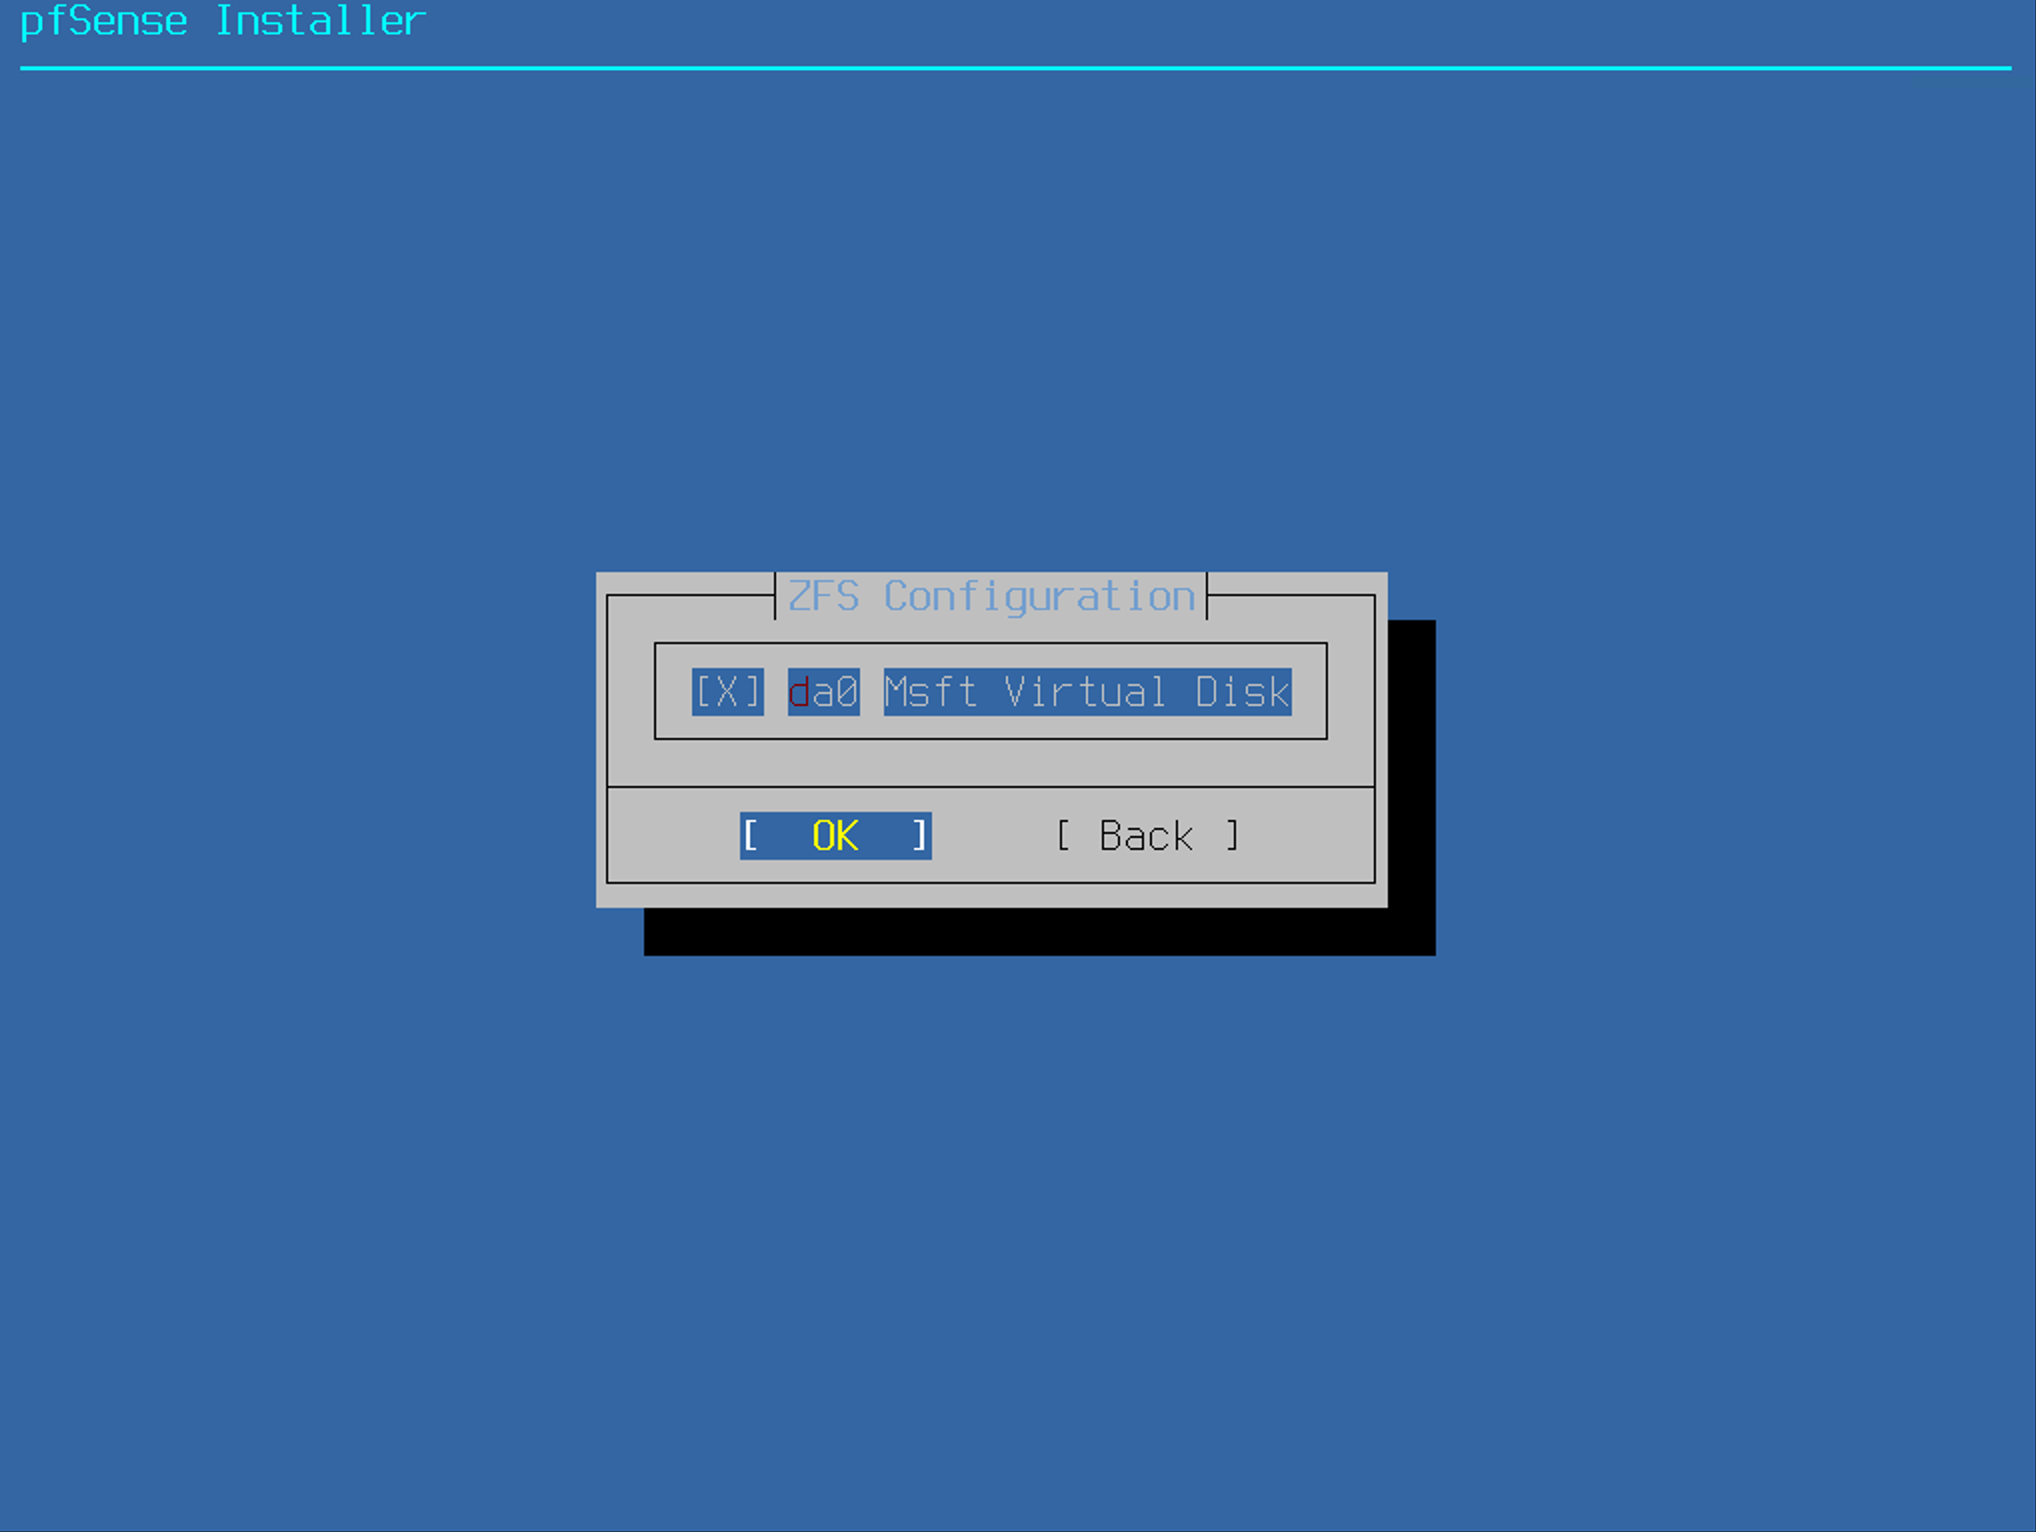
Hit 'Space' key to select the disk
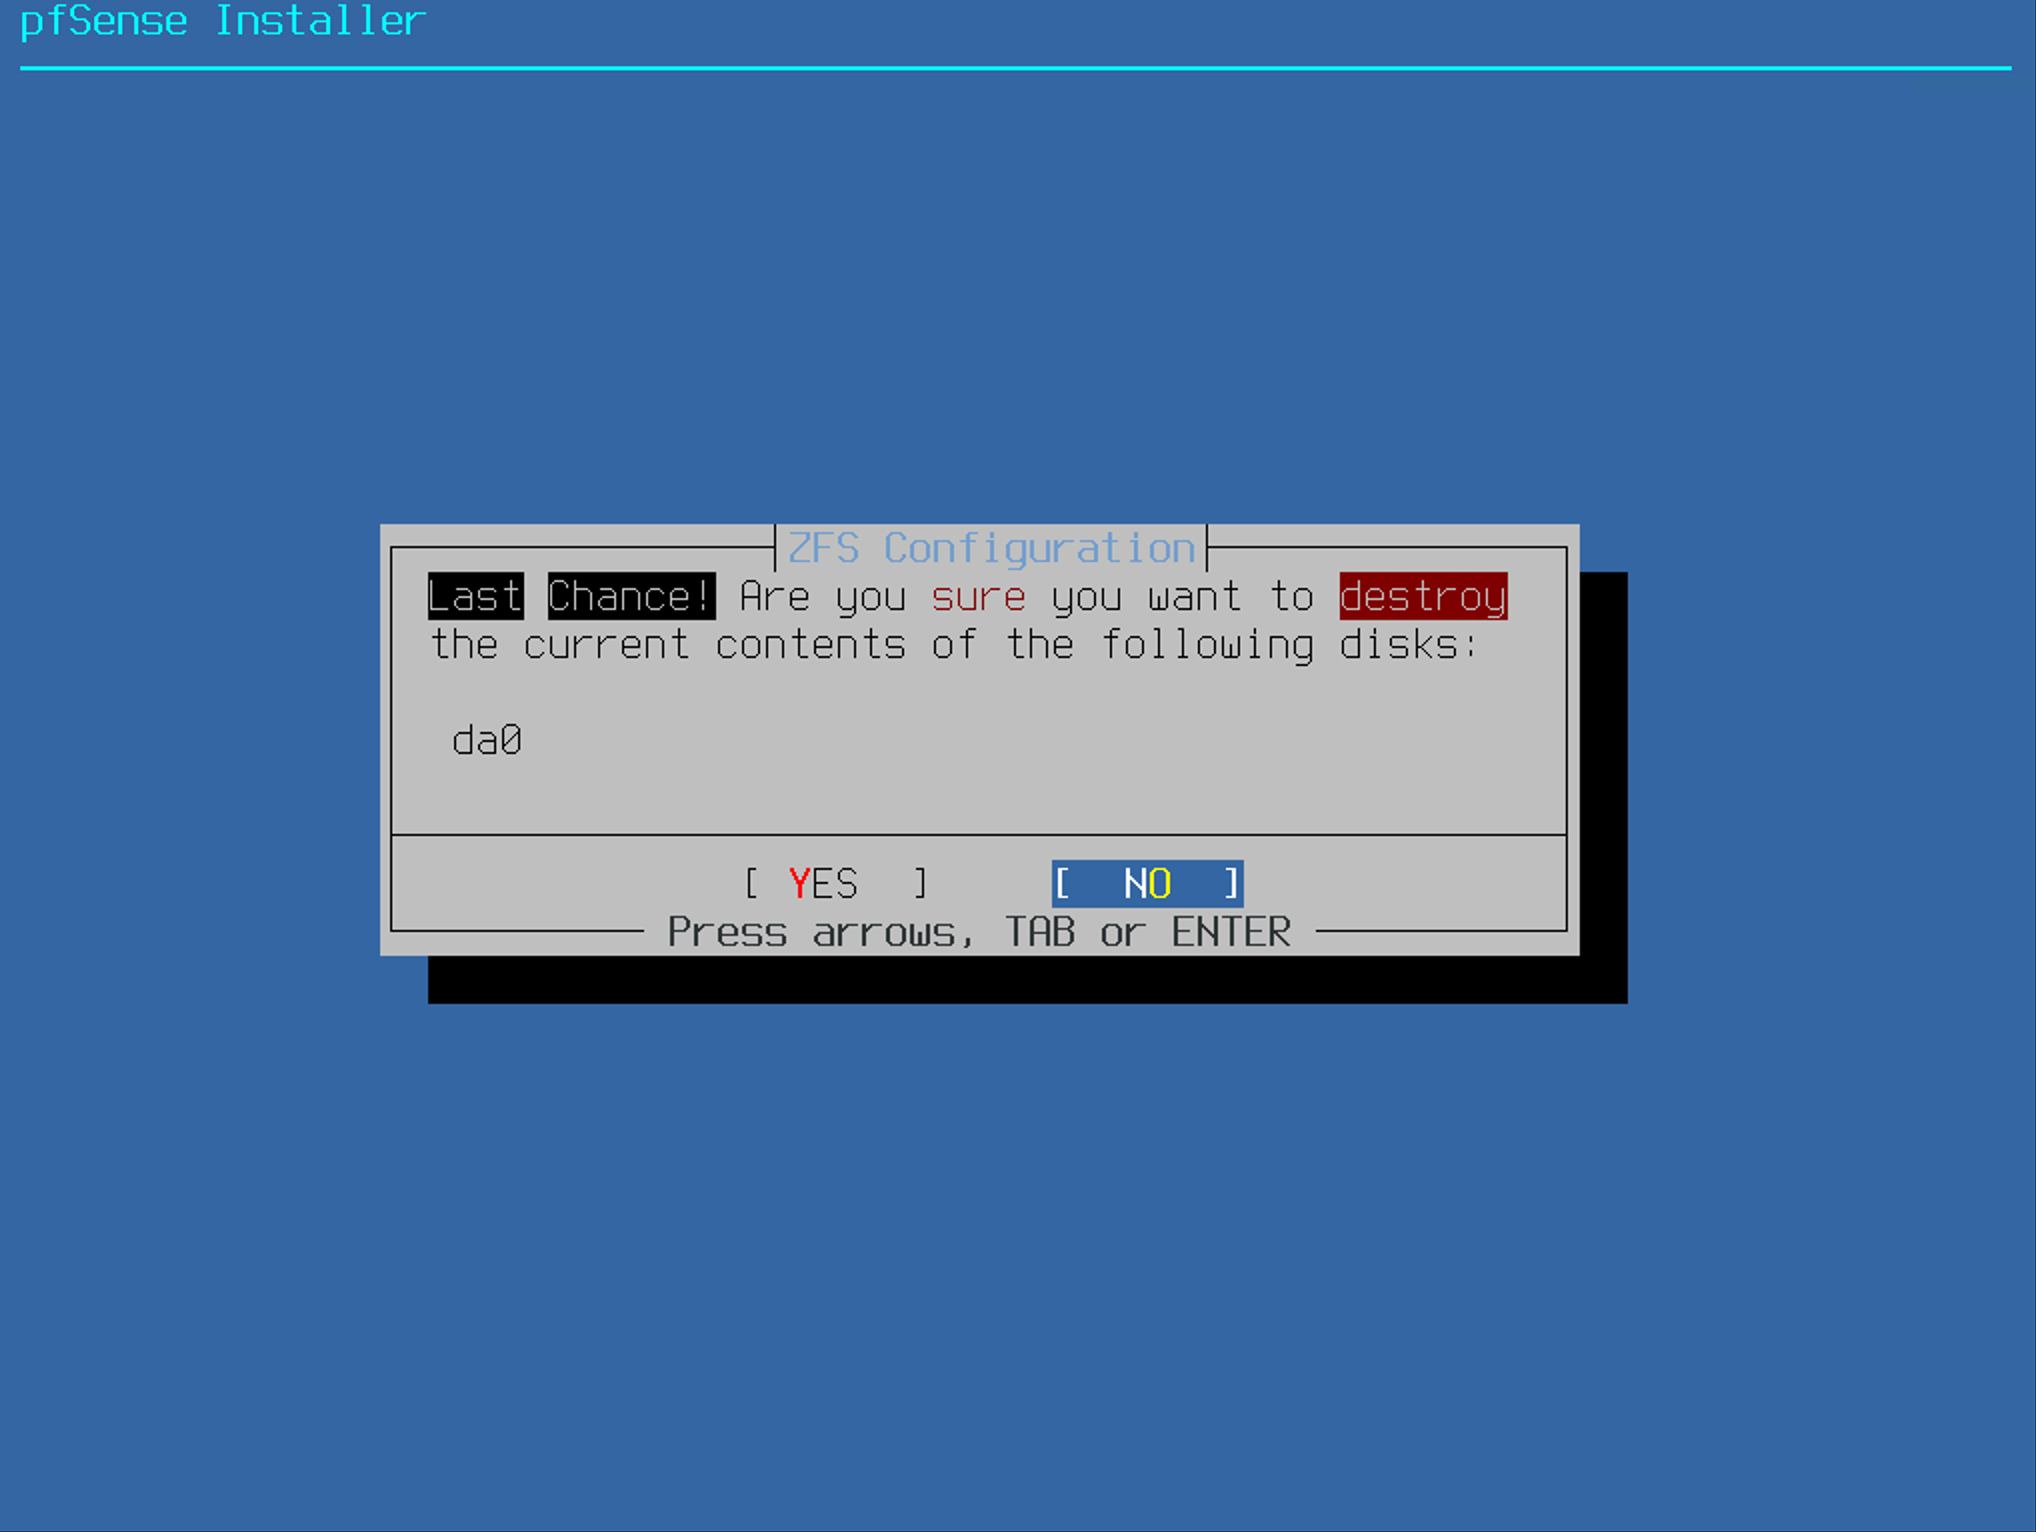
In this step, it says it's the last chance. After this step, all of the content in the disk will be destroyed.
We will proceed to 'YES'
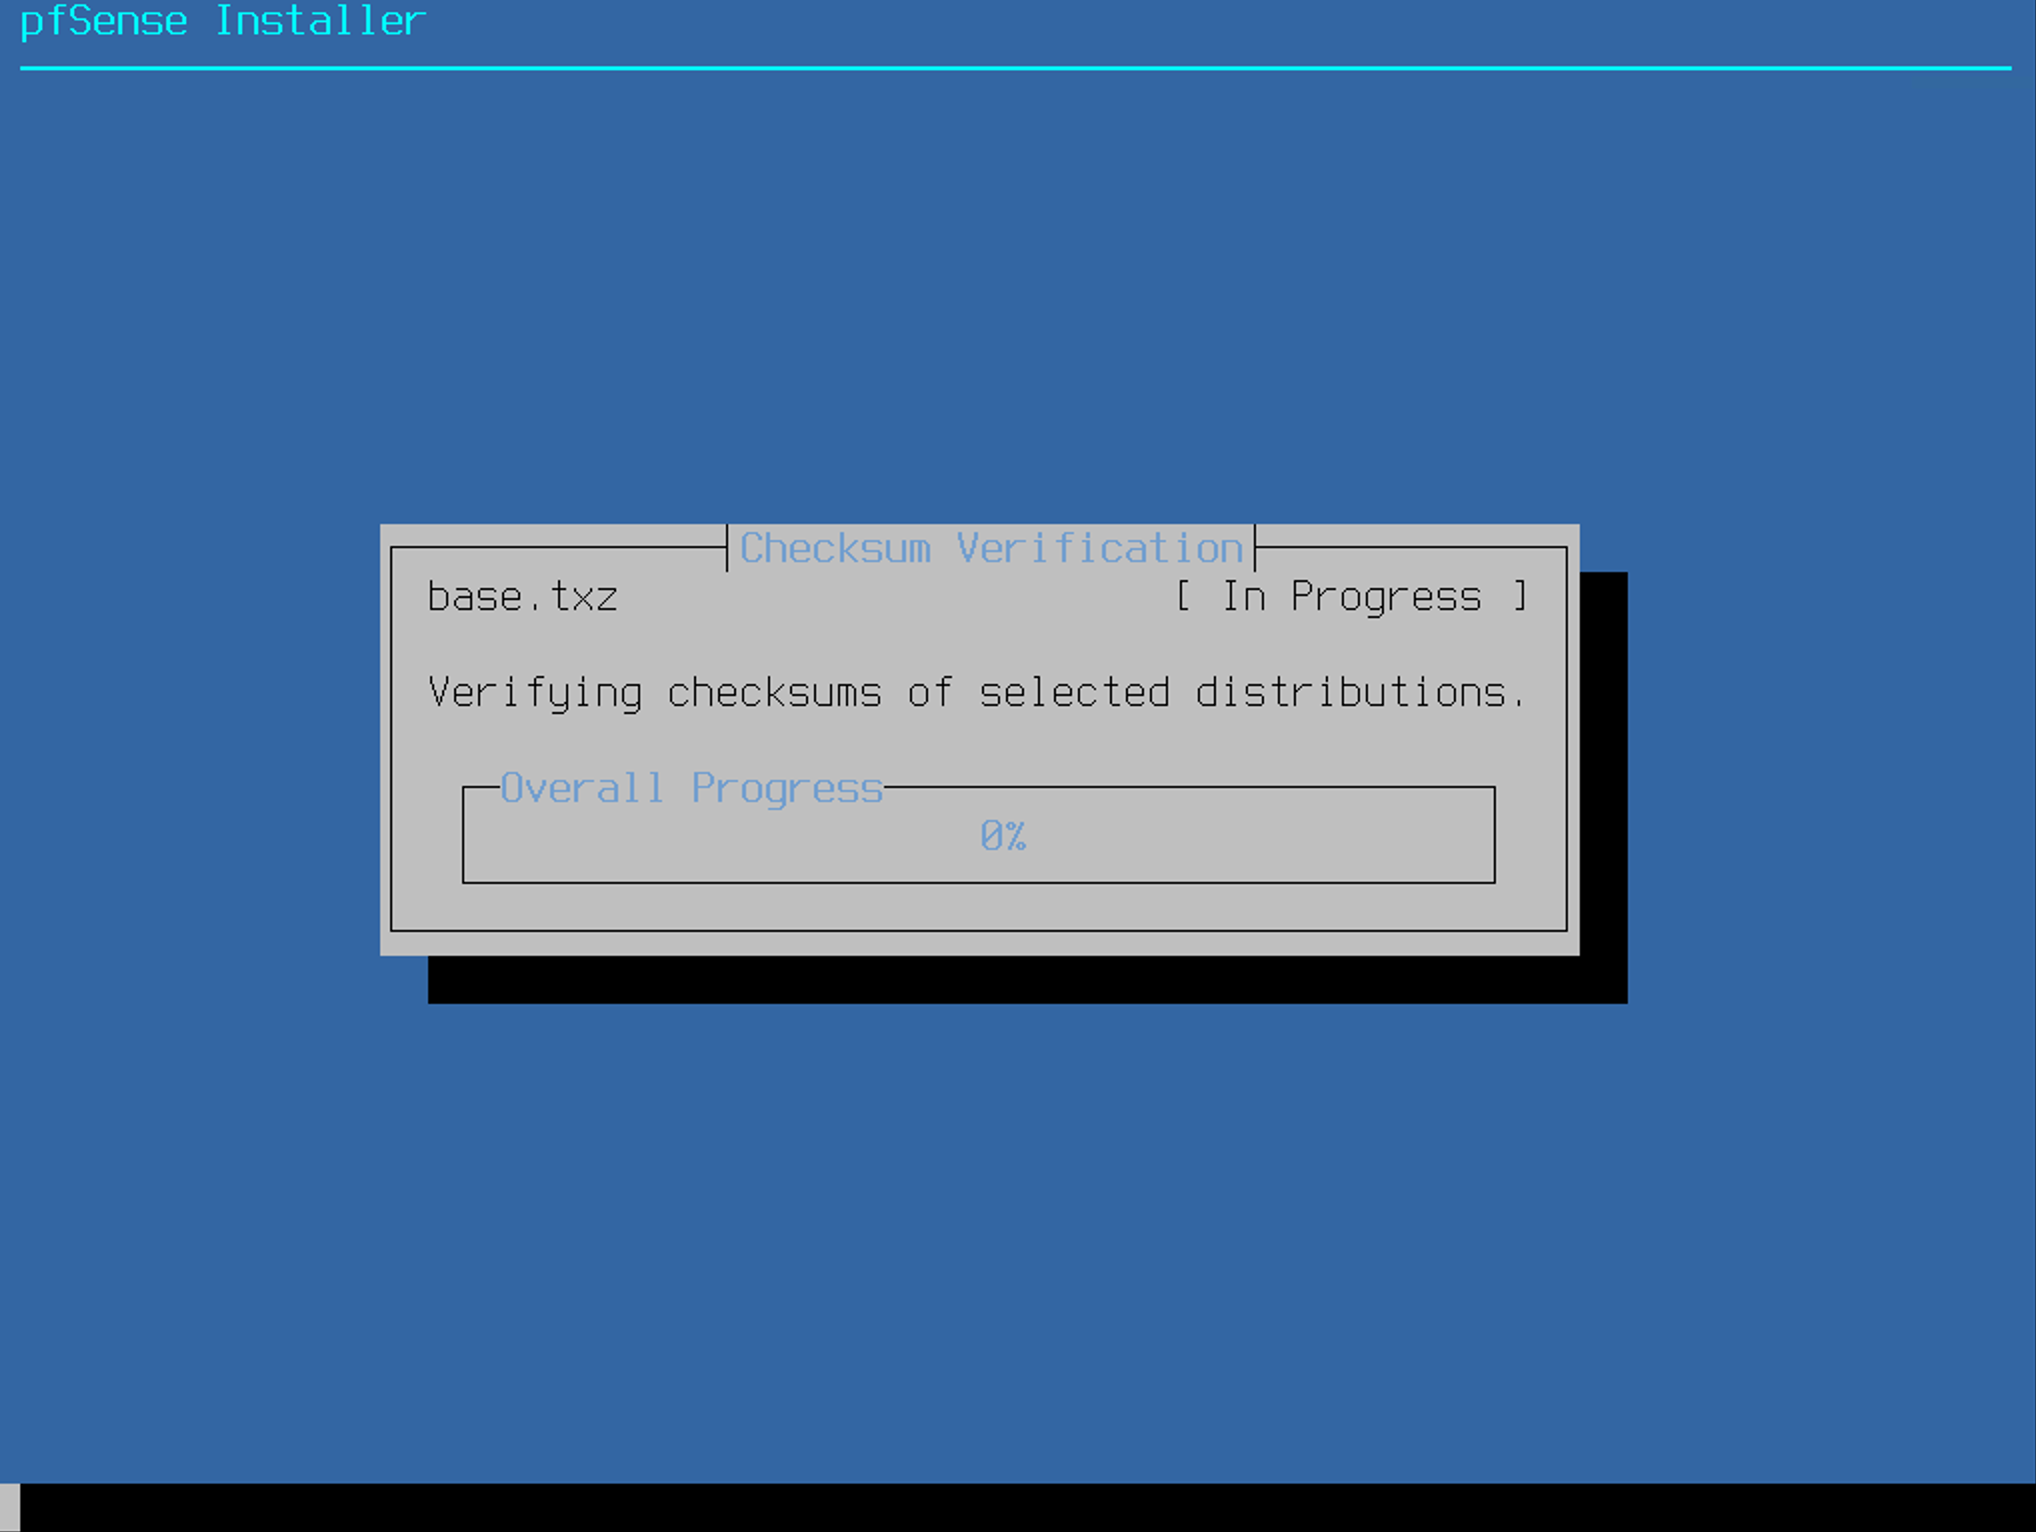
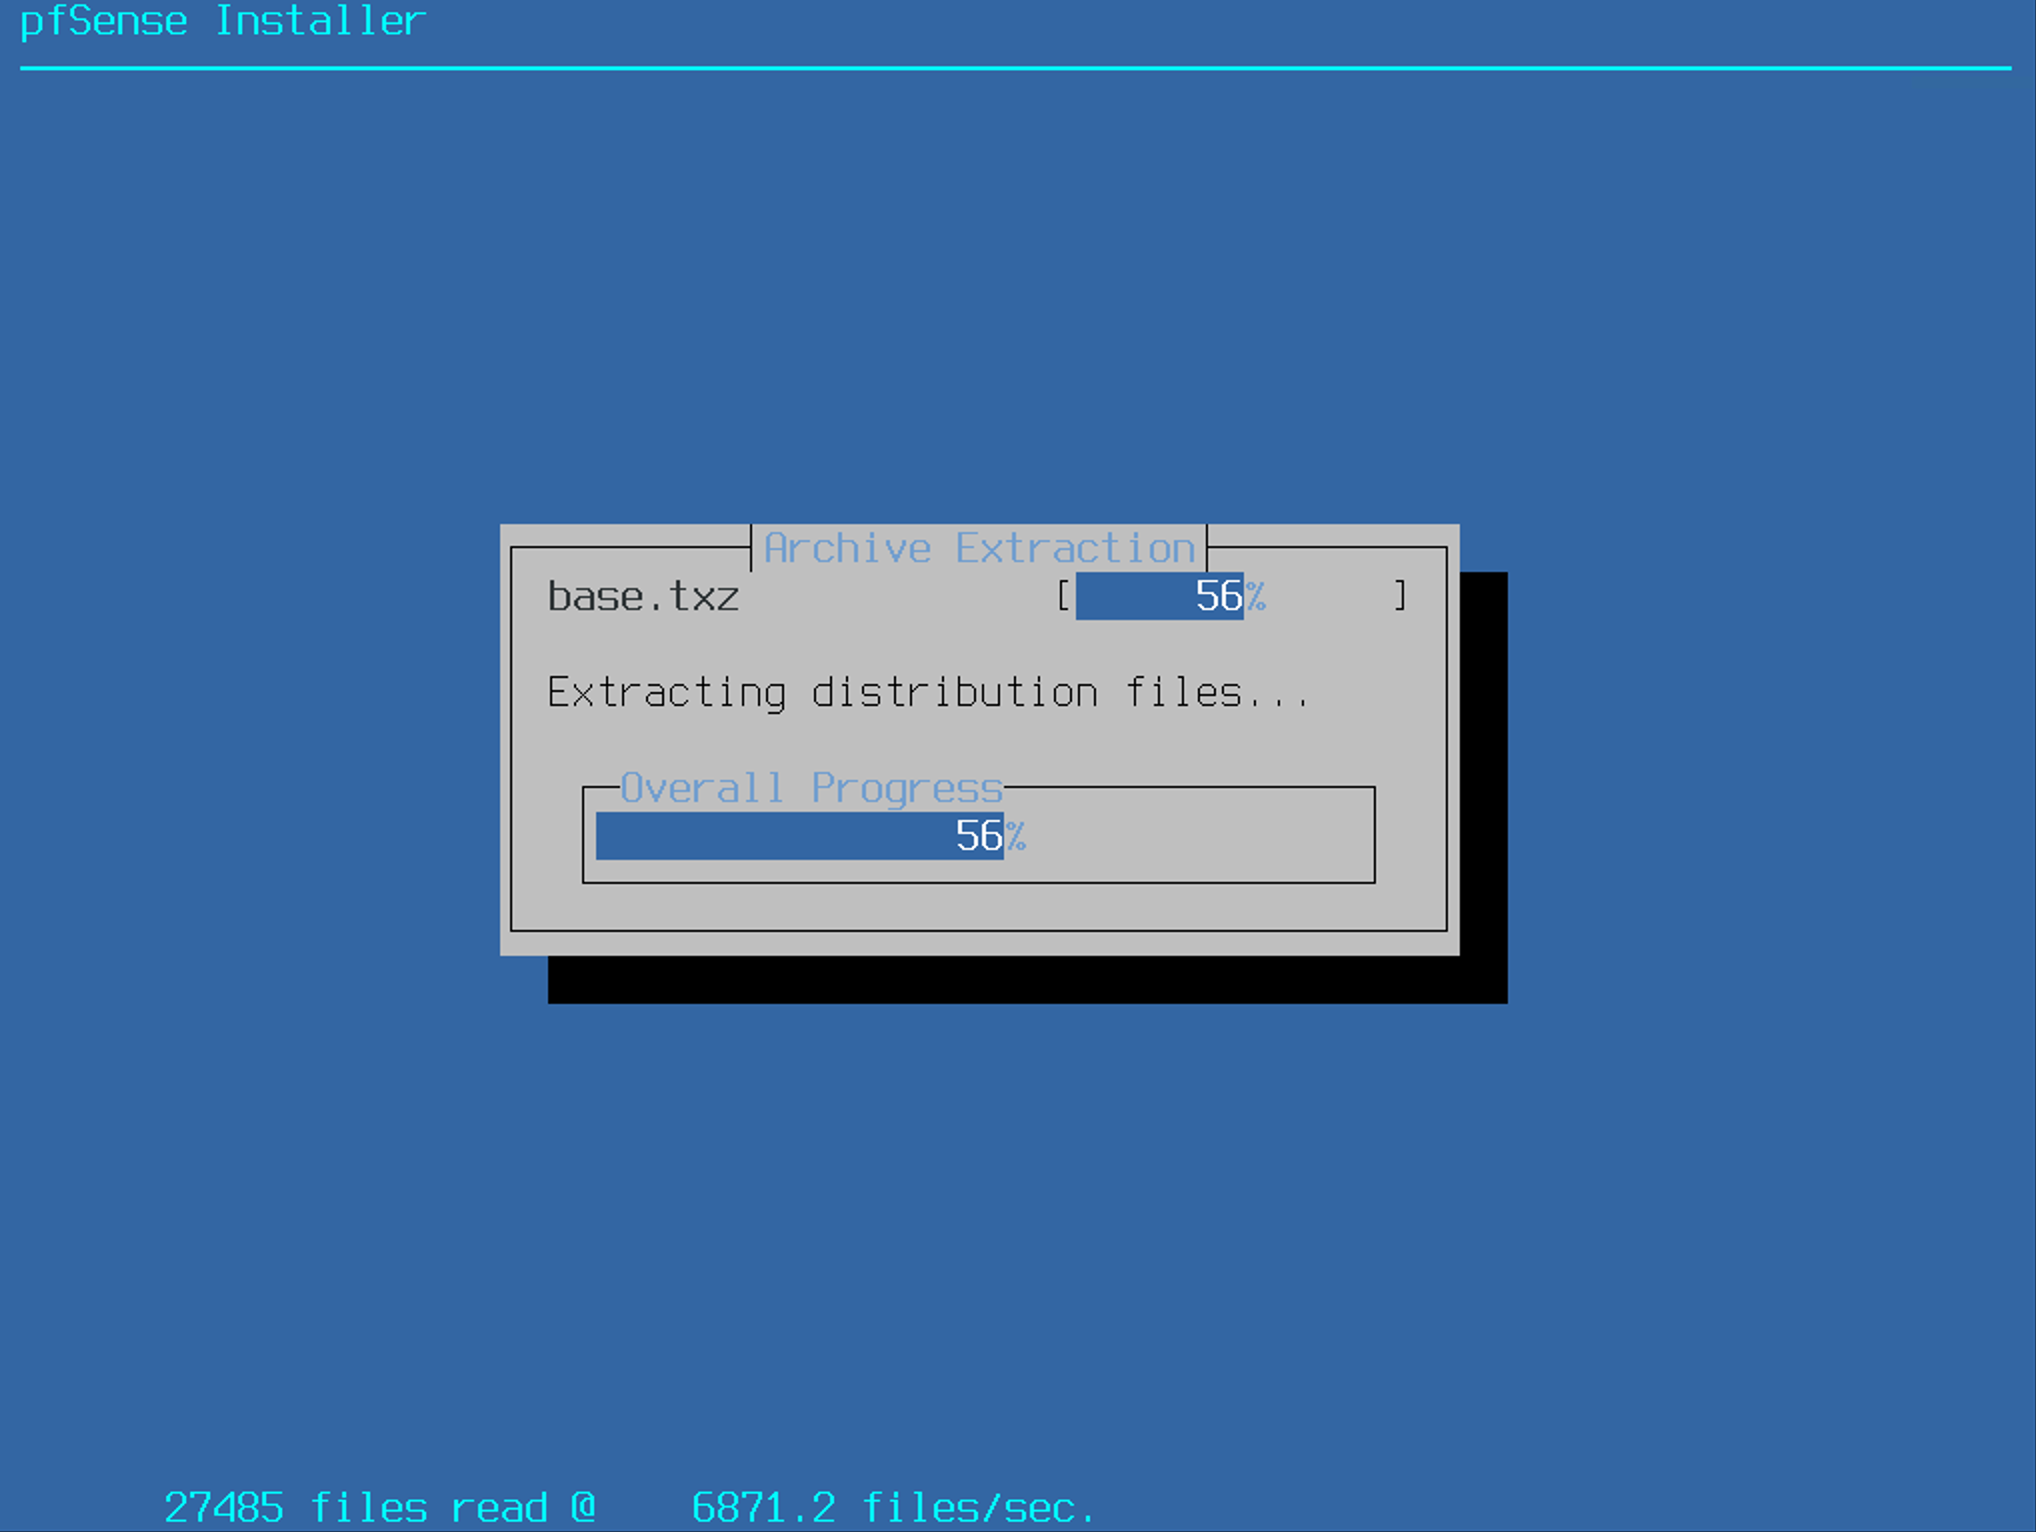
The installation is in progress
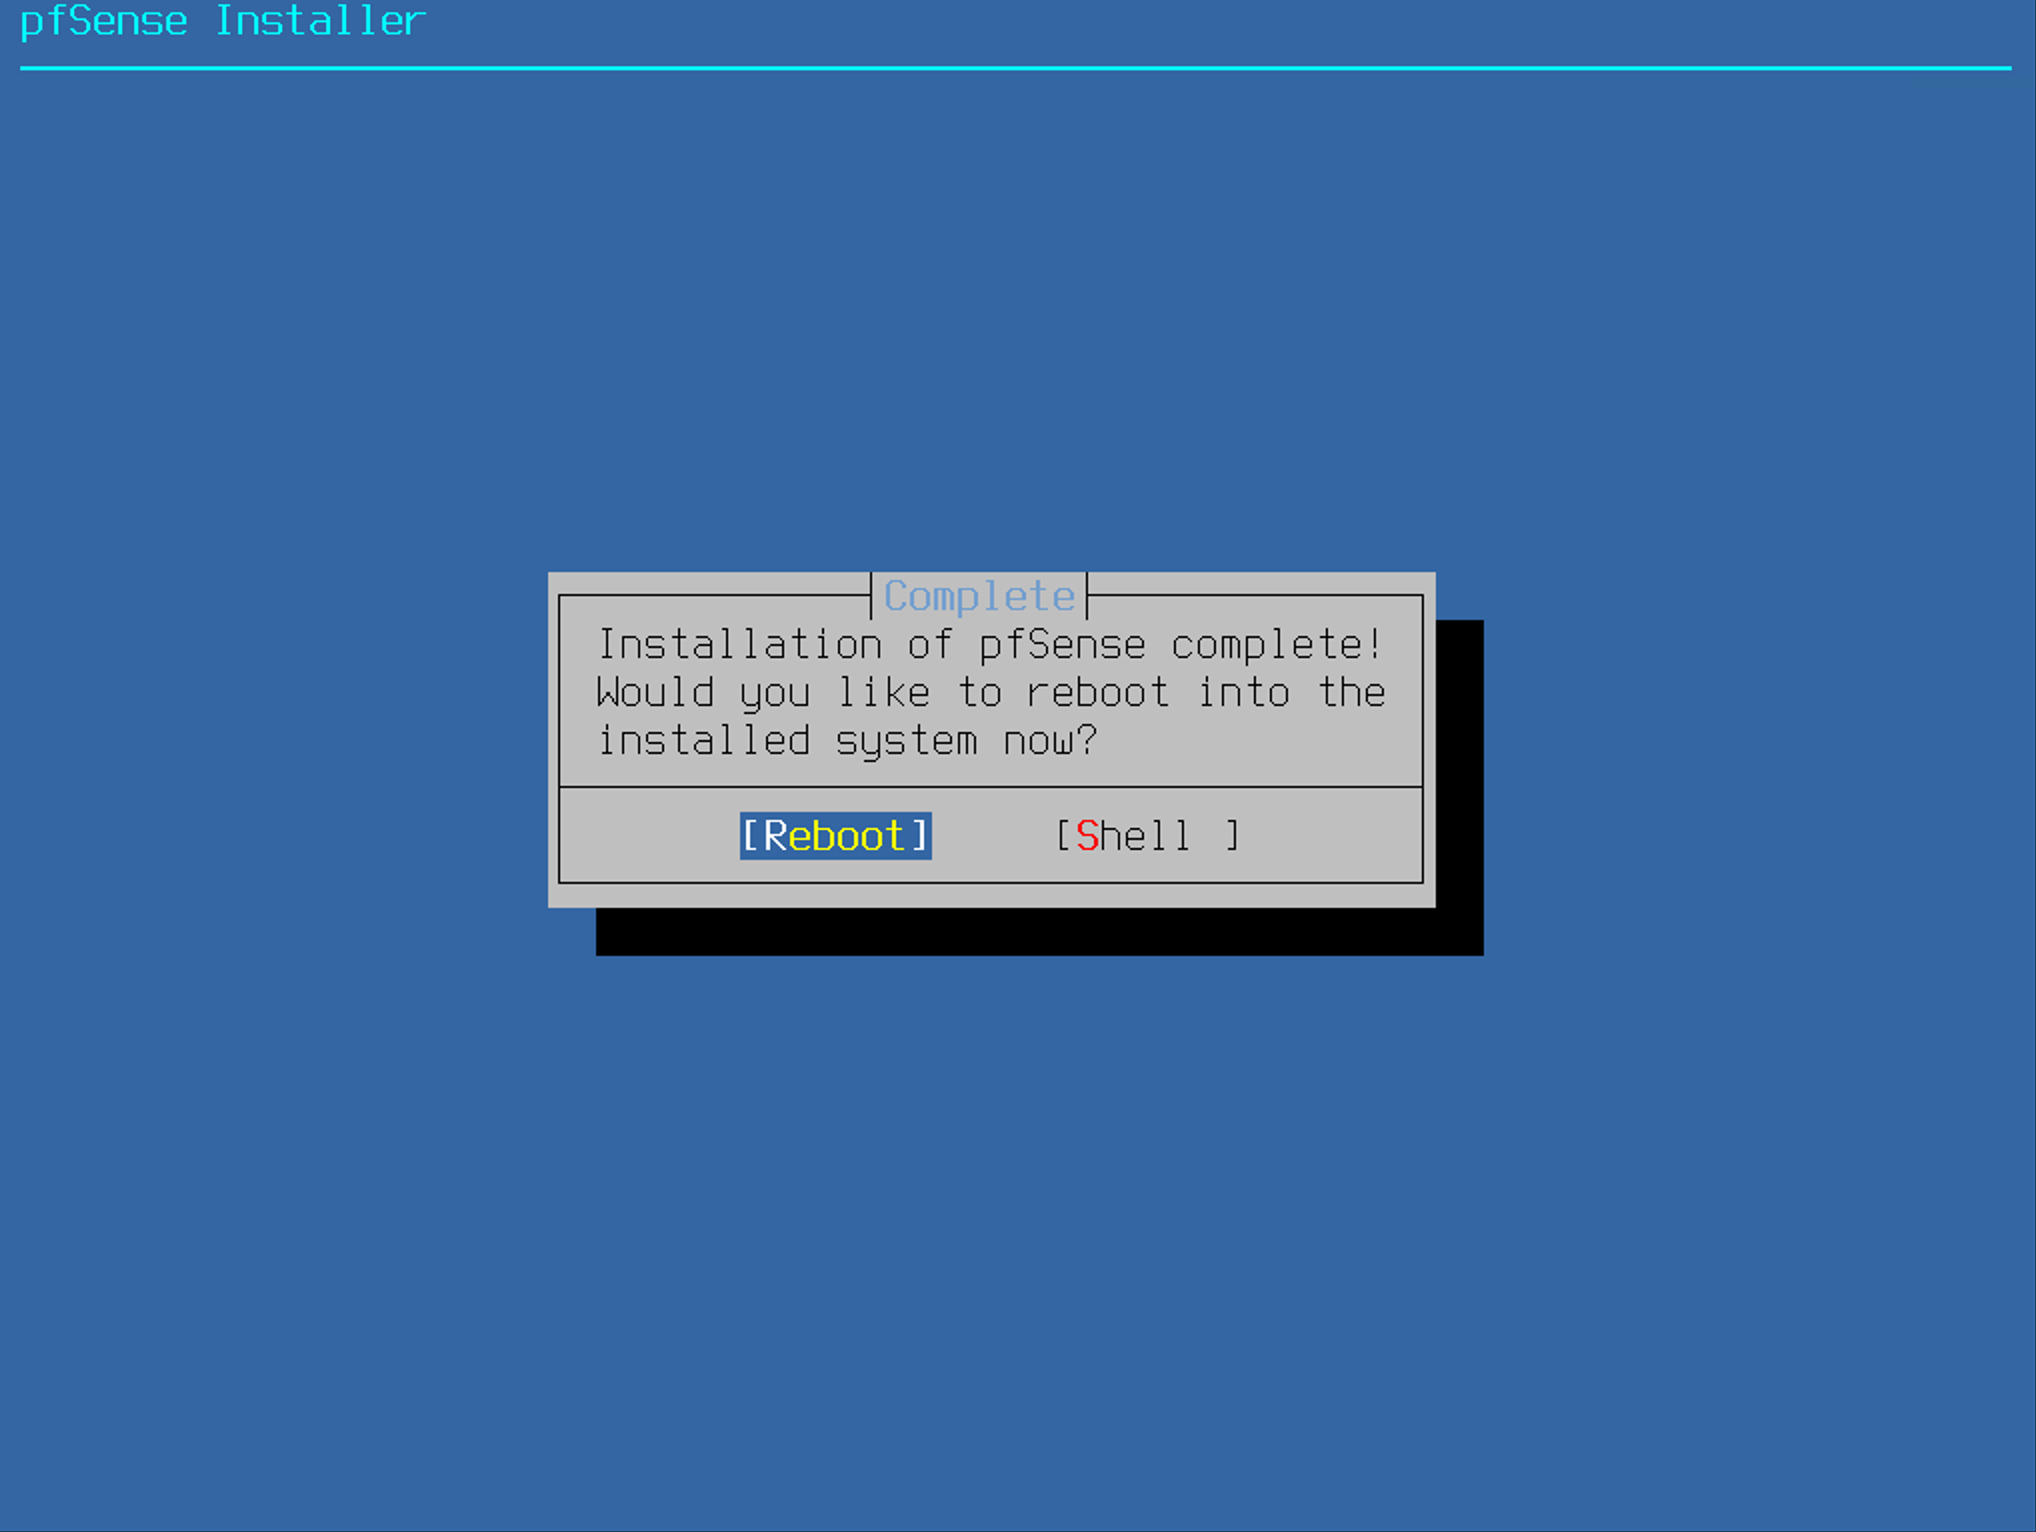
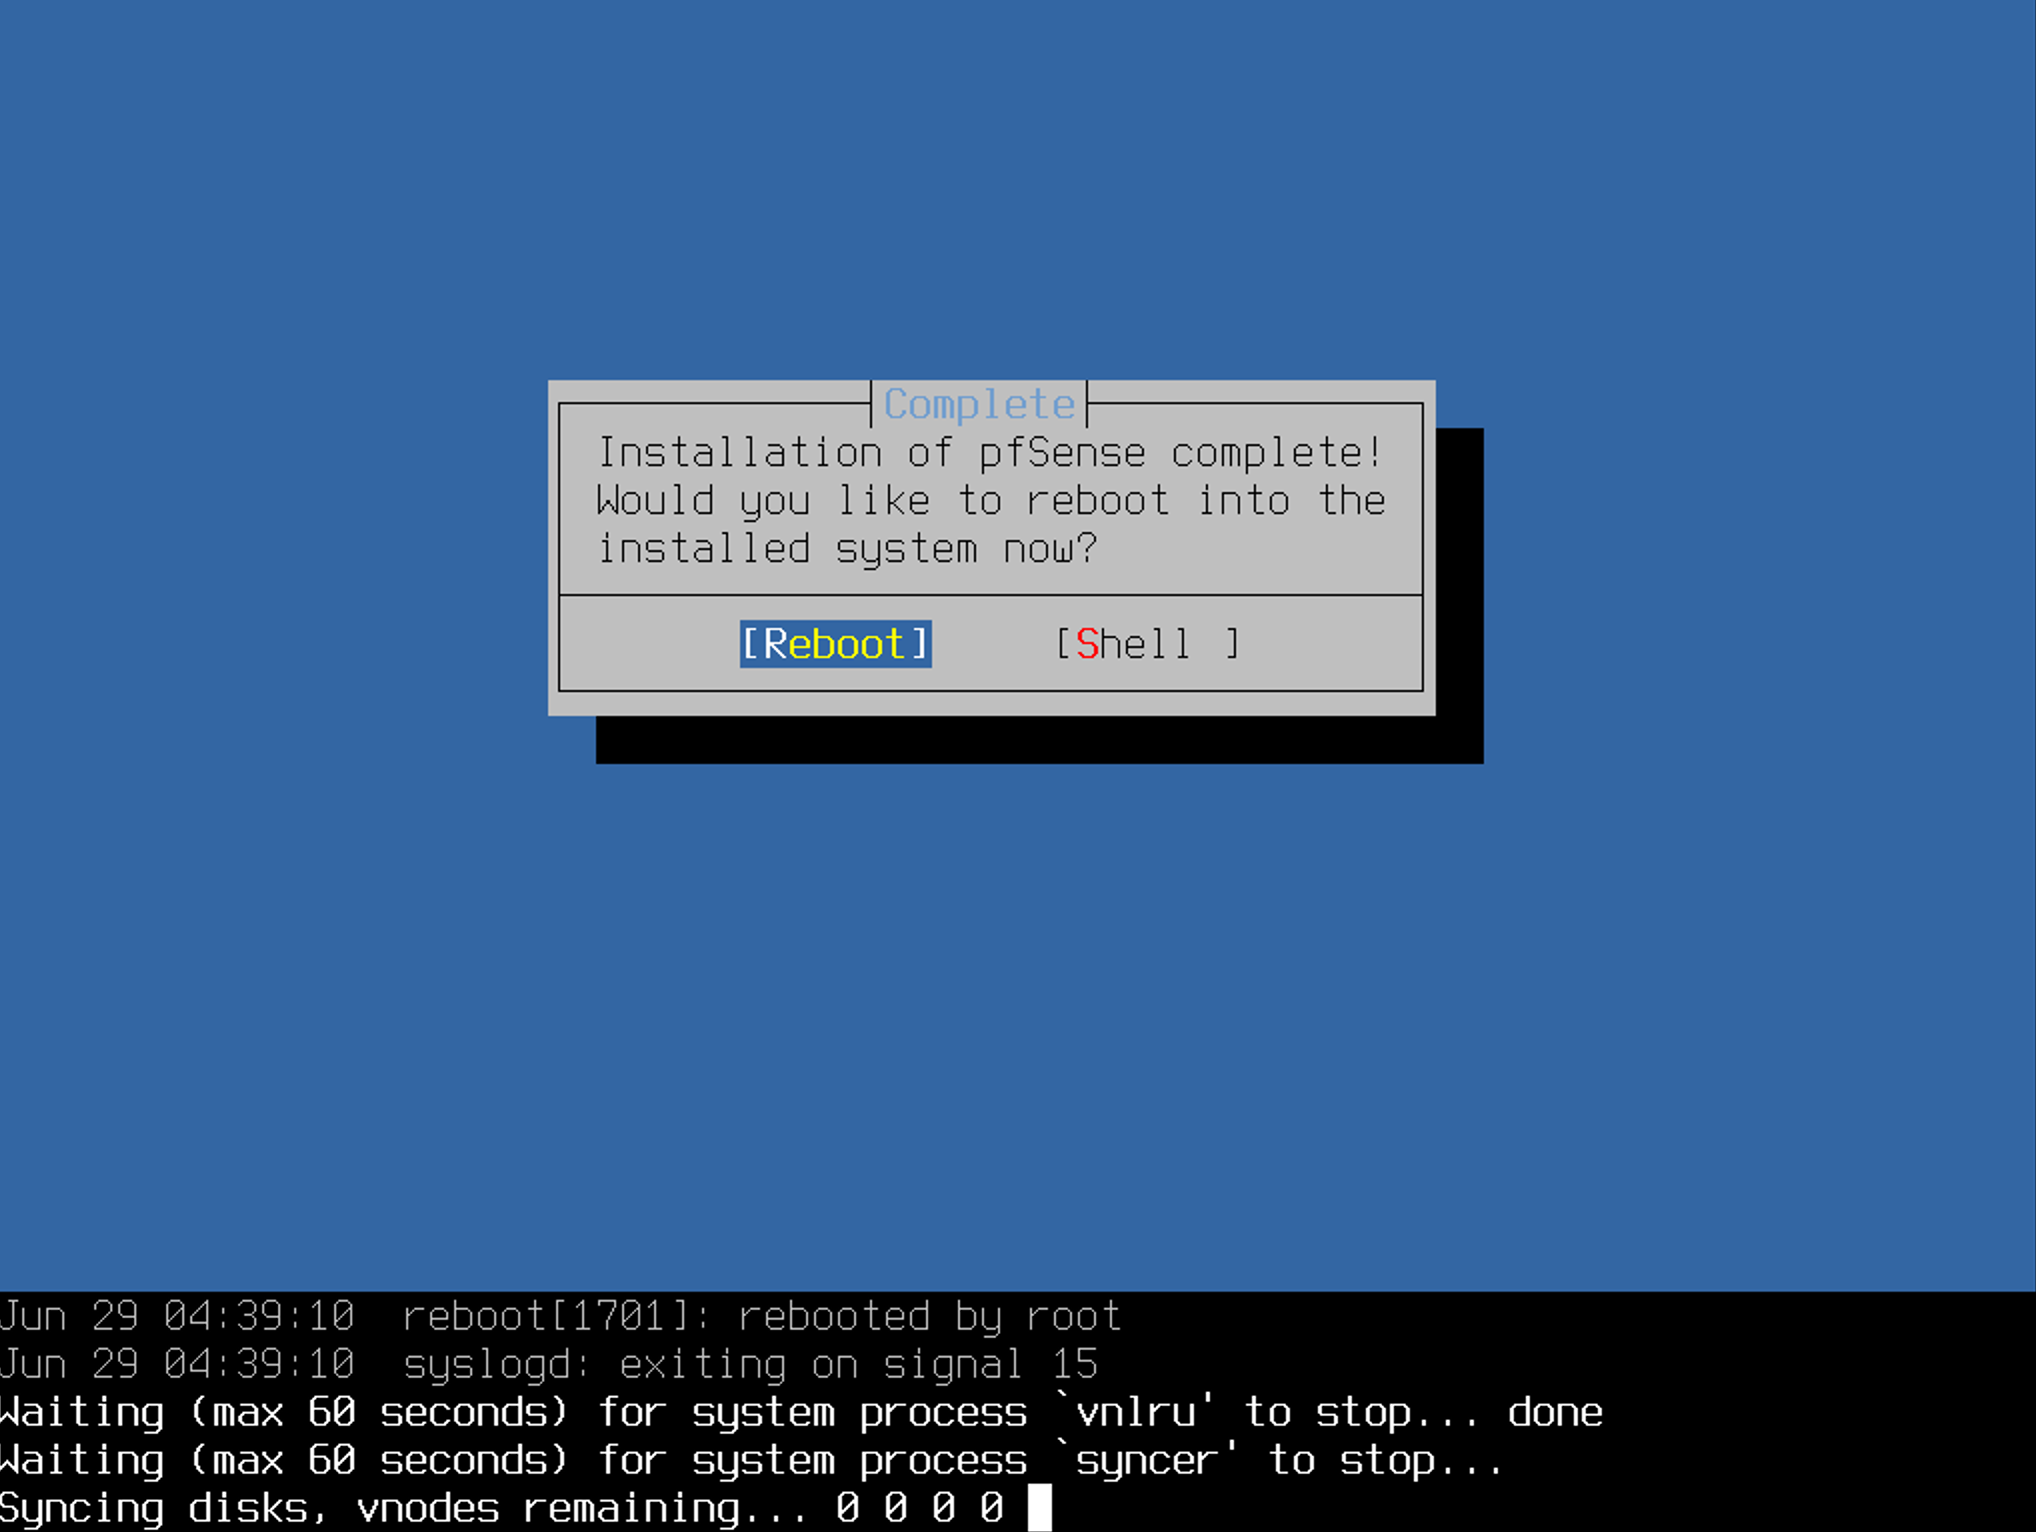
Hit enter to reboot
Enter VLANs 'N'
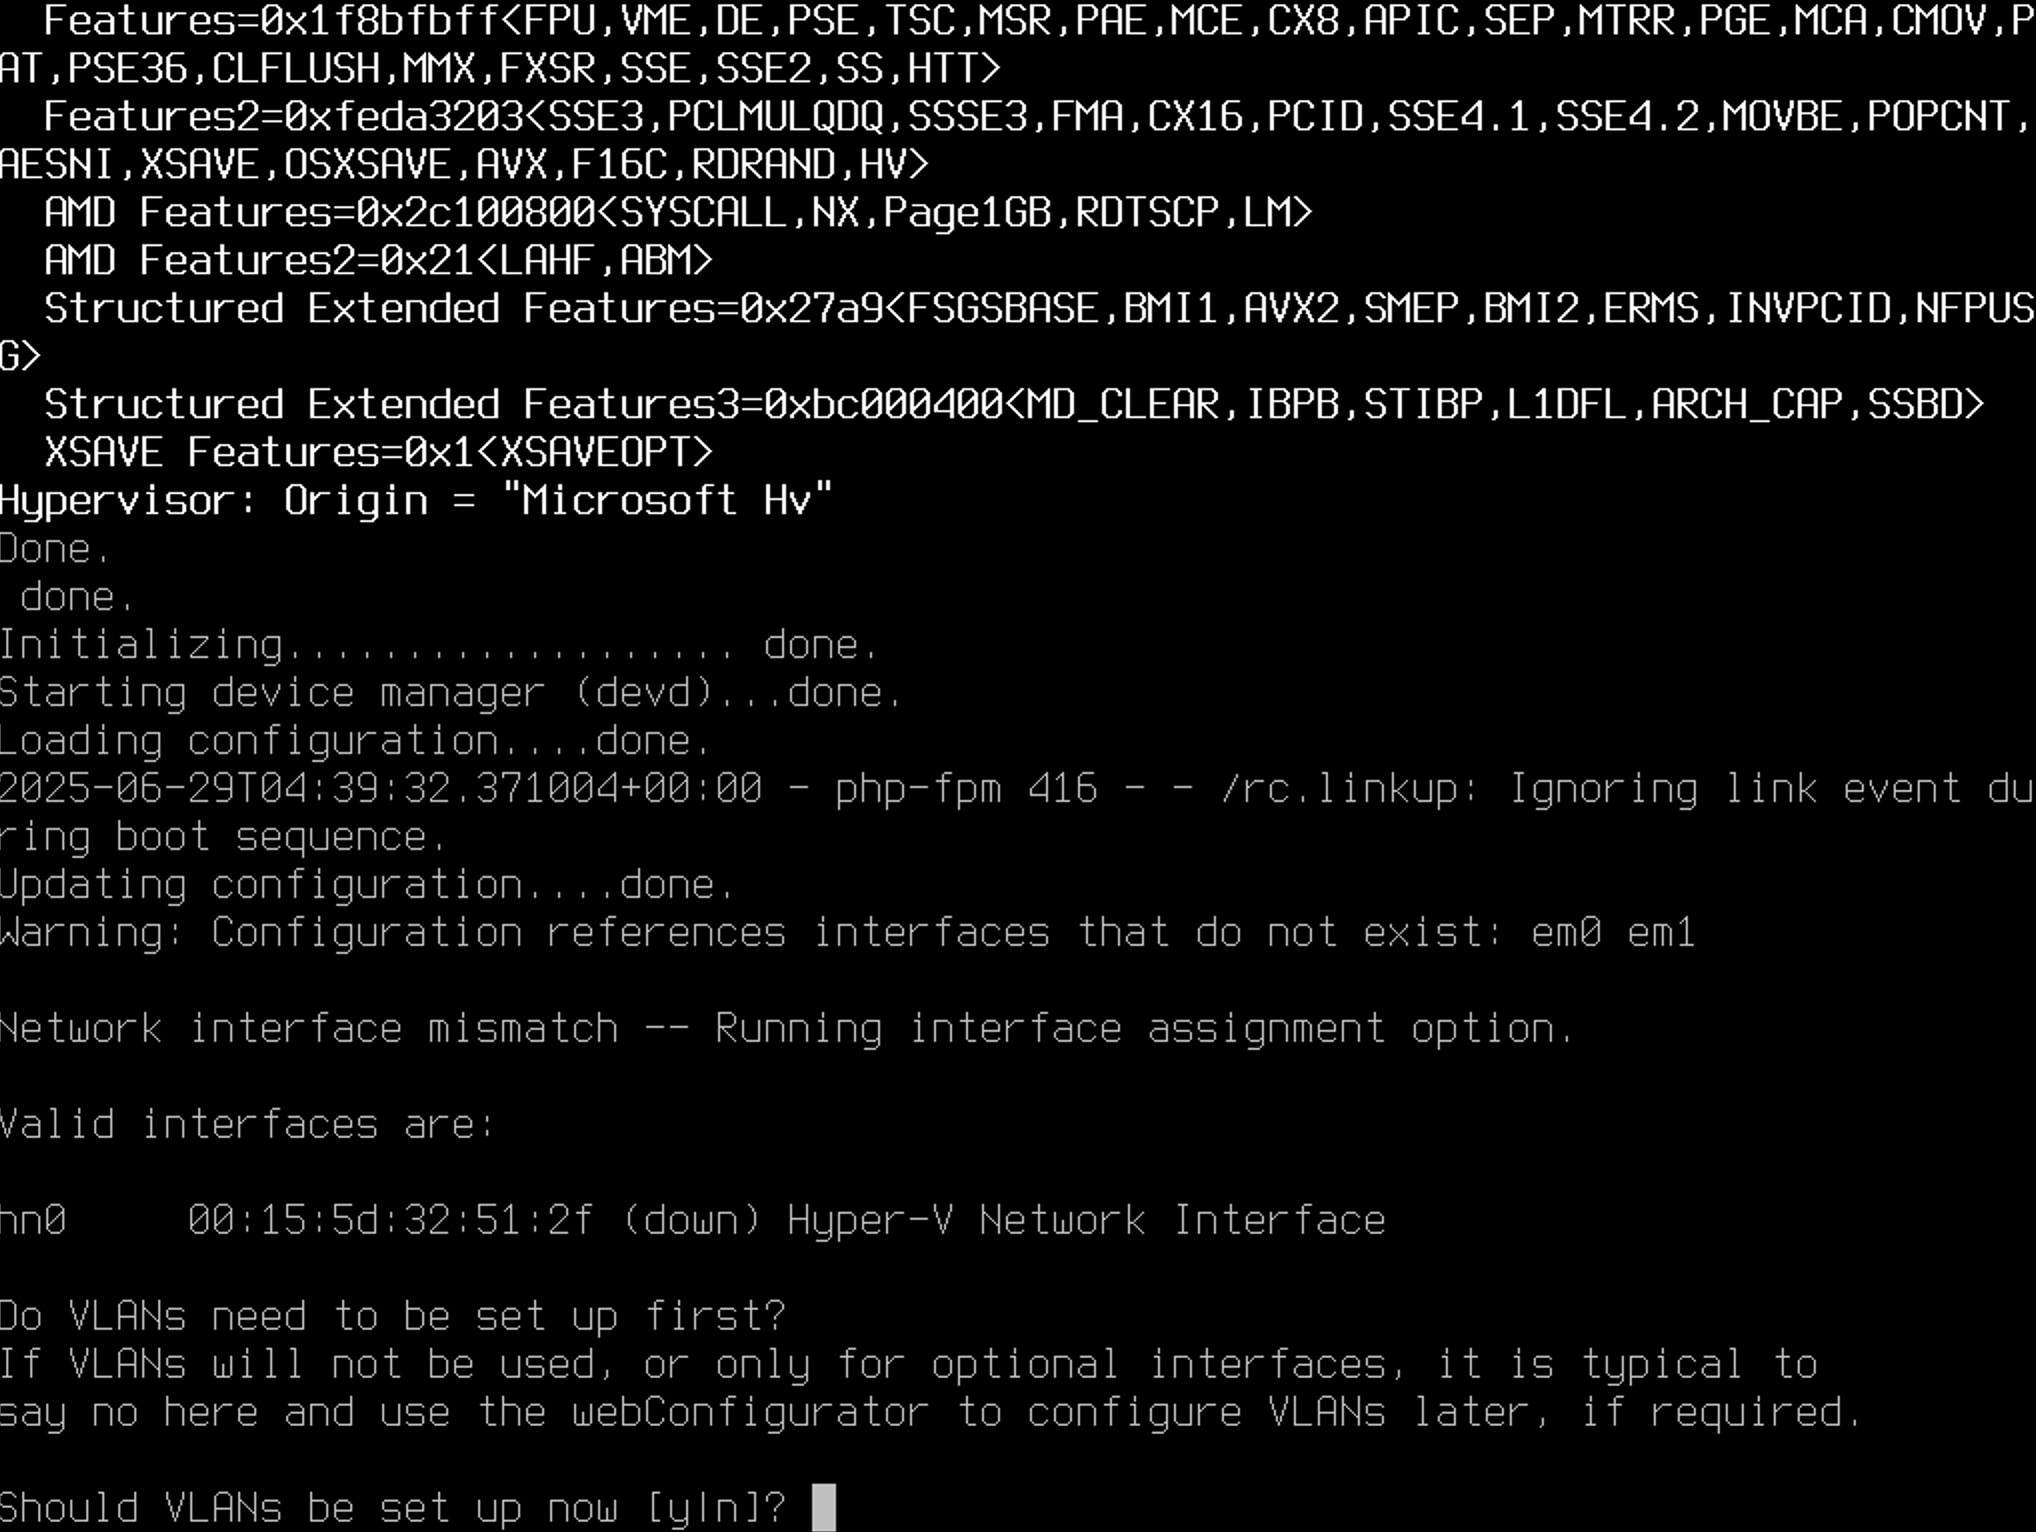
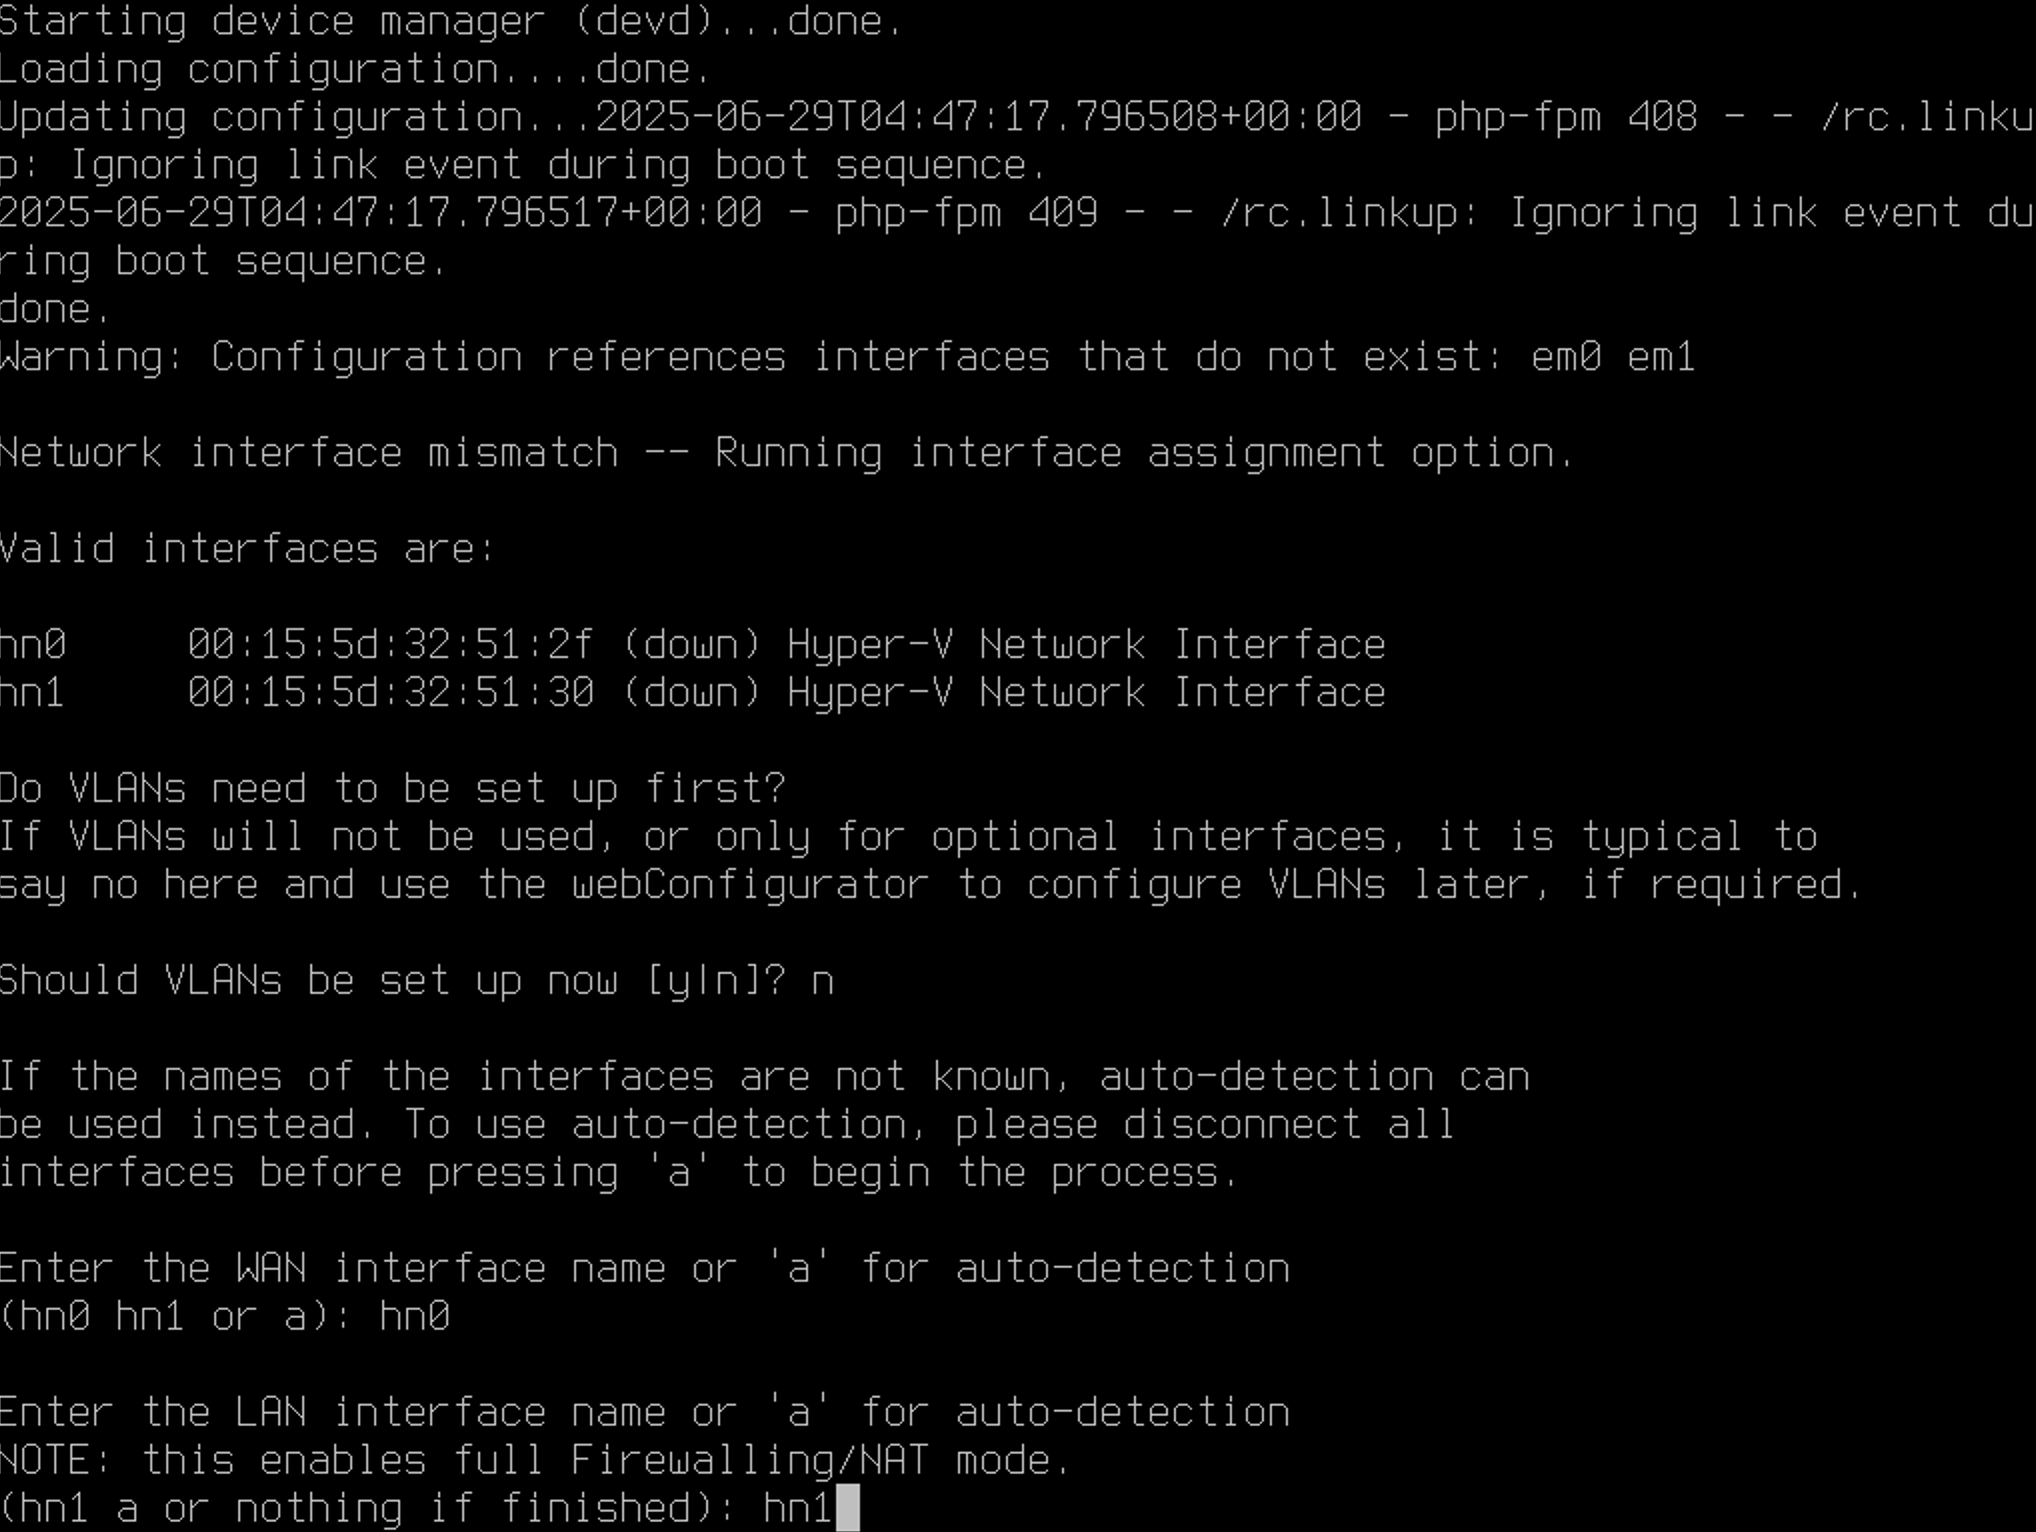
Enter WAN interface name for 'hn0'
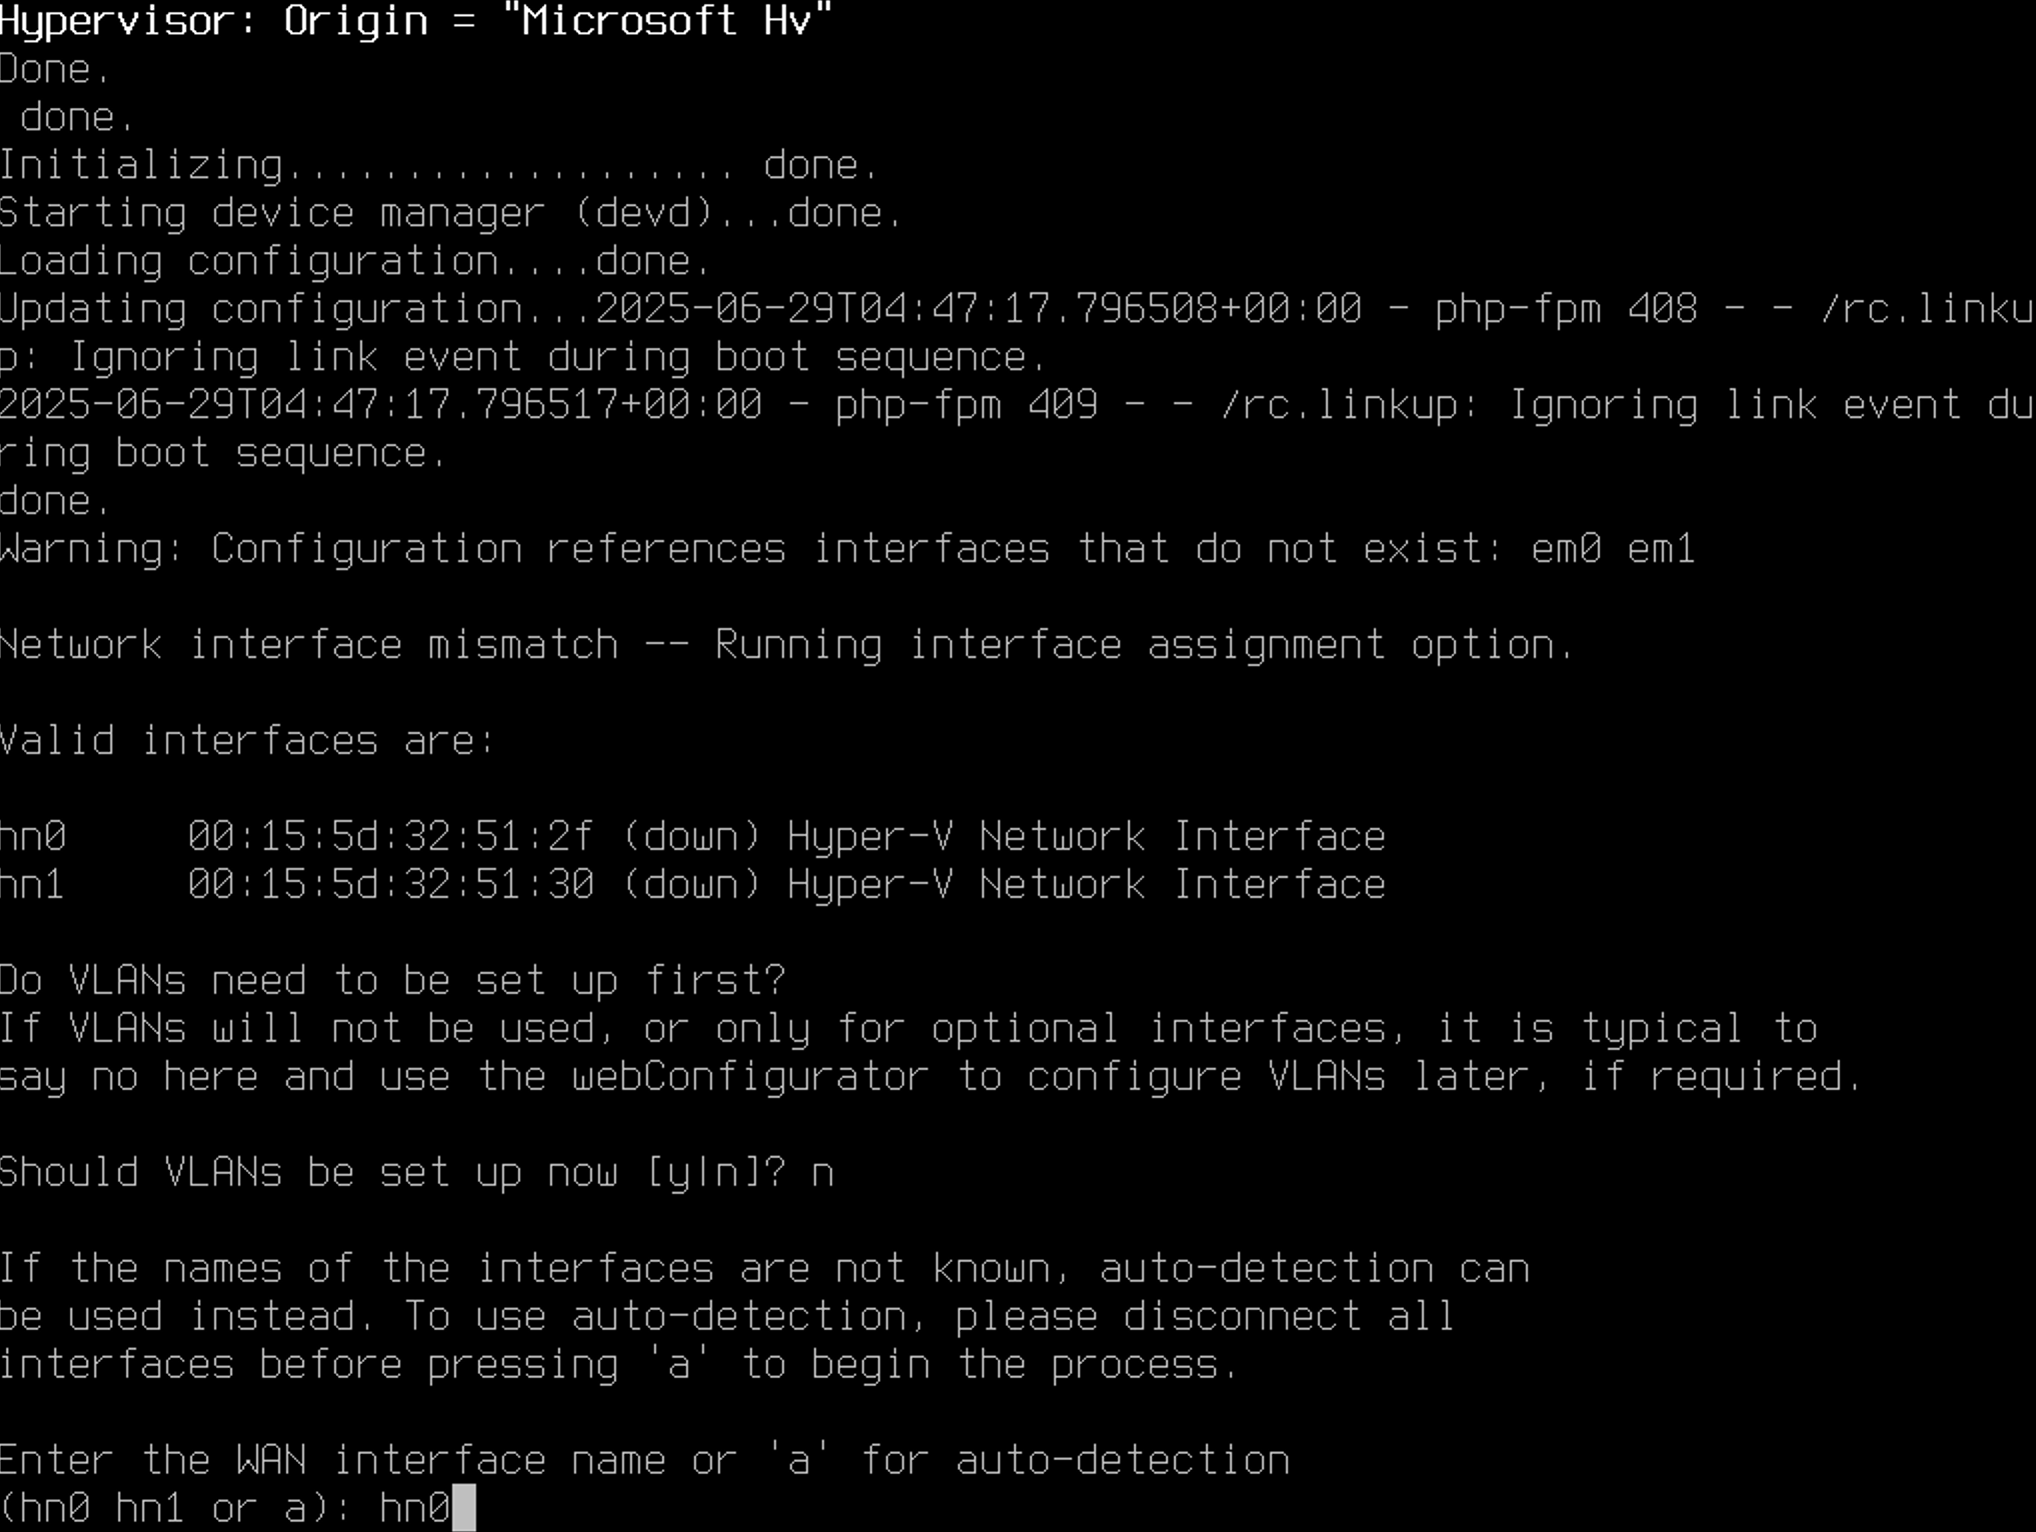
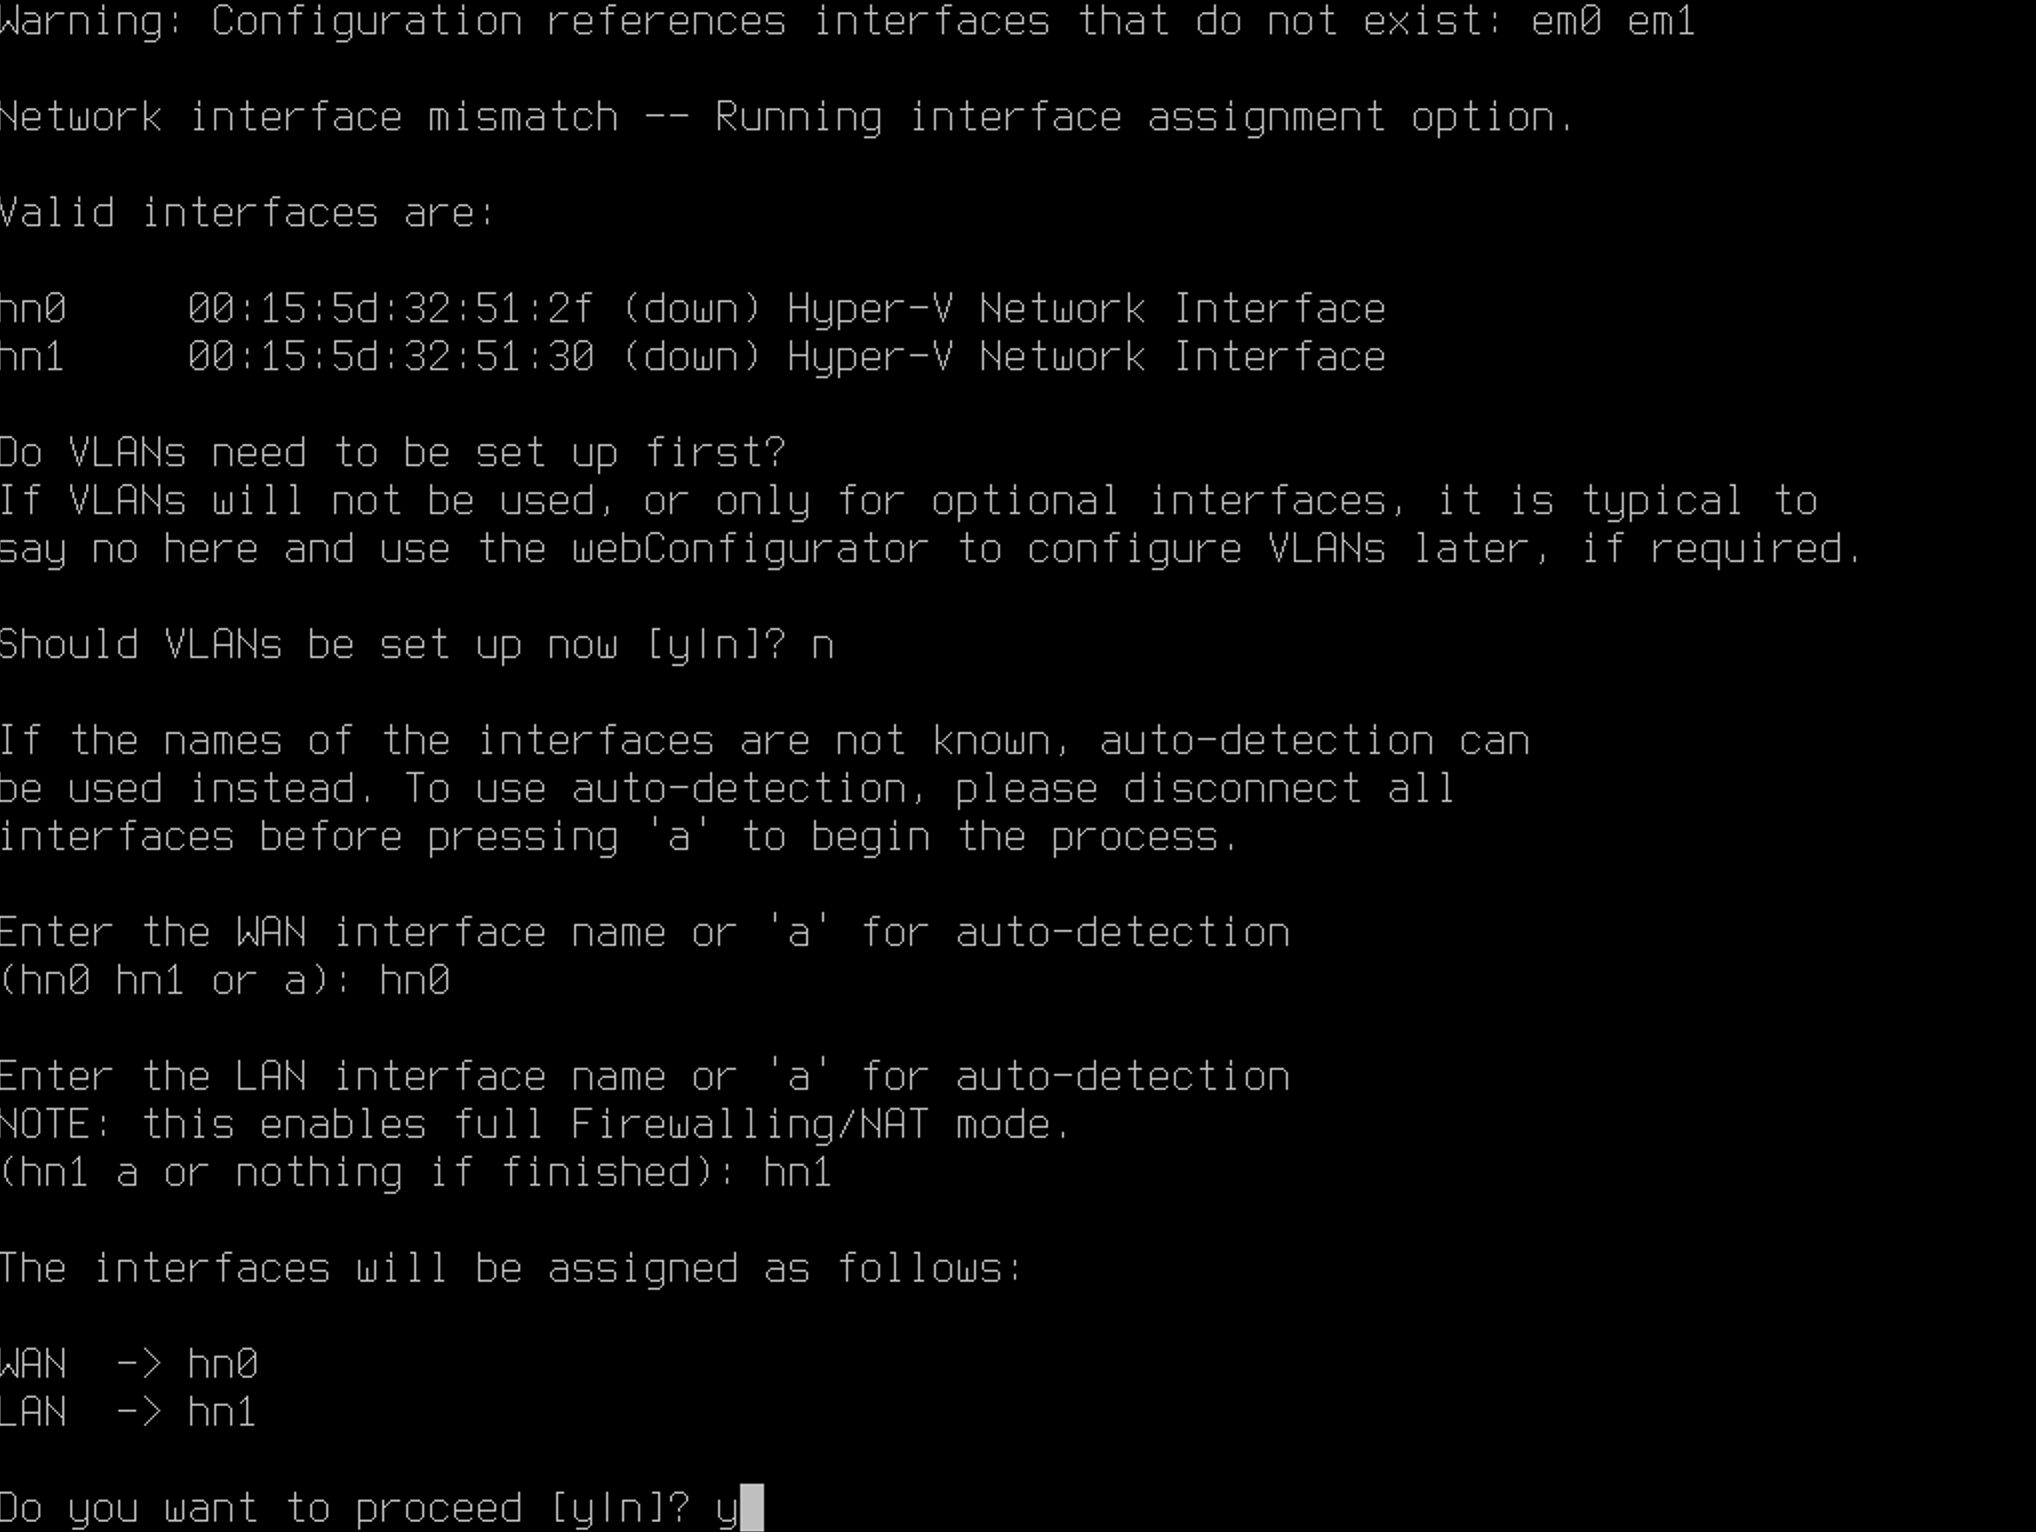
Enter LAN interface name for 'hn1'
Enter 'y'
Wait for a moment
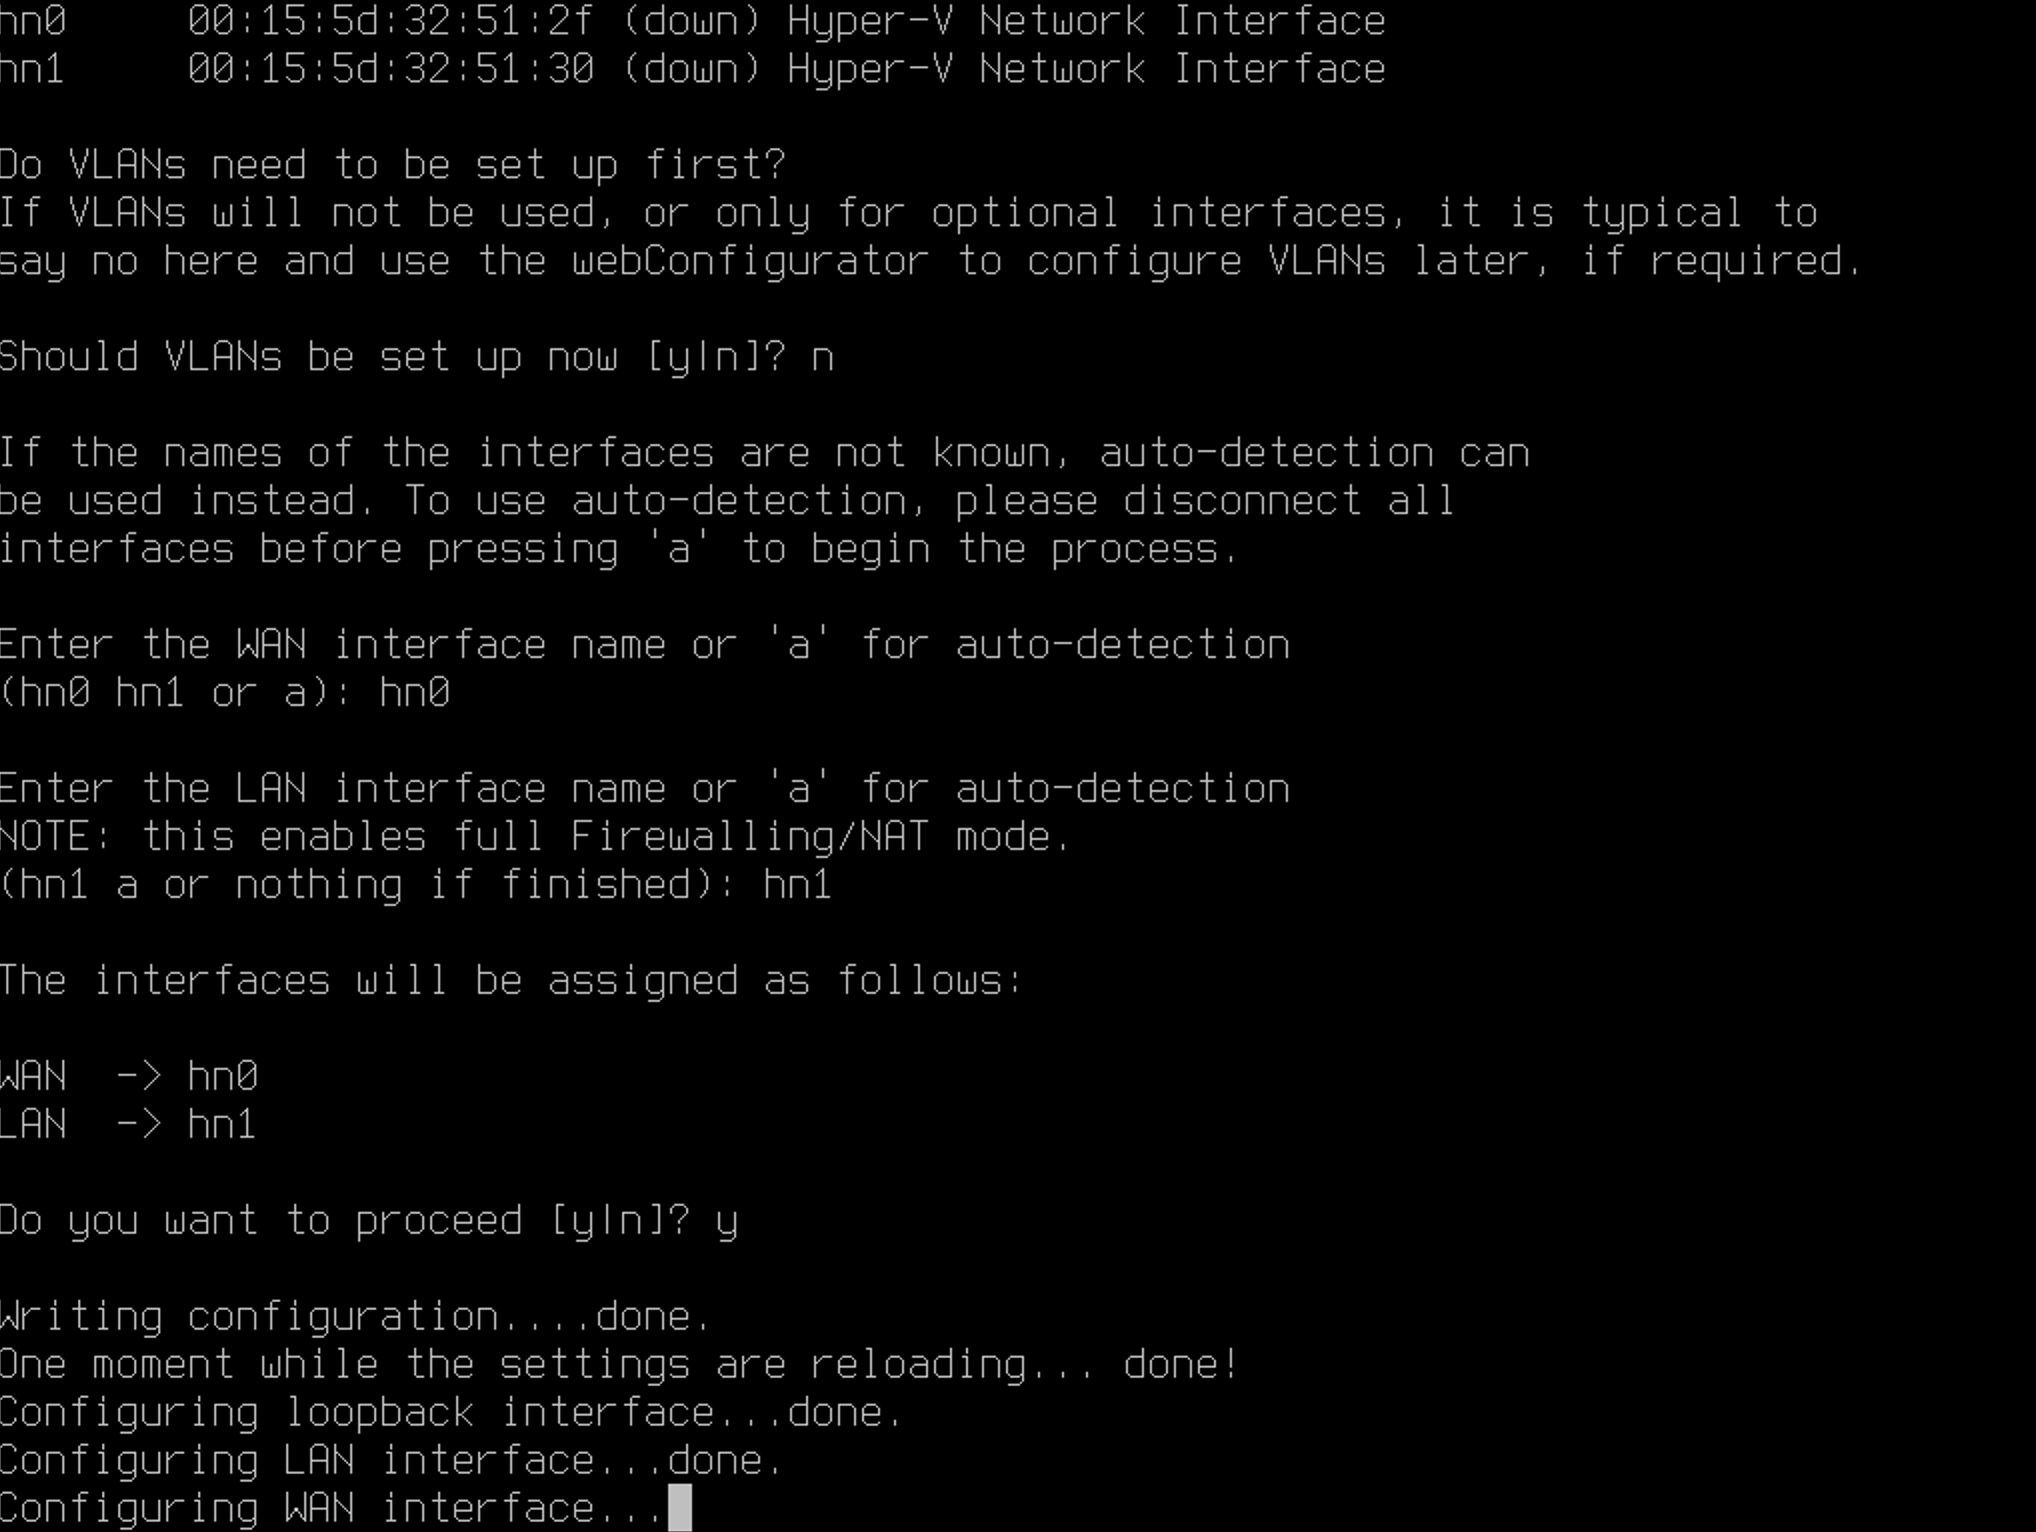
So, here we are, the basic setup has done
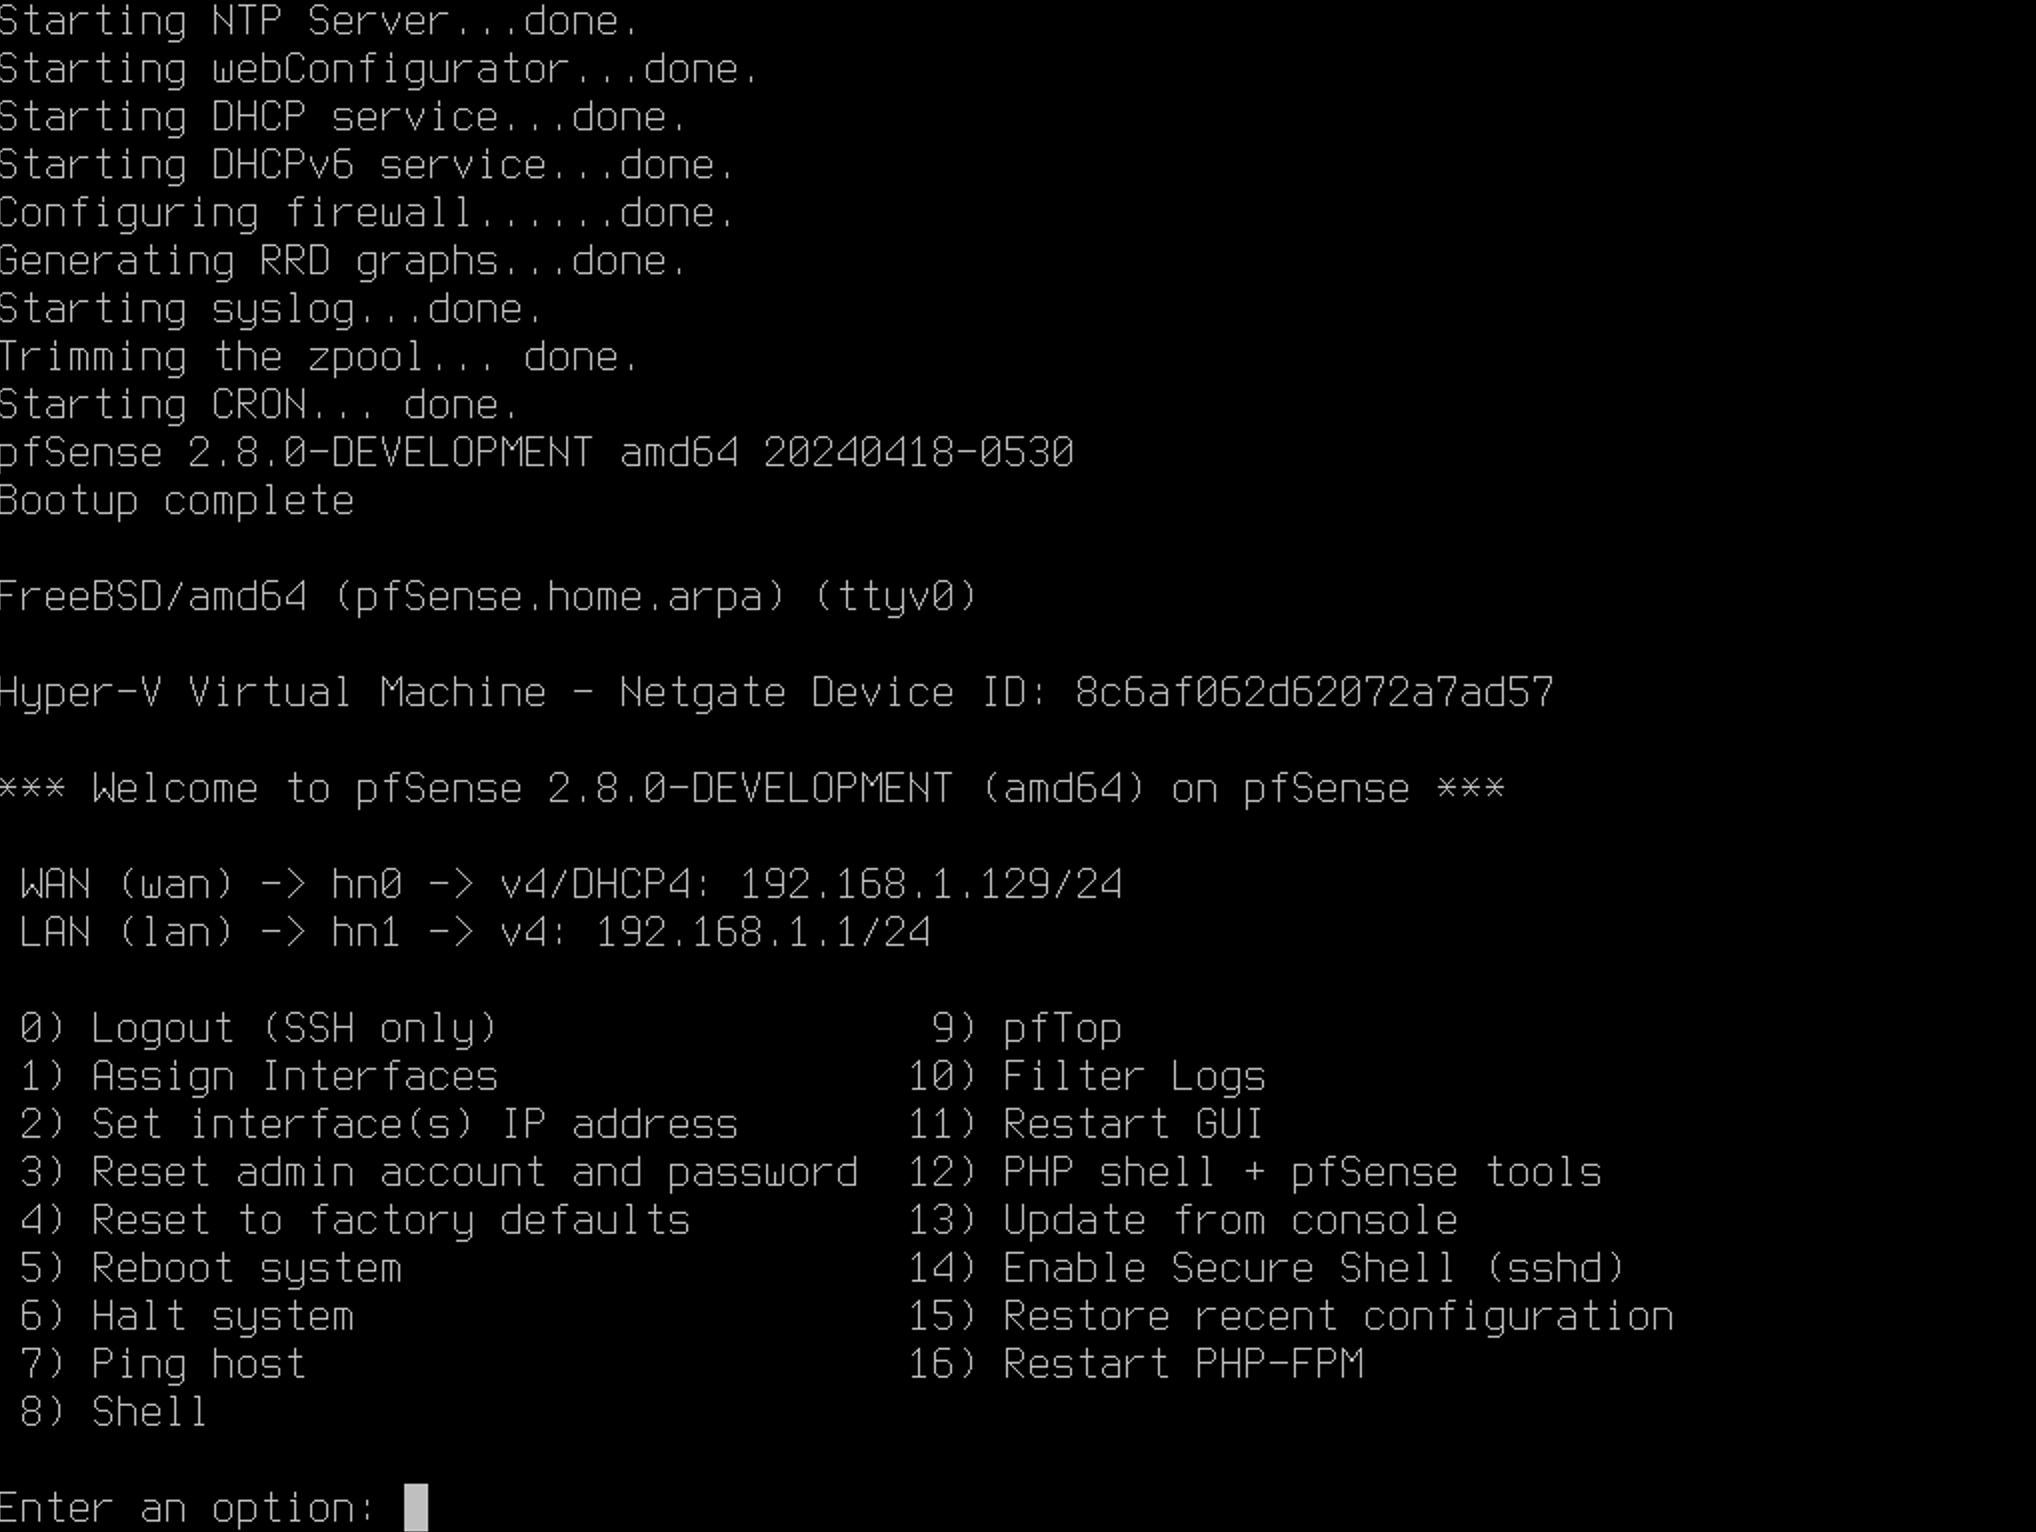
3. Configure WAN/LAN IP address
At this phase, I will skip the configuration of the set each interfaces(WAN/LAN) IP address.
It's not hard to configure at all.
You can process enter an option with '2) Set interface(s) IP address'
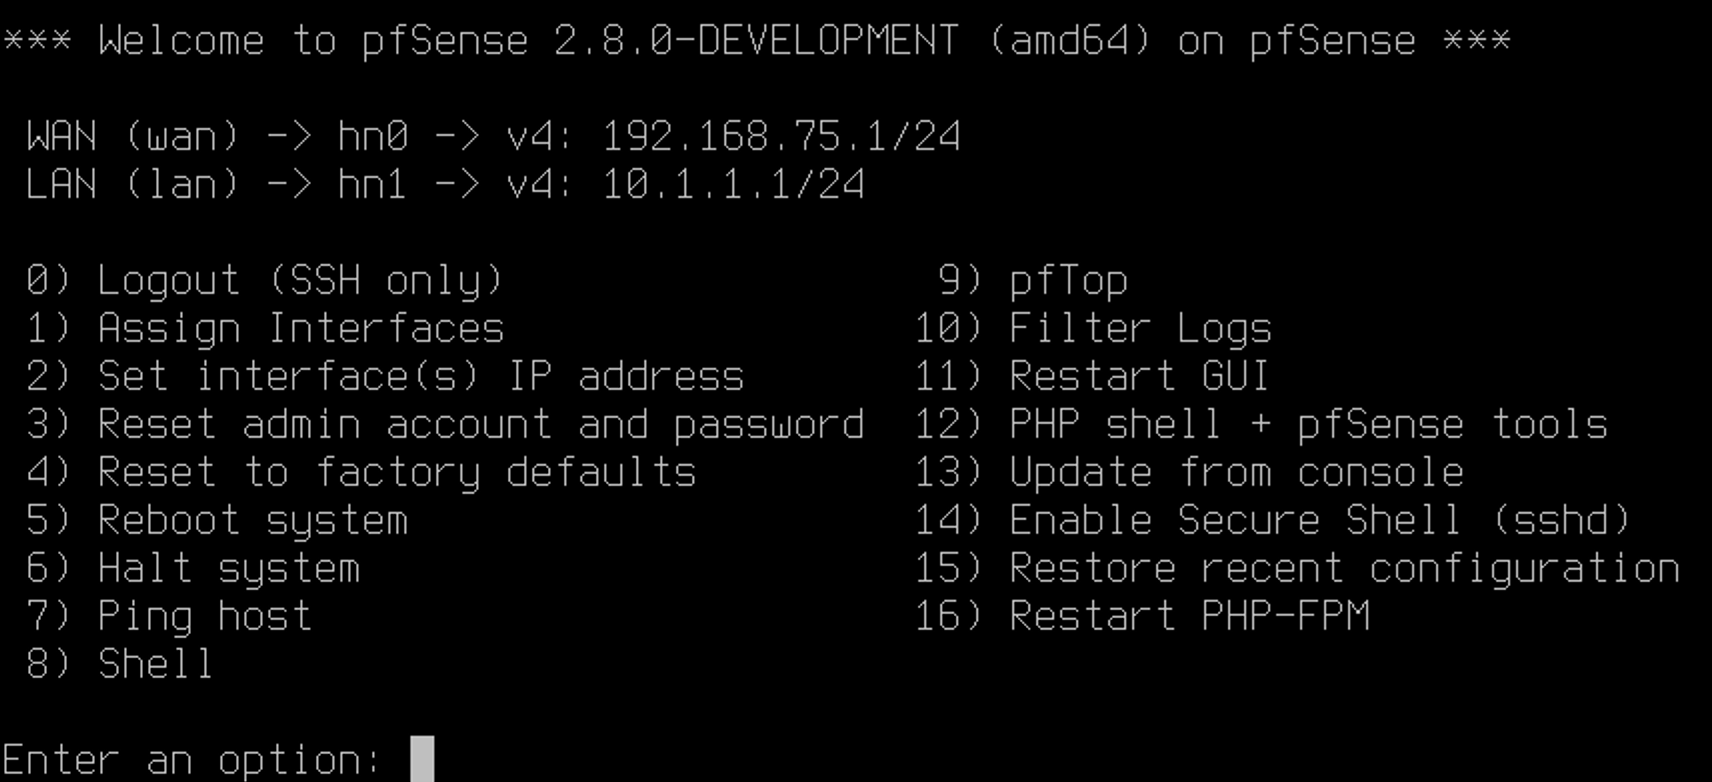
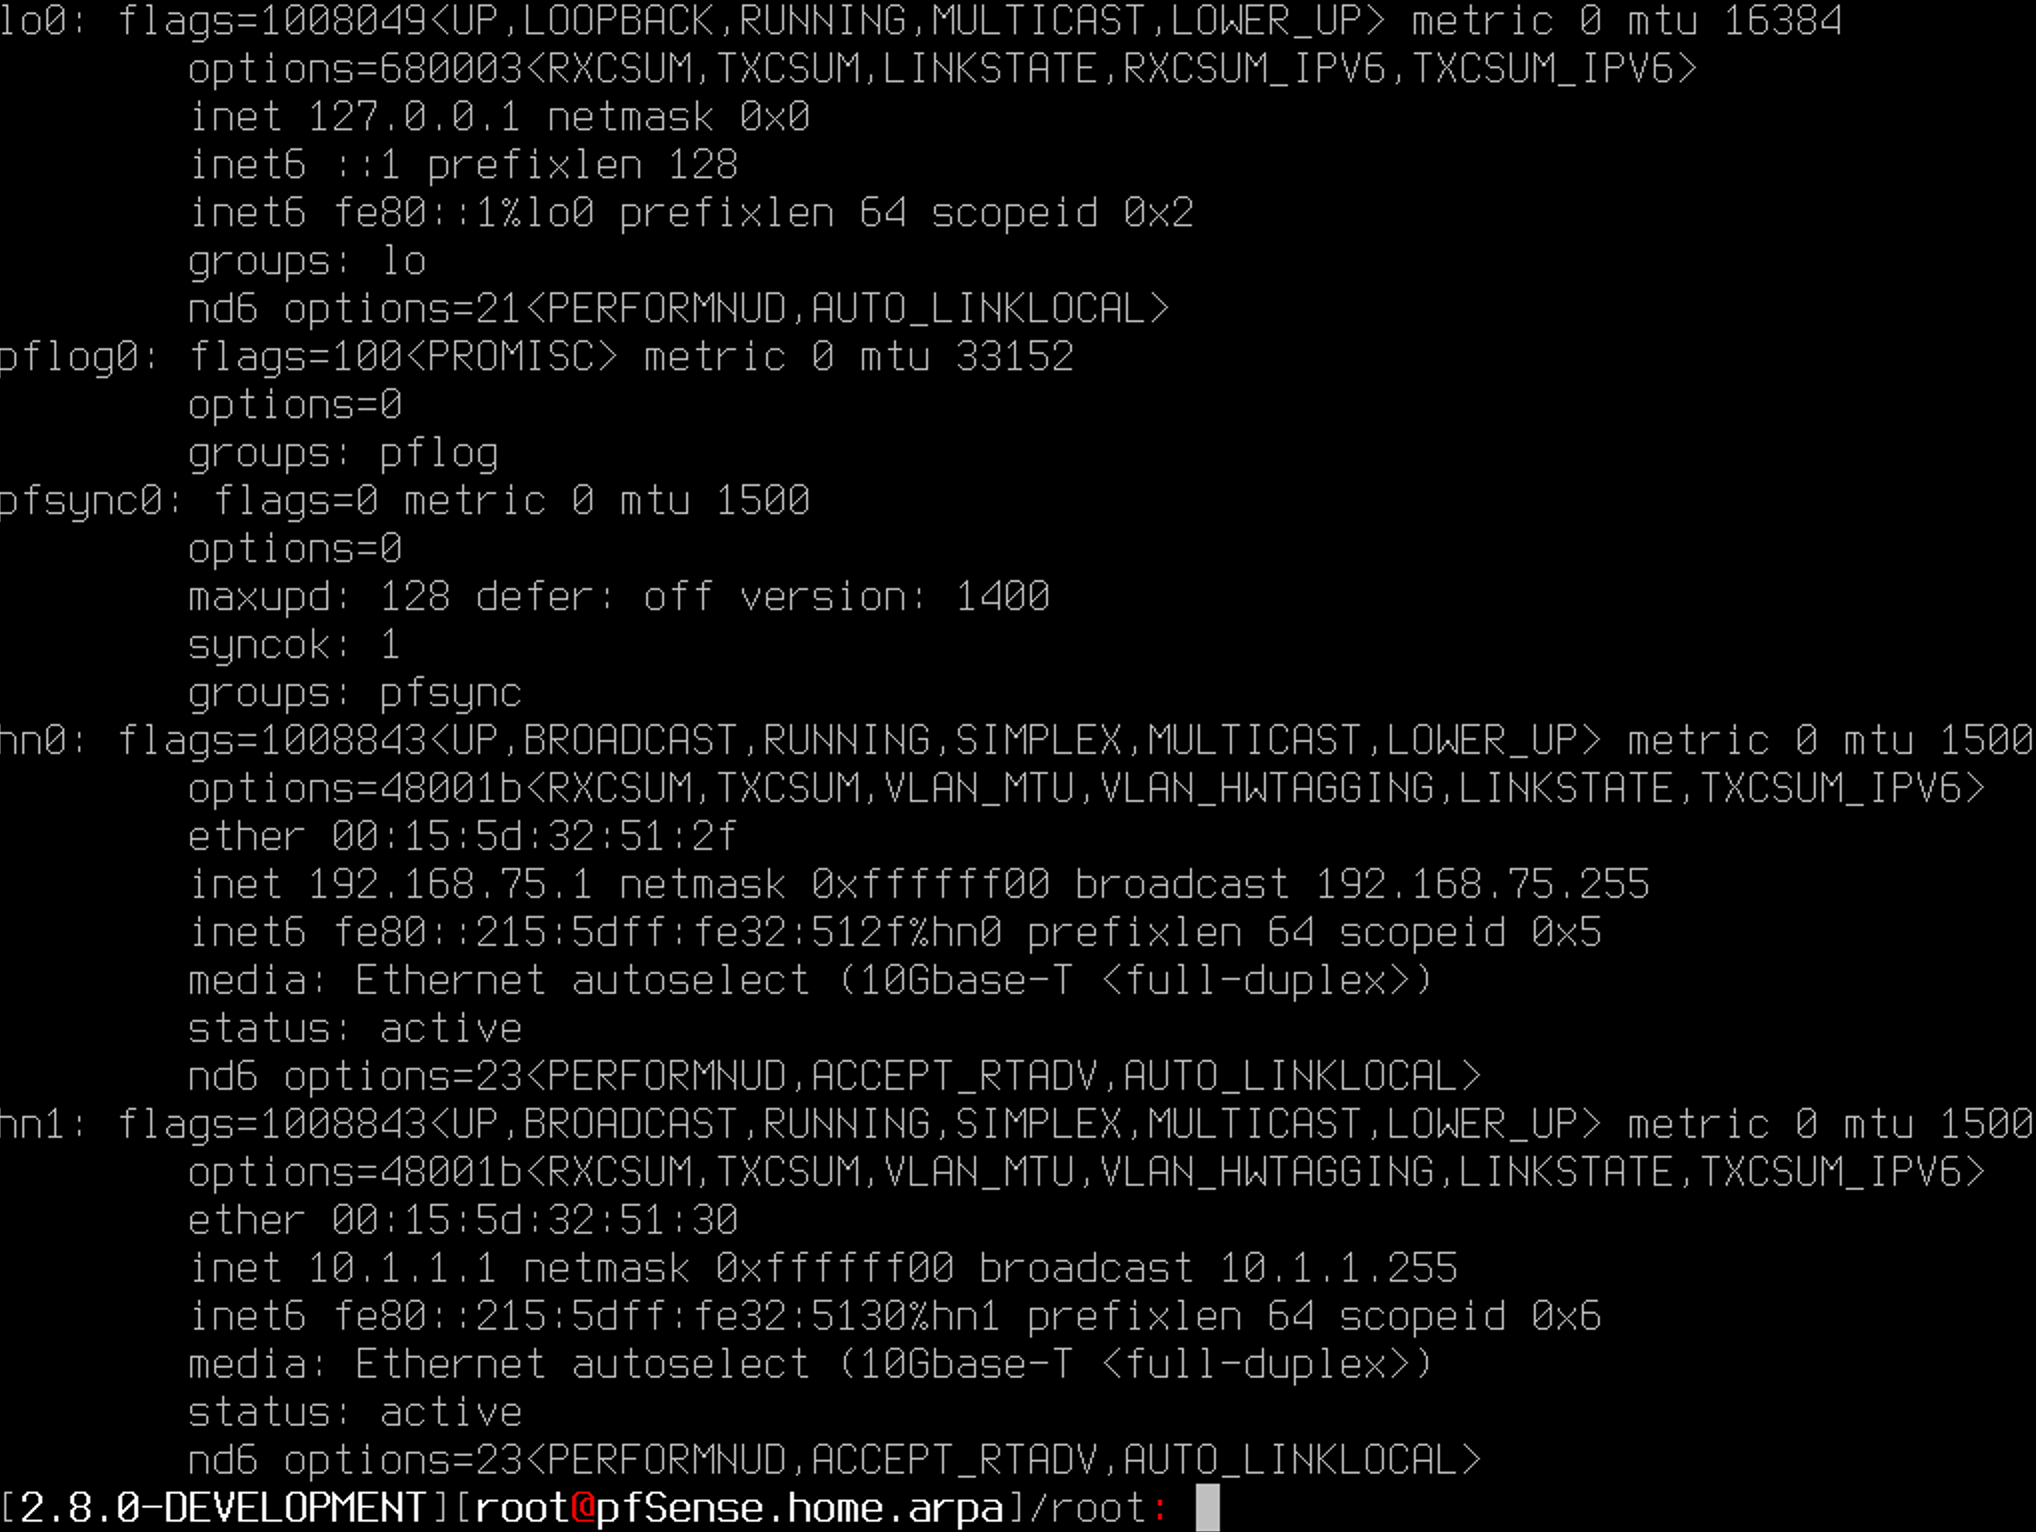
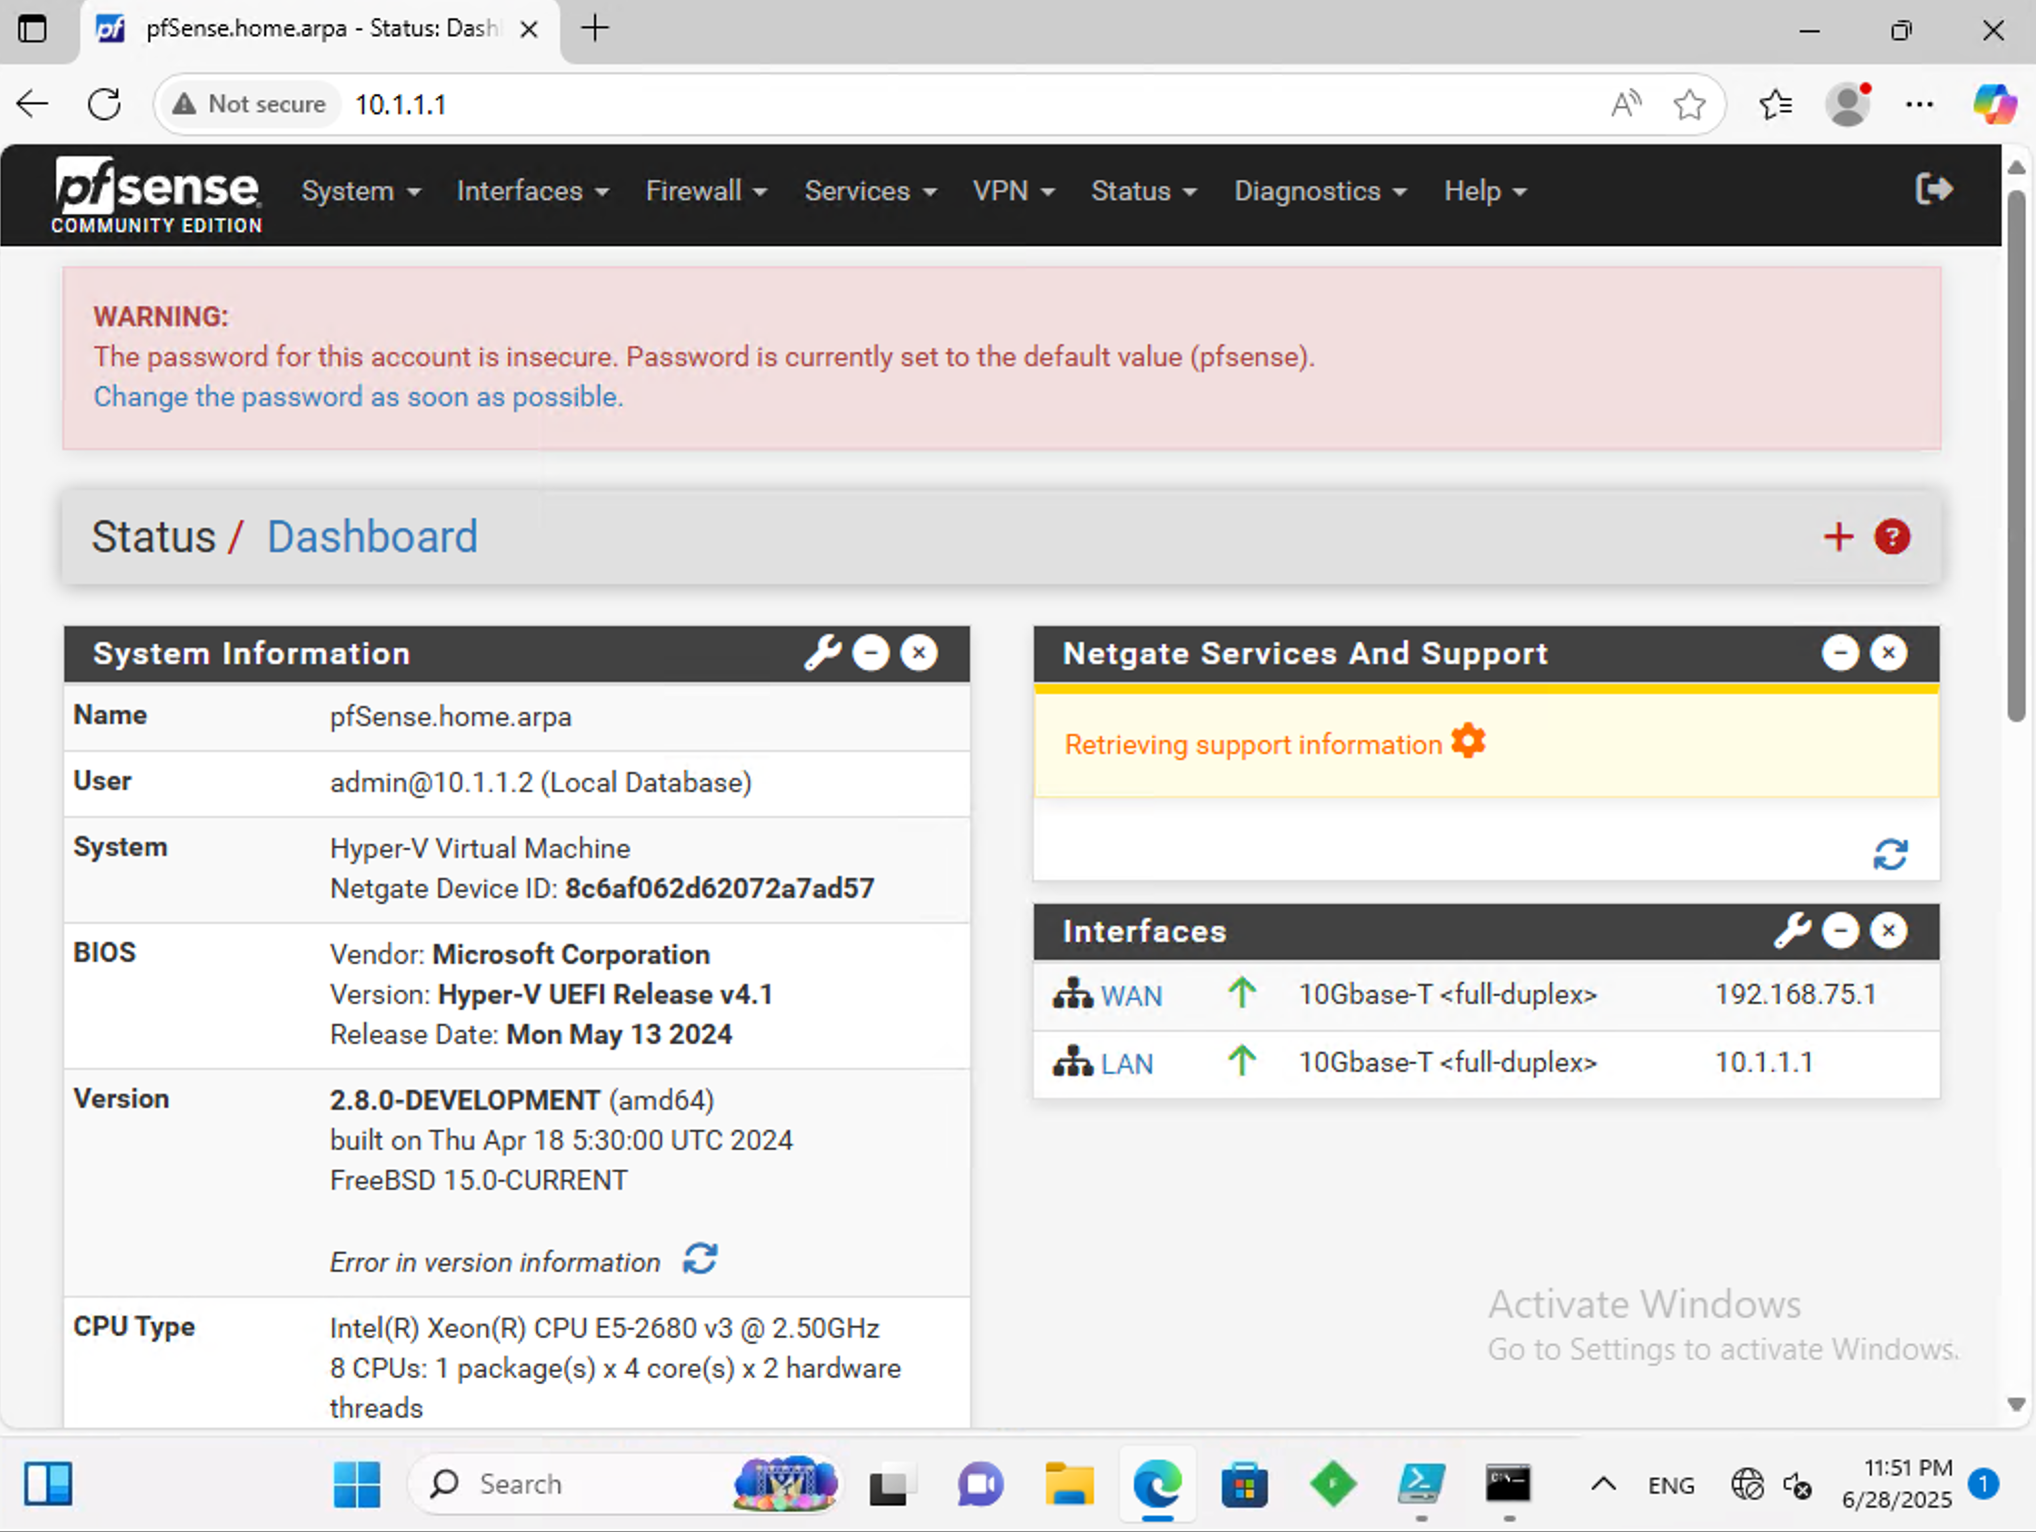
Anyway,this pfsense ip address is as following
WAN(hn0): 192.168.75.1
LAN(hn1): 10.1.1.1
4. WebConfigurator access
If you try to access 10.1.1.1 from other computer which has the same network interface(hn1 from the pfsense), you might encounter this web page hosting by pfsense server.
This is the web GUI control panel of pfsense.
The default account is:
ID: admin
PW: pfsense
Please change the password..
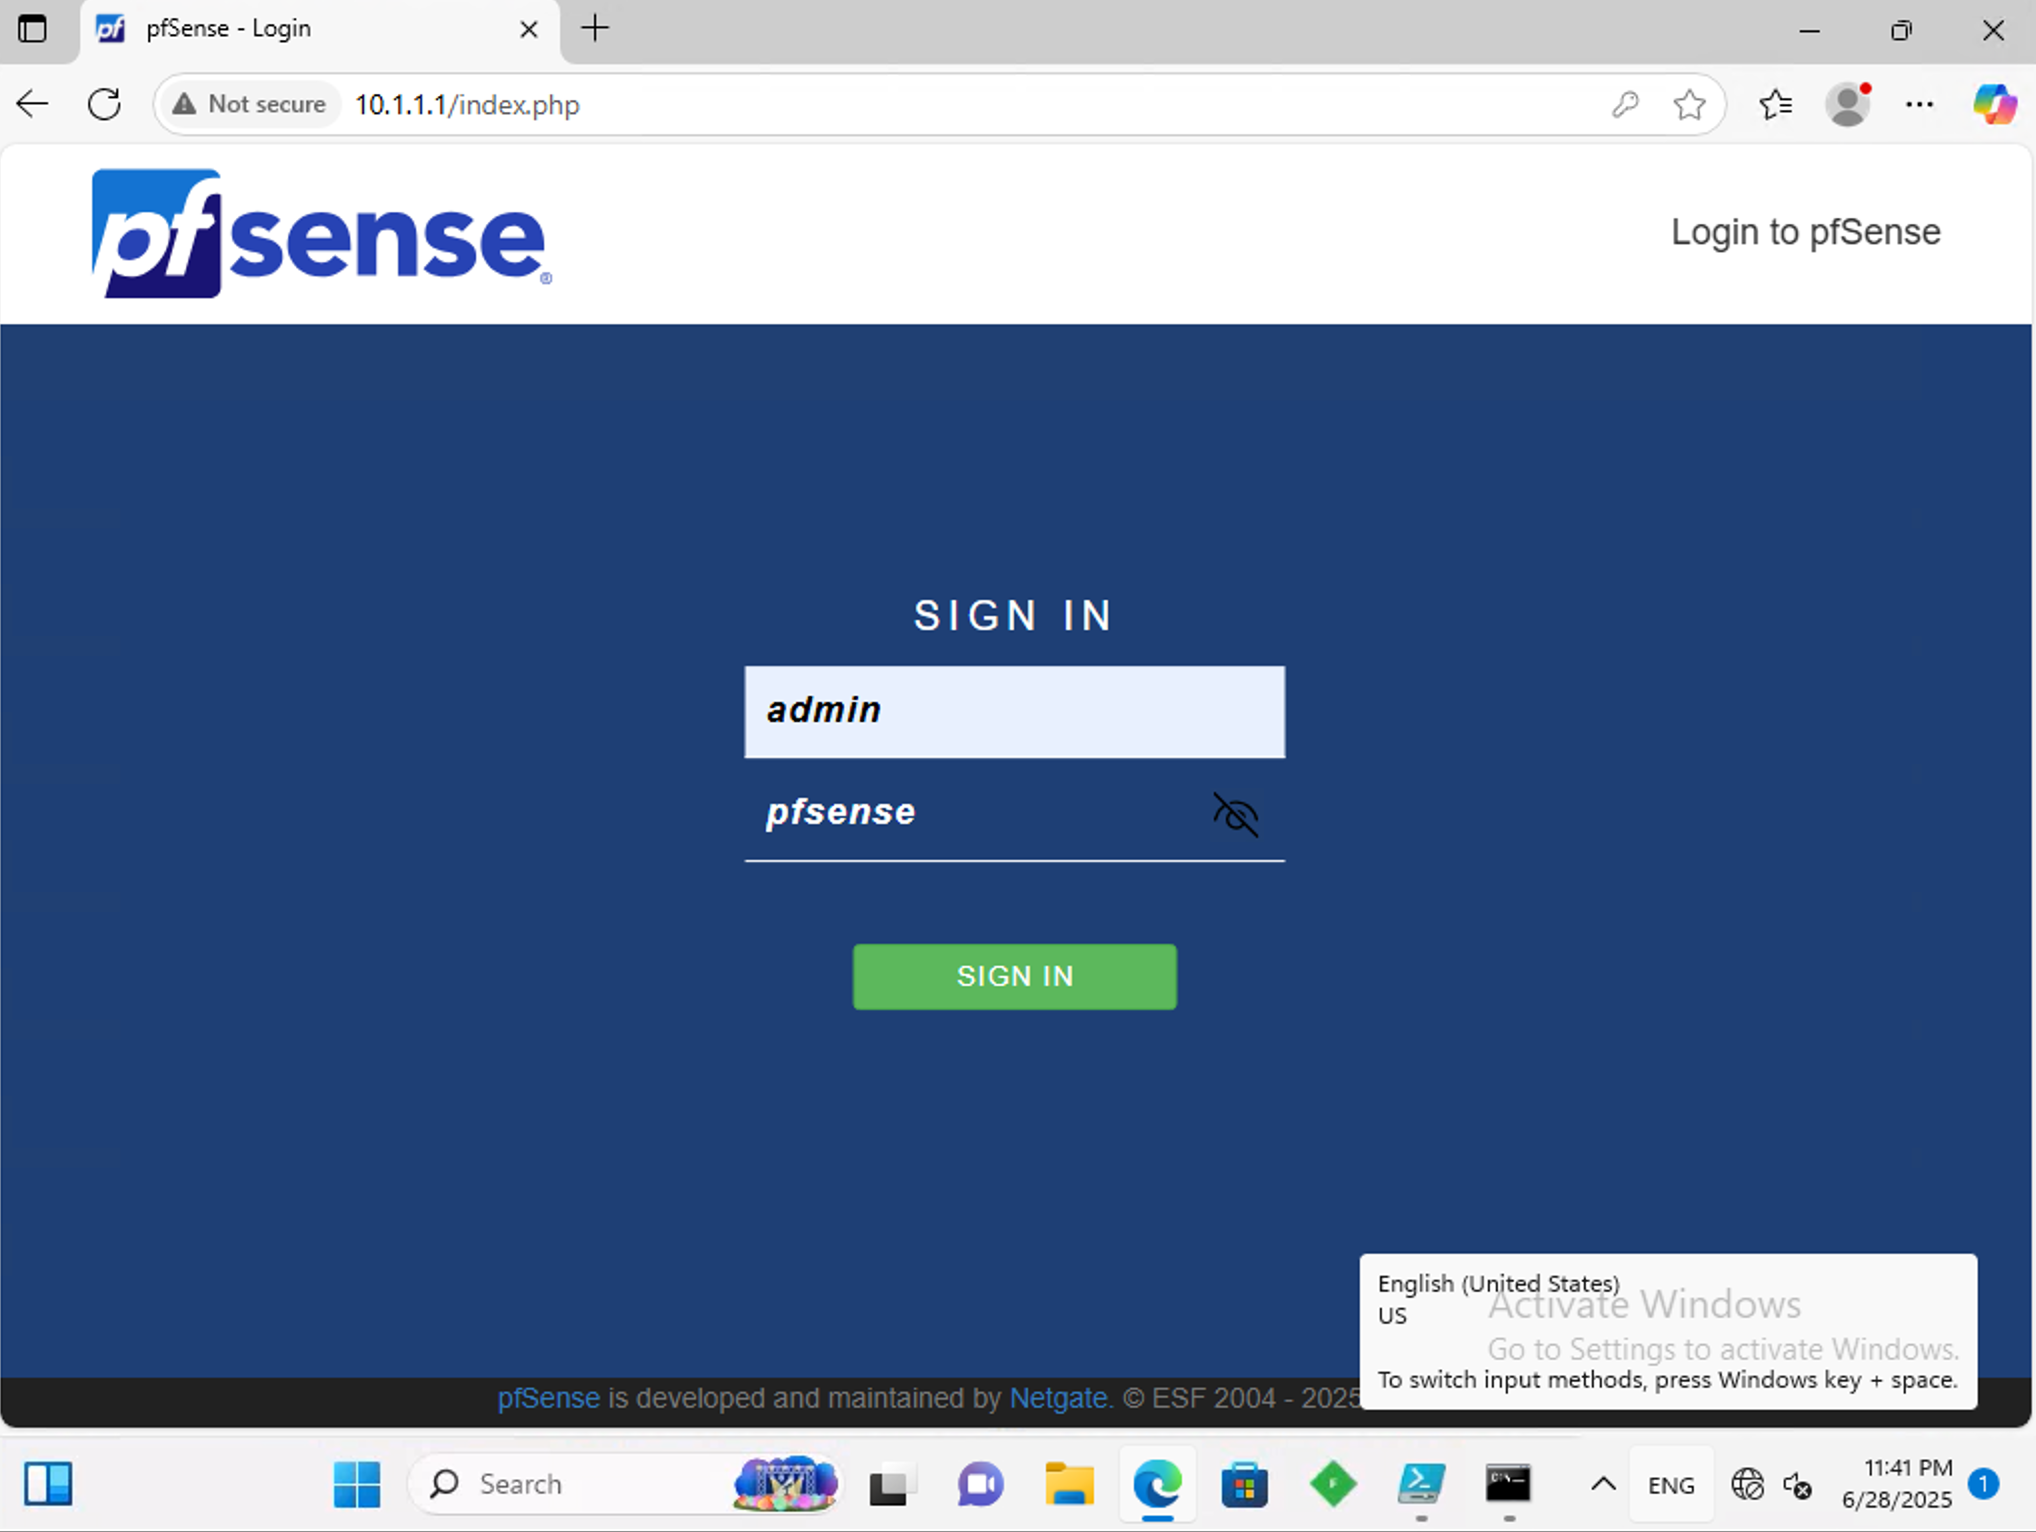
I loged in from 10.1.1.2
From pfsense console, you can check the login log.

5. NAT Reflection to publish WebConfigurator to the internet(Not recommanded)
You can publish this web configurator to the internet whenever modify your private network. To do this, we have to enable NAT reflection(or NAT LOOP).
From up stream pfsense:
Obviously, you have to make the internet trafic from up stream pfsense to down stream pfsense.

From down stream pfsense:
So at this moment, it's quite tricky when you are first.
The NAT reflection needed.
You might need to disable HTTP_REFERER enforcement check first.

-
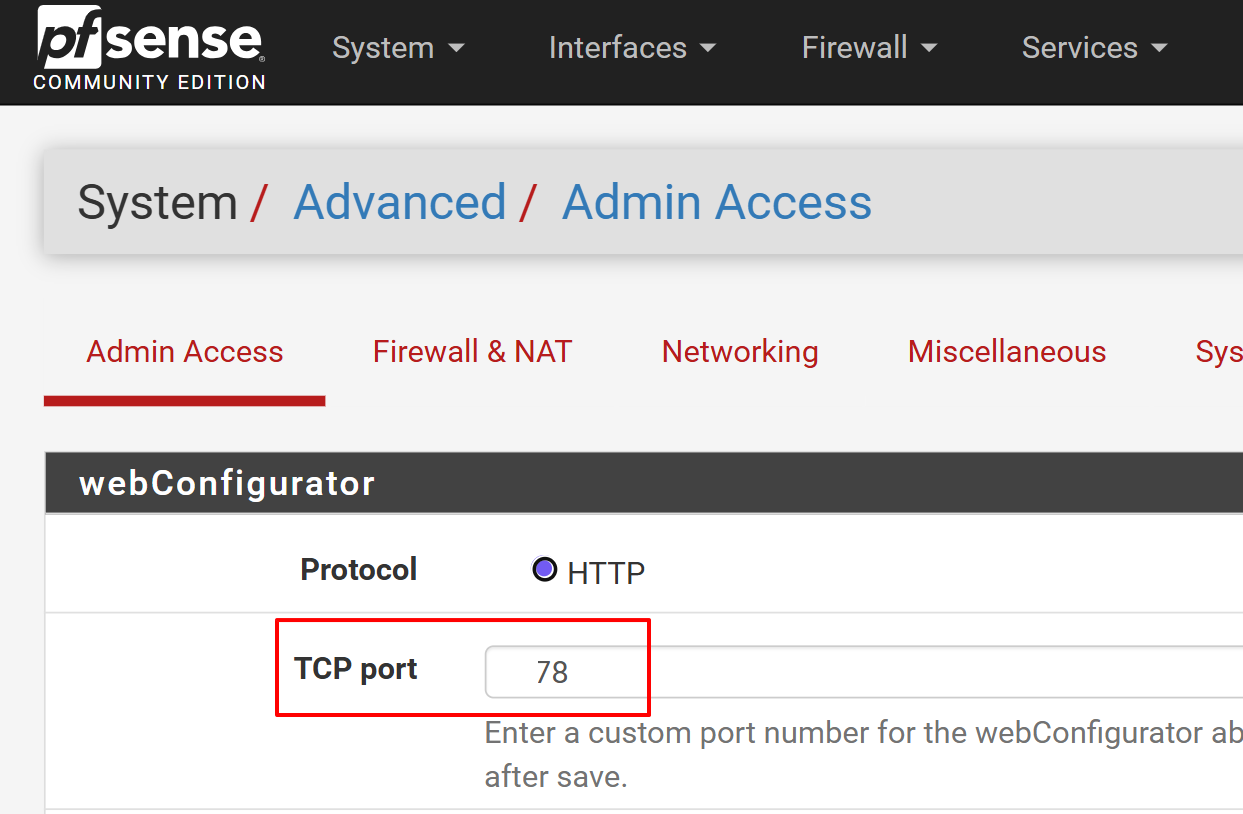
Change webConfigurator TCP Port(System / Advanced / Admin Access)
-
Port Forwarding
Both of Dest and NAT should be WAN address(192.168.75.1/24).

-
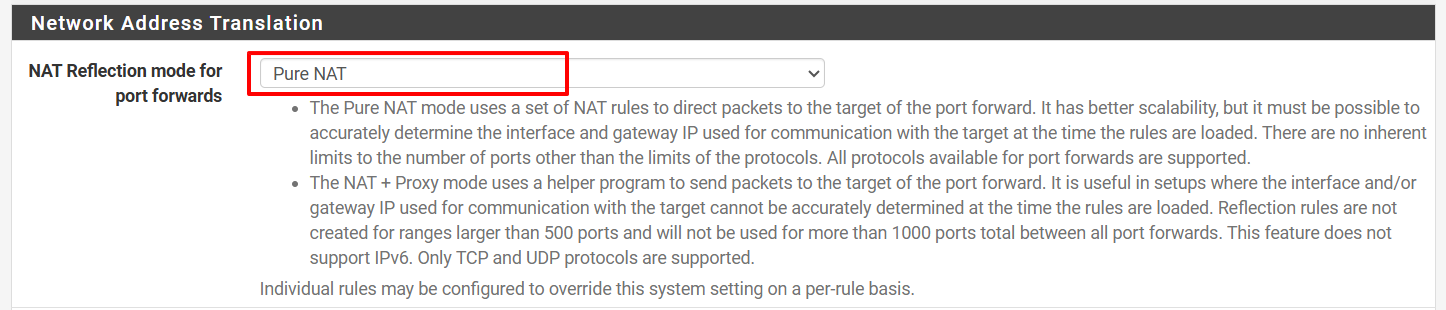
NAT Reflection (System / Advanced / Firewall & NAT)
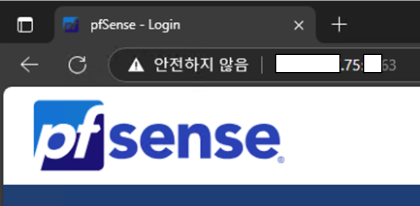
So, let's try to connect from internet.
We got the down stream pfsense web configurator.