https://docs.fluentd.org/installation/before-install
여기 나온대로 설치를 해보자
설치
방법 1
Increase the maximum number of file descriptors. You can check the existing configuration using the ulimit -n command:
ulimit -n
65535가 나와야함.
If your console shows 1024, it is insufficient. Please add the following lines to your /etc/security/limits.conf file and reboot your machine:
sudo vi /etc/security/limits.conf이거 복사 붙여넣기 해야됨.
root soft nofile 65536
root hard nofile 65536
* soft nofile 65536
* hard nofile 65536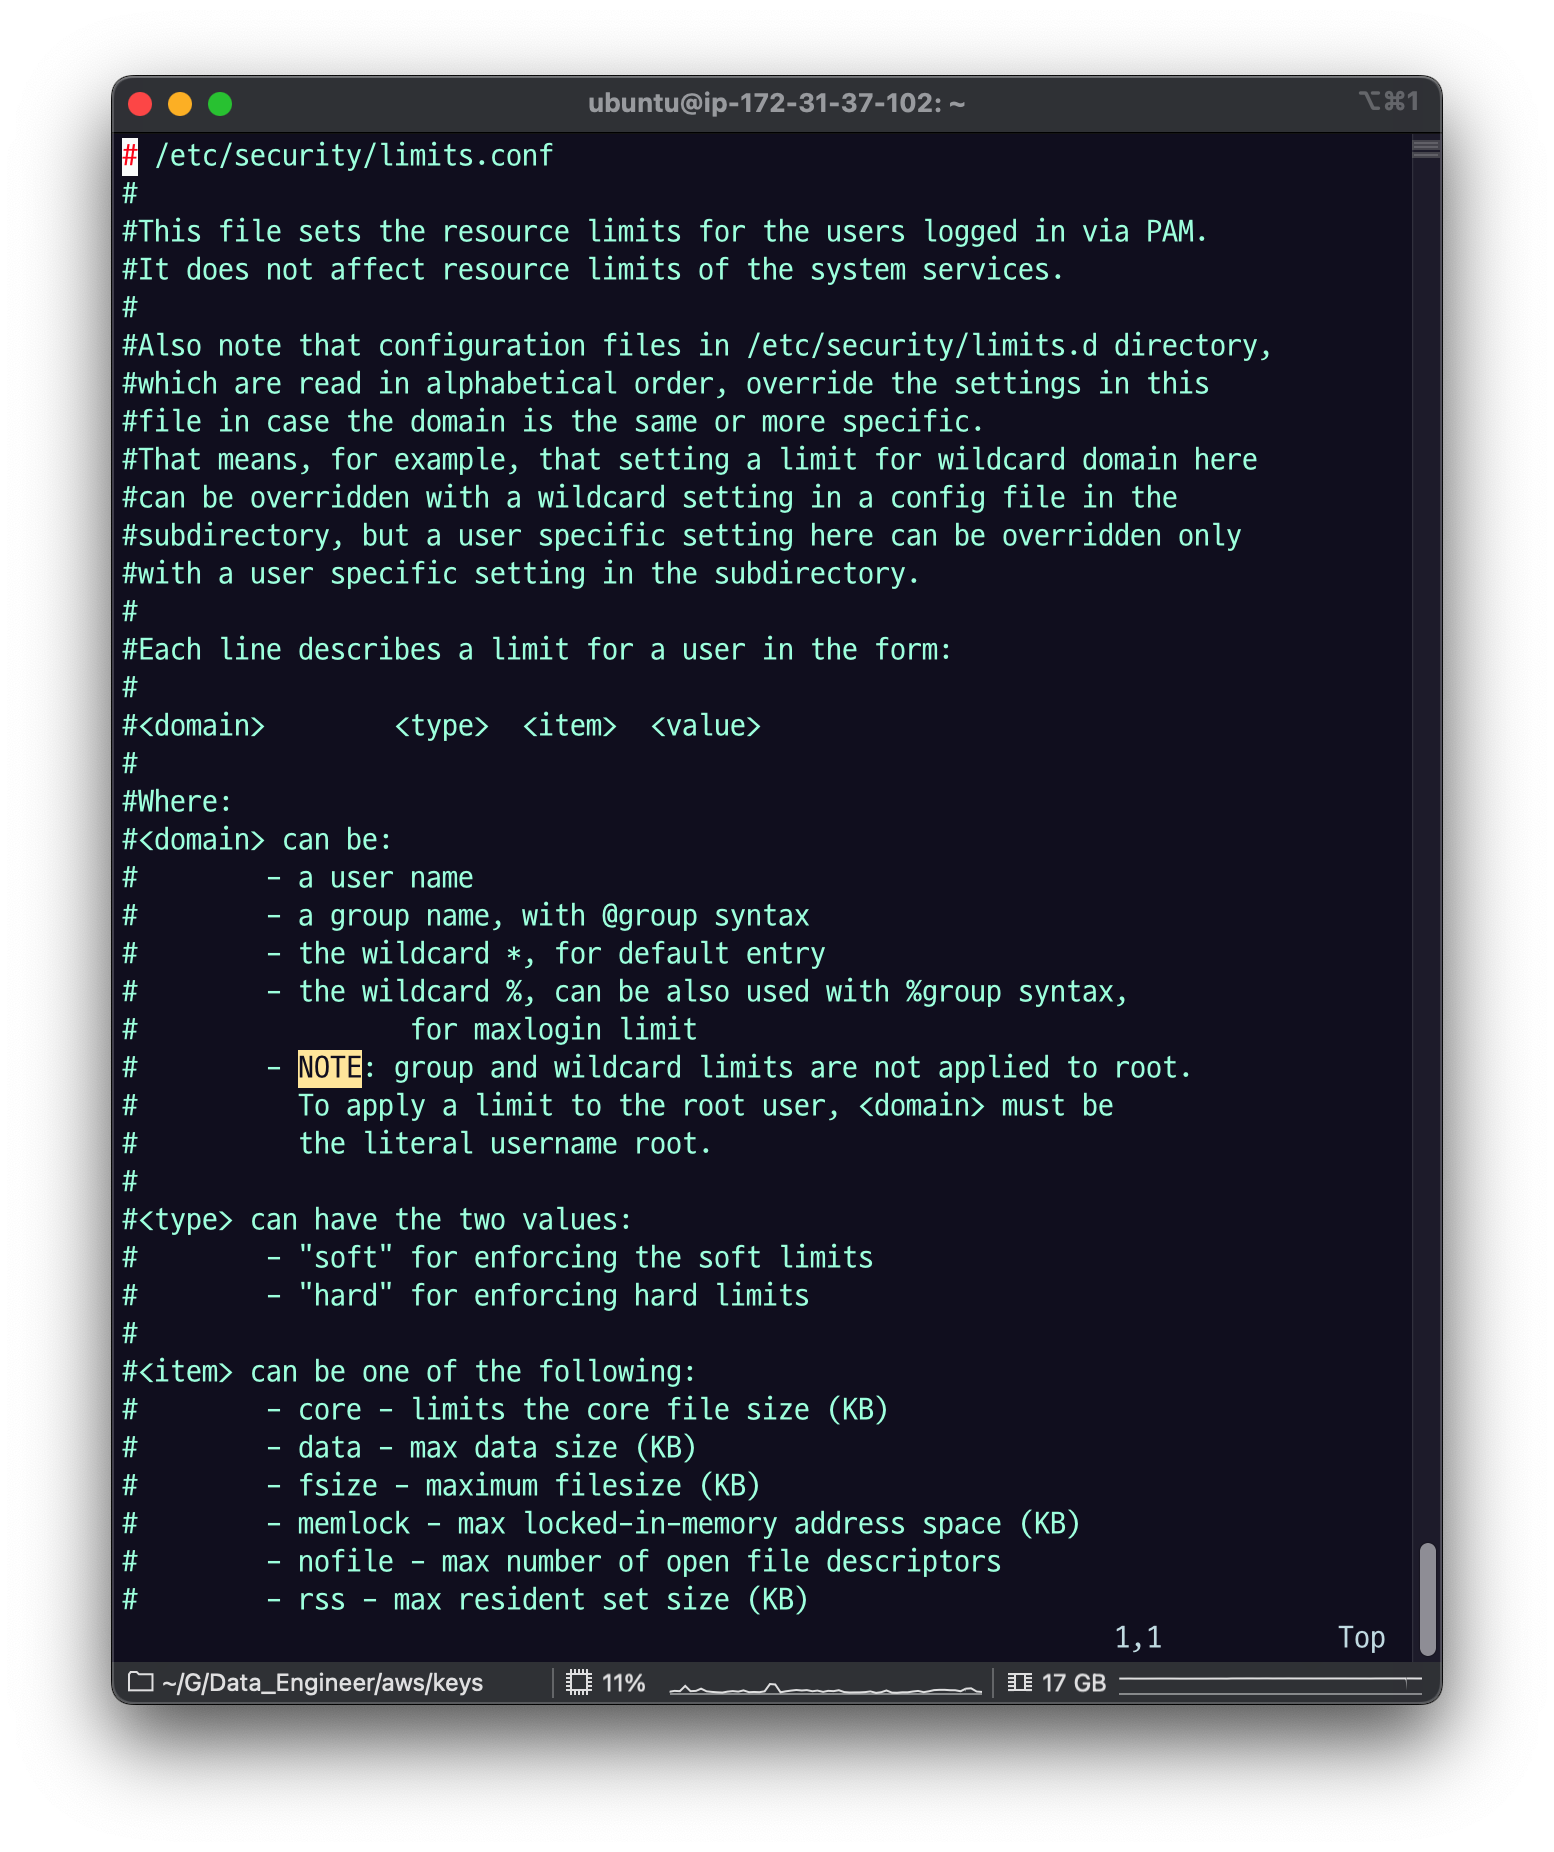
들어가서 보면 전부 주석처리 되어 있는데
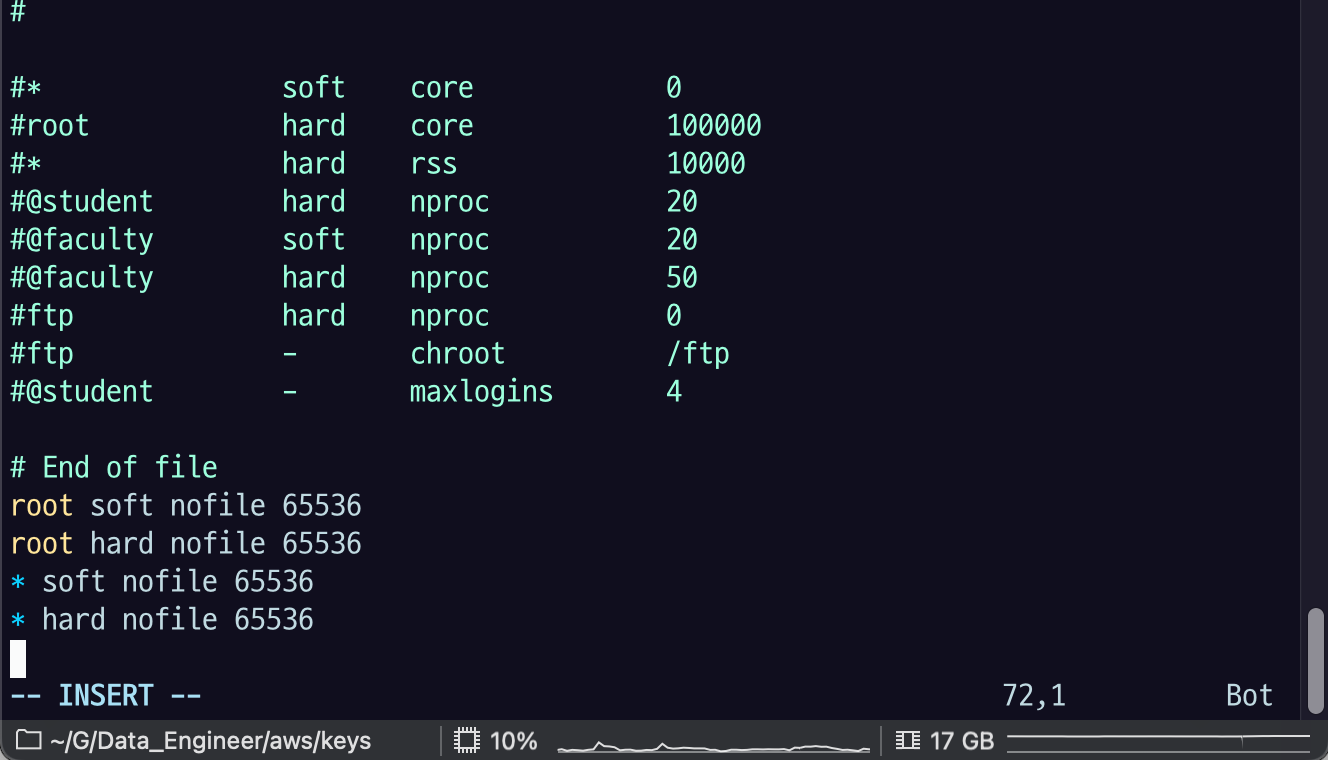
복붙하고 저장하자.
적용하려면 reboot 해야됨.
sudo reboot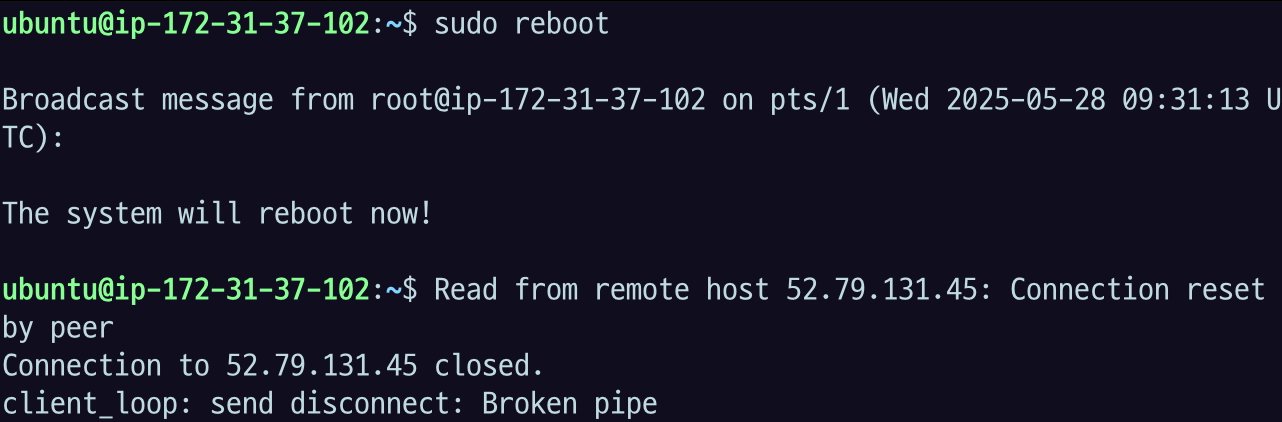

EC2연결이 끊겼었는데, 다시 연결하니 ulimit 값이 바뀌어있다.
Optimize the Network Kernel Parameters
For high load environments with many Fluentd instances, add the following configuration to your /etc/sysctl.conf file:
sudo vi /etc/sysctl.confnet.core.somaxconn = 1024
net.core.netdev_max_backlog = 5000
net.core.rmem_max = 16777216
net.core.wmem_max = 16777216
net.ipv4.tcp_wmem = 4096 12582912 16777216
net.ipv4.tcp_rmem = 4096 12582912 16777216
net.ipv4.tcp_max_syn_backlog = 8096
net.ipv4.tcp_slow_start_after_idle = 0
net.ipv4.tcp_tw_reuse = 1
net.ipv4.ip_local_port_range = 10240 65535
# If forward uses port 24224, reserve that port number for use as an ephemeral port.
# If another port, e.g., monitor_agent uses port 24220, add a comma-separated list of port numbers.
# net.ipv4.ip_local_reserved_ports = 24220,24224
net.ipv4.ip_local_reserved_ports = 24224해당 conf에 위 내용이 없으면 넣으라는 얘기다.
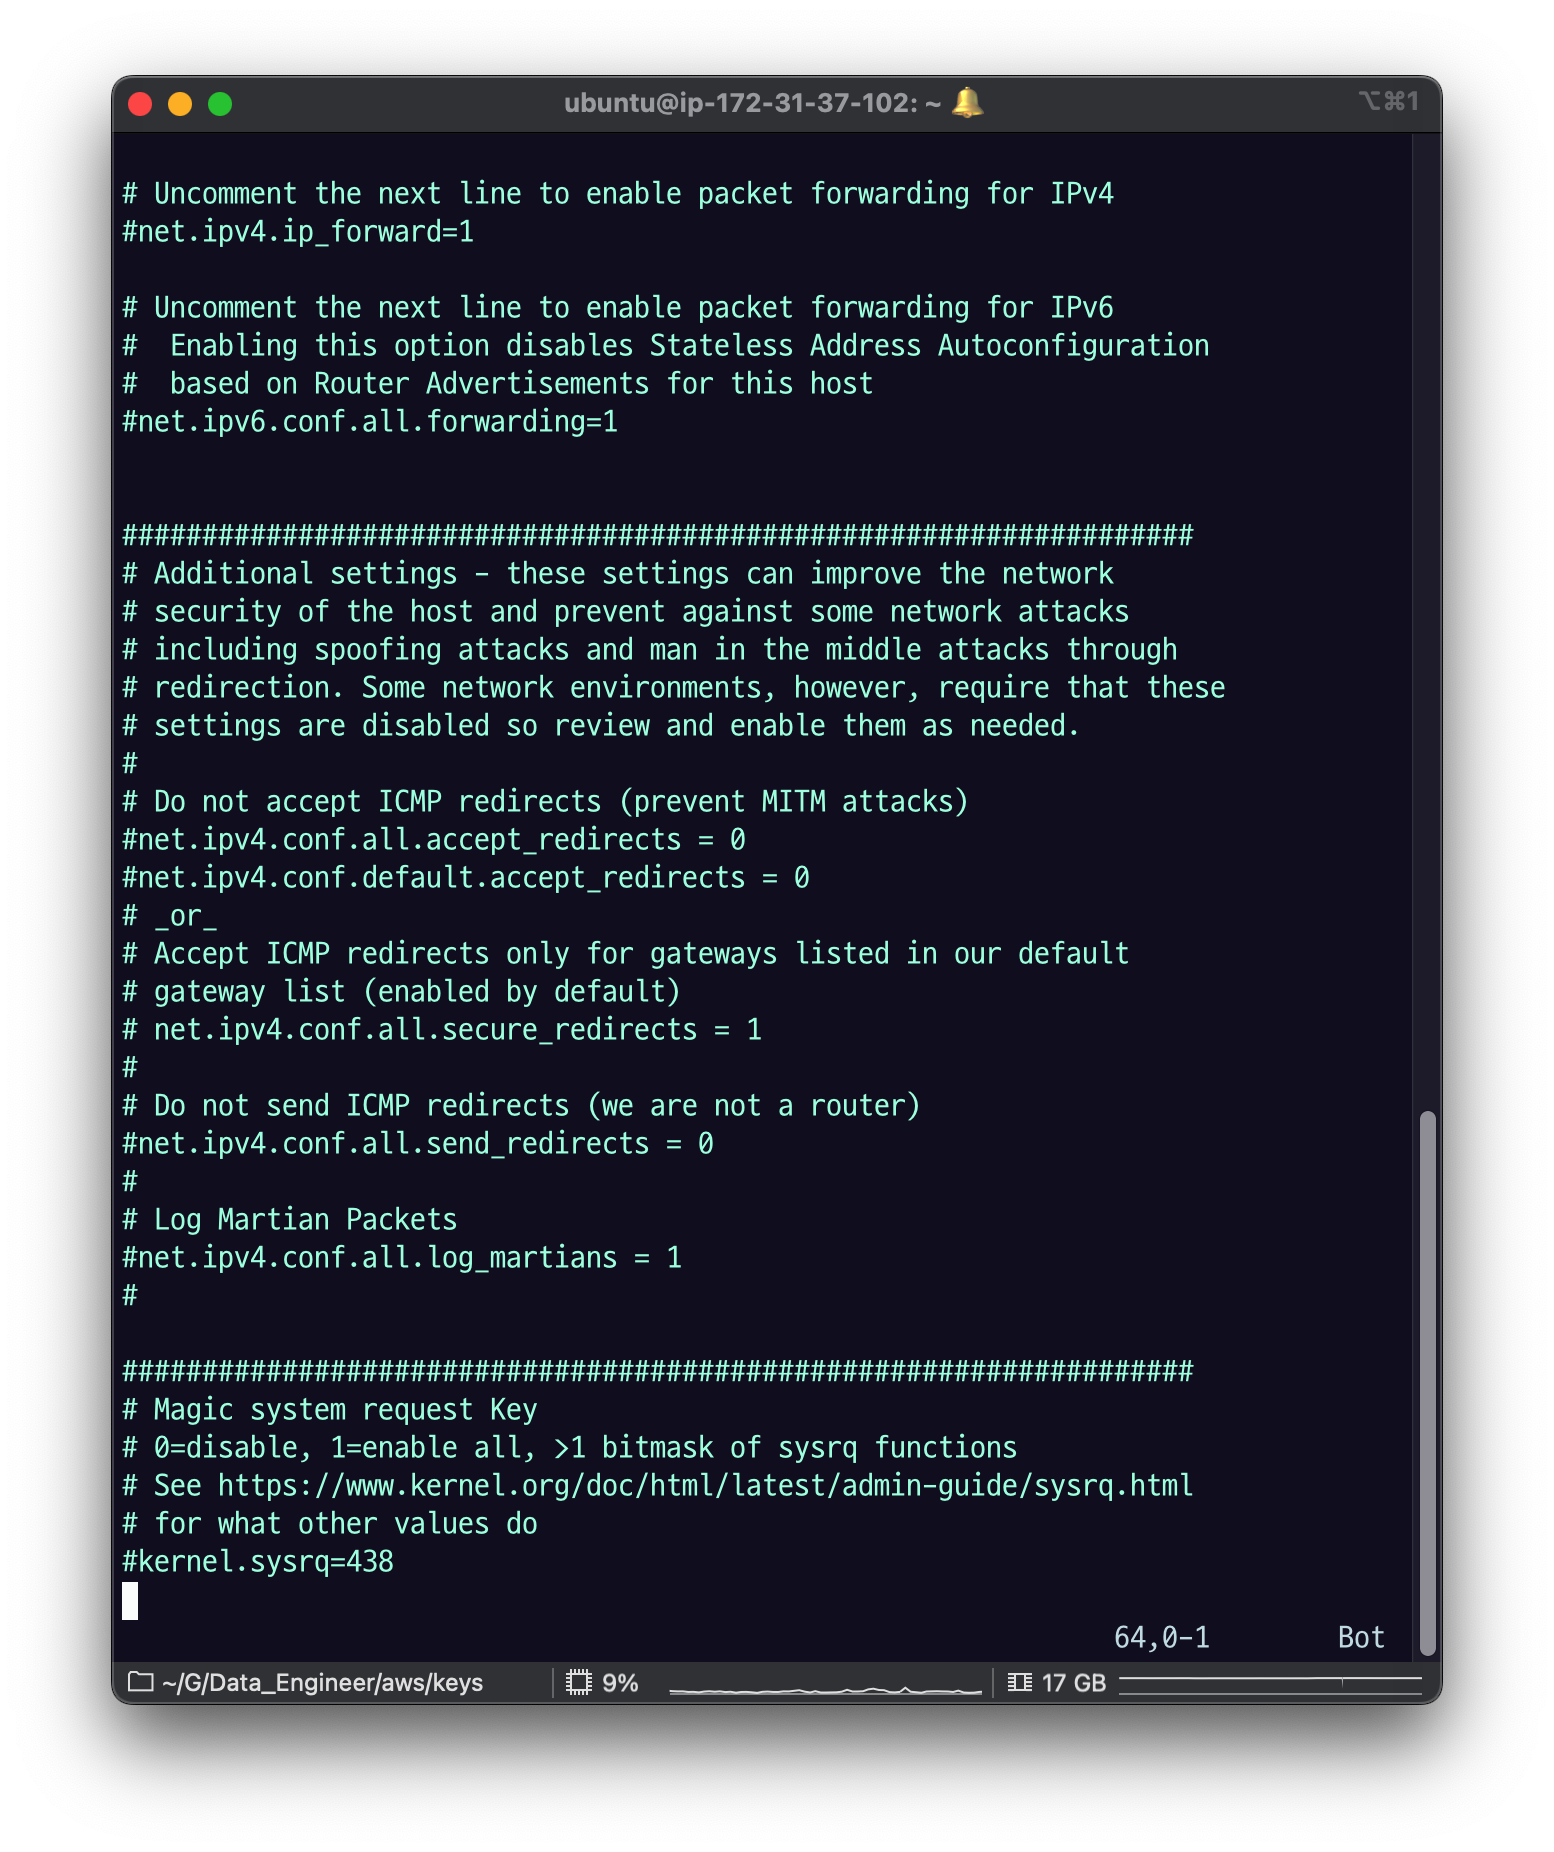
전부 주석 처리가 되어있다.
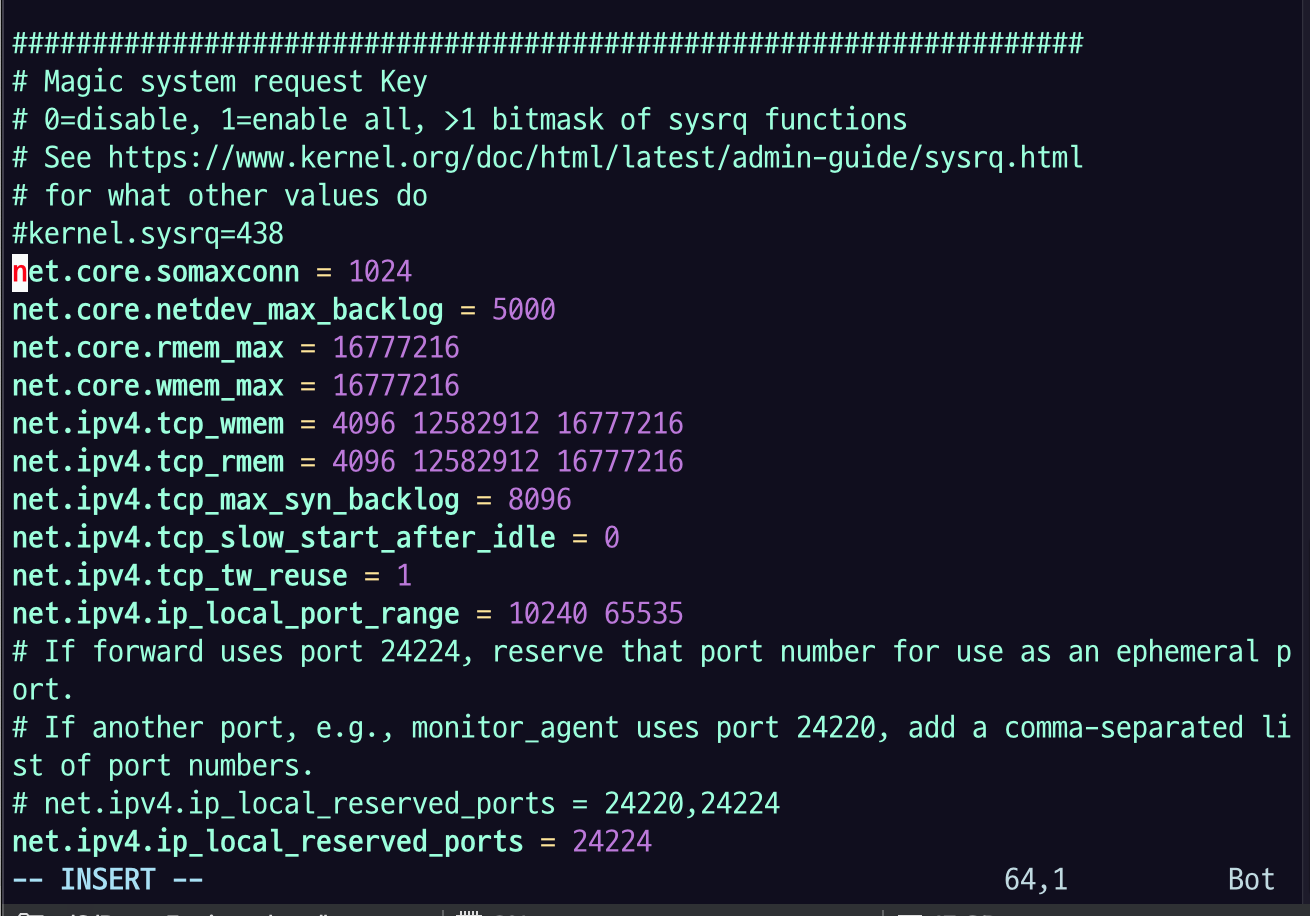
이렇게 붙여넣고 저장.
해당 내용을 적용할 떄는 sysctl -p 라는 커맨드를 수행하면 된다. 여기서 안 되는 경우는 reboot를 또 해야한다.
sudo sysctl -p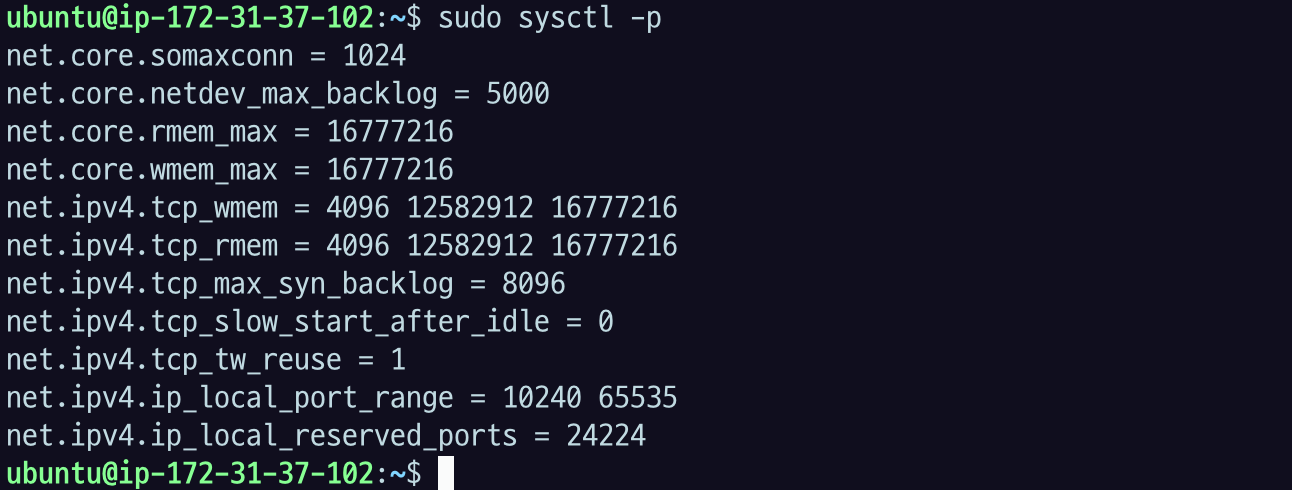
적용된 내용이 나오는 모습.
Use sticky bit symlink/hardlink protection
NOTE: CentOS 7 or later, Ubuntu 18.04 (bionic) or later, and Debian GNU/Linux 10 (buster) or later are supported these parameters.
Fluentd sometimes uses predictable paths for dumping, writing files, and so on. This default settings for the protections are in /etc/sysctl.d/10-link-restrictions.conf, or /usr/lib/sysctl.d/50-default.conf or elsewhere.
위 두 파일 중에 하나를 확인해서
fs.protected_hardlinks = 1
fs.protected_symlinks = 1
이런 설정이 있는지 확인 해라. 없으면 1로 세팅을 해줘라.라는 의미
sudo vi /etc/sysctl.d/10-link-restrictions.conf
비어있다.
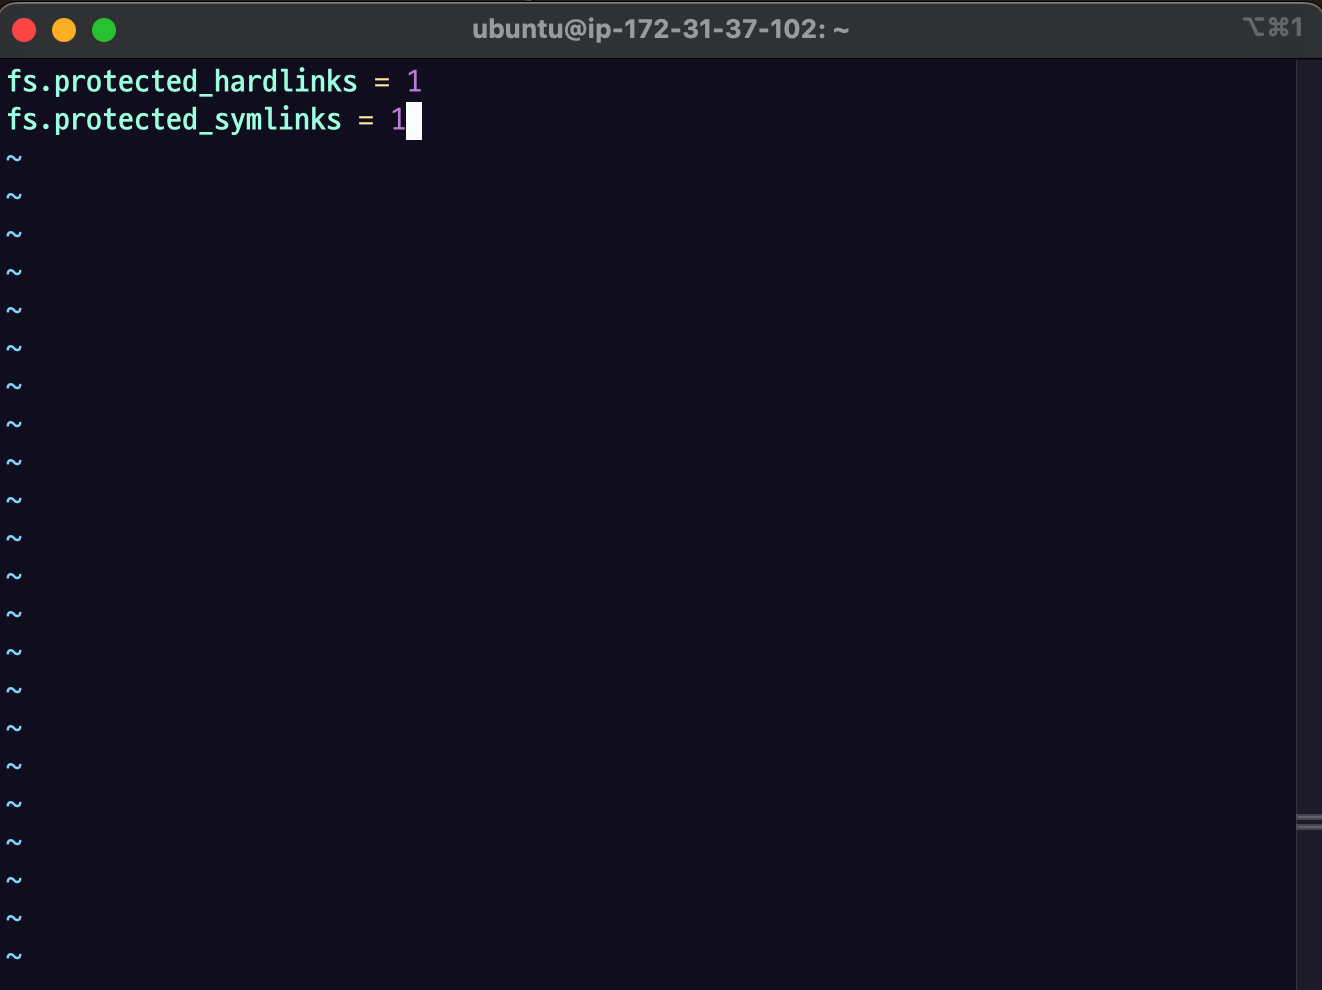
붙여 넣어주고 :wq
cat /proc/sys/fs/protected_hardlinks
cat /proc/sys/fs/protected_symlinks
1로 나오는 것을 확인했다.
방법 2 - gem 이용한 설치
sudo apt update
sudo apt install build-essential -y
Ruby gem 설치
gem : 패키지 매니저 이름
nodejs : npm
java : maven
sudo apt install ruby-rubygems -y
sudo apt install ruby-dev -y
sudo gem install fluentd --no-doc- ruby version 때문에 실패할 수도 있다. 실패하면 안내대로 추가 설치를 진행하고 다시 시도한다.
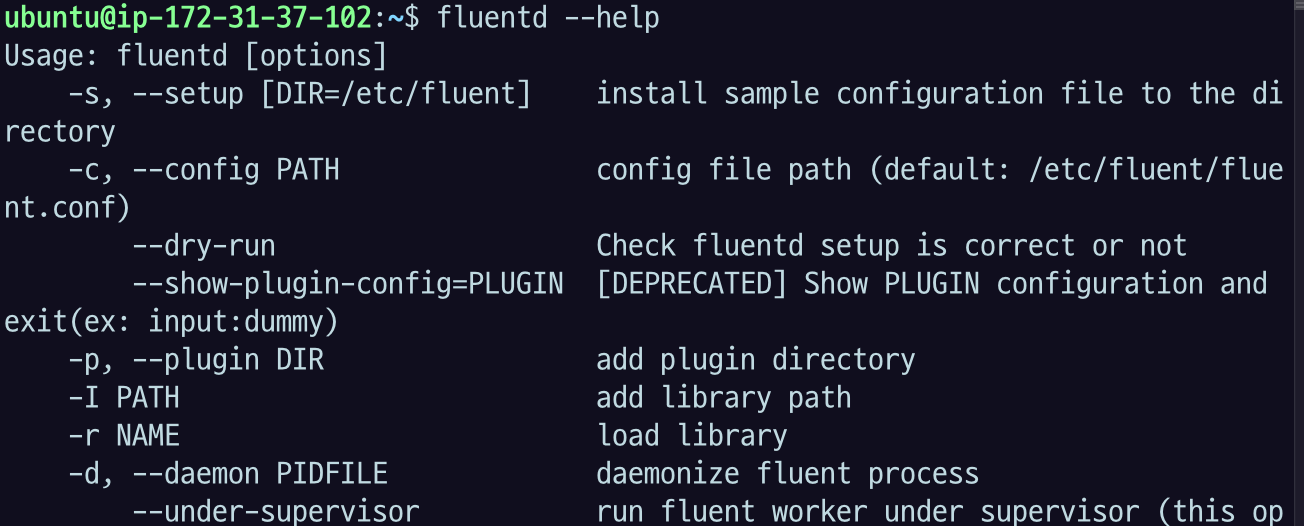
gem install yajl-ruby -v 1.4.1fluentd --help명령어를 사용해 잘 설치되었는지 확인하자.
fluentd setting
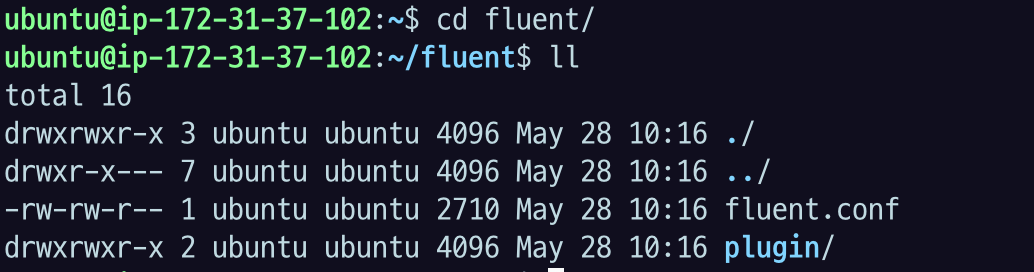
fluentd directory 세팅
fluentd --setup ./fluent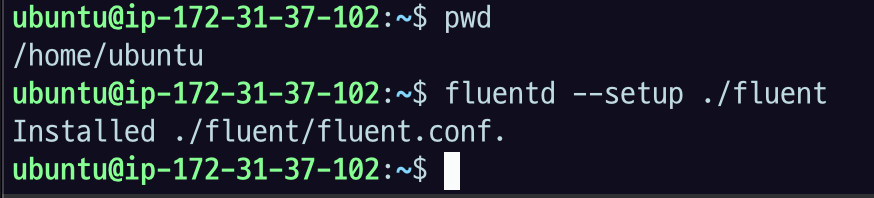
fluentd 테스트
fluentd -c ./fluent/fluent.conf -vv &백그라운드로 실행을 한다는 것이다.
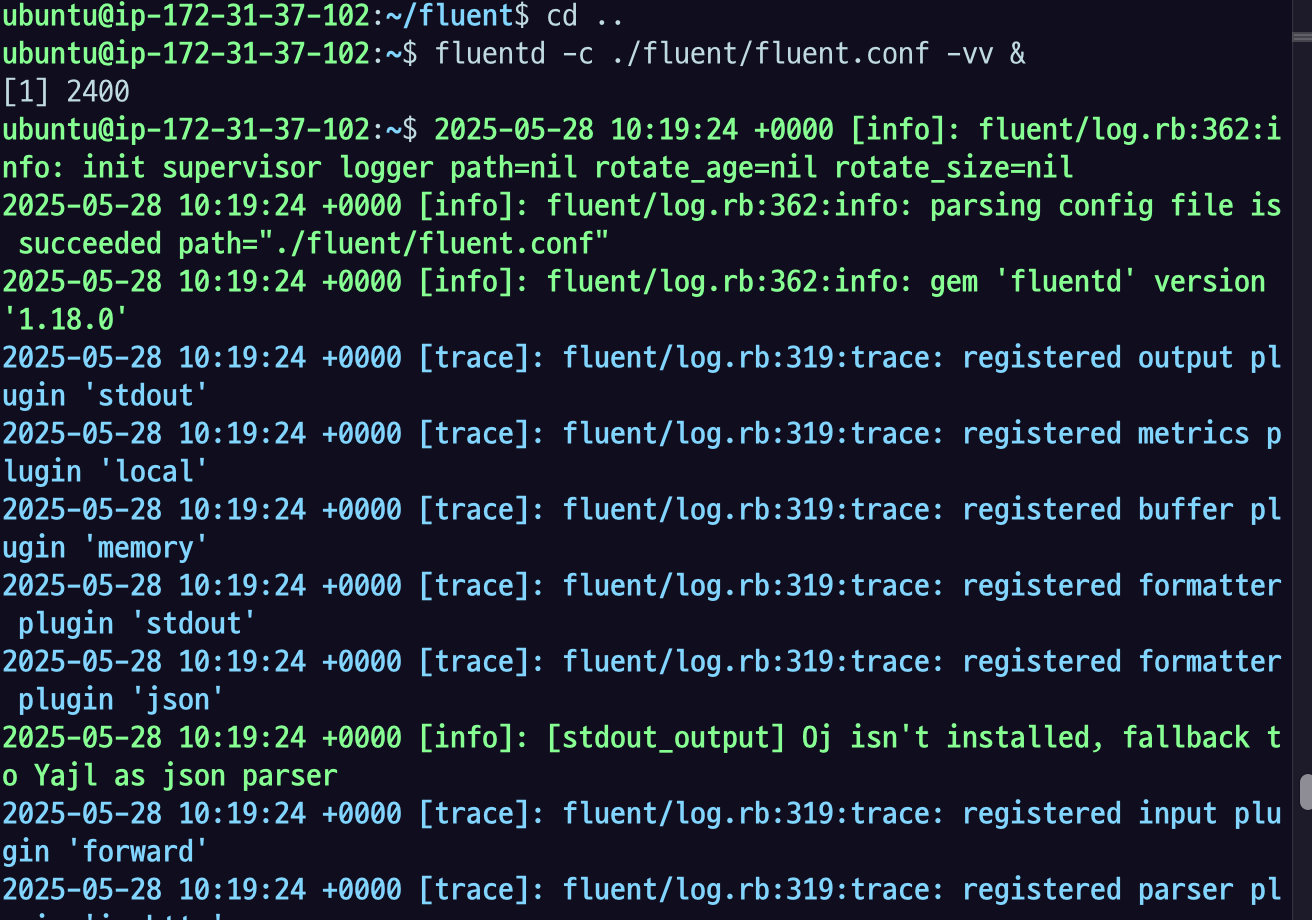
이렇게 백그라운드로 수행을 하고 있는데
echo '{"json":"message"}' | fluent-cat debug.test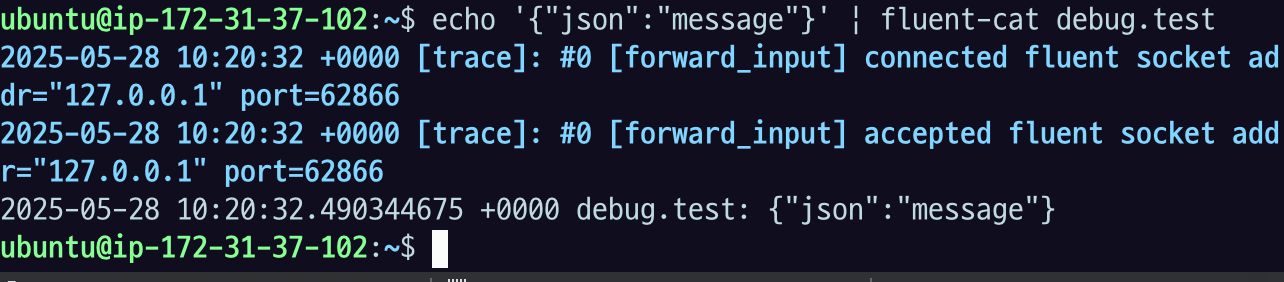
echo를 하면 fluentd 가 받아서 이렇게 뿌려준다.
pkill -f fluentd로 process 종료 가능.