1. State & Event
1-1. state
변경될 수 있는 데이터를 처리할 때 효율적으로 사용될 수 있습니다.
state는 컴포넌트안에서 관리state는 화면에 보여줄 컴포넌트의 정보(상태)를 지니고 있는 객체닙니다.state는 컴포넌트 내에서 정의하고 사용하며 얼마든지 데이터(객체)가 변경될 수 있습니다.
1-2. State 객체
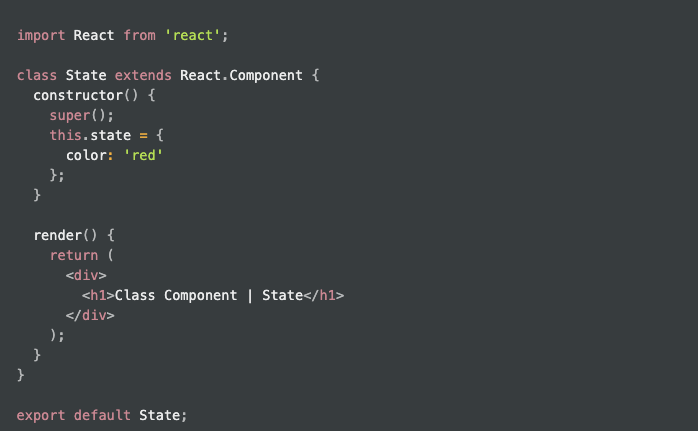
Class component
import React from 'react';

class State extends React.Component {
  constructor() {
    super();
    this.state = {
      color: 'red'
    };
  }

  render() {
    return (
      <div>
        <h1>Class Component | State</h1>
      </div>
    );
  }
}

export default State;
- 클래스형 컴포넌트 안에는 필수적으로
render함수가 필요 - state를 설정할 때는 화면에 보이듯이
constructor함수를 작성하여 설정합니다. constructor함수는 컴포넌트 선언문(class State extends Component)과render함수 사이에 작성합니다.- constructor 메소드 안에는
super()를 호출합니다. - 그 다음에는
this.state값에 컴포넌트의 초기 상태값을 설정해 주었습니다.
state 객체
this.state = {
      color: 'red'
};- 컴포넌트의 state는 객체
- 객체 안의 key 이름은 원하는대로 설정 가능
- 색 정보를 담은 데이터를 담기 위해 key 이름을
color로 지정 colorkey의 값으로red를 value로 지정
1-3. State 사용 예시
state에서 상태값을 설정하는 이유는 컴포넌트 안의 요소에서 그 상태값을 반영해서 데이터가 바뀔 때마다 효율적으로 화면에 나타내기 위함 입니다.
import React, { Component } from 'react';

export class State extends Component {
  constructor() {
    super();
    this.state = {
      color: 'red'
    };
  }

  render() {
    return (
      <div>
        <h1 style={{ color: this.state.color }}>Class Component | State</h1>
      </div>
    );
  }
}

export default State;return문 안에<h1>타이틀 요소가 있습니다.- 해당 요소의 글자 색을 컴포넌트에서 설장한 state 값으로 하고 싶은 경우
- state값을 특정 요소에서 반영할 수 있습니다.
<h1 style={{ color: }}> Cloass component | State</h>
- dot notation을 사용하여 객체(state)의 특정 key(color) 값에 접근하여 그 값을 color 속성의 value로 지정할 수 있습니다.
<h1 style={{ color: this.state.color  }}>Class Component | State</h1>
- this : 해당 컴포넌트
- this.state : 해당 컴포넌트의 state 객체
- this.state.color : state객체의 특정 key(color)값
2. Event
import React, { Component } from 'react';

export class State extends Component {
  constructor() {
    super();
    this.state = {
      color: 'red'
    };
  }

  handleColor = () => {
    this.setState({
      color: 'blue'
    })
  }

  render() {
    return (
      <div>
        <h1 style={{ color: this.state.color }}>Class Component | State</h1>
        <button onClick={this.handleColor}>Click</button>
      </div>
    );
  }
}

export default State;
- 다음의 순서에 따라서 코드가 실행됩니다.
1.<button>요소에서onclick이벤트 발생
2.this.handleColor, 즉 현재 컴포넌트(state)의handleColor함수 실행
handleColor함수 실행 시setState함수 실행 - state의color값을'blue'로 변경- 바뀐 state 값을 반영하여
<h1>태그 글자 색상 변경