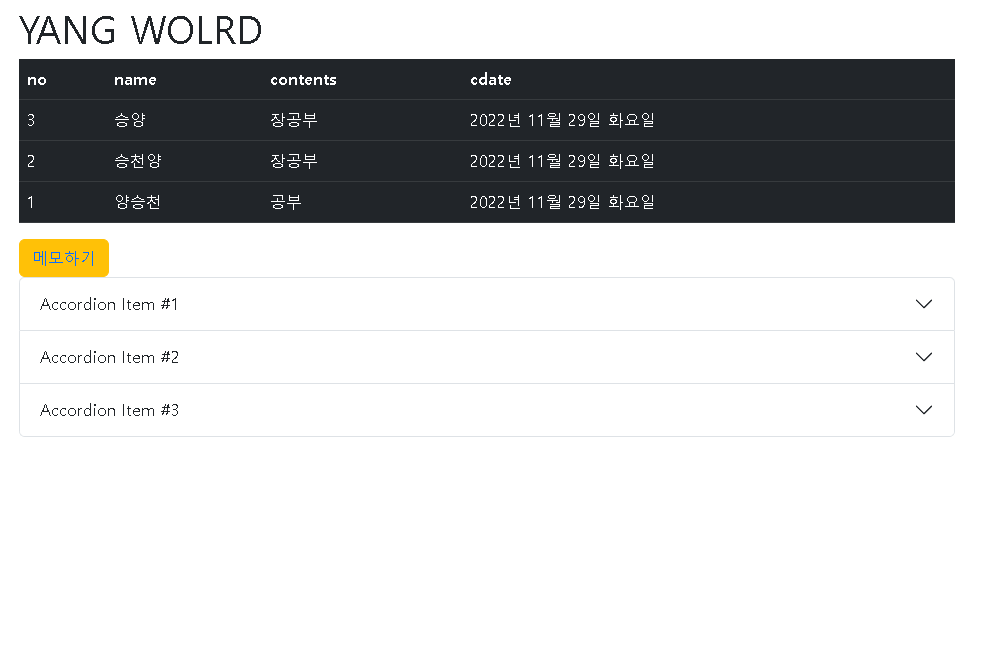
목록에서 최근 값 가져오는 방법

- 인덱스 페이지에 최근 목록 3개
보이도록 하고, - 버튼을 누르면 메모 작성하기로
가도록 구현 - 부트스트랩 활용 꾸미기
view 함수
from django.shortcuts import render
from community.forms import Form
from .models import Article
# Create your views here.
def write(request):
    # 만약에 request의 post 가 ture 이면
    if request.method == 'POST':
    # 사용자가 입력한 form 데이터를 변수에 저장하고
        form = Form(request.POST)
    # ORM 으로 DB에 저장하기
        if form.is_valid():
            form.save() #필드값 저장
    # 아니면
    else:
        form = Form()
    return render(request, 'community/write.html', {'form':form})


    # 비즈니스 로직 구현
    # data = {'키':'벨류'}
    # return render(request,html탬플릿 파일 ,data)
def articleList(request):
    article_list = Article.objects.all()
    return render(request,'community/list.html',{'article_list':article_list})

def viewDetail(request ,num=1):
    article_detail = Article.objects.get(id=num)
    return render(request,'community/view_detail.html',{'article_detail':article_detail})

def index(request):
    latest_article_list = Article.objects.all().order_by('-cdate')[:3]
    return render(request,'index.html',{'latest_article_list':latest_article_list})
urls
"""django_tutorial URL Configuration

The `urlpatterns` list routes URLs to views. For more information please see:
    https://docs.djangoproject.com/en/4.1/topics/http/urls/
Examples:
Function views
    1. Add an import:  from my_app import views
    2. Add a URL to urlpatterns:  path('', views.home, name='home')
Class-based views
    1. Add an import:  from other_app.views import Home
    2. Add a URL to urlpatterns:  path('', Home.as_view(), name='home')
Including another URLconf
    1. Import the include() function: from django.urls import include, path
    2. Add a URL to urlpatterns:  path('blog/', include('blog.urls'))
"""
from django.contrib import admin
from django.urls import path
from community.views import write ,articleList ,viewDetail,index

urlpatterns = [
    path('admin/', admin.site.urls),
    path('write/',write,name='write'),
    path('list/',articleList,name='list'),
    path('view_detail/<int:num>/',viewDetail,name='view_detail'),
    path('',index,name='index'),
]
index 페이지
<!DOCTYPE html>
<html lang="ko">

<head>
    <meta charset="UTF-8">
    <meta http-equiv="X-UA-Compatible" content="IE=edge">
    <meta name="viewport" content="width=device-width, initial-scale=1.0">
    <link rel="stylesheet" href="https://cdn.jsdelivr.net/npm/bootstrap@5.2.2/dist/css/bootstrap.min.css">
    <script src="https://cdn.jsdelivr.net/npm/bootstrap@5.2.2/dist/js/bootstrap.bundle.min.js"></script>
    <title>Document</title>
</head>

<body>
    <div class="container">
        <h1 class="mt-3">YANG WOLRD</h1> <!-- mt-3은 제목 높이조절? -->
        <table class="table table-dark">
            <thead>
                <tr>
                    <th scope="col">no</th>
                    <th scope="col">name</th>
                    <th scope="col">contents</th>
                    <th scope="col">cdate</th>

                </tr>
            </thead>
            <tbody>
                {% for article in latest_article_list %}
                <tr>

                    <td><a href="/view_detail/{{article.id}}"></a>{{article.id}}</td>
                    <td>{{article.name}}</td>
                    <td>{{article.title}}</td>
                    <td>{{article.cdate|date:"Y년 M d일 D"}}</td>
                </tr>
                {% endfor %}

            </tbody>
        </table>
    </div>
    <!-- <div class="container">
        <ul>
        {% for article in latest_article_list %}
            <li><a href="/view_detail/{{article.id}}"></a>
                {{ article.title }} | {{article.name}} | {{article.cdate|date:"Y년 M d일 D"}}</li>
        {% endfor %}
        </ul> -->

    <div class="container">
        <button type="button" class="btn btn-warning"><a href="/write" class="text-decoration-none">메모하기</a></button>
        <div class="accordion" id="accordionExample">
            <div class="accordion-item">
                <h2 class="accordion-header" id="headingOne">
                    <button class="accordion-button" type="button" data-bs-toggle="collapse"
                        data-bs-target="#collapseOne" aria-expanded="true" aria-controls="collapseOne">
                        Accordion Item #1
                    </button>
                </h2>
                <div id="collapseOne" class="accordion-collapse collapse show" aria-labelledby="headingOne"
                    data-bs-parent="#accordionExample">
                    <div class="accordion-body">
                        <strong>This is the first item's accordion body.</strong> It is shown by default, until the
                        collapse plugin adds the appropriate classes that we use to style each element. These classes
                        control the overall appearance, as well as the showing and hiding via CSS transitions. You can
                        modify any of this with custom CSS or overriding our default variables. It's also worth noting
                        that just about any HTML can go within the <code>.accordion-body</code>, though the transition
                        does limit overflow.
                    </div>
                </div>
            </div>
            <div class="accordion-item">
                <h2 class="accordion-header" id="headingTwo">
                    <button class="accordion-button collapsed" type="button" data-bs-toggle="collapse"
                        data-bs-target="#collapseTwo" aria-expanded="false" aria-controls="collapseTwo">
                        Accordion Item #2
                    </button>
                </h2>
                <div id="collapseTwo" class="accordion-collapse collapse" aria-labelledby="headingTwo"
                    data-bs-parent="#accordionExample">
                    <div class="accordion-body">
                        <strong>This is the second item's accordion body.</strong> It is hidden by default, until the
                        collapse plugin adds the appropriate classes that we use to style each element. These classes
                        control the overall appearance, as well as the showing and hiding via CSS transitions. You can
                        modify any of this with custom CSS or overriding our default variables. It's also worth noting
                        that just about any HTML can go within the <code>.accordion-body</code>, though the transition
                        does limit overflow.
                    </div>
                </div>
            </div>
            <div class="accordion-item">
                <h2 class="accordion-header" id="headingThree">
                    <button class="accordion-button collapsed" type="button" data-bs-toggle="collapse"
                        data-bs-target="#collapseThree" aria-expanded="false" aria-controls="collapseThree">
                        Accordion Item #3
                    </button>
                </h2>
                <div id="collapseThree" class="accordion-collapse collapse" aria-labelledby="headingThree"
                    data-bs-parent="#accordionExample">
                    <div class="accordion-body">
                        <strong>This is the third item's accordion body.</strong> It is hidden by default, until the
                        collapse plugin adds the appropriate classes that we use to style each element. These classes
                        control the overall appearance, as well as the showing and hiding via CSS transitions. You can
                        modify any of this with custom CSS or overriding our default variables. It's also worth noting
                        that just about any HTML can go within the <code>.accordion-body</code>, though the transition
                        does limit overflow.
                    </div>
                </div>
            </div>
        </div>
    </div>
</body>

</html>- 부트스트랩을 활용하기 위한 코드
<link rel="stylesheet" href="https://cdn.jsdelivr.net/npm/bootstrap@5.2.2/dist/css/bootstrap.min.css"><script src="https://cdn.jsdelivr.net/npm/bootstrap@5.2.2/dist/js/bootstrap.bundle.min.js"></script>- 완성된 모습

되고싶다 직무전환 성공하자!