위 형태로 과제가 주어졌다. 시작해보자.
<title>스파르타코딩클럽 | 부트스트랩 연습하기</title>
<style>
.coin {
width: 500px;
padding-top: 30px;
}
</style>
</head>
<body>
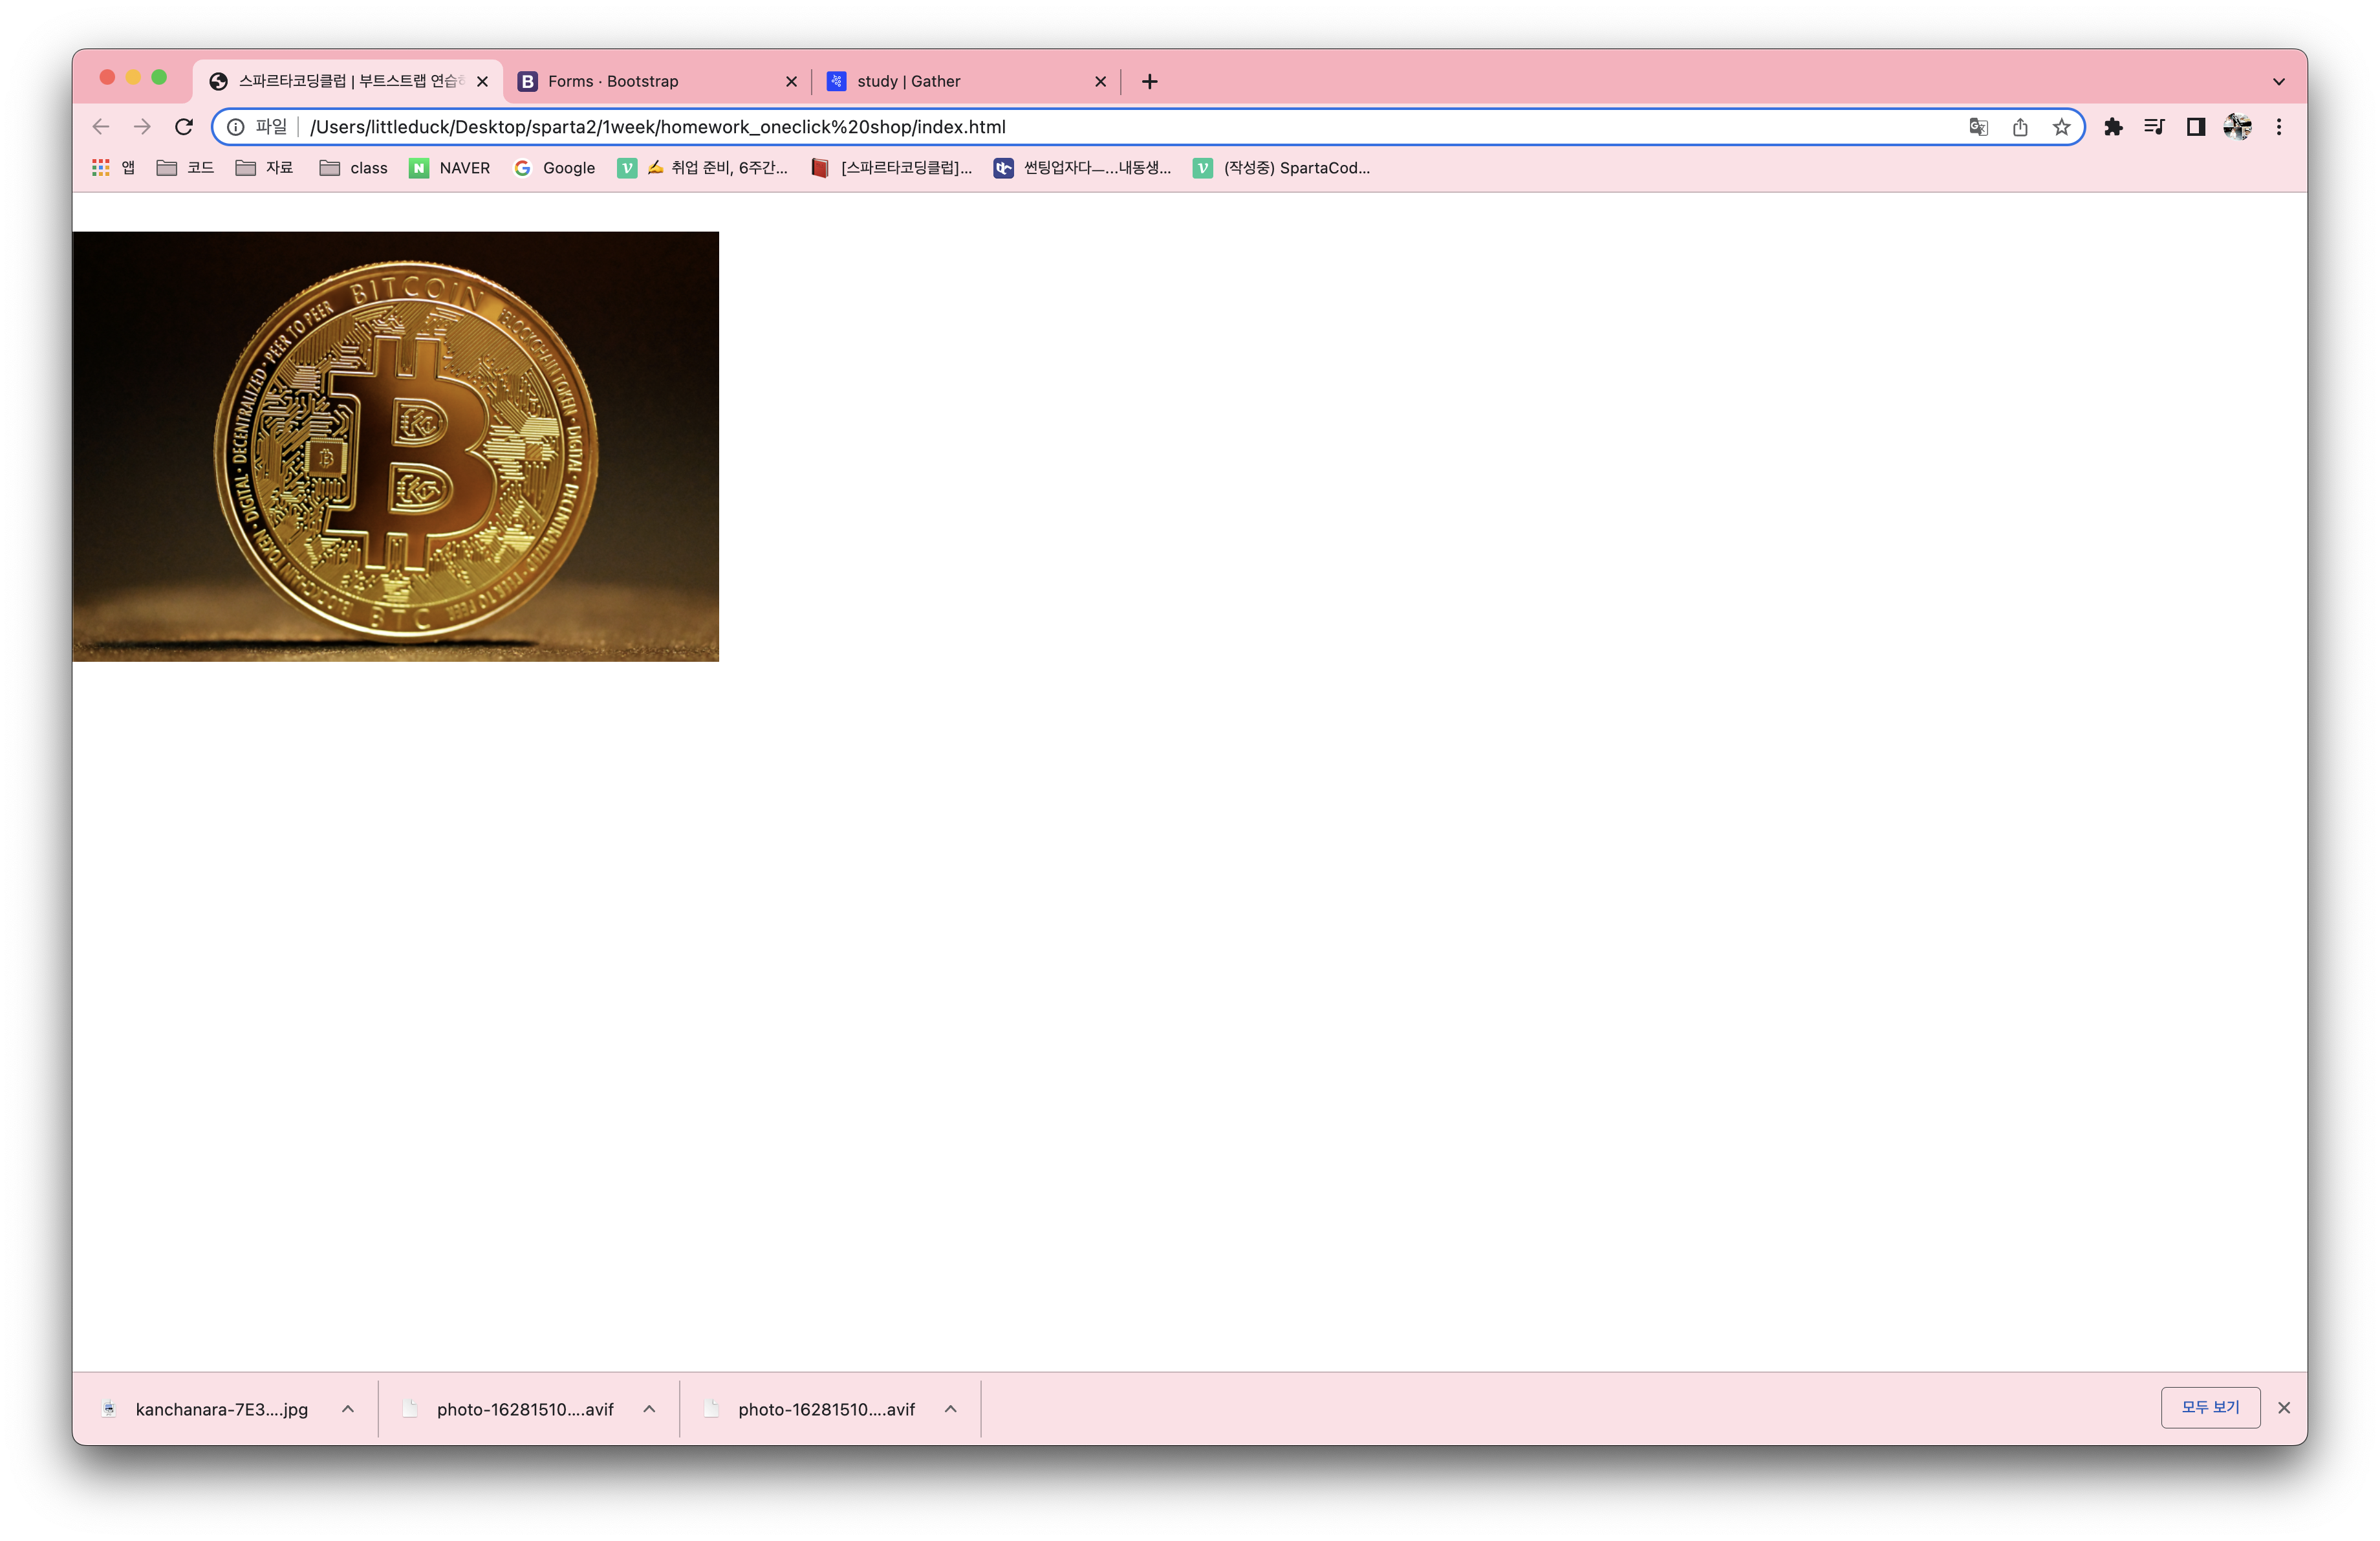
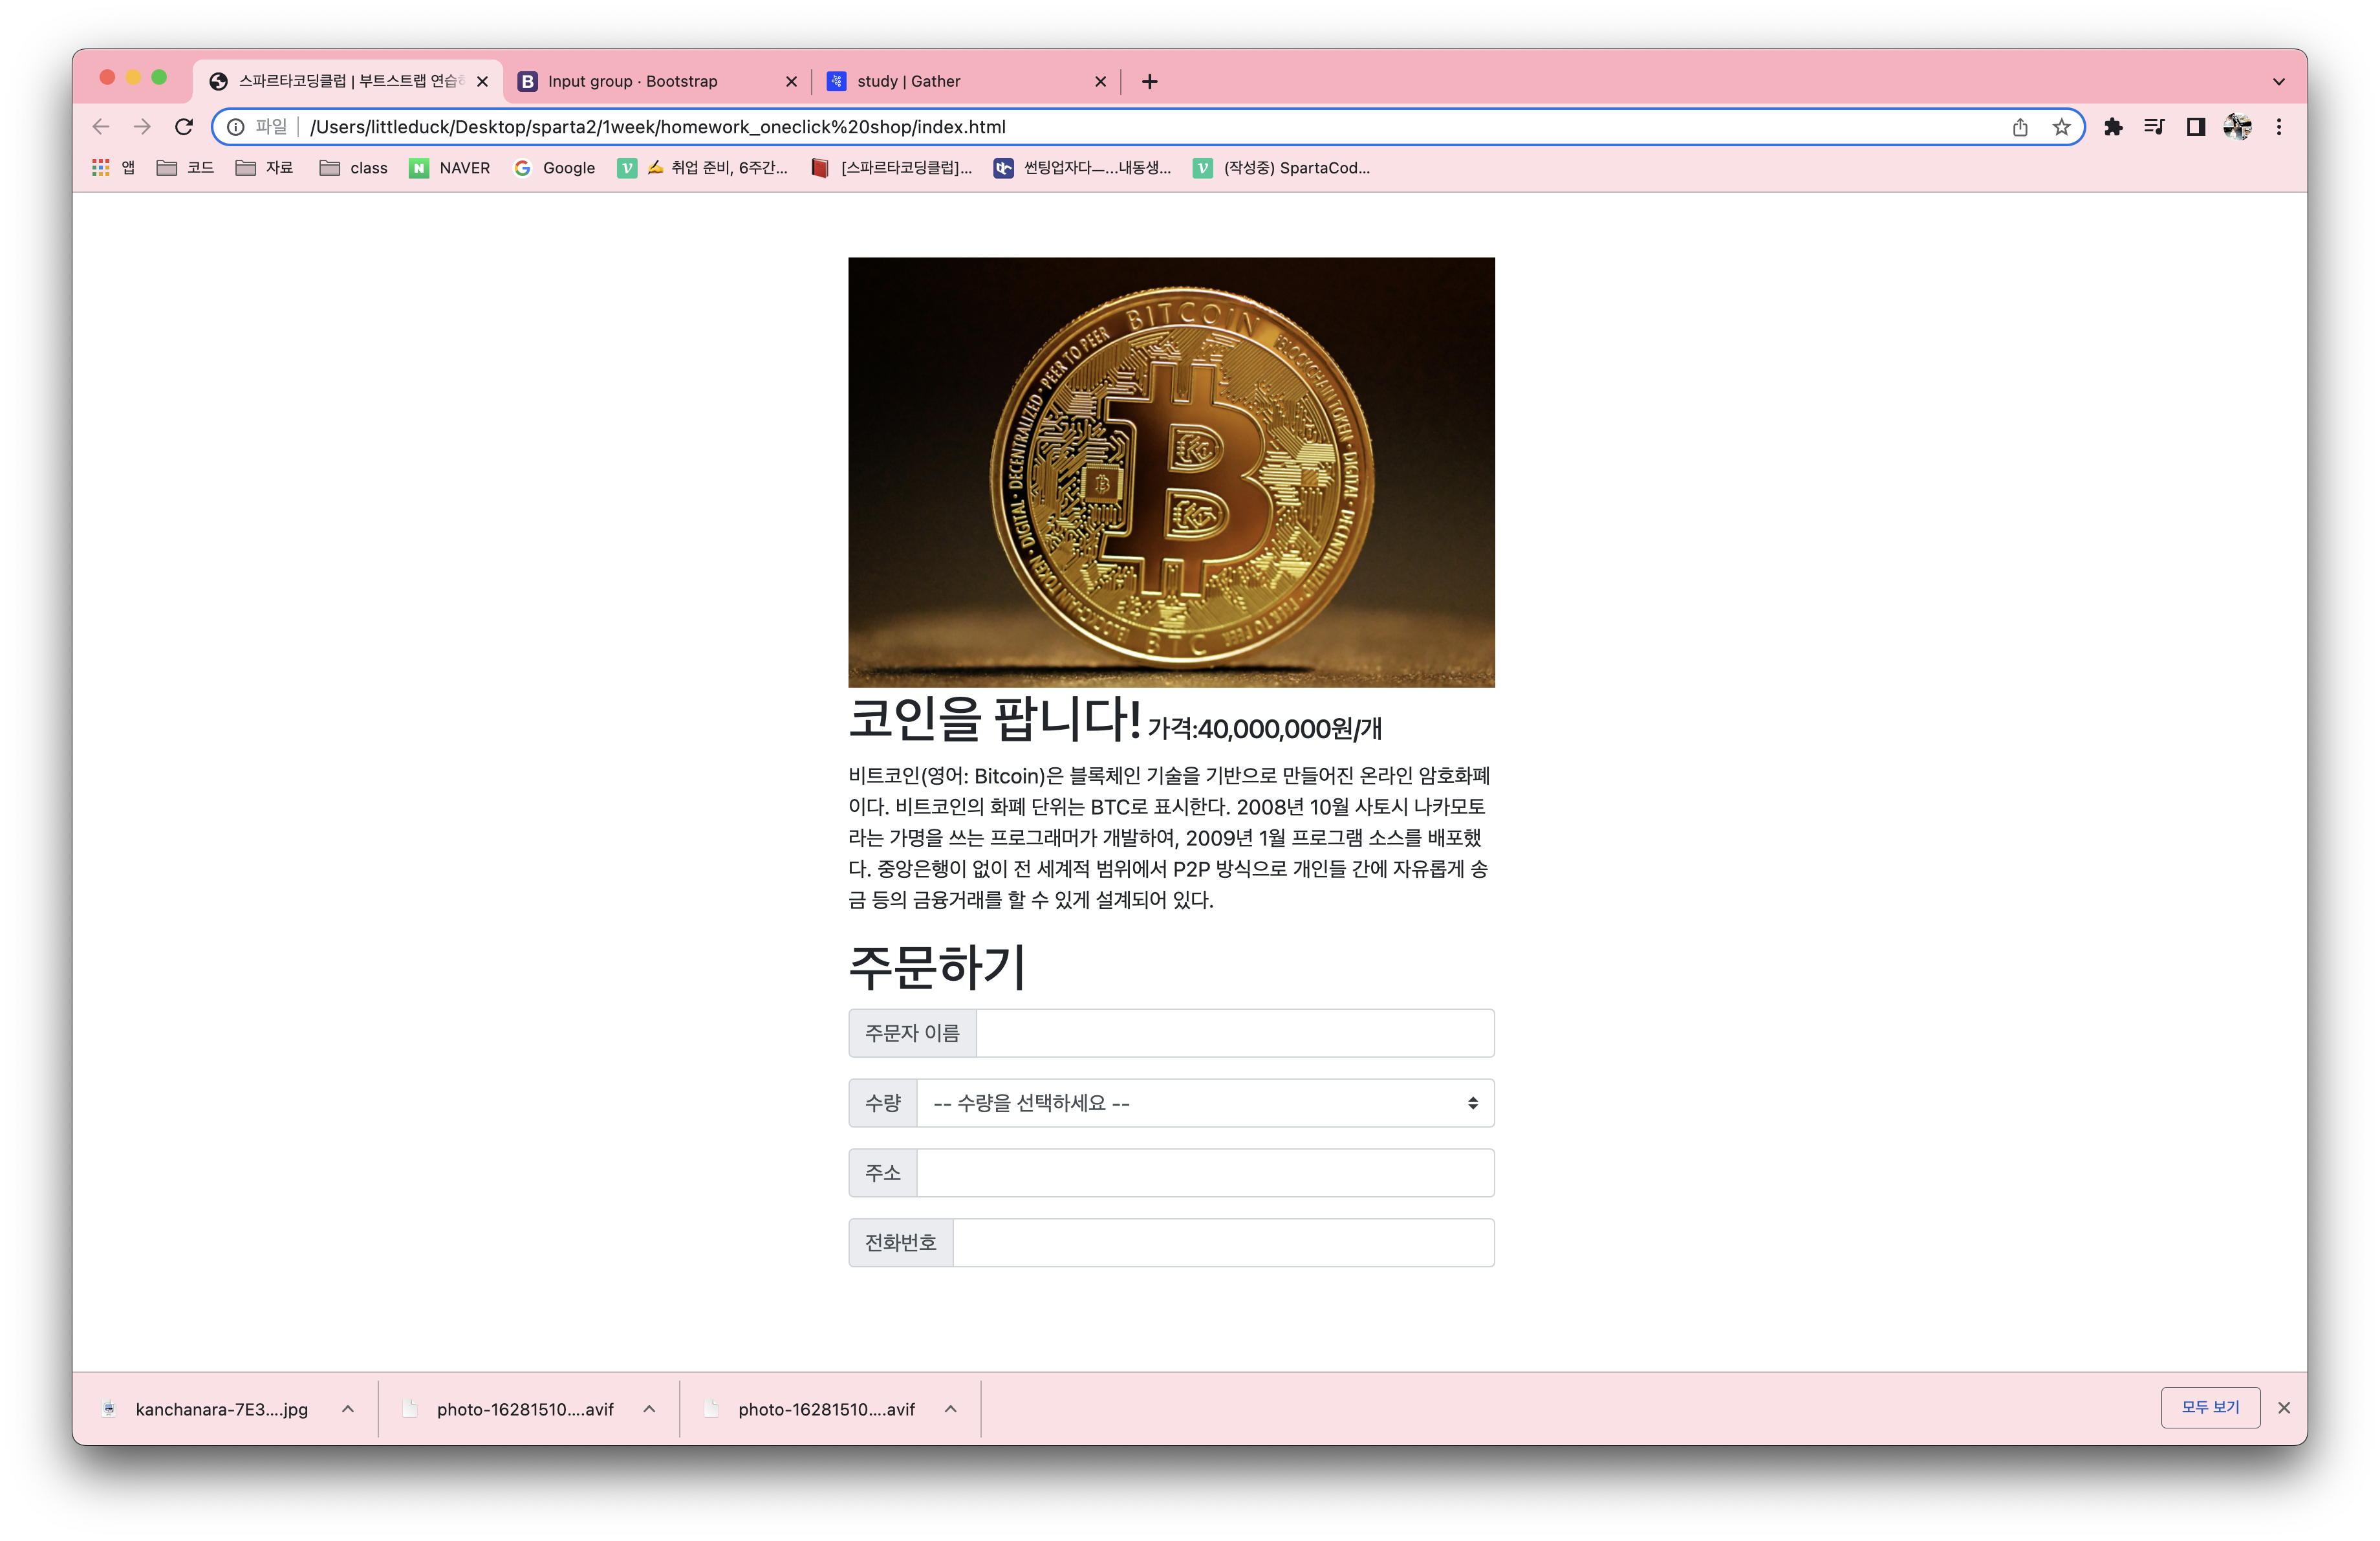
<img src="coin.jpg" class="coin">
</body>과제 설명에는 양초로 되어있었으나 비트코인으로 정하고 Unflash 에서 사진을 다운받아 넣어줬다.
사진의 사이즈가 커서 화면전체를 가려 'coin' 으로 정의하고 width 와 margin 값을 주엇다.
<style>
.coin {
width: 500px;
padding-top: 30px;
}
.price {
font-size: 20px;
}
</style>
</head>
<body>
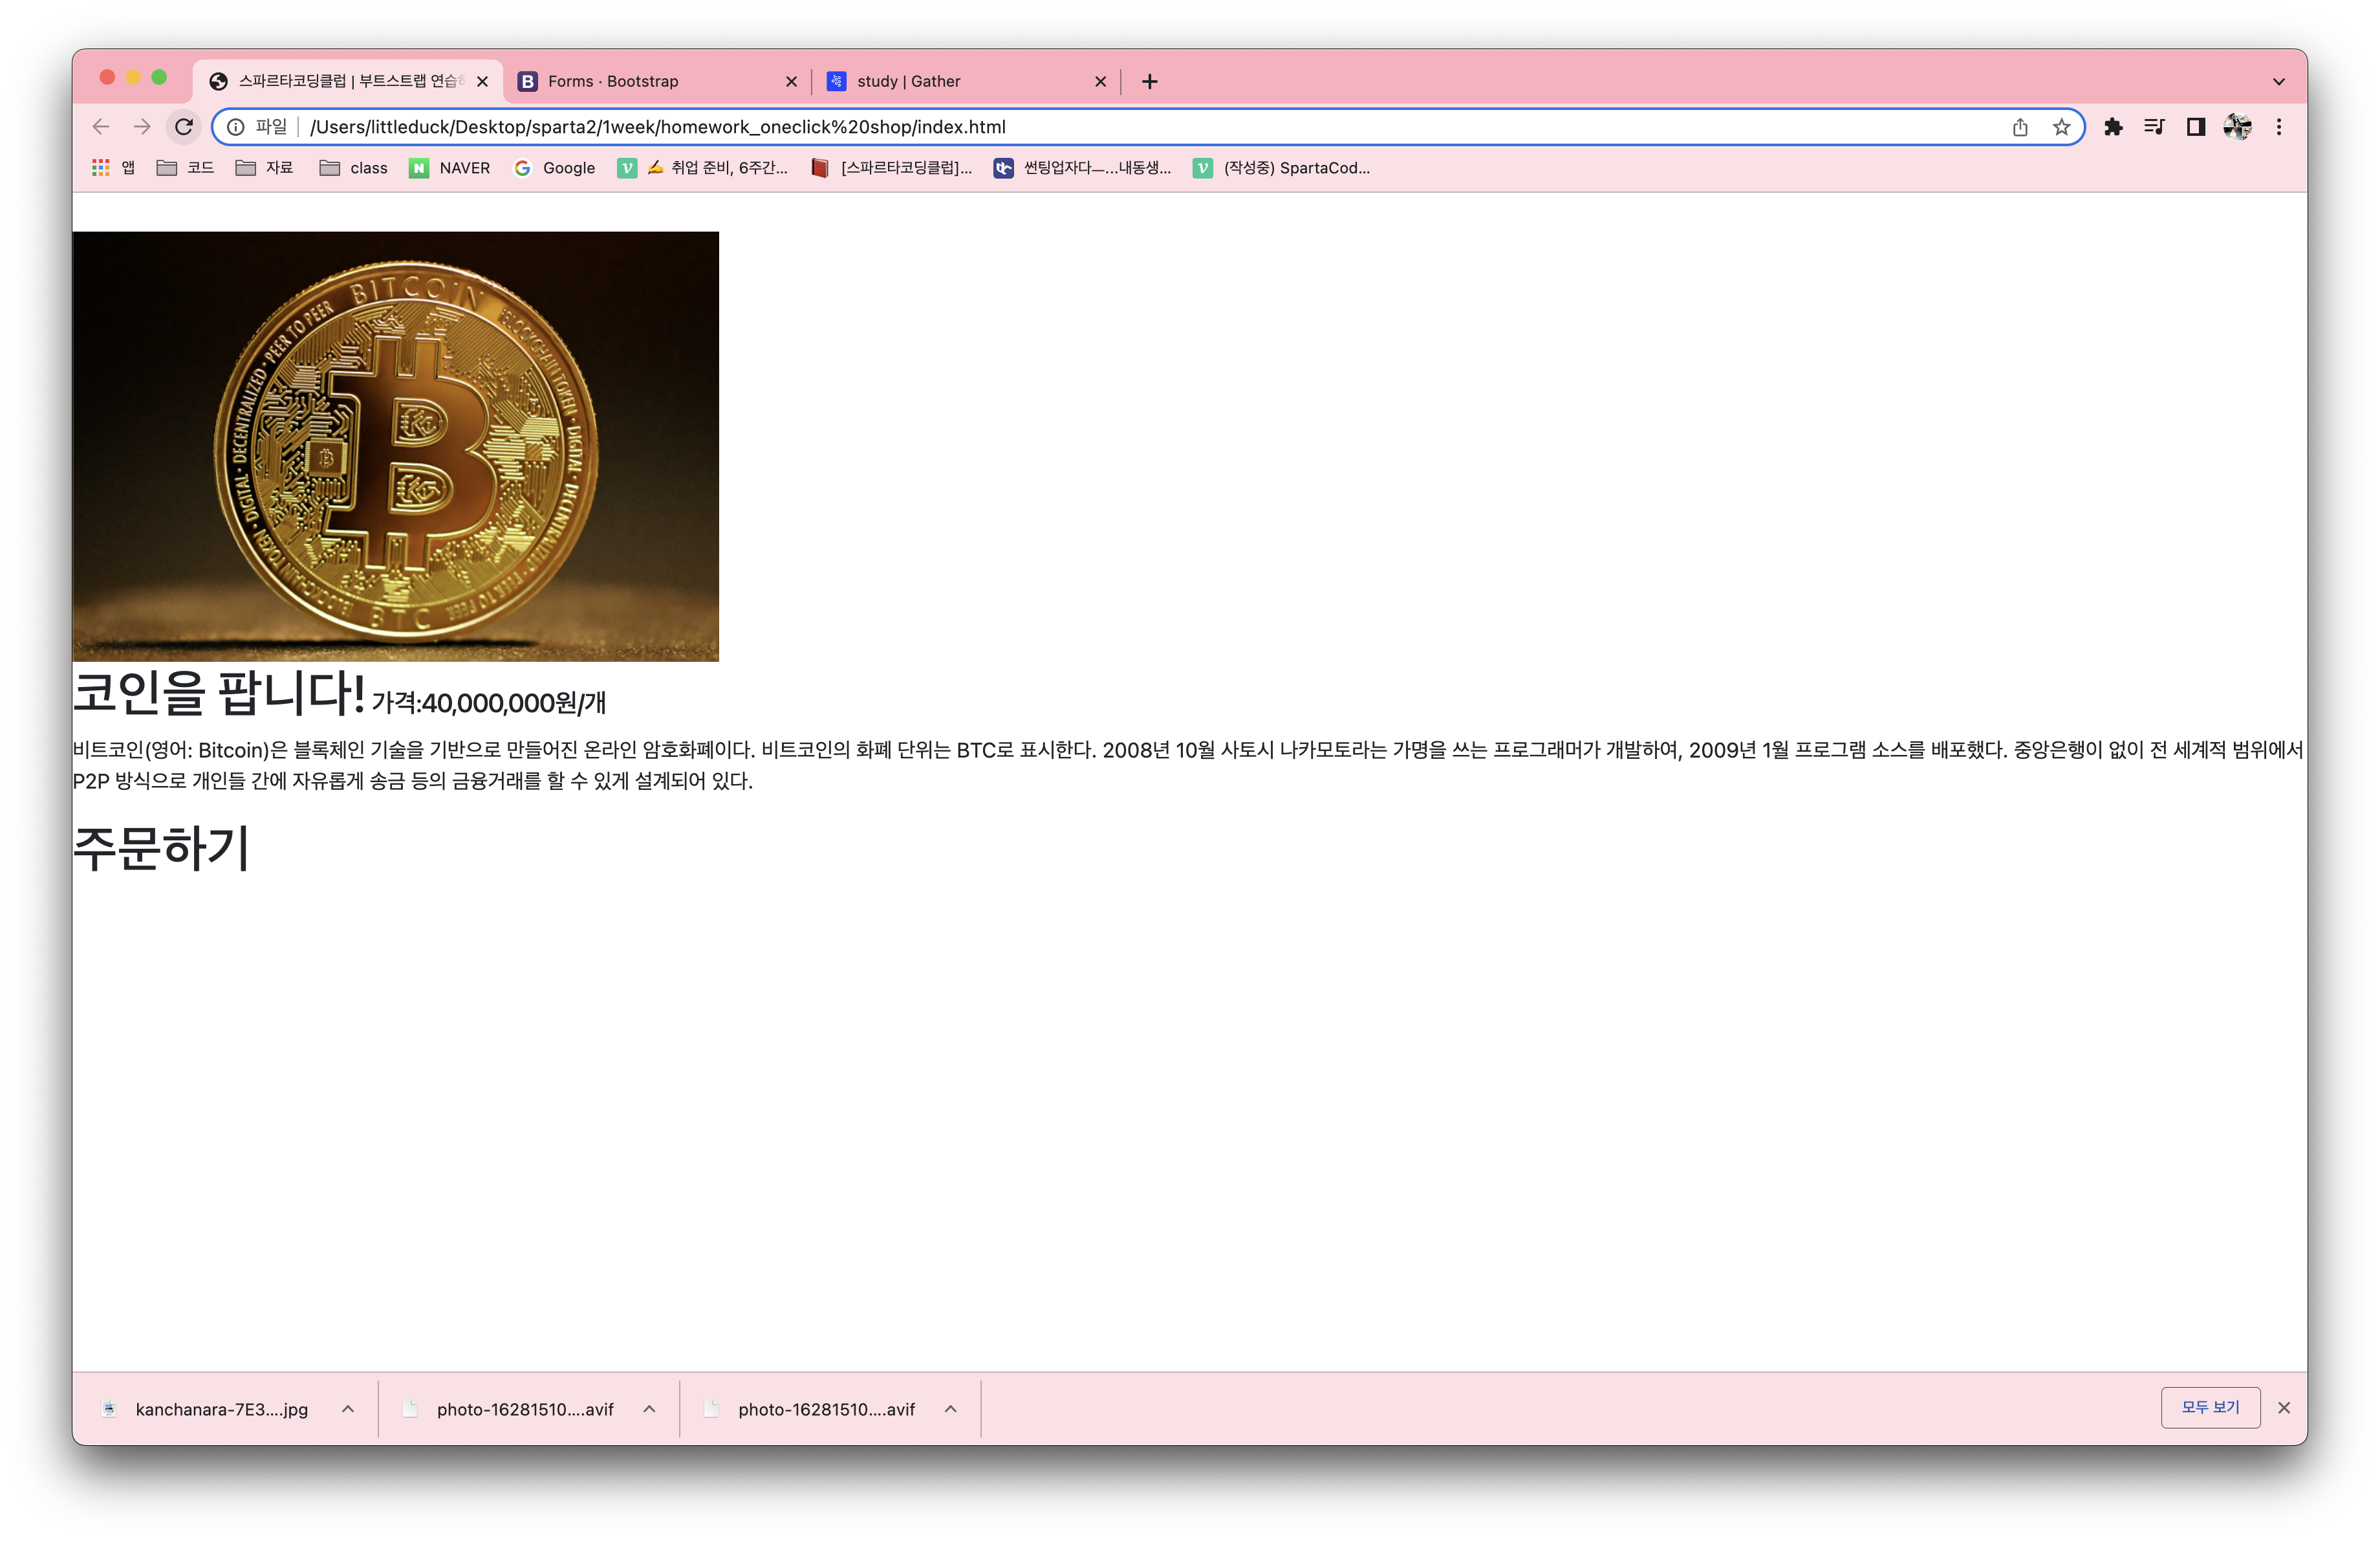
<img src="coin.jpg" class="coin">
<h1>코인을 팝니다!<span class="price"> 가격:40,000,000원/개</span></h1>
<p>비트코인(영어: Bitcoin)은 블록체인 기술을 기반으로 만들어진 온라인 암호화폐이다.
비트코인의 화폐 단위는 BTC로 표시한다. 2008년 10월 사토시 나카모토라는 가명을 쓰는 프로그래머가 개발하여,
2009년 1월 프로그램 소스를 배포했다. 중앙은행이 없이 전 세계적 범위에서 P2P 방식으로
개인들 간에 자유롭게 송금 등의 금융거래를 할 수 있게 설계되어 있다. </p>
<h1>주문하기</h1> 제목과 본문을 입력하였다. 코인을 팝니다! 옆의 가격에 대한 내용은 작은 글씨로 나타내야 하기때문에
price 라고 정의하고 font-size 를 20px로 주었다.

  <style>
    .coin {
      width: 500px;
      padding-top: 30px;
    }

    .wrap {
      margin: 20px 800px 20px 600px;
      width: 500px;
    }

    .body {
      width: 500px;
    }

    .price {
      font-size: 20px;
    }
  </style>
</head>

<body>
  <div class="wrap">
    <img src="coin.jpg" class="coin">
    <h1>코인을 팝니다!<span class="price"> 가격:40,000,000원/개</span></h1>
    <div class="body">
      <p>비트코인(영어: Bitcoin)은 블록체인 기술을 기반으로 만들어진 온라인 암호화폐이다.
        비트코인의 화폐 단위는 BTC로 표시한다. 2008년 10월 사토시 나카모토라는 가명을 쓰는 프로그래머가 개발하여,
        2009년 1월 프로그램 소스를 배포했다. 중앙은행이 없이 전 세계적 범위에서 P2P 방식으로
        개인들 간에 자유롭게 송금 등의 금융거래를 할 수 있게 설계되어 있다. </p>
    </div>
    <h1>주문하기</h1>

  </div>


</body>
페이지의 가운데 정렬이 필요하기 때문에 body 태그 전체에 wrap 이라고 정의하고 margin 과 width 를 주었다.
사진의 사이즈 때문인지 모르겠지만 magin 을 일정하게 줘서는 가운데 정렬이 맞지가 않는 것 같아서 각각 값을 주었다.
사진과 같이 마진을 주면 사진의 절반정도?만 본문이 차지하기에 사진과 별개로 본문에도 마진값을 줘서 사진아래 동일하게 정렬되도록 주었다.
부스트스트랩으로 원하는 input box 를 가져오자.
<body>
  <div class="wrap">
    <img src="coin.jpg" class="coin">
    <h1>코인을 팝니다!<span class="price"> 가격:40,000,000원/개</span></h1>
    <div class="body">
      <p>비트코인(영어: Bitcoin)은 블록체인 기술을 기반으로 만들어진 온라인 암호화폐이다.
        비트코인의 화폐 단위는 BTC로 표시한다. 2008년 10월 사토시 나카모토라는 가명을 쓰는 프로그래머가 개발하여,
        2009년 1월 프로그램 소스를 배포했다. 중앙은행이 없이 전 세계적 범위에서 P2P 방식으로
        개인들 간에 자유롭게 송금 등의 금융거래를 할 수 있게 설계되어 있다. </p>
    </div>
    <h1>주문하기</h1>
    <div class="input-group mb-3">
      <div class="input-group-prepend">
        <span class="input-group-text" id="inputGroup-sizing-default">주문자 이름</span>
      </div>
      <input type="text" class="form-control" aria-label="Default" aria-describedby="inputGroup-sizing-default">
    </div>

    <div class="input-group mb-3">
      <div class="input-group-prepend">
        <label class="input-group-text" for="inputGroupSelect01">수량</label>
      </div>
      <select class="custom-select" id="inputGroupSelect01">
        <option selected>-- 수량을 선택하세요 --</option>
        <option value="1">One</option>
        <option value="2">Two</option>
        <option value="3">Three</option>
      </select>
    </div>

    <div class="input-group mb-3">
      <div class="input-group-prepend">
        <span class="input-group-text" id="inputGroup-sizing-default">주소</span>
      </div>
      <input type="text" class="form-control" aria-label="Default" aria-describedby="inputGroup-sizing-default">
    </div>
    <div class="input-group mb-3">
      <div class="input-group-prepend">
        <span class="input-group-text" id="inputGroup-sizing-default">전화번호</span>
      </div>
      <input type="text" class="form-control" aria-label="Default" aria-describedby="inputGroup-sizing-default">
    </div>


  </div>
벌써 그럴싸하게 사이트 그림이 나왔다.
이제 아래 주문하기 버튼을 주고 조금만 다듬어주면 될 거 같다.

  <style>
    .coin {
      width: 500px;
      padding-top: 30px;
    }

    .wrap {
      margin: 20px 800px 20px 600px;
      width: 500px;
    }

    .body {
      display: block;
    }

    .price {
      font-size: 20px;
    }

    .btn {
      display: block;
      margin: auto;
      background-color: rgb(102, 125, 203);
    }
  </style>
  <script>
    function push() {
      alert('주문 완료!');
    }
  </script>
</head>

<body>
  <div class="wrap">
    <img src="coin.jpg" class="coin">
    <h1>코인을 팝니다!<span class="price"> 가격:40,000,000원/개</span></h1>
    <div class="body">
      <p>비트코인(영어: Bitcoin)은 블록체인 기술을 기반으로 만들어진 온라인 암호화폐이다.
        비트코인의 화폐 단위는 BTC로 표시한다. 2008년 10월 사토시 나카모토라는 가명을 쓰는 프로그래머가 개발하여,
        2009년 1월 프로그램 소스를 배포했다. 중앙은행이 없이 전 세계적 범위에서 P2P 방식으로
        개인들 간에 자유롭게 송금 등의 금융거래를 할 수 있게 설계되어 있다. </p>
    </div>
    <h1>주문하기</h1>
    <div class="input-group mb-3">
      <div class="input-group-prepend">
        <span class="input-group-text" id="inputGroup-sizing-default">주문자 이름</span>
      </div>
      <input type="text" class="form-control" aria-label="Default" aria-describedby="inputGroup-sizing-default">
    </div>

    <div class="input-group mb-3">
      <div class="input-group-prepend">
        <label class="input-group-text" for="inputGroupSelect01">수량</label>
      </div>
      <select class="custom-select" id="inputGroupSelect01">
        <option selected>-- 수량을 선택하세요 --</option>
        <option value="1">1</option>
        <option value="2">2</option>
        <option value="3">3</option>
      </select>
    </div>

    <div class="input-group mb-3">
      <div class="input-group-prepend">
        <span class="input-group-text" id="inputGroup-sizing-default">주소</span>
      </div>
      <input type="text" class="form-control" aria-label="Default" aria-describedby="inputGroup-sizing-default">
    </div>
    <div class="input-group mb-3">
      <div class="input-group-prepend">
        <span class="input-group-text" id="inputGroup-sizing-default">전화번호</span>
      </div>
      <input type="text" class="form-control" aria-label="Default" aria-describedby="inputGroup-sizing-default">
    </div>
  </div>
  <button type="button" onclick="push()" class="btn">주문하기</button>

</body>
script태그에 function push를 만들고 alert 이 동작되도록 하였다.
버튼에 onclick으로 push 를 입력하고 동작이 되는지 확인하였다.
정상적으로 동작이 된다.
이로써 완성!
끝마치며 앞 실습들은 강의를 들으면서 따라 한 것이지만 이건 주어진 틀에 혼자서 만들었다.
"재밌다!"
제작하는 동안에 재밌다라고 느꼇고 이것을 내 직업으로 삼으면 참 좋겠다고 느끼는 순간이였다.
웹 프로그래밍이라는게 작업하는 동안에 내가 작업이 어떻게 진행되는지 확인되는 것 이게 참 좋은 것 같다.
이번 작품에 크게 어려운 것이 없었다. 아무래도 앞에 강의를 듣고 실습을 하나 할 때마다 다시 틀어서 회고록을 만들었던게 매우 큰 도움이 되지 않았나 싶다.
주의 할게 있다면 역시 오타이다. 오타 하나로 되야하는게 안되버리고 찾는다고 훑어도 못찾아서 정말 짜증난다. 항상 오타 주의하자.