이전에 파이어베이스로 연동하고 NoSQL 데이터를 집어넣는 것 까지 성공했다. 이제 파이어베이스로 회원가입, 로그인, 로그아웃까지 알아보도록 하자.
1. 세팅
세팅은 크게 두가지가 있다. 파이어베이스 사이트 내에서 하는 세팅과 코드로 해야하는 세팅이다. 우선 사이트 내에 사용하는 세팅을 알아보자
1-1 사이트 세팅
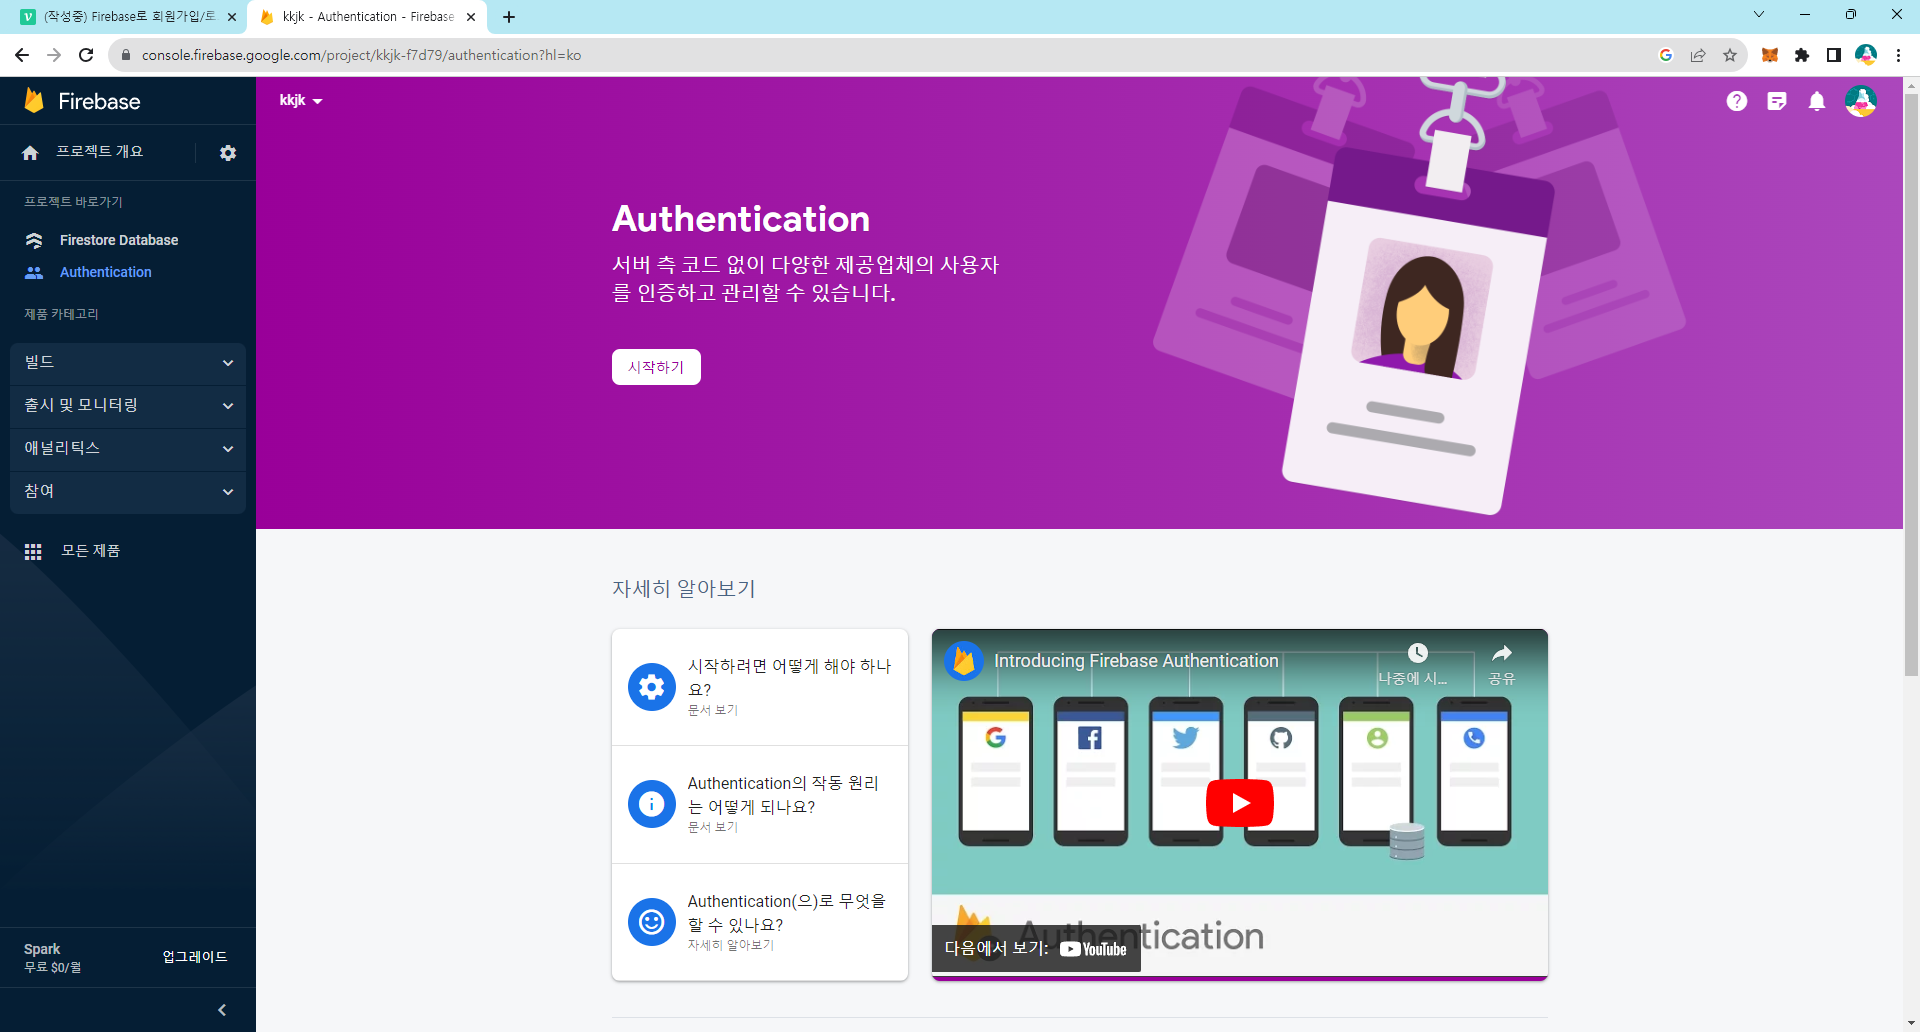
저 위에 시작하기 버튼을 누르면 바로 파이어베이스의 Authentication 과정이 이뤄진다.
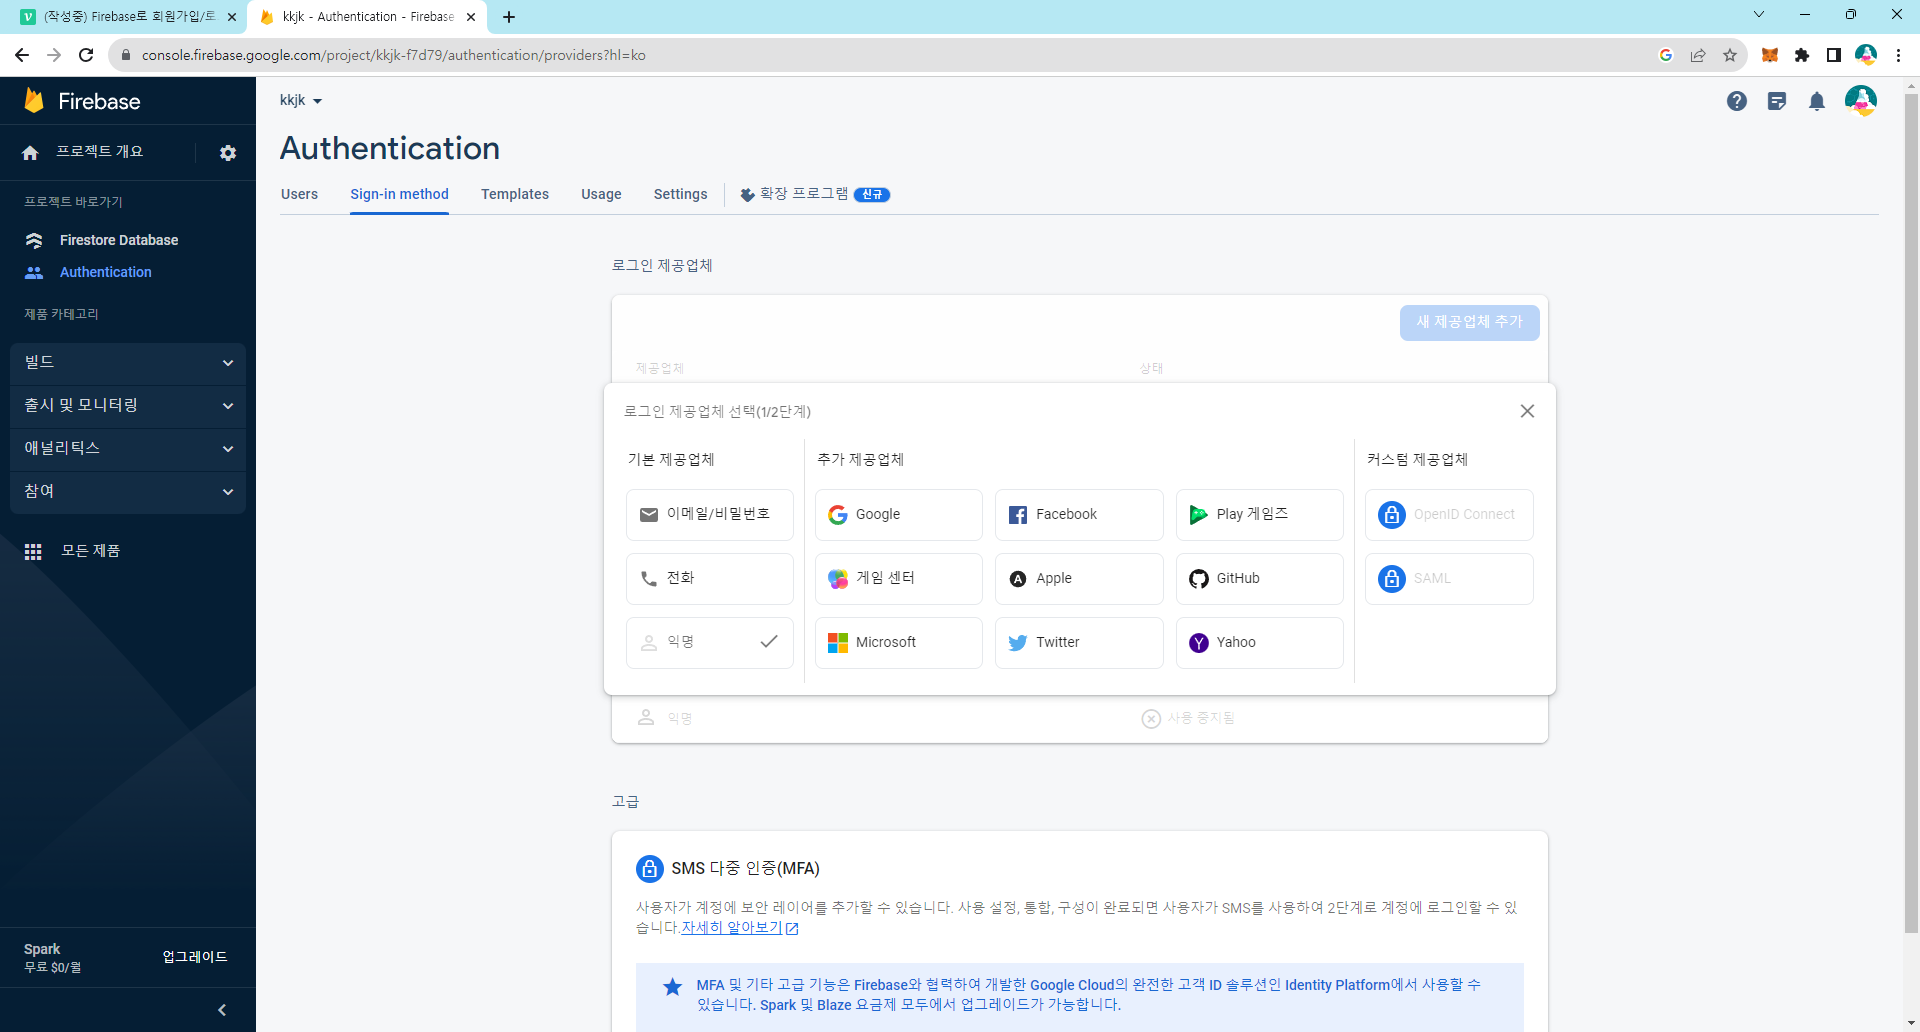
이후 새 제공업체를 클릭할 시 이메일/비밀번호, 전화, Google 등 다양한 방법으로 회원가입을 할 수 있는 것을 볼 수 있다. 필요한 항목을 클릭 한 후 저장을 눌러주면 사이트 내에서는 준비 완료된 셈이다. 필자는 이메일/비밀번호로 회원가입을 진행하기로 하였다.
1-2 NextJS 세팅
import { getAuth } from "firebase/auth"
import firebasedb from "./firebasedb"

const auth = getAuth(firebasedb)

export default auth
여기서 firebasedb는 이전 편 firebaseConfig로 가져온 파이어베이스의 상태 db이다.
2. 회원가입 / 로그인
홈페이지에서 확인하니 createUserWithEmailAndPassword라는 긴 함수를 사용해야 했다. 함수 형태는 다음과 같다
  /** 회원가입 */
  const signUp = () => {
    createUserWithEmailAndPassword(auth, email, password)
      .then((userCredential) => {
      	const user = userCredential.user
        // 여기서 유저 정보를 조회할 수 있다
        console.log(user)
        alert('성공했습니다!')
      })
      .catch((error) => {
        const errorMessage = error.message
        alert(errorMessage)
      })
}createUserWithEmailAndPassword는 3가지 인자를 담는데 auth는 위에서 export했던 그 auth이고 email, password는 각각 인풋값을 가지고 오면 된다.
로그인 역시 비슷한 방식으로 이루어졌다. 단지 함수 이름이 바뀐 것 뿐이다.
  /** 로그인 */
  const signin = () => {
    signInWithEmailAndPassword(auth, email, password)
      .then((userCredential) => {
      const user = userCredential.user
      // 여기서 유저 정보를 조회할 수 있다
      console.log(user)
      alert('성공했습니다!')
    })
      .catch((error) => {
      const errorCode = error.code
      const errorMessage = error.message
      alert(errorMessage)
    })
 }
3. 로그아웃
로그아웃은 signOut함수를 사용한다.
  /** 로그아웃 */
  const signout = () => {
    signOut(auth).then(()=>{
      alert('로그아웃 성공')
    }).catch((error) => {
      alert(error.message)
    })
  }
4. 로그인 상태 관리
로그인 상태 관리는 onAuthStateChanged 함수로 확인할 수 있다. 필자는 useEffect훅을 사용하여 로그인 상태를 관리하였다.
const [isLoggedIn,setIsLoggedIn] = useState(false);
 useEffect(() => {
    onAuthStateChanged(auth, (user) => {
      if (user) {
        setIsloggedIn(true);
      } else {
        setIsloggedIn(false);
      }
    });
  }, []);
5. 결과
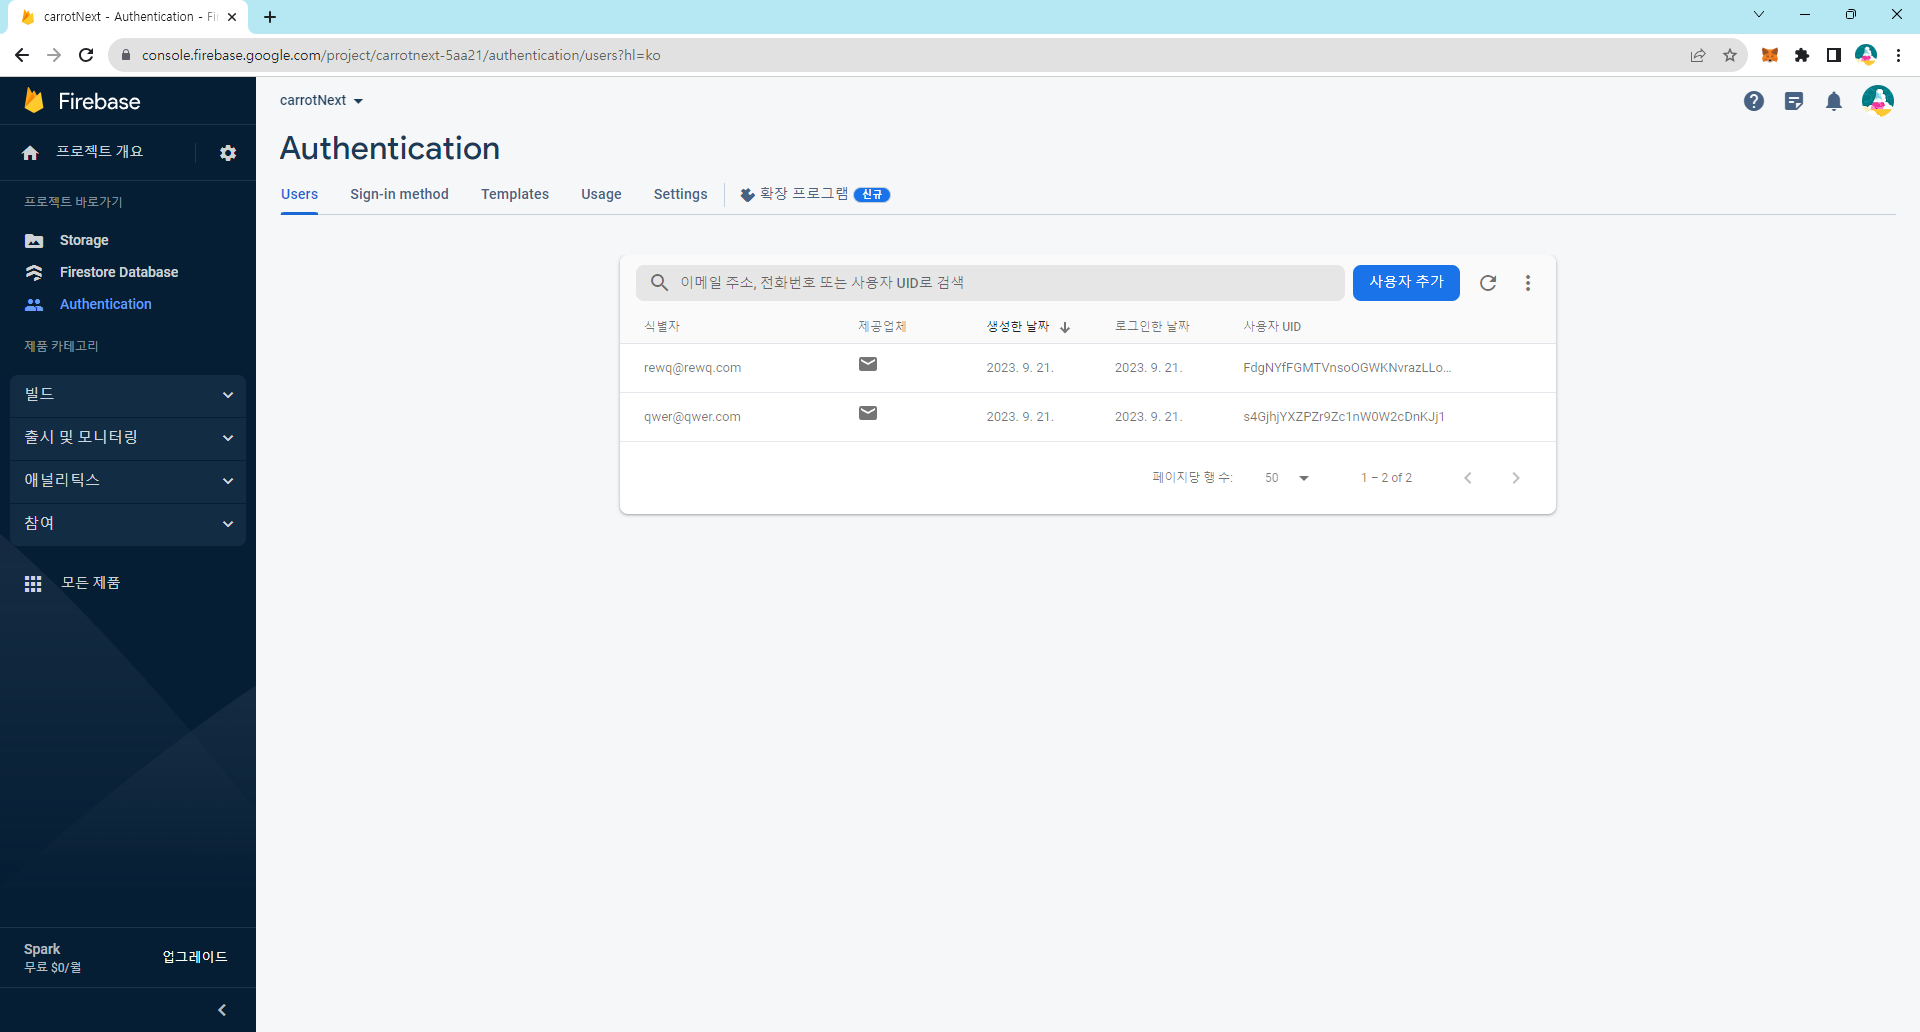
결과물로 회원이 들어간 모습을 볼 수 있었다.