이번 포스트에서는 Circle Indicator를 구현해보려 한다.
지난 포스트와 마찬가지로 CustomPainter에서 Arc를 사용할 것이다.
원 / 호 그리기
원 / 호를 그리는 방법은 path를 통한 방법과 canvas에 바로 그리는 방법이 있다.
- startAngle, sweepAngle를 이용하여 원 / 호를 그릴 수 있다.
class CircleIndiCatorPaint extends CustomPainter {
void paint(Canvas canvas, Size size) {
Paint paint = Paint()
..color = Colors.purple
..strokeWidth = 3
..style = PaintingStyle.stroke
..strokeCap = StrokeCap.round;
var rect = Rect.fromCenter(
center: Offset(size.width / 2, size.height / 2),
width: size.width,
height: size.height);
var startAngle = pi / 180 * 0;
var sweepAngle = pi / 180 * 359;
canvas.drawArc(rect, startAngle, sweepAngle, false, paint);
/// [case 2]
// Path path = Path();
// path.arcTo(rect, pi / 180 * 0, pi / 180 * 359, true);
// canvas.drawPath(path, paint);
}
}
그리기 결과
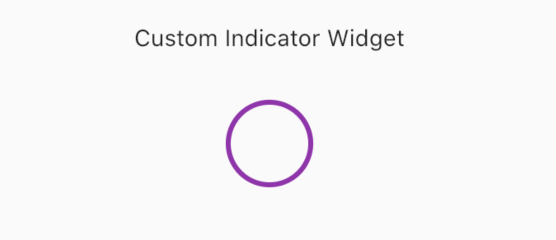
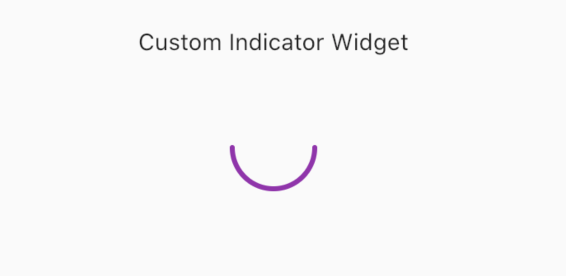
기본적인 원/호를 그린 결과이다.

- 0~ 359 일 때의 결과

- 0~ 180 일 때의 결과
애니메이션 적용
위의 Painter와 함께 AnimationController를 사용해서 원형 애니메이션을 구현한다.
AnimationController startAnimation;

startAnimation = AnimationController(
  vsync: this,
  duration: Duration(milliseconds: 1400),
);
// 동작
startAnimation.forward();애니메이션 결과

애니메이션 응용
사용자의 기다림이 지루하지 않도록 하기 위한 Indicator의 목적대로 위를 응용하여 조금 더 생동감 있는 움직임을 구현한다.
Indicator시작 지점과 끝 지점 모두 애니메이션을 적용하여 좀 더 변화를 준다.
/// 애니메이션에 `Curves`를 추가한다
startAnimation = AnimationController(
  vsync: this,
  upperBound: 3.14 * 2,
  duration: Duration(milliseconds: 5000),
)..drive(CurveTween(curve: Curves.easeOut));

///
endAnimation = AnimationController(
  vsync: this,
  duration: Duration(milliseconds: 5000),
  upperBound: 3.14 * 2,
)..drive(CurveTween(curve: Curves.easeIn));
CircleIndiCatorPaint 에서 다음 코드를 추가 및 수정한다.
- Sin함수를 사용하여 0~1의 값을 반복한다.
/// in CustomPainter
var startAngle = pi / 180 * (0 + 340 * sin(endValue));
var sweepAngle = pi / 180 * (1 + 340 * sin(startValue));
canvas.drawArc(rect, startAngle, sweepAngle, false, paint);
결과
최종 결과
짧은 코드로 위와 같은 애니메이션을 구현하였다.
참고
다들 아시겠지만 사실 플러터에서는 CircularProgressIndicator라는 위젯이 있어서 굳이 직접 구현하지 않아도 되지만, 다른 느낌의 커스텀을 주고 싶다면 직접 커스텀 해보는 것도 나쁘지 않은 경험이라 생각된다.
- iOS 스타일의
CupertinoActivityIndicator도 있다.


