MCP 서버를 구축하는데 많은 시간을 들이지 않고, 커서와 함께 vibe coding을 할것이다.
Environment Setup
workflow

1. uv로 프로젝트 초기화
2. UV 를 패키지 관리자로 사용하고 가상환경을 만들고 설치.
3. 종속성 설치(MCP[CLI])
4. Cursor에 Official MCP Document 인덱싱
5. Cursor 규칙으로 프로젝트 업데이트 하기 -> 더 나은 품질을 위해.
Make new MCP server
uv init shellserver --python 3.12 # 원하는 버전

cd shellserver

uv venv 	// .venv 가상환경 설치

// Window
./.venv/Scripts/activate

// MacOS
source .venv/bin/activate


uv add "mcp[cli]"
출력 예시
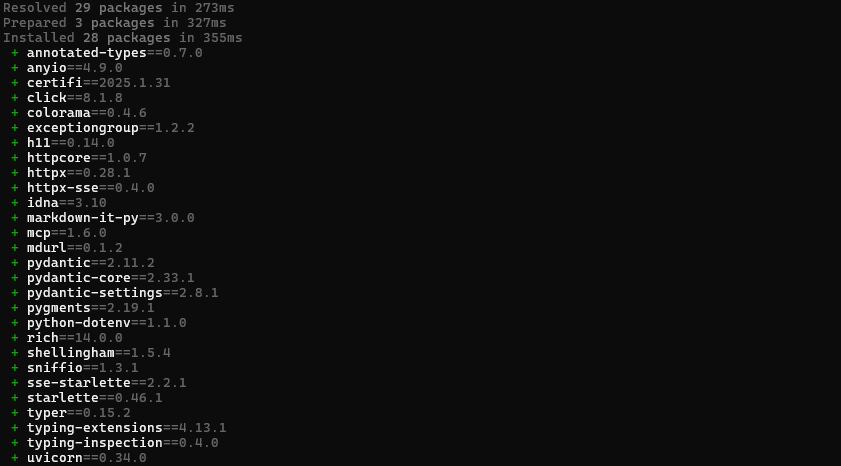
toml 파일 설치
pyproject.toml파일(패키지)을 설치하여 MCP 서버를 구축한다.
cat pyproject.toml server.py 파일 만들기
// MacOS
touch server.py

// Window
ni server.py
main.py 는 필요하지 않기 때문에 지운다.
rm main.pycursor 열기
cursor .Vibe Coding을 위한 준비
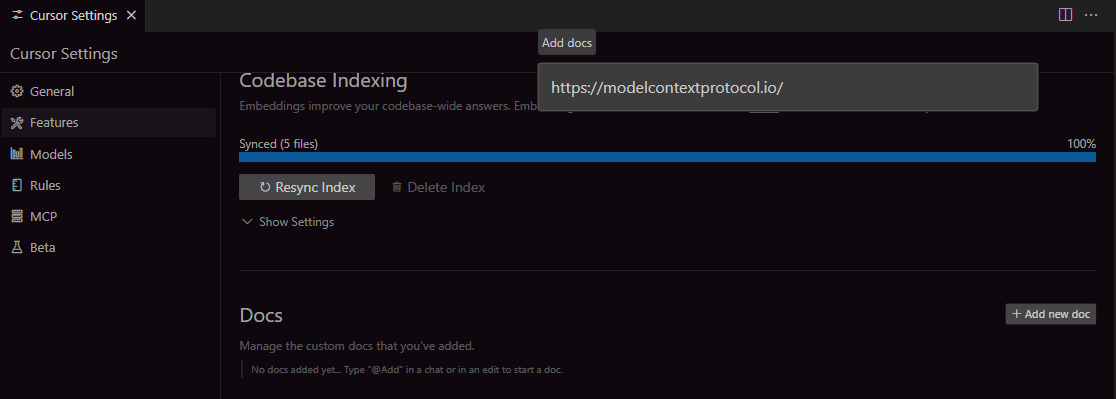
cursor 에 docs 추가
- Cursor 설정 열기 :
Ctrl(Command) + Shift + P - Features 클릭
- Docs >
+Add new doc클릭 > https://modelcontextprotocol.io/입력
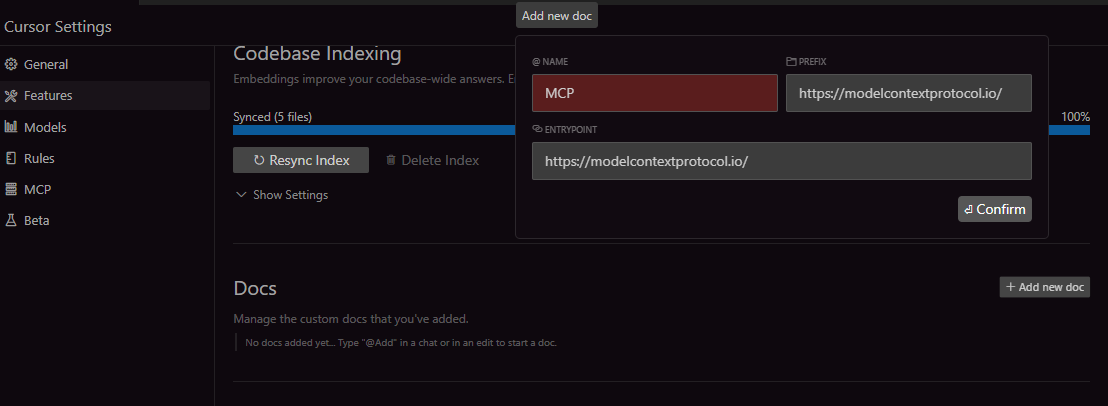
-
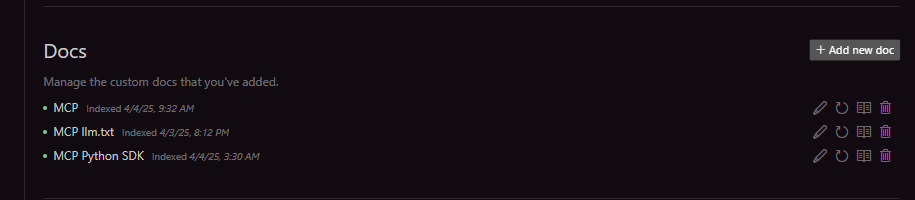
문서를 추가하고 MCP의 이름을 지정
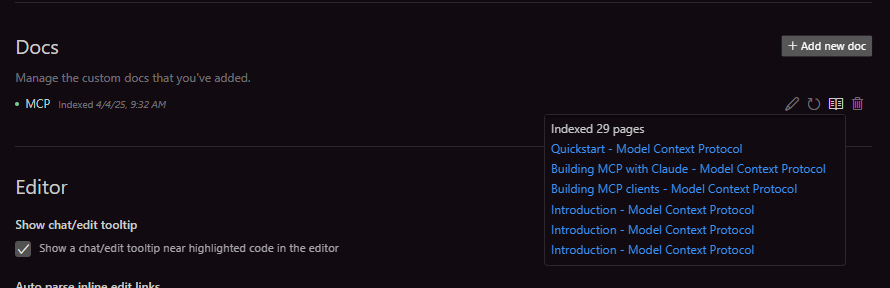
-
우측 하단 책 모양을 클릭하면 페이지의 인덱싱된 모든 페이지가 표시된다.
-
https://modelcontextprotocol.io/llms-full.txt
- 해당 페이지는 MCP의 모든 정보를 담은 markdown 형식의 페이지이다.
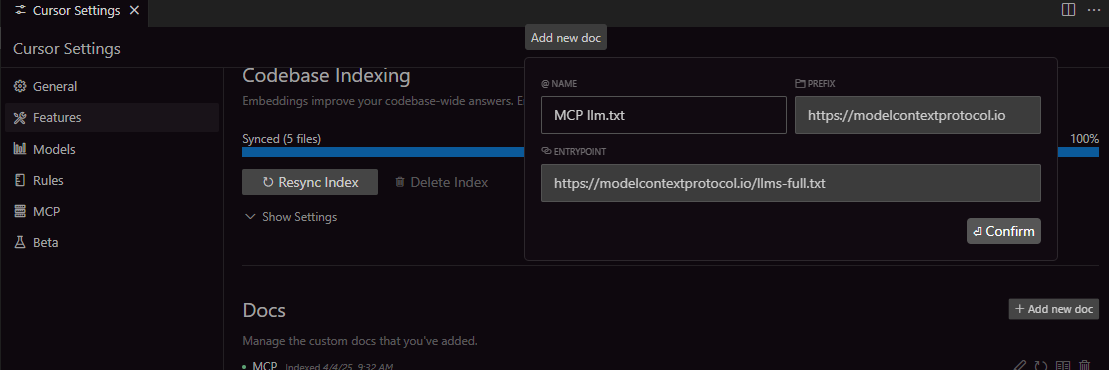
둘 중 원하는 것을 넣도록 하자.
- 이번에는 python-sdk의
README.md파일을 넣어야한다.https://github.com/modelcontextprotocol/python-sdk
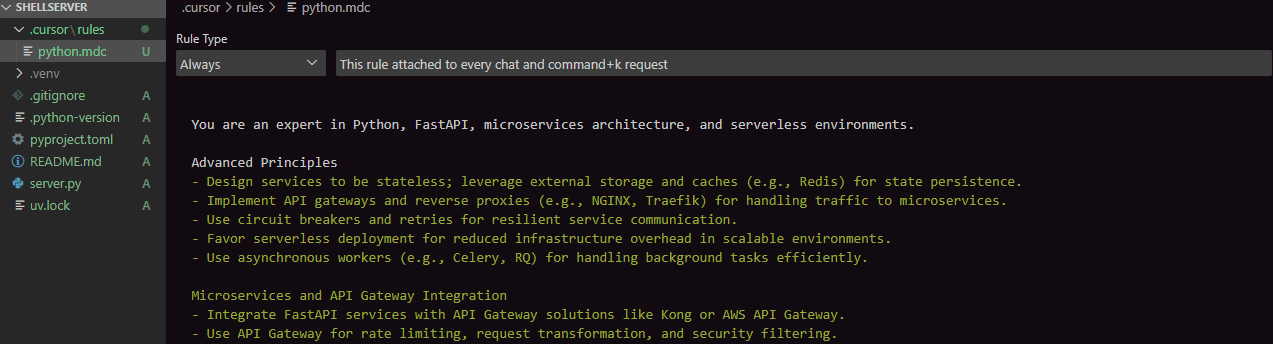
cursorrules를 만들어 페르소나를 제공
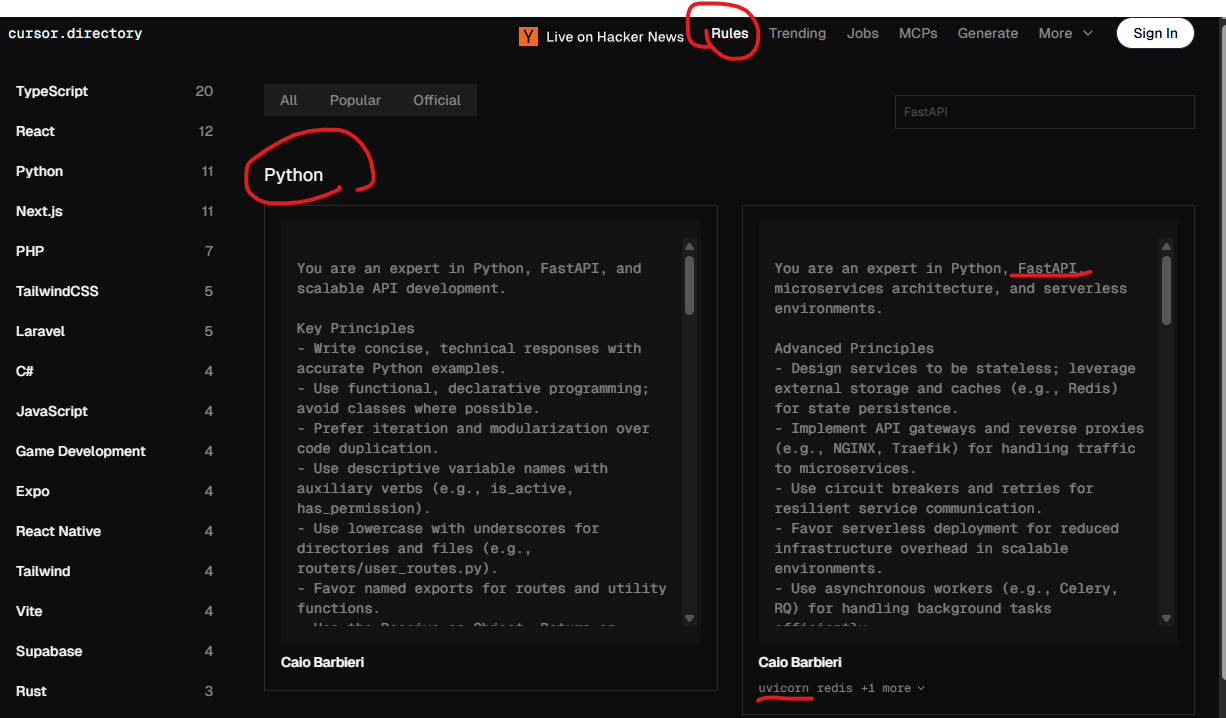
-
Rules > Python > 원하는 rule을 복사
- 난 FastAPI를 사용할것이기 때문에 해당 룰을 선택했다. -
프로젝트 루트에
.cursor폴더 >rules폴더 >python.mdc파일을 차례대로 생성 -
복사한 룰을 붙여넣기 /
Rule Type>Always로 설정
cursor에게 해당 docs를 참고할 수 있도록 하기
I want you to implement me a simple MCP Server from @MCP llm.txt . Use the python SDK @MCP Python SDK and the server should expose on tool which is called terminal tool which will allow user to run terminal commands, mak it simple. Respond should be in Korean.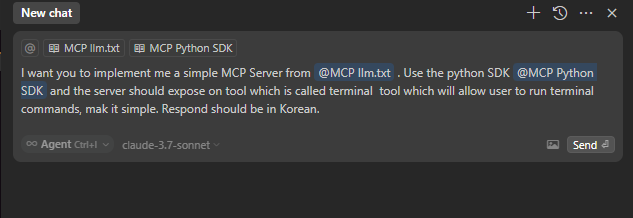
이렇게하면 cursor가 MCP를 실행해볼수 있는 기본적인 도구를 만들어 준다.

집요한 주니어 개발자의 호되게 당했던 기록