JPA를 사용해서 User 엔티티를 관리하기 위해 User 클래스를 수정합니다.
User
- JPA가 관리하는 Entity라는 것을 명시하기 위해
@Entity추가 - 아이디를 지정하기 위해
@Id,@GeneratedValue추가
package study.rest.webservices.restfulwebservices.user;

import com.fasterxml.jackson.annotation.JsonProperty;
import jakarta.persistence.Entity;
import jakarta.persistence.GeneratedValue;
import jakarta.persistence.Id;
import jakarta.validation.constraints.Past;
import jakarta.validation.constraints.Size;

import java.time.LocalDate;

@Entity(name = "user_details")
public class User {

    @Id @GeneratedValue
    private Integer id;

    @Size(min = 2, message = "이름은 최소 2글자 이상이어야 합니다.")
    @JsonProperty("user_name")
    private String name;

    @Past(message = "생일의 날짜는 과거여야 합니다.")
    @JsonProperty("birth_date")
    private LocalDate birthDate;

    protected User() {
    }

    public User(Integer id, String name, LocalDate birthDate) {
        this.id = id;
        this.name = name;
        this.birthDate = birthDate;
    }

    public Integer getId() {
        return id;
    }

    public void setId(Integer id) {
        this.id = id;
    }

    public String getName() {
        return name;
    }

    public void setName(String name) {
        this.name = name;
    }

    public LocalDate getBirthDate() {
        return birthDate;
    }

    public void setBirthDate(LocalDate birthDate) {
        this.birthDate = birthDate;
    }

    @Override
    public String toString() {
        return "User{" +
                "id=" + id +
                ", name='" + name + '\'' +
                ", birthDate=" + birthDate +
                '}';
    }
}
DB에 데이터가 하나도 없으니 초기 데이터를 생성하겠습니다.
그 전에 H2 데이터 베이스에 대한 설정을 합니다.
application.properties
spring.h2.console.enabled=true //h2-console로 접속 가능
spring.datasource.url=jdbc:h2:mem:testdb //url이 동적으로 변하면 번거롭기 때문에 testdb로 설정
spring.jpa.defer-datasource-initialization=true //테이블을 만들고 나서 sql을 실행하기 위한 옵션
spring.jpa.database-platform=org.hibernate.dialect.H2Dialect //H2 데이터베이스 방언 설정
data.sql
- 3개의 데이터를 생성
insert into user_details(id, birth_date, name) values(10001, current_date(), '선우은우');
insert into user_details(id, birth_date, name) values(10002, current_date(), '조쉬');
insert into user_details(id, birth_date, name) values(10003, current_date(), '사미라');
실행
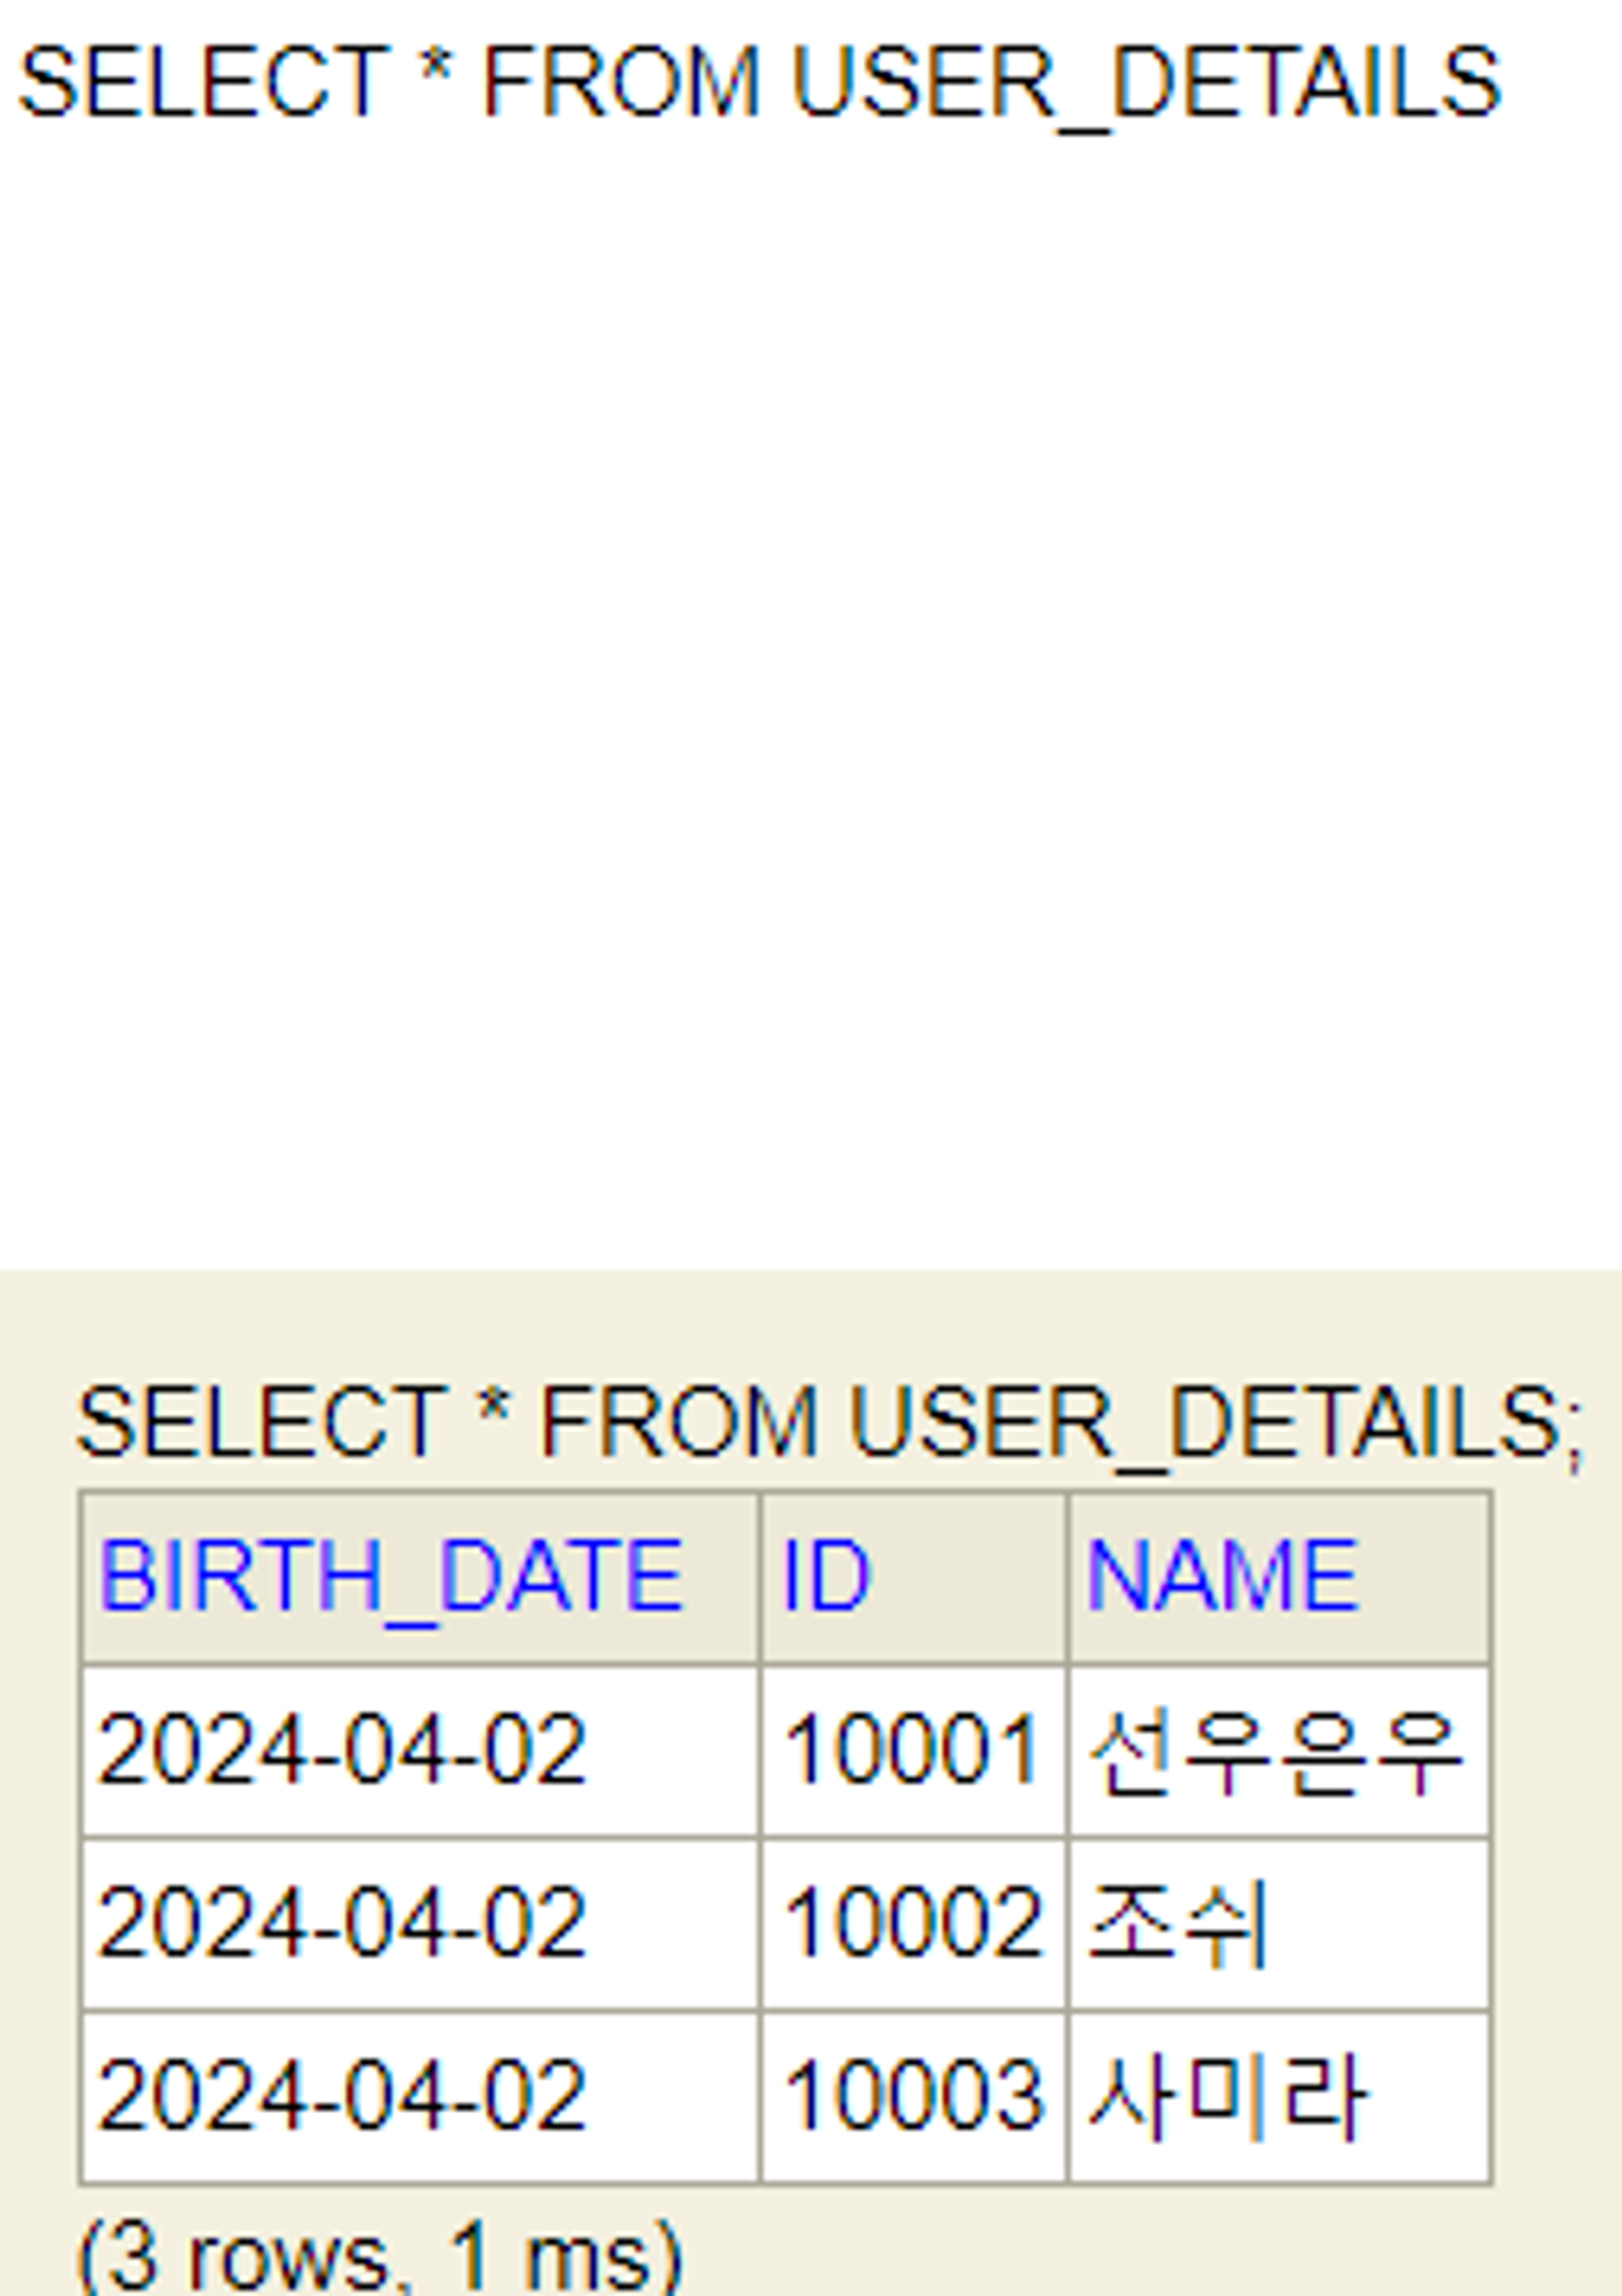
성공적으로 3개의 데이터가 생성이 되었습니다.