listTodo.jsp 페이지에 Bootstrap을 적용해보겠습니다.
listTodo.jsp
<%@ taglib prefix="c" uri="http://java.sun.com/jsp/jstl/core" %>

<html>
<head>
    <link href="webjars\bootstrap\5.1.3\css\bootstrap.min.css" rel="stylesheet">
    <title>List Todos Page</title>
</head>
<body>
<div class="container">
    <h1>Your Todos</h1>
    <table class="table">
        <thead>
        <tr>
            <th>id</th>
            <th>Description</th>
            <th>Target Data</th>
            <th>Is Done?</th>
        </tr>
        </thead>
        <tbody>
        <c:forEach items="${todos}" var="todo">
            <tr>
                <td>${todo.id}</td>
                <td>${todo.description}</td>
                <td>${todo.targetDate}</td>
                <td>${todo.done}</td>
            </tr>
        </c:forEach>
        </tbody>
    </table>
</div>
<script src="webjars\bootstrap\5.1.3\js\bootstrap.bundle.min.js"></script>
<script src="webjars\jquery\3.6.0\jquery.min.js"></script>
</body>
</html>
<table class=”table”></table> : HTML 테이블 요소에 스타일과 레이아웃을 적용하는 역할을 합니다.
<div class=”container”></div> : 웹 페이지의 콘텐츠를 감싸고 중앙에 정렬시키는 역할을 합니다.
부트스트랩 그리드 시스템은 반응형 디자인을 지원하기 때문에,
는 해당 그리드 시스템의 컨테이너 역할을 수행하면서 다양한 뷰포트 크기에 대응할 수 있습니다.
login.jsp와 welcome.jsp에도 적용하겠습니다.
login.jsp
<head>
    <title>Login Page</title>
</head>
<body>
<div class="container">
    <h1>Login</h1>
    <pre>${errorMessage}</pre>
    <form method="post">
        Name: <input type="text" name="name">
        Password: <input type="password" name="password">
        <input type="submit">
    </form>
</div>

</body>
</html>
welcome.jsp
<head>
    <title>Welcome Page</title>
</head>
<body>
<div class="container">
    <h1>welcome to ${name}!</h1>
    <a href="list-todos">Manage</a> your todos
</div>

</body>
</html>
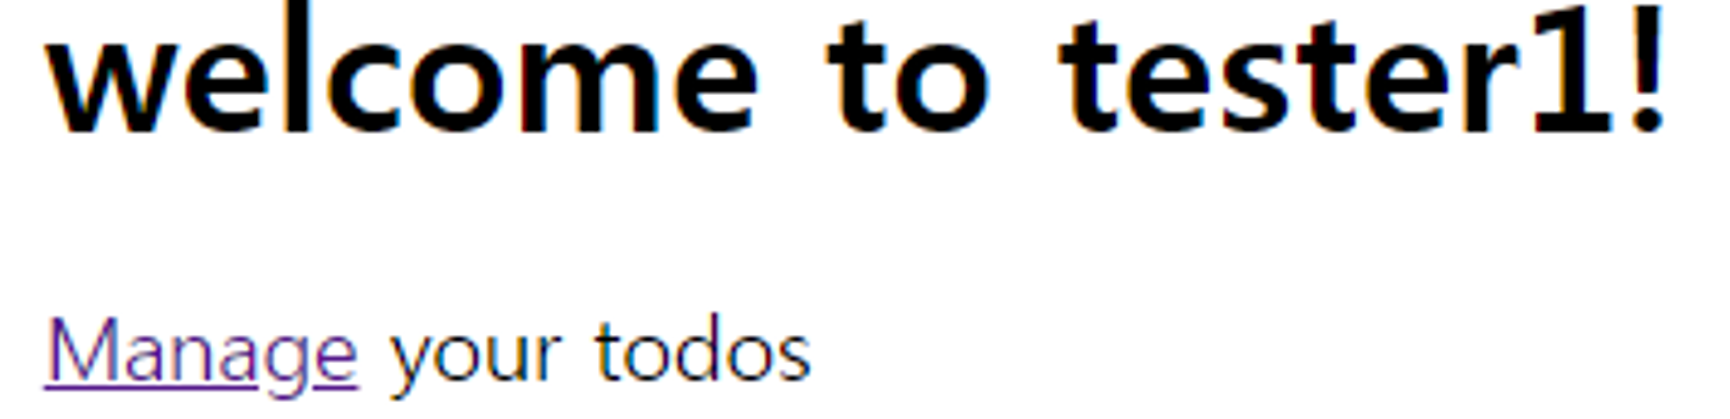
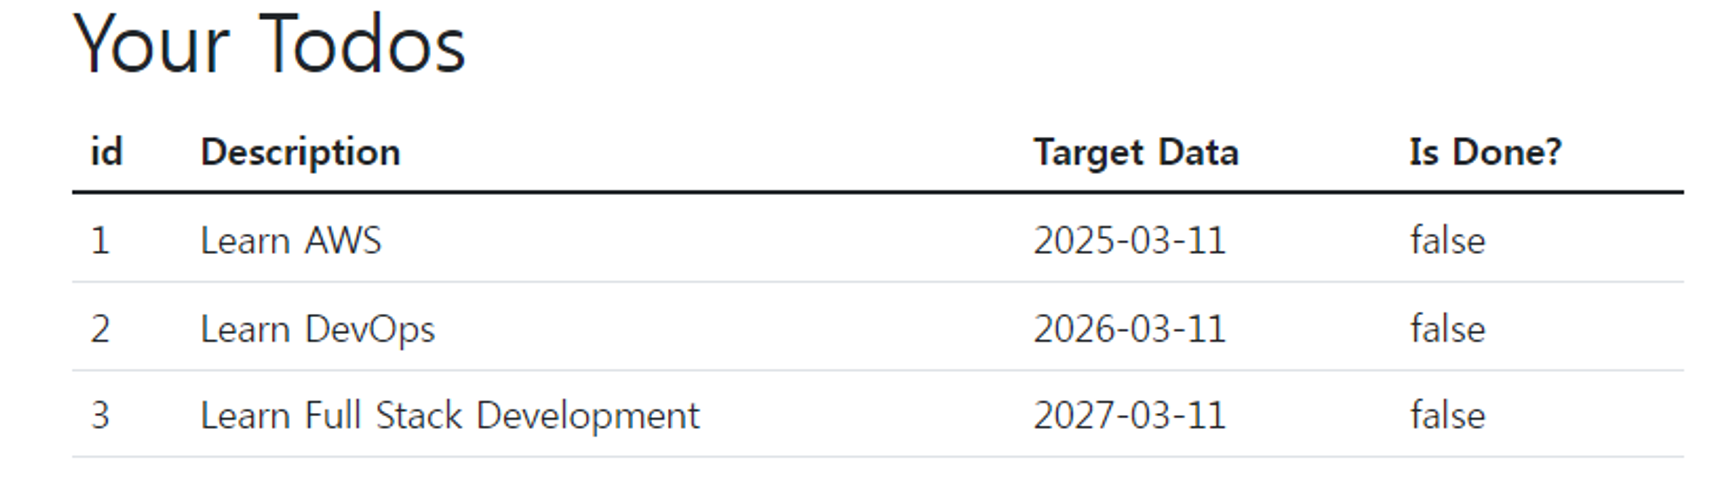
Bootstrap이 깔끔하게 적용되어 보기 좋아졌습니다.