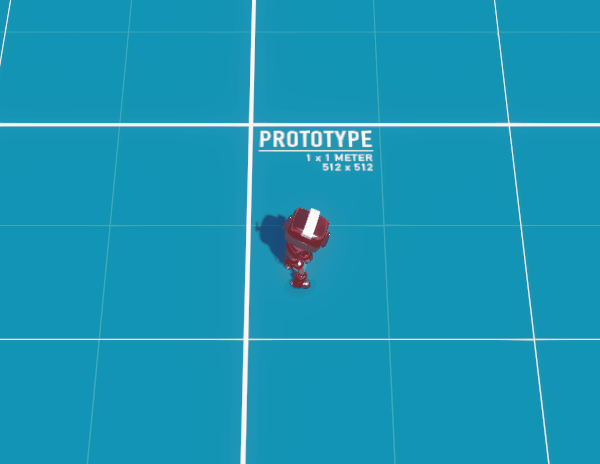
- ↑ 조준한 상태에서 움직이기
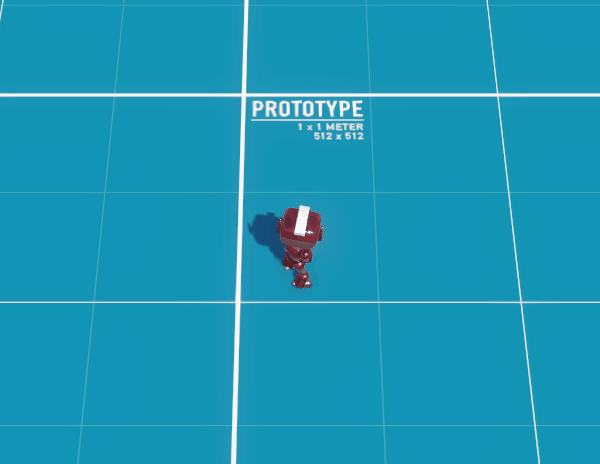
- ↓ 조준하고 있지 않은 상태에서 움직이기
AimController
public class RobotAimController : MonoBehaviour
{
    private RobotInputHandler inputHandler;
    private PlayerFollowCam cam;

    public GameObject startPoint;

    void Start()
    {
        inputHandler = GetComponentInParent<RobotInputHandler>();
        cam = GetComponentInParent<PlayerFollowCam>();
    }

    void FixedUpdate()
    {
        Vector3 targetPos = new();

        if (cam)
        {
            Ray ray = cam.attachedCam.ScreenPointToRay(Input.mousePosition);
            Physics.Raycast(ray, out RaycastHit hit);
            targetPos = hit.collider ? hit.point : new(0, 0, 3);
        }
        else
        {
            targetPos.z = 3;
        }

        Vector3 direction = (targetPos - transform.root.position).normalized;
        targetPos = direction * 3 + transform.root.position;

        targetPos.y = inputHandler.isCrouch ? 0.7f : 1.25f;

        gameObject.transform.position = targetPos;
    }
}
먼저 마우스 위치를 World Position 으로 변환해야 하므로 AimController 를 작성했다.
Physics.Raycast 를 사용했다.
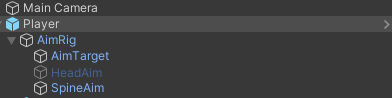
이 AimController 는 Player 아래 GameObject 의 컴포넌트로 존재한다.
추후 Animation Rigging 을 위해서 이렇게 만들어 두었다.

테스트 해보면 잘된다.
회전하기
// RobotInputHandler.cs
void FixedUpdate()
{
	...
    if (isAim)
    {
        Vector3 lookDirection = (aimController.transform.position - transform.position);
        lookDirection.y = 0;
        lookDirection.Normalize();

        Quaternion toRotation = Quaternion.LookRotation(lookDirection, Vector3.up);
        transform.rotation = Quaternion.RotateTowards(transform.rotation, toRotation, Time.deltaTime * 500);

        ahead = new Vector2(lookDirection.x, lookDirection.z);
    }
    else
    {
        Quaternion toRotation = Quaternion.LookRotation(new Vector3(ahead.x, 0, ahead.y), Vector3.up);
        transform.rotation = Quaternion.RotateTowards(transform.rotation, toRotation, Time.deltaTime * 500);
    }
}
조준하고 있지 않을 때는 움직이는 방향으로 회전하도록 했고,
조준하고 있을 때는 움직이는 방향과 상관없이 마우스 위치 (AimTarget 위치) 를 바라보도록 작성했다.
Animation Controller
RobotInputHandle 에서 가져온 값들을 Animation Controller 에 전달하는 스크립트를 작성했다.
public class RobotAnimationController : MonoBehaviour
{
    private RobotInputHandler inputHandler;
    private Animator animator;

    void Start()
    {
        inputHandler = GetComponent<RobotInputHandler>();
        animator = GetComponent<Animator>();
    }

    void FixedUpdate()
    {
        float animationDirectionX = inputHandler.movementVector.x;
        float animationDirectionZ = inputHandler.movementVector.y;

        if (inputHandler.isAim)
        {
            Vector2 forwardV2 = new(transform.forward.x, transform.forward.z);

            float deg = Vector2.SignedAngle(forwardV2, new Vector2(0, 1));
            float rad = deg * Mathf.Deg2Rad;

            float a = inputHandler.movementVector.x;
            float b = inputHandler.movementVector.y;

            animationDirectionX = a * Mathf.Cos(rad) - b * Mathf.Sin(rad);
            animationDirectionZ = a * Mathf.Sin(rad) + b * Mathf.Cos(rad);
        }

        animator.SetFloat("ZAxis", animationDirectionZ);
        animator.SetFloat("XAxis", animationDirectionX);
        animator.SetFloat("Speed", inputHandler.movementVector.magnitude);

        animator.SetBool("isMoving", inputHandler.isMoving);
        animator.SetBool("isCrouch", inputHandler.isCrouch);
        animator.SetBool("isAim", inputHandler.isAim);
    }
}
if (inputHandler.isAim) 부분에서 vector 회전을 통해 Animation Controller 에게 알맞은 vector를 제공한다.
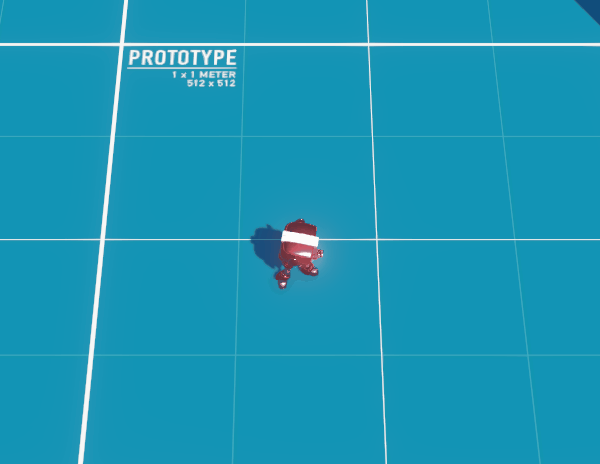
움직이는 방향과 바라보는 방향이 다르기 때문에 만일 저 코드가 없다면, 아래처럼 된다.
Animation Behavior 설정
root

Idle
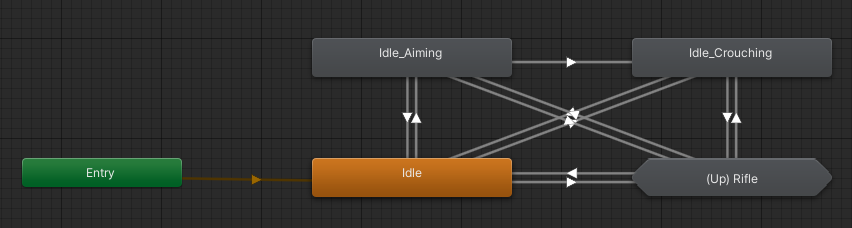
Movement
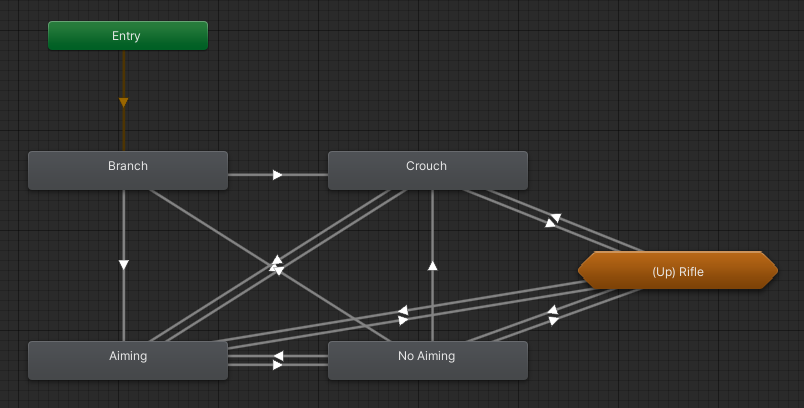
Crouch 상태에서 Movement->Idle 이면 Idle_Crouching 으로 가고,
Aiming 상태에서 Movement->Idle 이면 Idle_Aiming 으로 간다.
그 반대도 똑같이 설정했다.
Aiming 블랜드 트리

Crouch 블랜드 트리도 위와 유사하다.

Game Developer & Web Developer