[웹개발 종합반] 1주차 강의
🎯 수업 목표
- 서버와 클라이언트의 역할에 대한 이해
- HTML, CSS의 기초 지식을 이해한다. 부트스트랩을 가져다 쓸 줄 안다!
- Javascript 기초 문법을 익힌다.
🎯 목차
- 필수 프로그램 설치
- HTML, CSS 기본 내용
- Quiz_간단한 로그인 페이지 만들어보기
- CSS 기초
- 자주 쓰이는 CSS 연습하기
- 폰트, 주석, 파일분리
- 부트스트랩, 예쁜 CSS 모음집
- CSS 꿀팁 한번 더 배우기
- 본격 부트스트랩 써보기
- Quiz_포스팅박스를 완성하기!
- Javascript 맛보기
- Javascript 기초 문법 배우기(1)
- Javascript 기초 문법 배우기(2)
- Javascript 연습하기
- 1주차 끝 & 숙제 설명
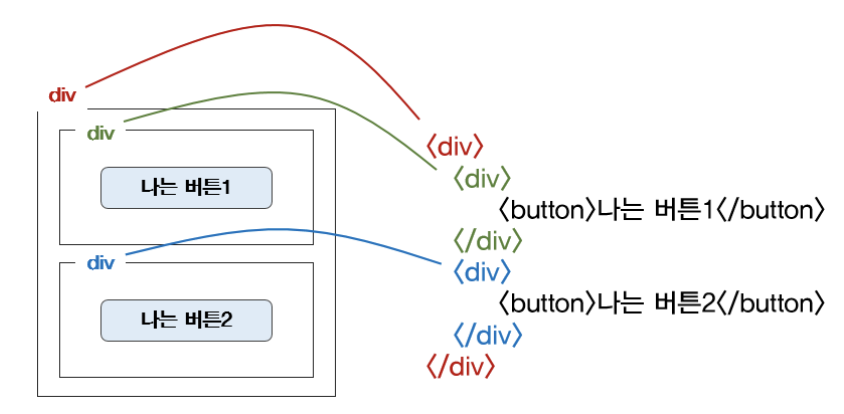
1. HTML 부모-자식 구조
html 태그는, "누가 누구 안에 있느냐"를 이해하는 것이 가장 중요하다. 나를 감싸고 있는 태그가 바뀌면, 그 안의 내용물도 모두 영향을 받는다!
*Pycharm에서 html 코드 정렬 단축키: cmd + option + L
2. CSS를 입히고자 할라면 이름이 필요하다!
강의에서의 표현이 찰떡이라! 이해가 너무 잘됐다.
"뭔가를 꾸민다는 건, 가리킬 수 있어야 꾸밀 수 있다."
예를 들어, 짱구의 바지 색을 바꿔줘! ➡️ 짱구의 바지라고 부를 수 있는 것이 있어야 한다는 것!
<body>
	<div class="movietitle">
        <h1> 내 생에 최고의 영화들 </h1>
        <button>영화 기록하기</button>
    </div>
</body><style>
.movietitle {
width: 100%;
height: 250px;
background-image: linear-gradient(0deg, rgba(0, 0, 0, 0.5), rgba(0, 0, 0, 0.5)),url("https://movie-phinf.pstatic.net/20210715_95/1626338192428gTnJl_JPEG/movie_image.jpg");
background-size: cover;
background-position: center;
color: white;
display: flex;
flex-direction: column;
justify-content: center;
align-items: center;
}
.movietitle > button {
width: 200px;
height: 50px;
background-color: transparent;
color: white;
border-radius: 50px;
border: 1px solid white;
margin-top: 10px;
}
.movietitle > button:hover {
border: 2px solid white;
}
</style>3. 자주 쓰이는 CSS
👉 배경관련
background-color
background-image
background-position
background-size
👉 사이즈
width
height
👉 정렬
display: flex;
justify-content: center;
align-items: center;
👉 폰트
font-size
font-weight
font-family
color
👉 간격
margin (바깥 여백)
padding (안쪽 여백)
👉 약간의 모바일 처리 (화면 폭 (a)px 전에는 (b)%, 그 이상 (a)px)
max-width: (a)px;
width: (b)%;
4. 1주차 과제 : 연예인 팬명록 만들기
❗️결과물❗️
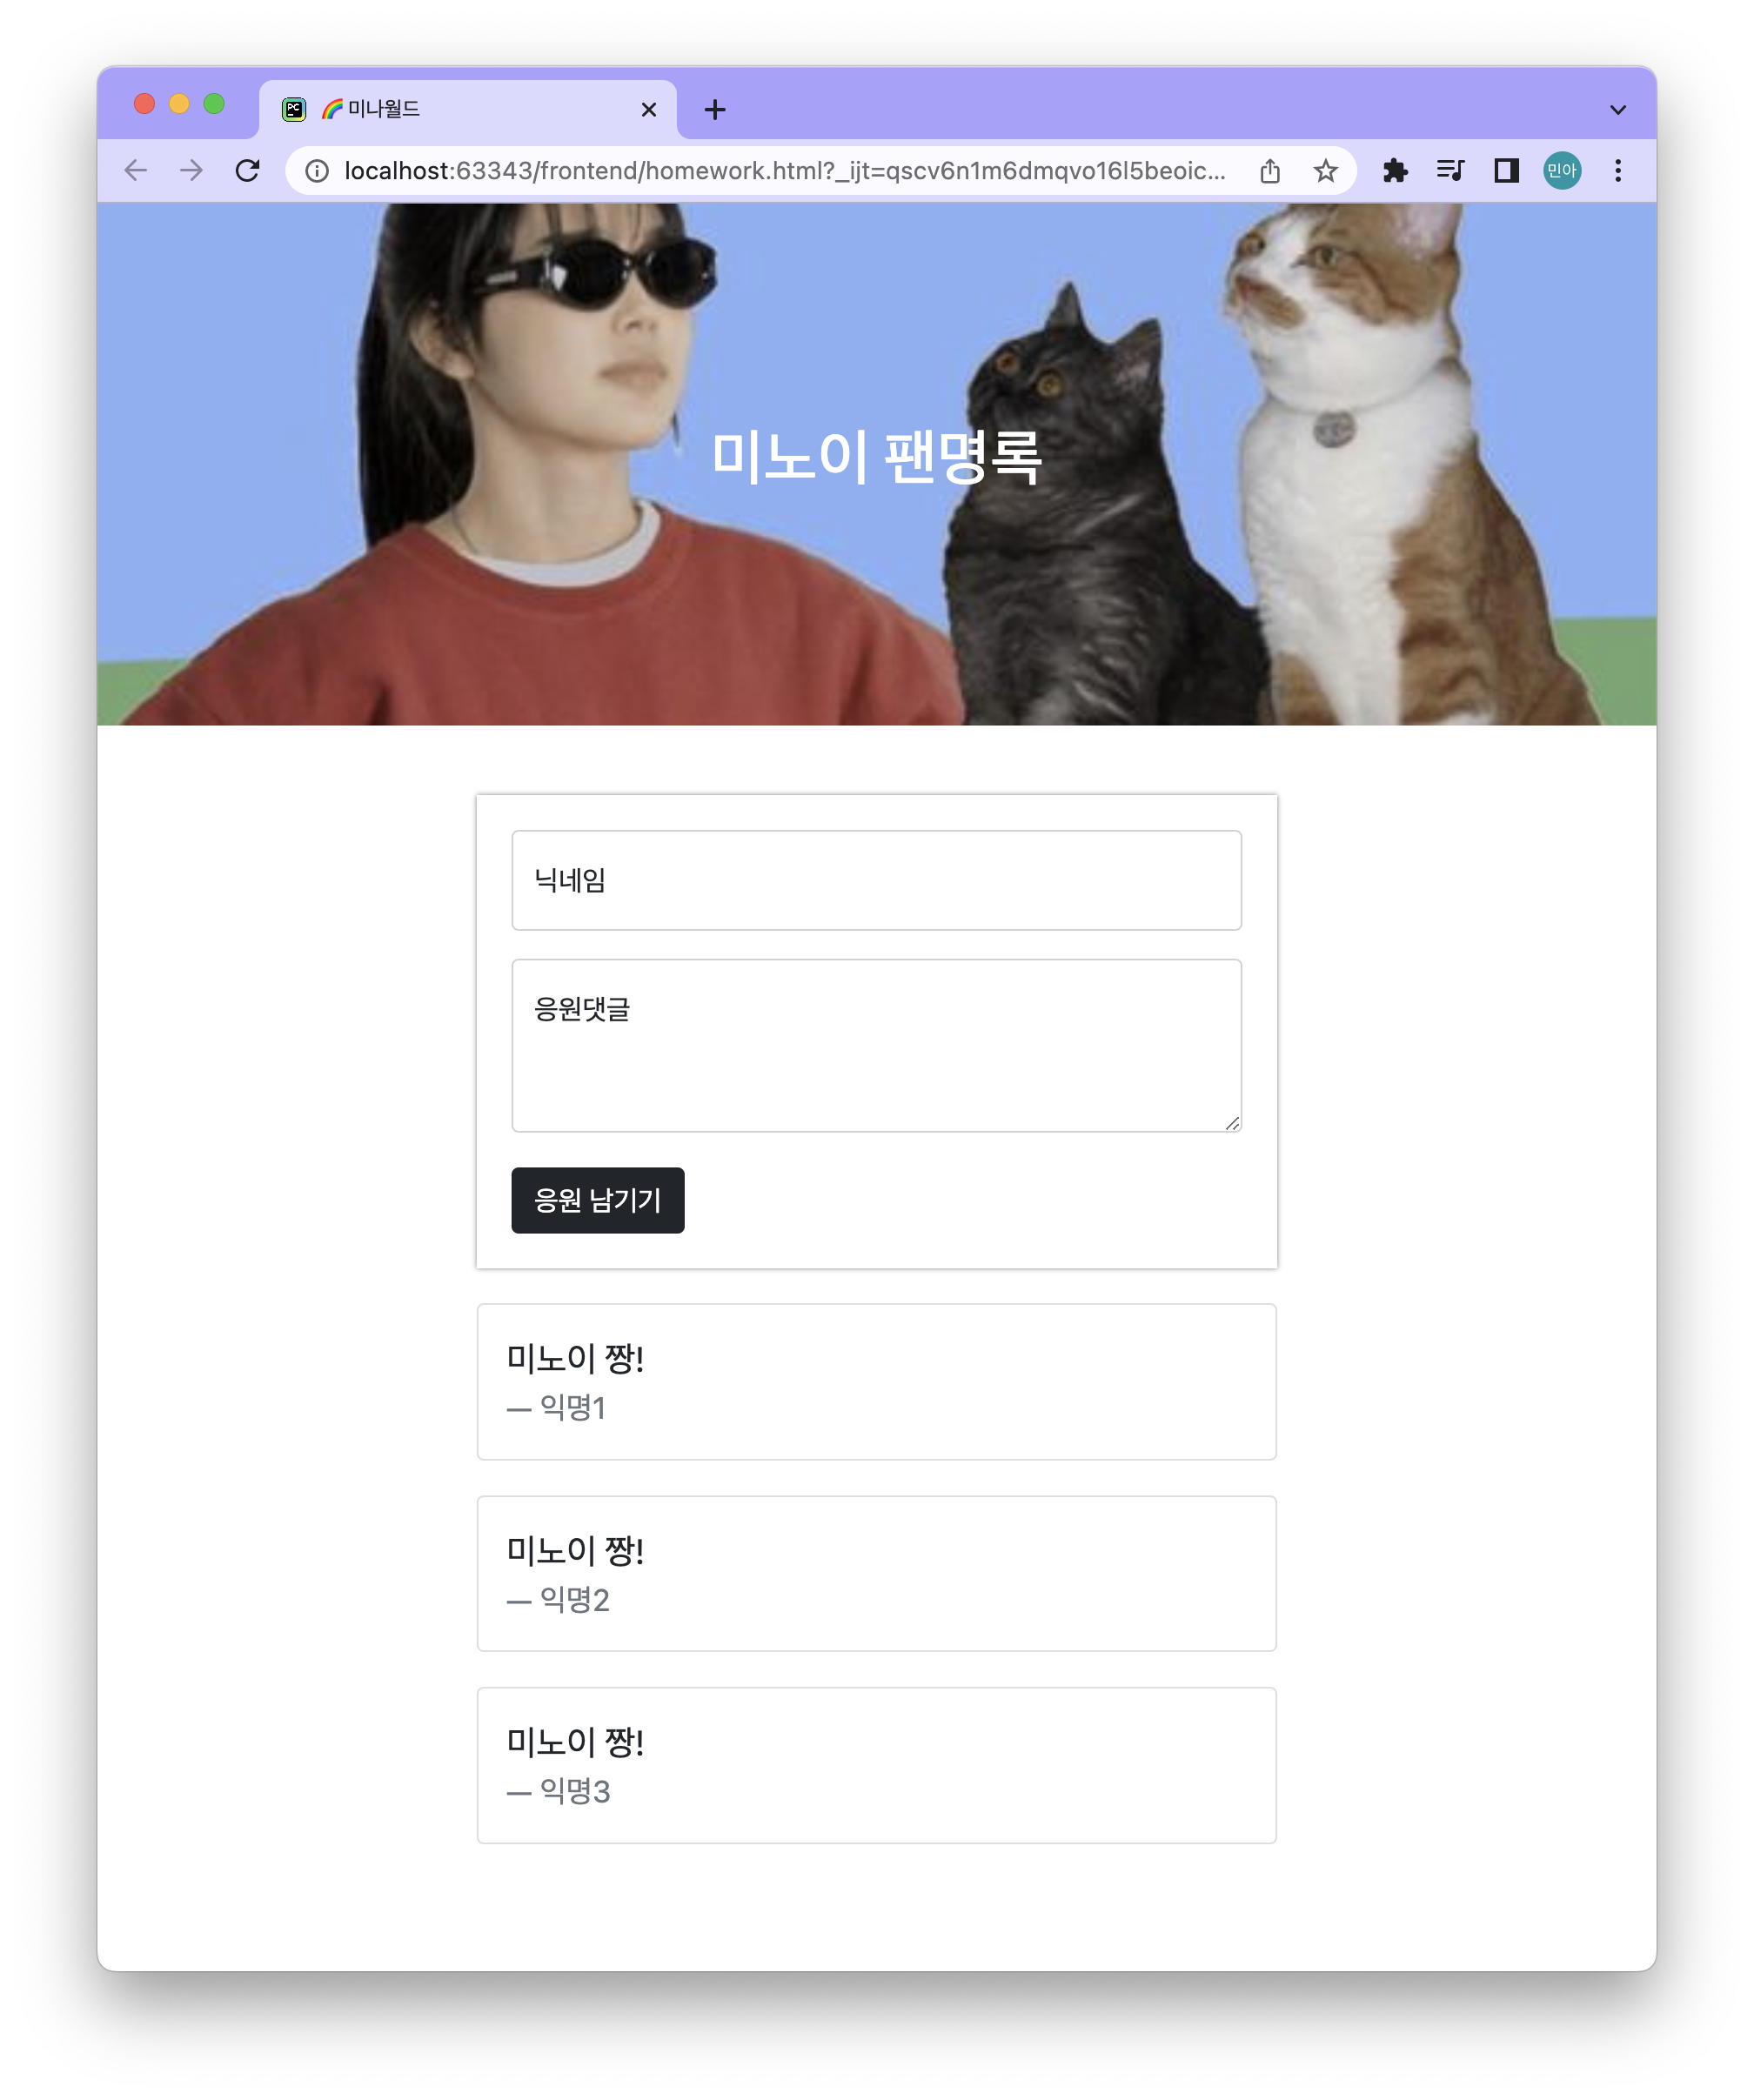
❗️코드❗️
<!DOCTYPE html>
<html lang="en">
<head>
    <meta charset="utf-8">
    <meta name="viewport" content="width=device-width, initial-scale=1, shrink-to-fit=no">

    <link href="https://cdn.jsdelivr.net/npm/bootstrap@5.0.2/dist/css/bootstrap.min.css" rel="stylesheet"
        integrity="sha384-EVSTQN3/azprG1Anm3QDgpJLIm9Nao0Yz1ztcQTwFspd3yD65VohhpuuCOmLASjC" crossorigin="anonymous">
    <script src="https://ajax.googleapis.com/ajax/libs/jquery/3.5.1/jquery.min.js"></script>
    <script src="https://cdn.jsdelivr.net/npm/bootstrap@5.0.2/dist/js/bootstrap.bundle.min.js"
        integrity="sha384-MrcW6ZMFYlzcLA8Nl+NtUVF0sA7MsXsP1UyJoMp4YLEuNSfAP+JcXn/tWtIaxVXM"
        crossorigin="anonymous"></script>


    <title>🌈미나월드</title>
    <style>
        .title{
            height: 300px;

            background-image: url("https://i.pinimg.com/564x/08/92/a2/0892a2a98848efeb4dd2160854df51f9.jpg");
            background-size: cover;
            background-position:  center;

            color: white;

            display: flex;
            justify-content: center;
            align-items: center;
        }

        .mybox{
            max-width: 500px;
            width: 95%;

            padding: 20px;

            margin: 20px auto 0px auto;
        }

        .mypost{
            box-shadow: 0px 0px 3px 0px gray;
            padding: 20px;
            margin-bottom: 10px;
        }


        .mybtn > button {
            margin-top: 20px;
        }

        .card{
            margin-top: 20px;
        }

    </style>
</head>
<body>
    <div class="title">
        <h1> 미노이 팬명록 </h1>
    </div>
    <div class="mybox">
        <div class="mypost">
            <div class="form-floating mb-3">
                <input type="email" class="form-control" id="floatingInput" placeholder="name@example.com">
                <label for="floatingInput">닉네임</label>
            </div>
            <div class="form-floating">
                        <textarea class="form-control" placeholder="Leave a comment here" id="floatingTextarea2"
                                  style="height: 100px"></textarea>
                <label for="floatingTextarea2">응원댓글</label>
            </div>
            <div class="mybtn">
                <button type="button" class="btn btn-dark">응원 남기기</button>
            </div>
        </div>

        <div class="card">
            <div class="card-body">
                <blockquote class="blockquote mb-0">
                    <p>미노이 짱!</p>
                    <footer class="blockquote-footer">익명1</footer>
                </blockquote>
            </div>
        </div>
        <div class="card">
            <div class="card-body">
                <blockquote class="blockquote mb-0">
                    <p>미노이 짱!</p>
                    <footer class="blockquote-footer">익명2</footer>
                </blockquote>
            </div>
        </div>
        <div class="card">
            <div class="card-body">
                <blockquote class="blockquote mb-0">
                    <p>미노이 짱!</p>
                    <footer class="blockquote-footer">익명3</footer>
                </blockquote>
            </div>
        </div>
    </div>
</body>
</html>
5. 후기
| 1주차 완료! |
|---|
 |
HTML, CSS를 통해 처음으로 완성된 페이지를 구현해 보았다. 항상 같이 프로젝트하던 프론트 분들이 하던거 어깨 넘어 보면서 배웠었는데 오늘에서야 완전히 이해가 되면서 HTML, CSS에 막현한 두려움을 갖던게 사라졌다. 항상 백엔드 맡아 데이터만 다루다가 이렇게 내가 구현한 게 실제로 보이니 소소하게 너무 뿌듯했다 😖 !!
Ref.
스파르타코딩클럽