개요
참조: https://wikidocs.net/158501
목표:
-
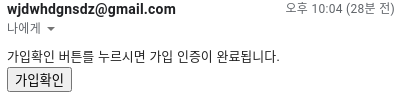
유저 이메일주소를 입력하면 유저 이메일보관함으로 회원가입인증메일이 날아옴
-
메일에 포함된 인증버튼을 누르면 서버에서 uuid가 날아옴
UsersService 프로바이더 생성
참조: https://wikidocs.net/158501
// controller/users.controller.ts
import { Body, Controller, Get, Param, Post, Query } from '@nestjs/common';
import { CreateUserDto } from '../dto/create-user.dto';
import { UserLoginDto } from '../dto/user-login.dto';
import { VerifyEmailDto } from '../dto/verify-email.dto';
import { UserInfo } from '../UserInfo';
import { UsersService } from '../service/users.service';

@Controller('users')
export class UsersController {
  constructor(private usersService: UsersService) {}

  @Post()
  async createUser(@Body() dto: CreateUserDto): Promise<void> {
    const { name, email, password } = dto;
    await this.usersService.createUser(name, email, password);
  }

  @Post('/email-verify')
  async verifyEmail(@Query() dto: VerifyEmailDto): Promise<string> {
    const { signupVerifyToken } = dto;
    return await this.usersService.verifyEmail(signupVerifyToken);
  }

  @Post('/login')
  async login(@Body() dto: UserLoginDto): Promise<string> {
    console.log(dto);
    return;
  }

  @Get('/:id')
  async getUserInfo(@Param('id') userId: string): Promise<UserInfo> {
    console.log(userId);
    return;
  }
}
/users로 들어오면
UsersService를 컨트롤러에 주입함.
또한 Post 요청을 보내면 dto에서 얻은 정보를 userService에 전달해
createUser를 함.
그럼 UsersService를 만들어야겠지?
우선 구현과정에서 이메일 검증시 필요한 토큰형식을 uuid로 쓸 것이기 때문에
uuid 라이브러리를 설치!
$ npm i uuid
$ npm i --save-dev @types/uuid
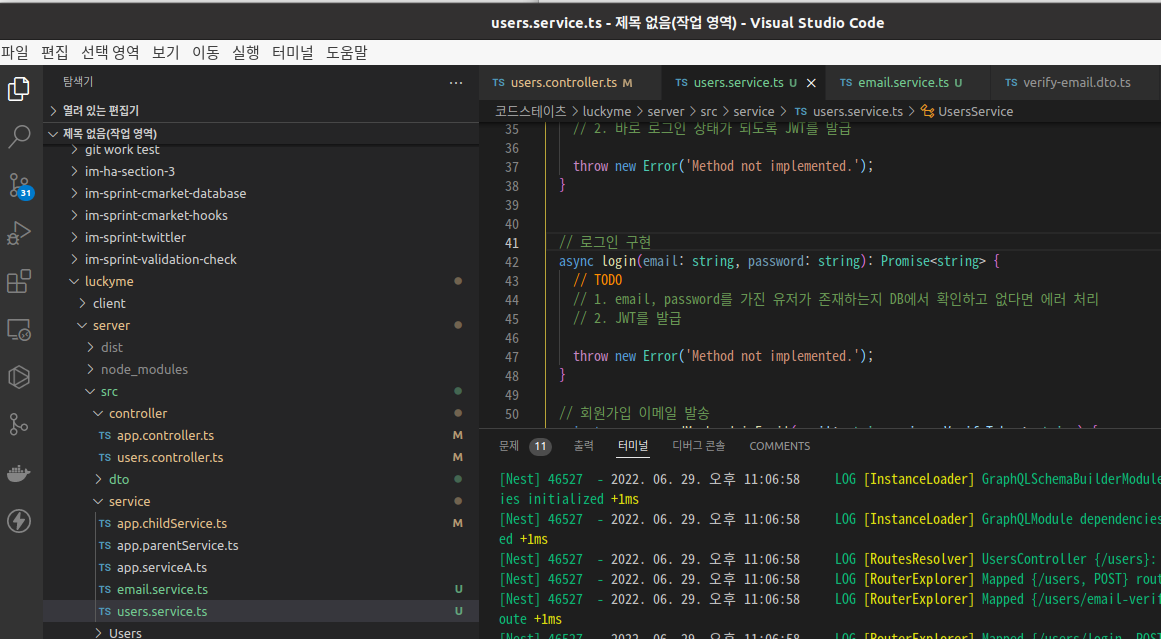
// /service/users.service.ts
//Usersservice 는 유저의 정보를 저장 조회하는 역할을 위주로 함.

import * as uuid from 'uuid';
import { Injectable } from '@nestjs/common';

// EmailService 프로바이더를 새로 만듬.
import { EmailService } from './email.service';

@Injectable()
export class UsersService {
  constructor(private emailService: EmailService) { }
  async createUser(name: string, email: string, password: string) {
    // 가입하려는 유저가 존재하는지 검사 우선 false
    await this.checkUserExists(email);

    const signupVerifyToken = uuid.v1();

    // 유저를 데이터베이스에 저장
    await this.saveUser(name, email, password, signupVerifyToken);
    await this.sendMemberJoinEmail(email, signupVerifyToken);
  }

  private checkUserExists(email: string) {
    return false; // TODO: DB 연동 후 구현
  }

  private saveUser(name: string, email: string, password: string, signupVerifyToken: string) {
    return; // TODO: DB 연동 후 구현
  }

  // 회원가입 이메일 발송
  private async sendMemberJoinEmail(email: string, signupVerifyToken: string) {
    await this.emailService.sendMemberJoinVerification(email, signupVerifyToken);
  }
}
이제 EmailService를 UsersService에서 주입받고 메일 발송 메서드를 호출하면 됨.
그러면 또 EmailService 의 구현이 필요하겠지?
이메일 발송 EmailService
참조: https://wikidocs.net/158501
// /service/email.service.ts

import Mail = require('nodemailer/lib/mailer');
import * as nodemailer from 'nodemailer';

import { Injectable } from '@nestjs/common';

// 메일 욥선 타입. 수신자(to), 메일 제목, html 형식의 메일 본문을 가짐
interface EmailOptions {
  to: string;
  subject: string;
  html: string;
}

@Injectable()
export class EmailService {
  private transporter: Mail;

  // nodemailer에서 제공하는 Transporter 객체를 생성
  constructor() {
    this.transporter = nodemailer.createTransport({
      service: 'Gmail',
      auth: {
        user: "아이디@gmail.com",
        pass: "앱비번",
      },
    });
  }

  async sendMemberJoinVerification(emailAddress: string, signupVerifyToken: string) {
    // 이 링크를 통해 우리 서비스로 이메일 인증 요청이 들어옴
    const baseUrl = 'http://localhost:4000'; // TODO: config

    const url = `${baseUrl}/users/email-verify?signupVerifyToken=${signupVerifyToken}`;

    // 메일 본문 구성 form 태그를 이용해 POST 요청 실시
    const mailOptions: EmailOptions = {
      to: emailAddress,
      subject: '가입 인증 메일',
      html: `
        가입확인 버튼를 누르시면 가입 인증이 완료됩니다.<br/>
        <form action="${url}" method="POST">
          <button>가입확인</button>
        </form>
      `
    }

    // transporter 객체를 이용해 메일 전송
    return await this.transporter.sendMail(mailOptions);
  }
}
메일 보낼때 nodemailer라는 라이브러리를 사용함!
$ npm i nodemailer
$ npm i @types/nodemailer --save-dev
설치하고 실행한 후
curl http://localhost:3000/users -H "Content-Type: application/json" -X POST -d '{"name":"수신인이름","email":"수신인메일주소","password":"pass1234"}'
로 보내면
아까 users 컨트롤러에 있던 createUser가 발동되고
usersService에서 createUser로 넘어가서
snedMemberJoinEmail 로 넘어가고
다시 이는 emailService 로 넘어가 sendMemberJoinVerification을 발동시켜서
transporter.sendMail 을 통해 메일을 보내게 된다 참..
이메일 인증
참조: https://wikidocs.net/158501

아까 email.service.ts 에 보면 url 이라고 있는데
이것은 다시 우리 서버로 보내서 users/email-verify 엔드포인트에서 쿼리로 token을 보내 인증받게하는것임.

컨트롤러에 usersService에서 verifyEmail 메서드를 받게 하고

verifyEmail 메서드를 구현하면 됨
나중에!
로그인
참조: https://wikidocs.net/158501
항상 컨트롤러에는 요청, 응답 처리만 하고 UsersService로 위임하자

유저 정보 조회
참조: https://wikidocs.net/158501
마찬가지로 컨트롤러와 서비스를 구분하여 구현하자
@Get('/:id')
async getUserInfo(@Param('id') userId: string): Promise<UserInfo> {
  return await this.usersService.getUserInfo(userId);
}
async getUserInfo(userId: string): Promise<UserInfo> {
// 1. userId를 가진 유저가 존재하는지 DB에서 확인하고 없다면 에러 처리
// 2. 조회된 데이터를 UserInfo 타입으로 응답
throw new Error('Method not implemented.');
}