Three.js Shadow
- light를 설정하면 생기는 shadow는 core shadow
- 한 object가 다른 object에 shadow를 만드는게 drop shadow
- Three.js의 built-in shadow가 있다.
Three.js shadow 작동 원리
- render 시, 각각의 light를 render
- 이 render 과정에서 light를 camera로 대한다.
- 이 render 과정에서 MeshDepthMaterial로 모든 mesh material을 변경한다.
- light render 한 내용이 shadow map texture에 저장된다.
- 이 texture가 모든 material에 사용되고 geometry에 project된다.
https://threejs.org/examples/webgl_shadowmap_viewer.html
Shadow Activate
- render의 shadow map을 활성화해야한다.
- 각각의 object들에 cast shadow 여부와 receive shadow 여부를 설정해야한다.
- light의 castShadow 속성을 활성화해준다.
// 1
renderer.shadowMap.enabled = true

// 2
sphere.castShadow = true
plane.receiveShadow = true

// 3
directionalLight.castShadow = true
아래의 light가 shadow를 지원한다.
- Point Light
- Directional Light
- SpotLight
Shadow map Optimizations
- shadow map size
- near & far, Amplitude
- shadow blur
- shadow map algorithm
shadow map size
Three.js는 각각의 light의 shadow map을 render 한다.
이 shadow map에 접근해서 map size를 변경 할 수 있다.
default 값으로 map size는 512x512 이다.
width, height 값을 설정해서 키워주면 더 자연스러워진다.
width, height 값은 2의 제곱수로 설정해야한다.(mipmapping)
directionalLight.shadow.mapSize.width = 1024
directionalLight.shadow.mapSize.height = 1024
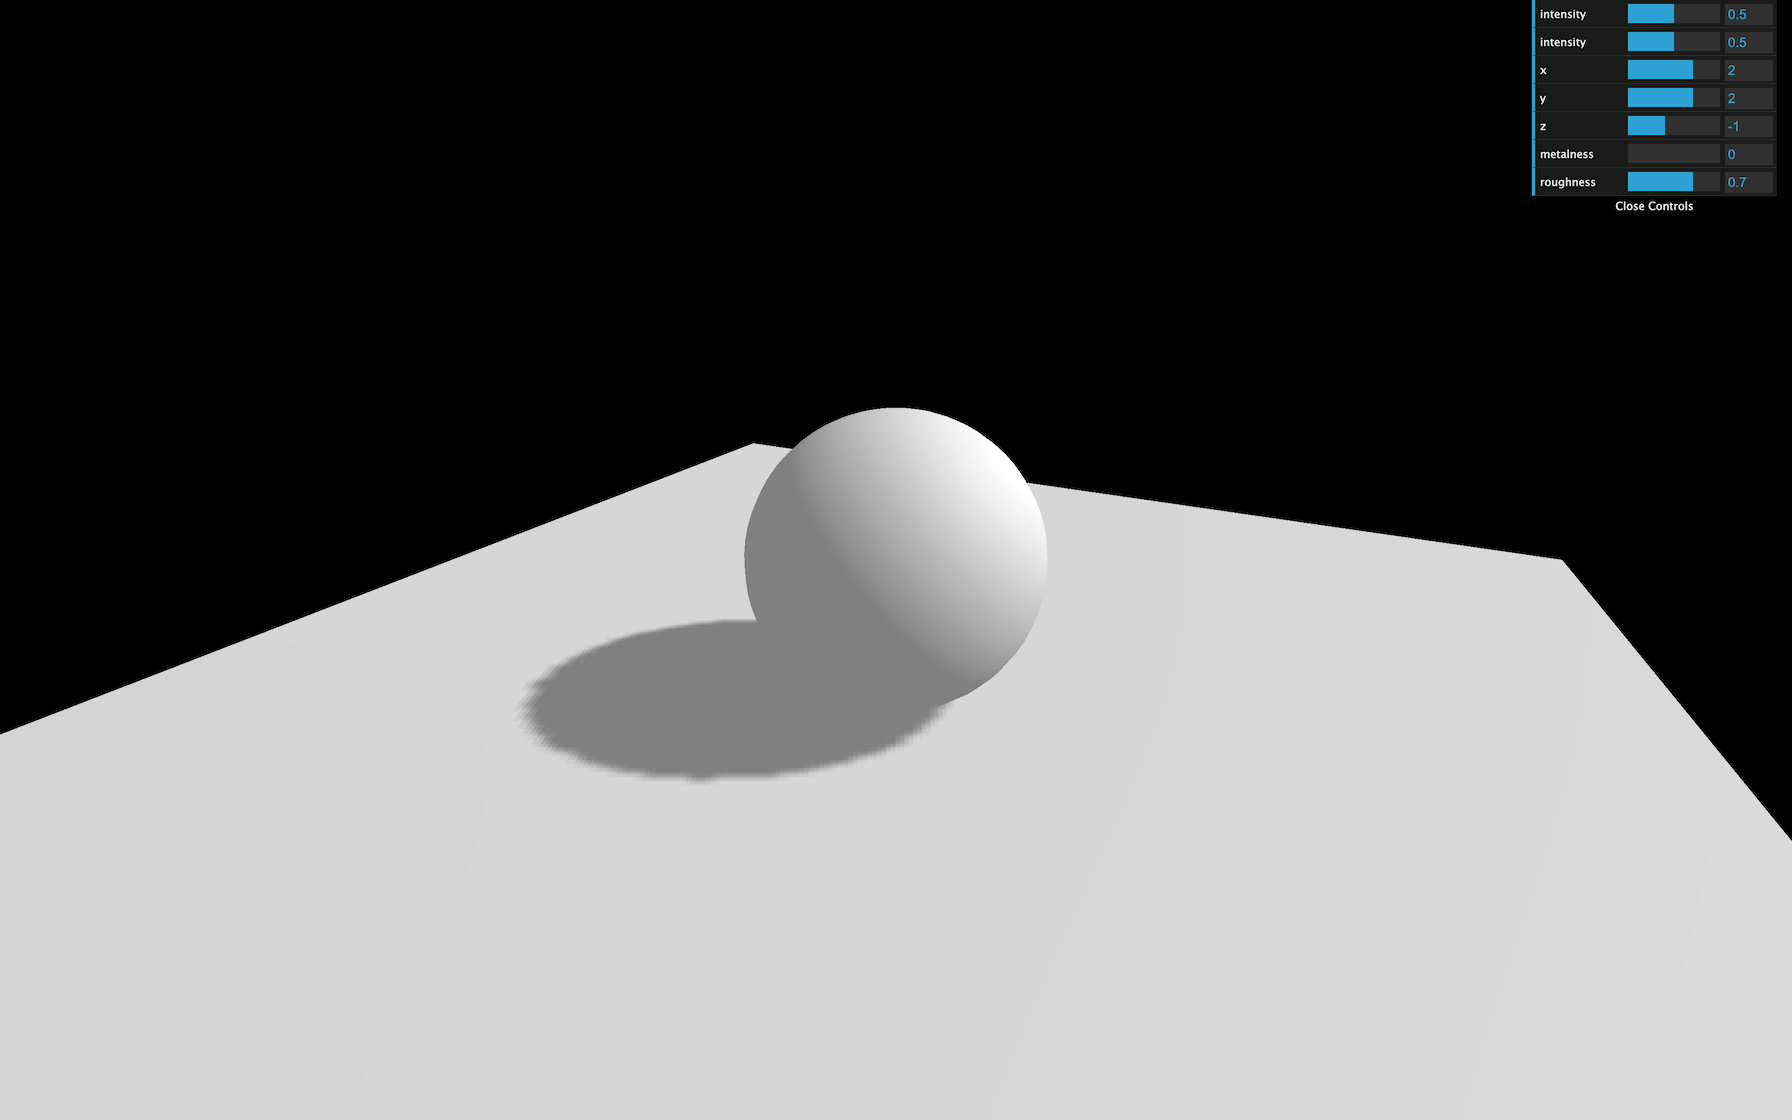
near & far, Amplitude
위에서 shadow map render 시에 light를 camera처럼 사용한다고 했다.
light.shadow.camera에는 camera 속성 값이 있다.
우리는 이를 활용해서 near, far, Amplitude 값을 설정할 수 있다.
shadow 질을 높이지는 않지만 버그를 줄일 수 있다.
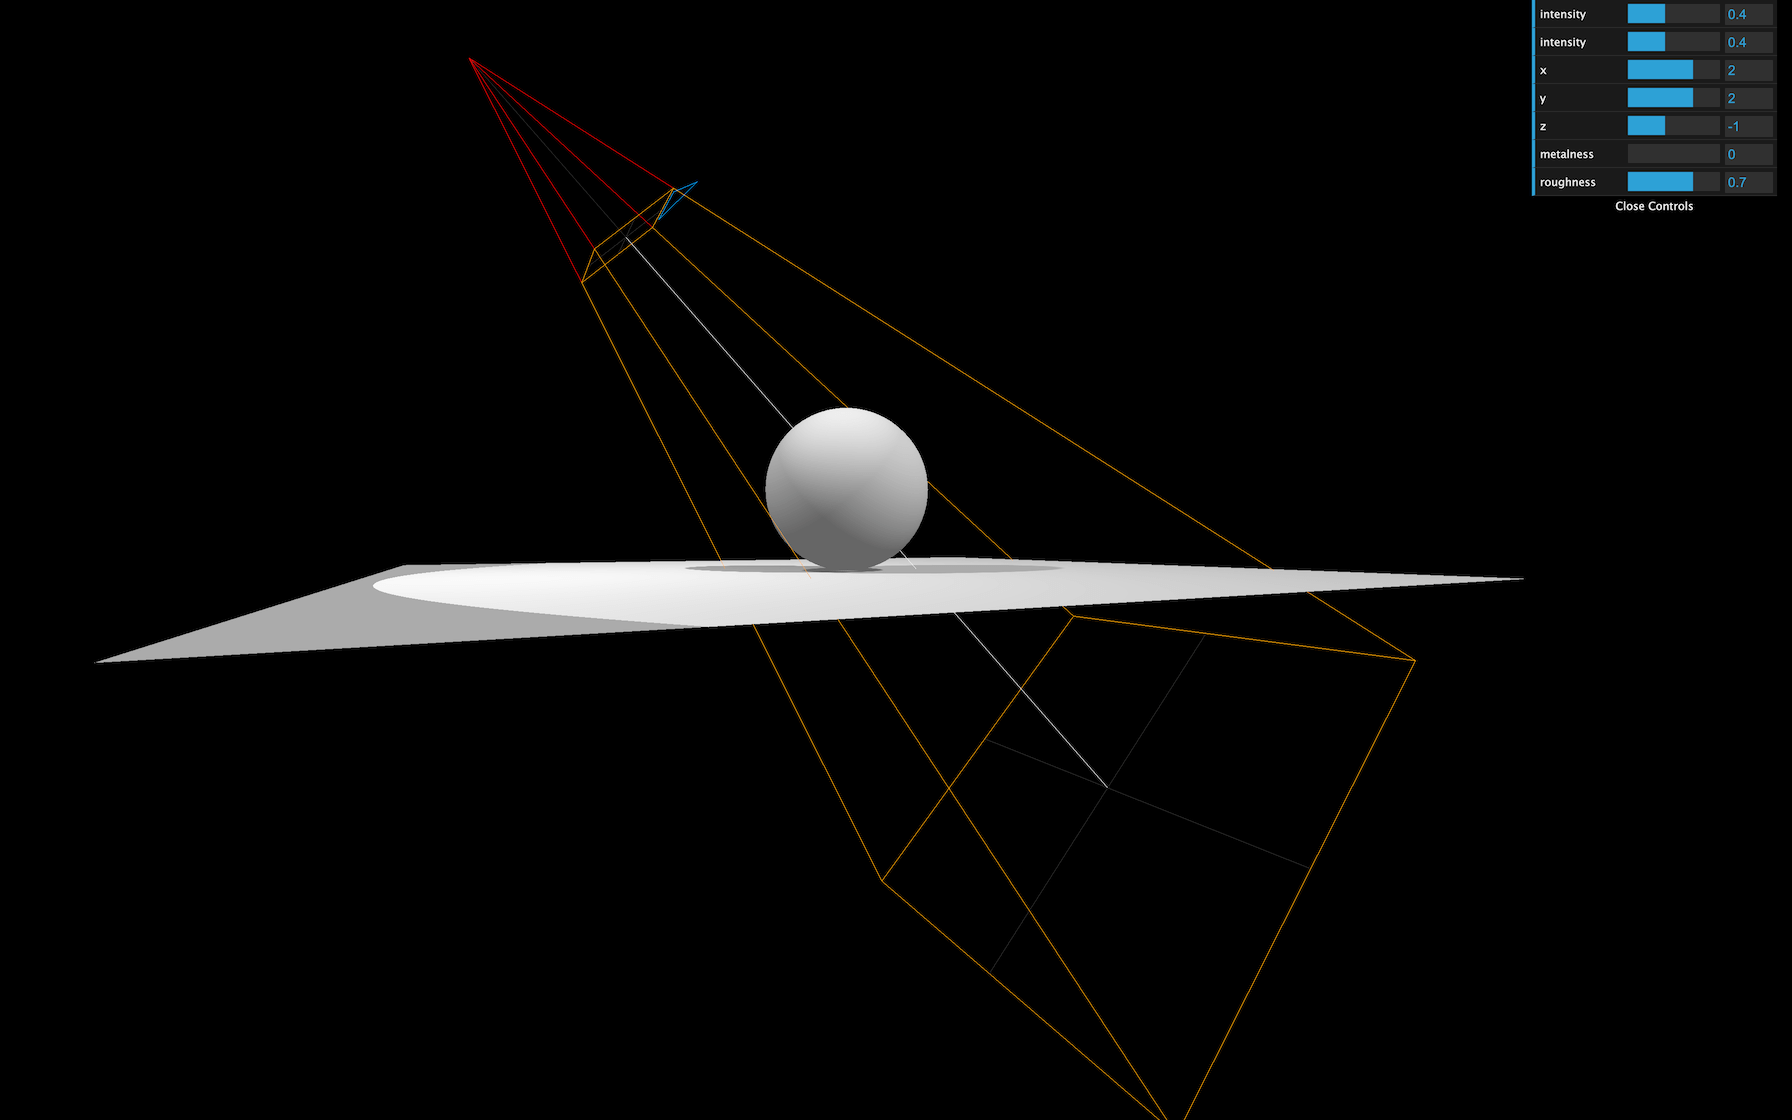
cameraHelper로 확인해보자
const directionalLightCameraHelper = new THREE.CameraHelper(directionalLight.shadow.camera)
scene.add(directionalLightCameraHelper)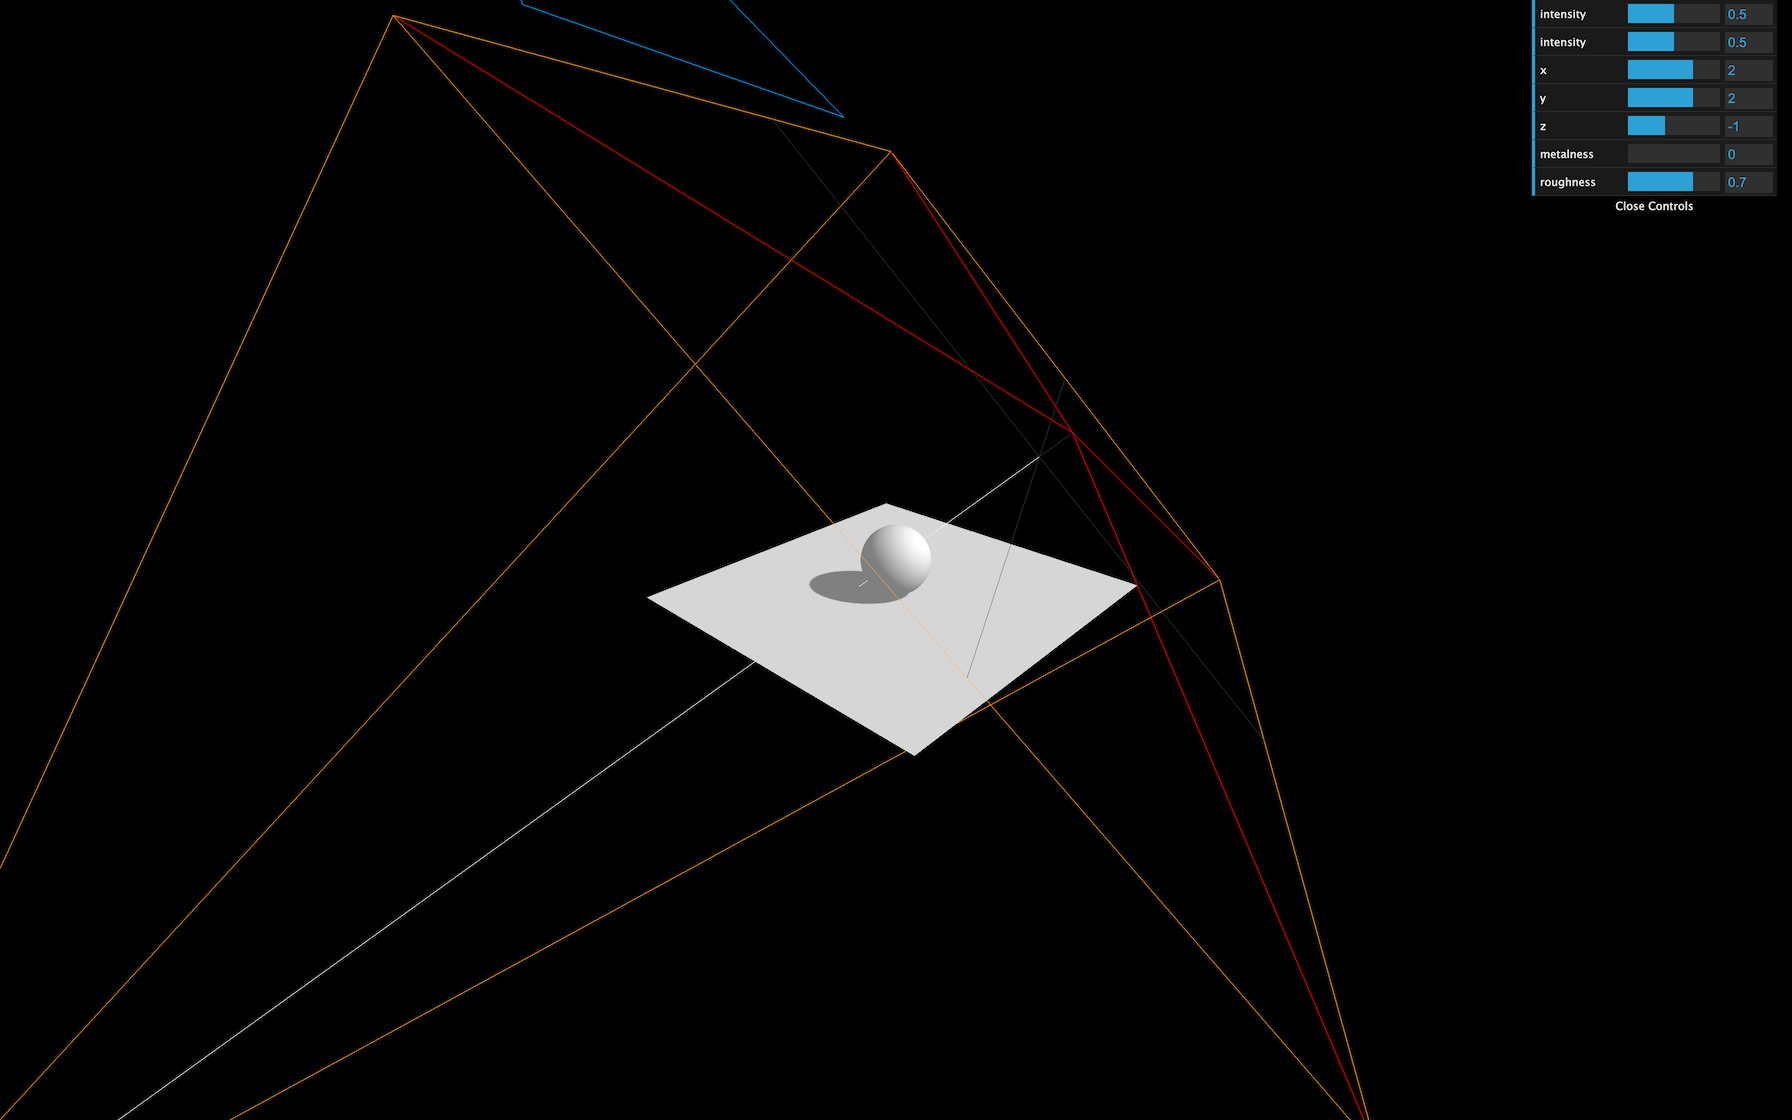
near,far 값을 변경하자
directionalLight.shadow.camera.near = 1
directionalLight.shadow.camera.far = 6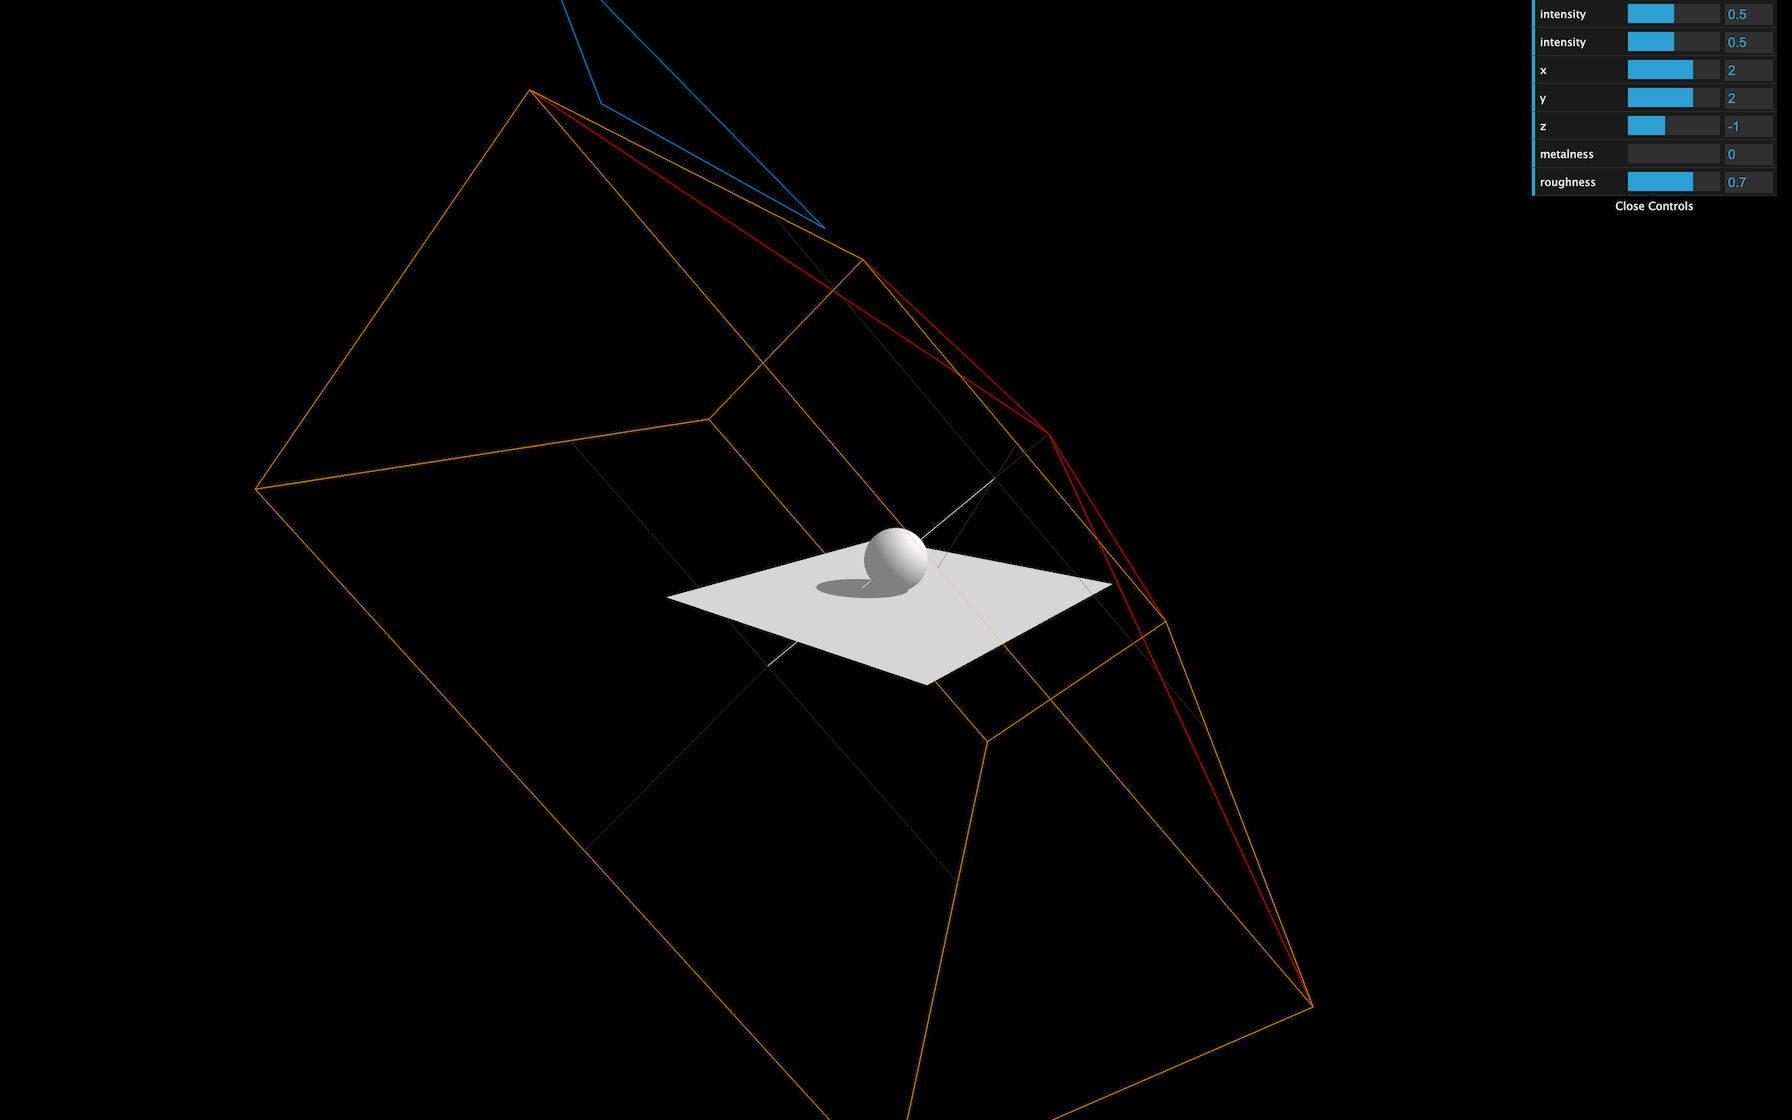
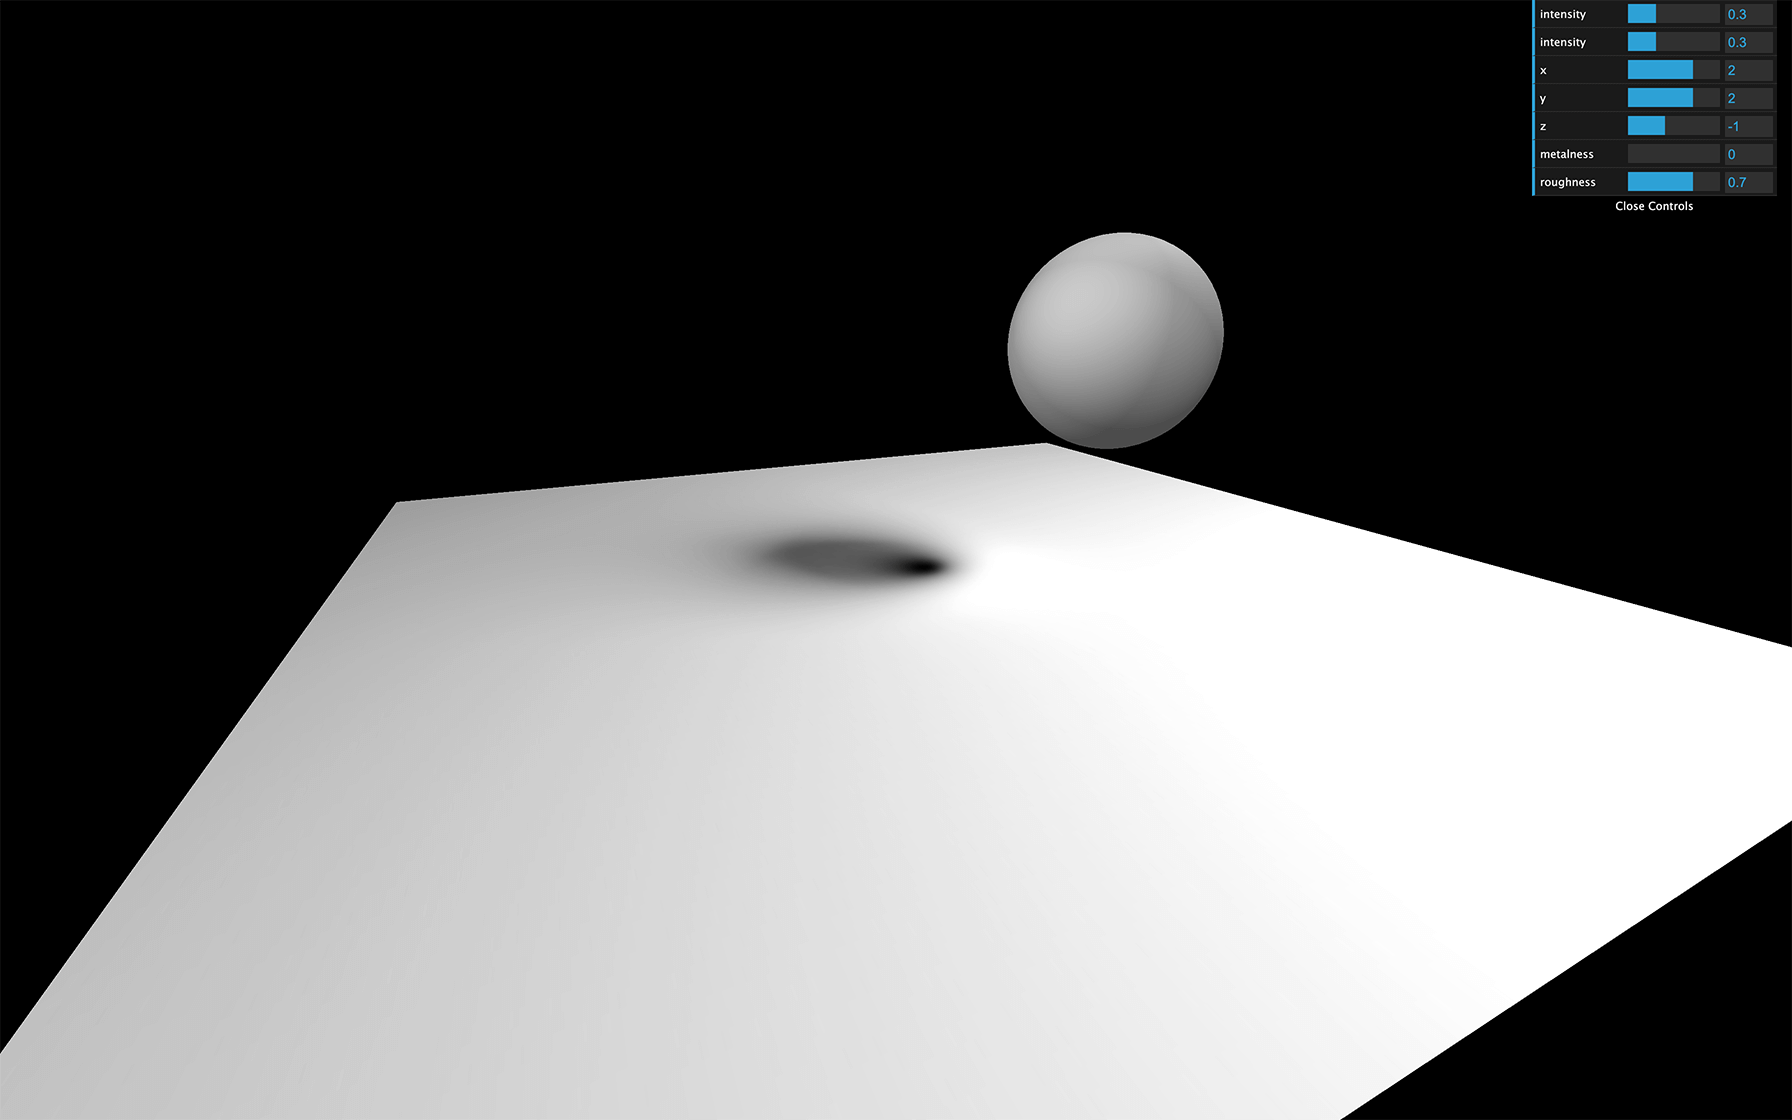
Directional Light는 OrthographicCamera를 사용한다.
top, right, bottom, left 속성 값을 변경해서 최적화할 수 있다.
directionalLight.shadow.camera.top = 2
directionalLight.shadow.camera.right = 2
directionalLight.shadow.camera.bottom = - 2
directionalLight.shadow.camera.left = - 2
SpotLight Shadow Optimization
위에 near, far, amplitude는 Directional light에 대한 내용이고
이번에는 SpotLight Shadow Optimization이다.
Directional Light와 같이
- shadow map size
- near & far, Amplitude
를 사용해서 Optimization이 가능하다.
다른 점이 있다면
SpotLight의 shadow camera는 PerspectiveCamera이다.
그리고 PerspectiveCamera는 fov 속성을 가지는데
이는 추후 값 설저이 불가능하므로 spotlight 생성할 때 fov 값을 설정하면 된다.
// Spot light
const spotLight = new THREE.SpotLight(0xffffff, 3.6, 10, Math.PI * 0.3)

// shadow map size
spotLight.shadow.mapSize.width = 1024
spotLight.shadow.mapSize.height = 1024

// near & far
spotLight.shadow.camera.near = 1
spotLight.shadow.camera.far = 6
PointLight Shadow Optimization
이번에는 PointLight Shadow Optimization이다.
Directional Light와 같이
- shadow map size
- near & far, Amplitude
를 사용해서 Optimization이 가능하다.
다른 점이 있다면
PointLight shadow camera는 PerspectiveCamera이다.
PointLight의 특성상 6면(앞, 뒤, 좌, 우, 위, 아래)으로 빛을 발산하는데 맨 마지막 아래를 향하는 카메라가 보여진다.
그리고 전 방위로 빛을 발산하고 shadow를 render해야하므로 amplitude 값은 변경할 수 없다.
그러므로 pointlight의 shadow cost는 기존 light의 6배이다.
pointLight.shadow.mapSize.width = 1024
pointLight.shadow.mapSize.height = 1024
pointLight.shadow.camera.near = 0.1
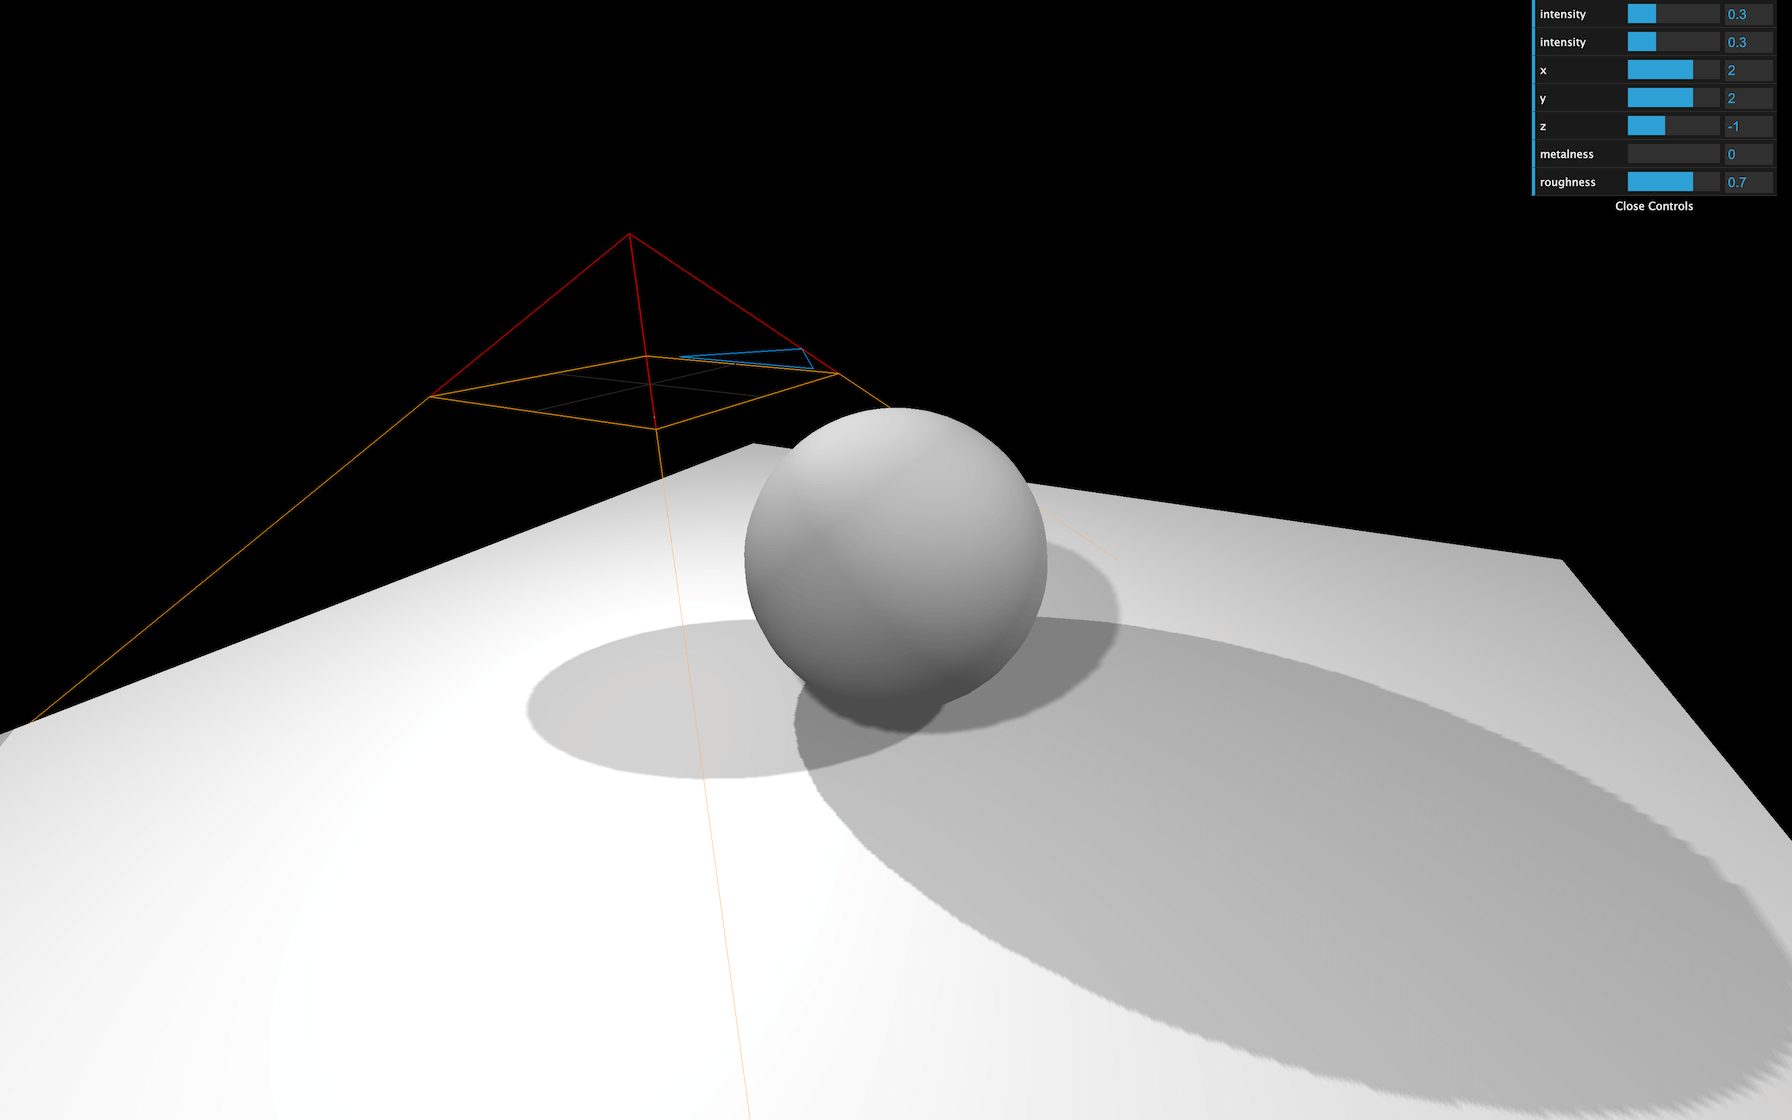
pointLight.shadow.camera.far = 5Blur
shadow.radius를 조작해서 blur 효과를 낼 수 있다.
그러나 결과가 엄청 좋진 않지만 performance 면에서 싸다
directionalLight.shadow.radius = 10
Shadow map Algorithm
- BasicShadowMap - performance - very good / quality - low
- PCFShadowMap - performance - good / quality - soso
- PCFSoftShadowMap - performance - not good / quality - good
- VSMShadowMap - performance - not good / quality - soso
아래와 같은 코드로 algorithm 변경한다.
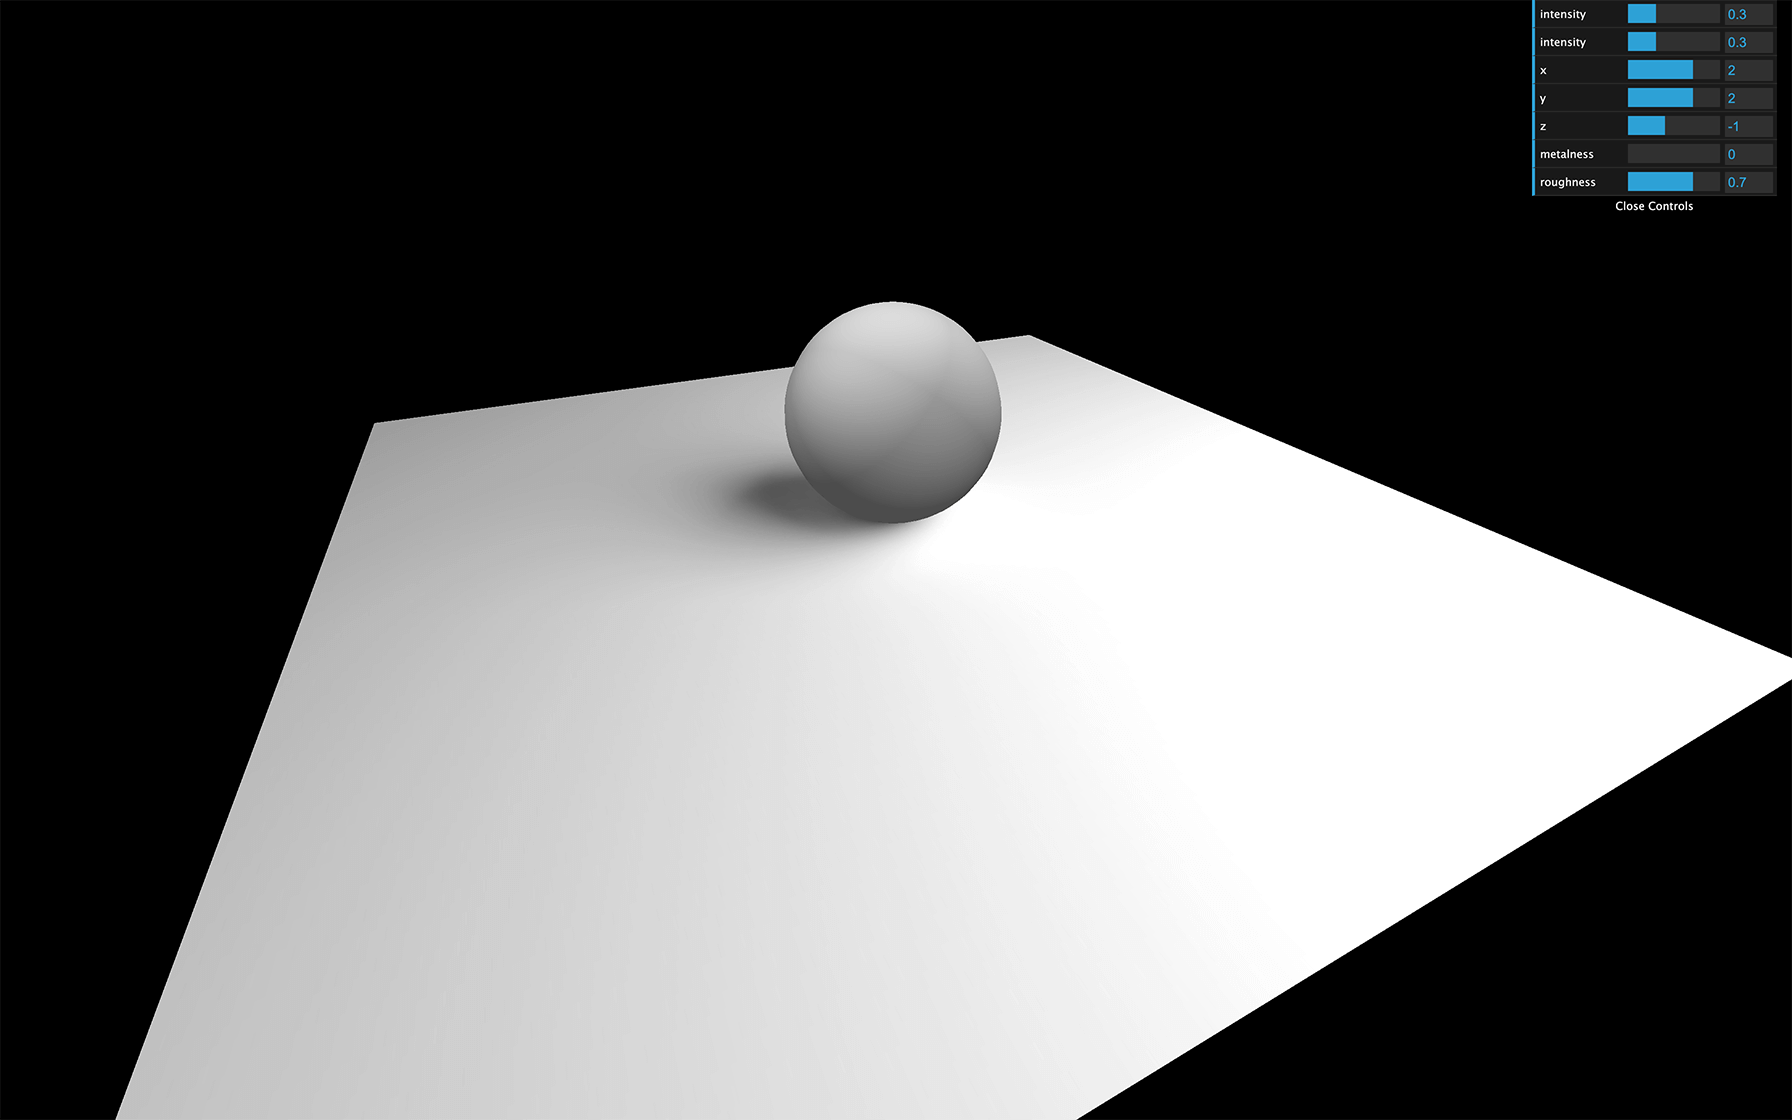
renderer.shadowMap.type = THREE.PCFSoftShadowMapBaking Shadow
shadow는 조작도 어렵고 잘못 사용하면 이상해진다.
이럴 경우 사용되는 대안은 baking shadow이다.
object와 light가 고정되어있을 때 유용하다.
- blender와 같은 곳에서 만든 shadow texture를 불러온다.
- shadow가 cast 되야하는 object의 map을 baked shadow로 변경한다.
// 1
const textureLoader = new THREE.TextureLoader()
const bakedShadow = textureLoader.load('/textures/bakedShadow.jpg')
bakedShadow.colorSpace = THREE.SRGBColorSpace

// 2
const plane = new THREE.Mesh(
    new THREE.PlaneGeometry(5, 5),
    new THREE.MeshBasicMaterial({
        map: bakedShadow
    })
)
그러나 움직이면 자연스럽지 않다.
light가 아닌 texture 만으로도 움직이는 공의 그림자를 구현 할 수 있다.
https://fake-shadow.vercel.app/