간단한 Form 만들기
-
투표가 가능한 페이지를 만들기 위해서 외래키를 이용하여 반복문을 설정해 투표 시스템을 만든다. 여기선 Question 애플리케이션에 Choice를 외래키로 사용하여 투표 시스템을 구현했다.
<form action="{% url 'polls:vote' question.id %}" method="post"> {% csrf_token %} <!--위조방지용--> <fieldset> <legend><h1>{{ question.question_text }}</h1></legend> {% if error_message %}<p><strong>{{ error_message }}</strong></p>{% endif %} {% for choice in question.choice_set.all %} <input type="radio" name="choice" id="choice{{ forloop.counter }}" value="{{ choice.id }}"> <label for="choice{{ forloop.counter }}">{{ choice.choice_text }}</label><br> {% endfor %} </fieldset> <input type="submit" value="Vote"> </form>- 자세한 설명은 HTML을 배우면서 더 자세히 배울 예정이다.
-
이렇게 되면 detail.html 에서 polls:vote의 URL을 찾아가게 될테고 urls.py 안에는 path 함수안에 views.vote를 매핑해놓았기 때문에 views.py 로 이동하게 된다. views.py 안의 사용자 정의 함수에 따라 Template의 detail.html 을 반환하게 되는 것이다.
path('<int:question_id>/vote/', views.vote, name='vote'),def vote(request, question_id): question = get_object_or_404(Question, pk=question_id) try: selected_choice = question.choice_set.get(pk=request.POST['choice']) except (KeyError, Choice.DoesNotExist): # Redisplay the question voting form. return render(request, 'polls/detail.html', { 'question': question, 'error_message': "You didn't select a choice.", }) else: selected_choice.votes += 1 selected_choice.save() # Always return an HttpResponseRedirect after successfully dealing # with POST data. This prevents data from being posted twice if a # user hits the Back button. return HttpResponseRedirect(reverse('polls:results', args=(question.id,)))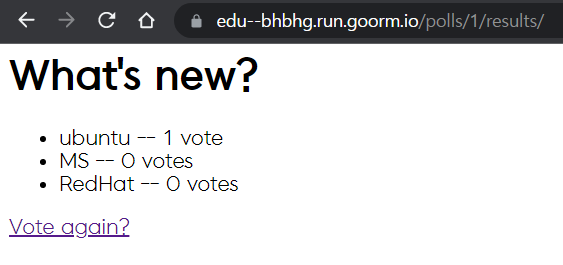
Generic View 사용하기
-
클래스 기반 뷰로 함수 기반 뷰로 반복해서 작성되는 부분을 간단하게 작성할 수 있게 도와준다. 이를 실습해보기 위해 urls.py의 URLconf를 아래와 같이 수정한다.
from django.urls import path from . import views app_name = 'polls' urlpatterns = [ path('', views.IndexView.as_view(), name='index'), path('<int:pk>/', views.DetailView.as_view(), name='detail'), path('<int:pk>/results/', views.ResultsView.as_view(), name='results'), path('<int:question_id>/vote/', views.vote, name='vote'), ]- 장고에서 미리 작성된 as_view 함수로 호출하게 되고 다른 path에서도 pk 함수로 호출하게 된다. DB내의 하나의 열을 pk라고 하며 중복되지 않는다. Uique Key라고 보면 될 것 같다.
- 작성하는 양이 줄어드는 효과가 있다.
-
다음으로 views.py에서 이전의 index, detail, results뷰를 제거하고 장고의 일반적인 뷰를 대신 사용한다.
from django.http import HttpResponseRedirect from django.shortcuts import get_object_or_404, render from django.urls import reverse from django.views import generic from .models import Choice, Question class IndexView(generic.ListView): template_name = 'polls/index.html' context_object_name = 'latest_question_list' def get_queryset(self): """Return the last five published questions.""" return Question.objects.order_by('-pub_date')[:5] class DetailView(generic.DetailView): model = Question template_name = 'polls/detail.html' class ResultsView(generic.DetailView): model = Question template_name = 'polls/results.html' def vote(request, question_id): ... # same as above, no changes needed. -
똑같이 작동하는 것을 볼 수 있다. 다만 함수기반 작성이 익숙해질 때 까지는 사용을 삼가하는 것을 추천하는 바이다.
