Why Machine Embroidery Distorts (And How Digitizers Fix It)
A design can look clean on the computer and still come out with crooked letters, uneven edges, or shapes that seem slightly squeezed. That is where an embroidery digitizing compensation guide becomes useful because the file has to account for how fabric reacts to thousands of needle penetrations. Even knowing the difference between satin stitch vs fill stitch can change how you approach a design because each stitch type puts a different kind of pressure on the material.
I have learned to pay close attention to distortion before touching the machine settings. In many cases, the machine is doing exactly what the file tells it to do. The real issue starts earlier, when the design does not account for fabric movement, thread tension, underlay, or stitch direction. Once you know what to look for, these problems become much easier to trace.
What Distortion Actually Looks Like on a Finished Design?
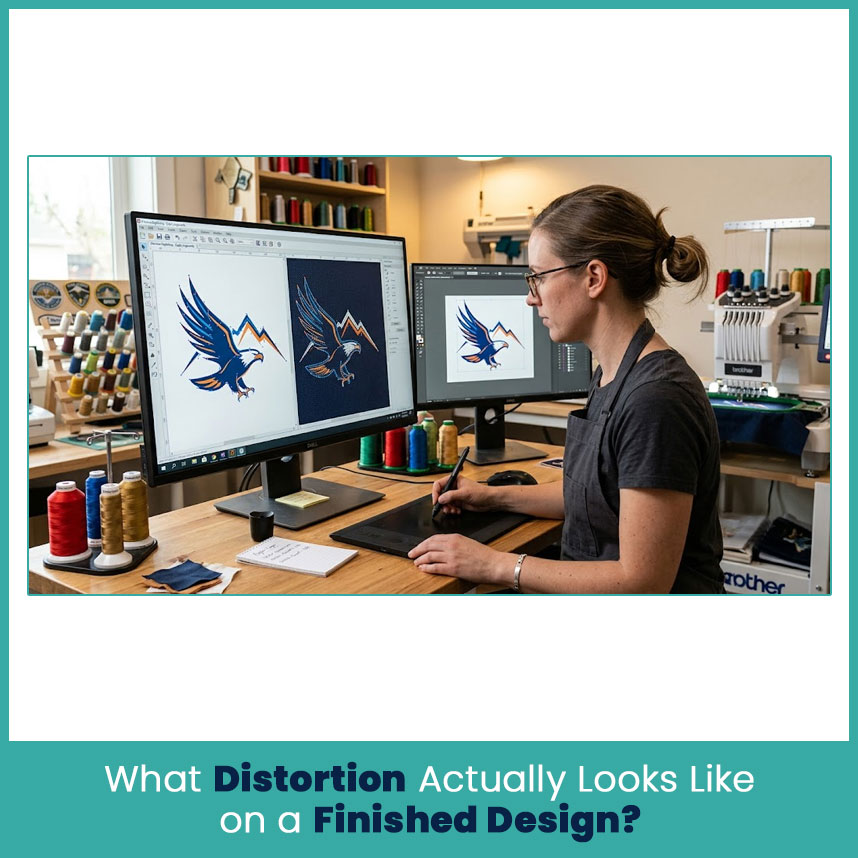
Embroidery distortion does not always appear as a dramatic mistake. Sometimes it is just a small change that makes the design look less balanced.
A circle may look slightly oval. A straight border may bend. Lettering may become narrower, while the spaces inside letters almost disappear.
Some common signs include:
Gaps between sections that should touch
Uneven outlines around filled shape
s
Letters that look smaller than the original artwork
Curves that lose their smooth shape
Satin columns that appear too wide or too narrow
Fill sections that shift away from each other
Designs that look tilted after removing them from the hoop
Excess fabric showing around one side of the artwork
Small distortion becomes easier to spot when the design has simple geometry. A basic badge, for example, gives you clear straight lines and circles to compare. A detailed illustration can hide minor movement among its many elements.
I usually compare the finished piece with the original artwork before making any changes. That simple check tells you whether the problem affects the whole design or only certain objects.
The Mechanics Behind Machine Embroidery Distortion
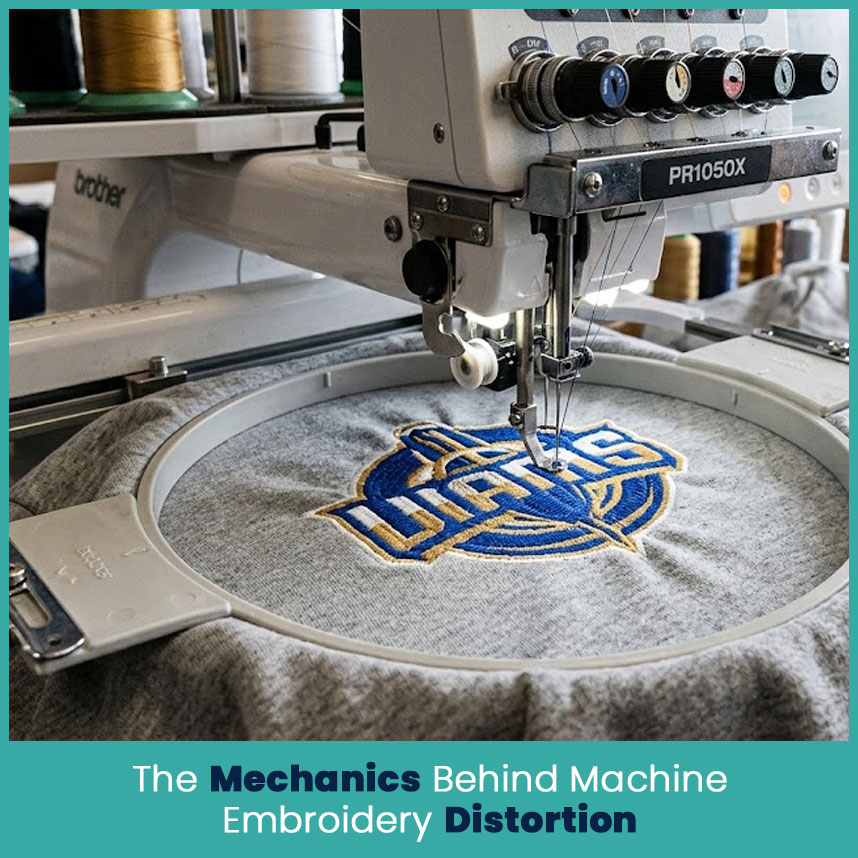
Embroidery creates a lot of movement in a very small area. The needle enters and leaves the fabric repeatedly while thread builds across the surface.
Every stitch adds another small amount of stress. When hundreds or thousands of stitches collect in one section, the fabric responds.
That response depends on several factors:
Fabric stretch and weight
Stitch density
Stitch length
Stitch direction
Thread tension
Underlay structure
Backing stability
Hooping method
Object sequencing
This explains why a file can behave differently on two garments even when the artwork stays exactly the same.
Needle Penetration and Thread Tension
Every needle penetration creates a small opening in the fabric. As thread passes through that opening, the upper thread and bobbin thread work against each other.
If the tension balance is poor, the thread may sit incorrectly on the surface or pull the fabric more than expected.
A design with many dense stitches can make the effect more noticeable. Heavy thread buildup also changes the way the fabric sits underneath the design.
Still, not every distortion problem comes from machine tension. This is an important distinction. If the same area repeatedly pulls inward across different machines and samples, the digitized design deserves a closer look.
A good file takes thread behavior into account rather than expecting the machine to compensate for every design weakness.
Fabric Movement Under the Hoop
Fabric needs enough support to stay stable while the needle moves across it. If the material shifts inside the hoop, even a well-planned design can lose alignment.
Loose fabric can create:
Uneven outlines
Misaligned borders
Small gaps
Skewed lettering
Wavy edges
Stretch fabric presents another challenge because it can become distorted during hooping and then return toward its original shape after stitching.
That is why hooping needs a careful touch. Pulling fabric excessively tight can create a different problem from leaving it loose.
Main Causes of Embroidery Distortion
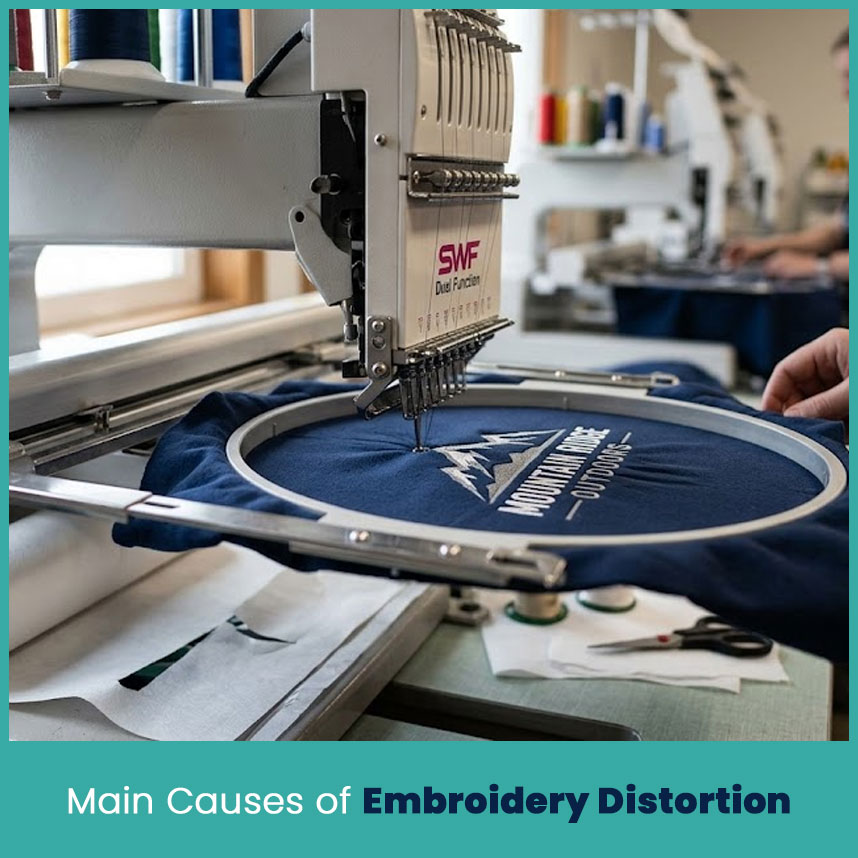
Distortion usually comes from several small factors working together rather than one single mistake.
A design may have heavy density, weak underlay, poor sequencing, and unsuitable backing at the same time. Fixing only one part may improve the result without completely solving it.
Wrong Hooping Tension or Loose Fabric
Hooping looks simple, but it has a major effect on the finished design.
The material should sit securely without stretching it out of its natural shape. If you pull a knit too tightly while hooping, the fabric may relax after the hoop comes off. The embroidered area can then look puckered or smaller than expected.
On the other hand, loose fabric can shift during stitching.
A practical check is to look at the fabric before stitching:
Does it sit flat?
Does the backing stay properly positioned?
Can the material move inside the hoop?
Did hooping stretch the fabric?
Does the fabric return to its natural shape after you release it?
Getting this part right removes one major source of distortion before the first stitch lands.
Missing or Incorrect Push Pull Compensation
Thread does not simply sit on top of fabric. Stitching can pull one area inward while the stitched mass pushes against surrounding material.
This movement can change the shape of letters, borders, circles, and filled sections.
For example, a round emblem may become slightly narrow after stitching. A narrow satin border may also shift because the fill underneath pulls toward its center.
This is where compensation becomes part of the design process. The digitizer adjusts certain objects so the finished embroidery lands closer to the intended shape.
The important word here is certain. Adding the same correction everywhere can create new problems. Small lettering may need a different treatment from a large fill, and a curved satin column may need different attention from a wide background area.
Poor Stitch Sequencing and Underlay
The order in which objects stitch can change how the fabric reacts.
If nearby objects stitch in an inefficient order, one area may receive a large amount of stress before another section gets stitched. That can affect alignment and coverage.
Underlay also matters because it creates a foundation beneath the visible stitches. A suitable underlay can help stabilize the material and give the top layer a more consistent base.
Common underlay mistakes include:
Using too little support under a large fill
Placing underlay in a direction that does not support the top stitches
Adding unnecessary underlay to small details
Ignoring fabric stretch
Building too much thread underneath the design
There is no single underlay pattern that suits every design. The fabric and top-stitch structure should guide the choice.
Unstable or Wrong Backing Choice
Backing gives the fabric additional support during stitching. Choosing the wrong type or weight can make distortion harder to control.
A light fabric with a dense design may need stronger support than a stable woven material with a small logo.
If the backing shifts, tears, or fails to support the fabric, the design may move even when the hooping looks correct.
I have found that many embroidery problems become easier to understand when you inspect the entire setup instead of blaming the digitized file immediately. Fabric, backing, hooping, thread, needle, and stitch structure all work together.
How Digitizers Fix Distortion Before It Happens?
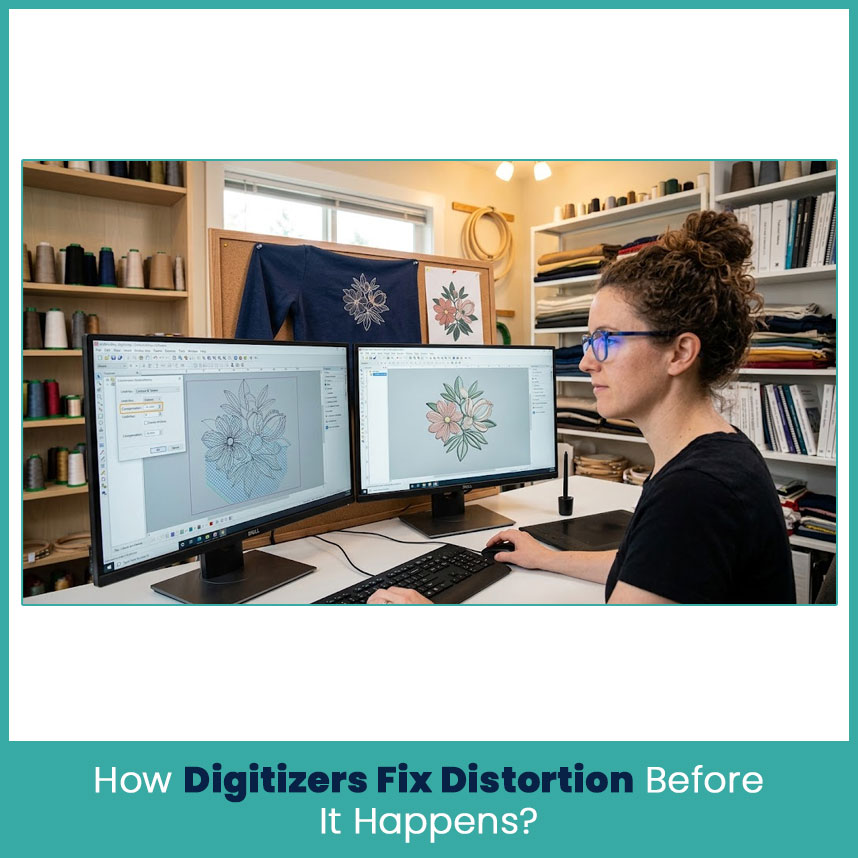
The best time to address distortion is before stitching starts. Once the design has already shifted on fabric, fixing the result becomes much harder.
Professional embroidery digitizing takes the material and stitch behavior into account from the beginning. The digitizer studies the artwork and decides how each section should be built.
Building a Stronger Underlay Foundation
Underlay acts as the first layer beneath many visible stitches. It can help anchor the fabric and support the top layer.
The digitizer considers:
Fabric type
Object size
Fill density
Stitch direction
Satin column width
Design location
A large fill on a soft garment may need stronger support than a small satin detail on firm twill.
Too little underlay can leave the top stitches unstable. Too much can create unnecessary bulk and make the design harder to stitch cleanly.
Setting Correct Push and Pull Values
Compensation starts with understanding how each object is likely to move.
A digitizer may slightly extend an edge, widen a shape, or adjust a border so the finished embroidery reaches the intended dimensions.
The adjustment depends on:
Fabric stability
Stitch density
Object shape
Stitch direction
Thread characteristics
Backing
Design size
This is not guesswork when the digitizer has tested similar materials and understands how different stitch structures behave. Previous samples provide useful information, but each new design still needs a proper review.
Choosing Stitch Direction to Control Shrinkage
Stitch direction has a direct effect on fabric movement. Long rows of stitches create stress along their path, while changing the angle can distribute that stress differently.
This matters particularly in large filled areas and shapes with several connected sections.
A digitizer may change the direction between neighboring objects so the design does not place all the stress in one direction.
For example, two large fill sections with the same stitch direction can create more noticeable pull at their meeting point. Changing the direction or adjusting the sequence can help the sections sit together more cleanly.
Small decisions like this may not stand out in a software preview, but they can make a big difference on fabric.
Fixing Distortion Mid Project vs Redigitizing From Scratch
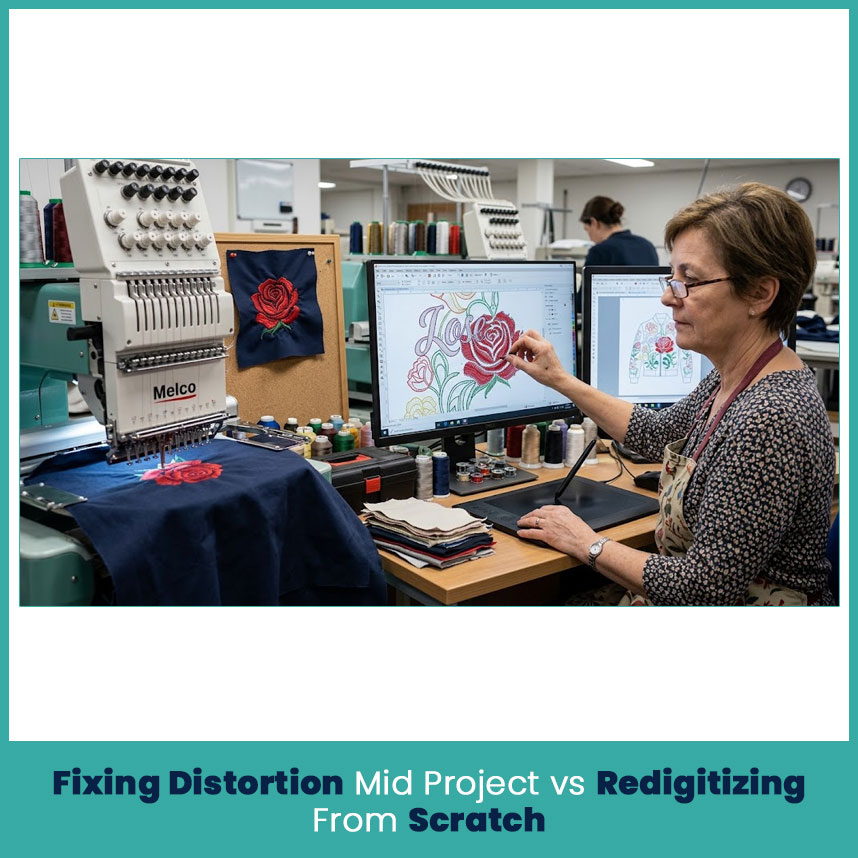
When distortion appears, the first question should be: Where did it start?
If the file has a small compensation issue, a digitizer may adjust the affected object and test it again.
But some problems run deeper. A design may have:
Excessive stitch density
Poor object sequencing
Weak underlay
Incorrect stitch direction
Tiny lettering
Too much overlapping
An unsuitable design structure
In those cases, changing one compensation value may only cover the signs.
If several sections distort in different ways, rebuilding part of the design can make more sense than adding corrections everywhere.
I prefer to preserve what works and rebuild the weak areas when possible. Starting completely from zero is not always necessary. A good digitizing file contains many individual decisions, so there is value in finding the actual weak point before replacing everything.
How to Spot Distortion Prone Designs Before You Stitch
How to Spot Distortion Prone Designs Before You Stitch
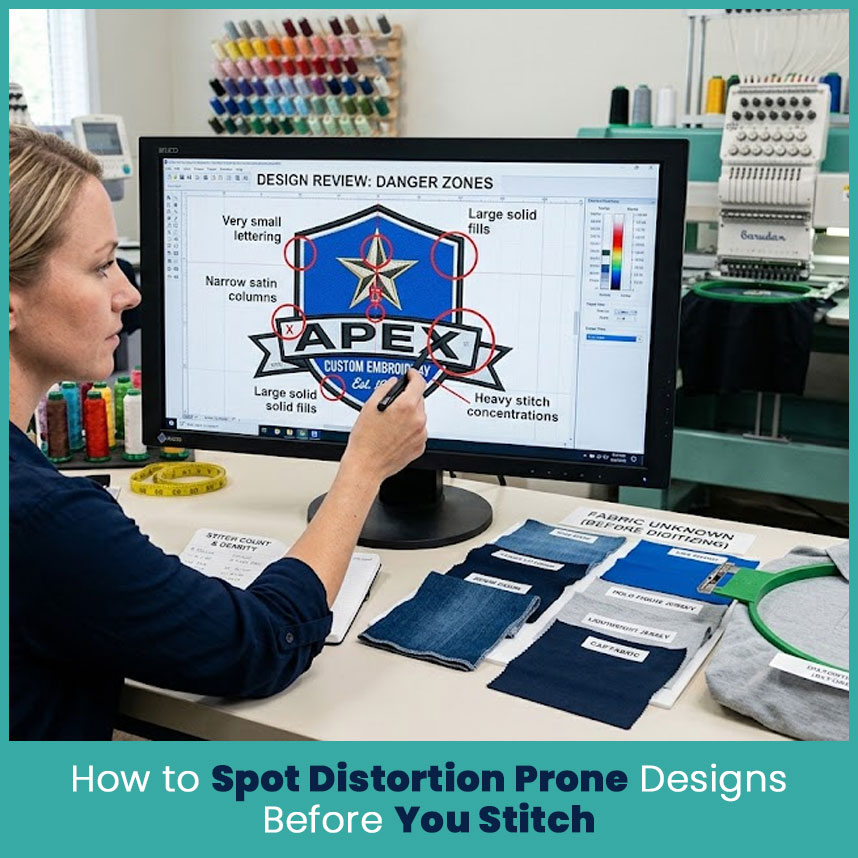
You can catch many warning signs during the design review stage.
Before sending a file to the machine, look for areas that have a high chance of changing shape.
Pay particular attention to:
Very small lettering
Narrow satin columns
Large solid fills
Circles and rings
Long straight borders
Closely spaced objects
Heavy stitch concentrations
Stretch garments
Designs with many overlapping elements
Sharp corners connected to dense fills
A useful habit is to zoom into the design and inspect where objects meet. Those connection points frequently show problems first.
Also check the stitch count and density across the design. A high stitch count does not automatically mean a design is bad, but heavy stitching in a small area deserves attention.
Another helpful step involves looking at the fabric before digitizing. If someone sends a logo without telling you whether it will go on denim, a polo shirt, a cap, or a lightweight jersey, you do not have the full picture yet.
The artwork may stay the same, but the digitizing approach can change significantly.
FAQs
Why does my embroidery design look fine on screen but distorted on fabric?
A software preview shows the planned stitch placement, but it cannot fully show how fabric, thread tension, backing, and hooping will react during stitching.
Can better backing alone fix distortion issues?
Better backing can improve fabric stability, but it cannot correct poor compensation, excessive density, weak underlay, or unsuitable stitch sequencing.
Is distortion more common on knits than wovens?
Yes, knits usually present more movement because they stretch and recover more easily. That makes hooping, backing, underlay, and compensation especially important.
How do I know if my digitizer accounted for distortion?
Ask how the file was adjusted for the intended fabric, stitch density, underlay, sequencing, and push-pull behavior. A test sample also gives you a practical way to judge the result.
Author Bio
Matthew Davis
Senior Embroidery Digitizer
I'm Matthew Davis, a skilled embroidery digitizer with more than 15 years of practical experience. I specialize in logo digitizing, 3D puff embroidery designs, applique digitizing, custom embroidery digitizing, and working with difficult fabrics.
Over the years, I have worked with different fashion brands and production teams worldwide. I always share simple tips and useful techniques to help both beginners and businesses improve their embroidery work.