
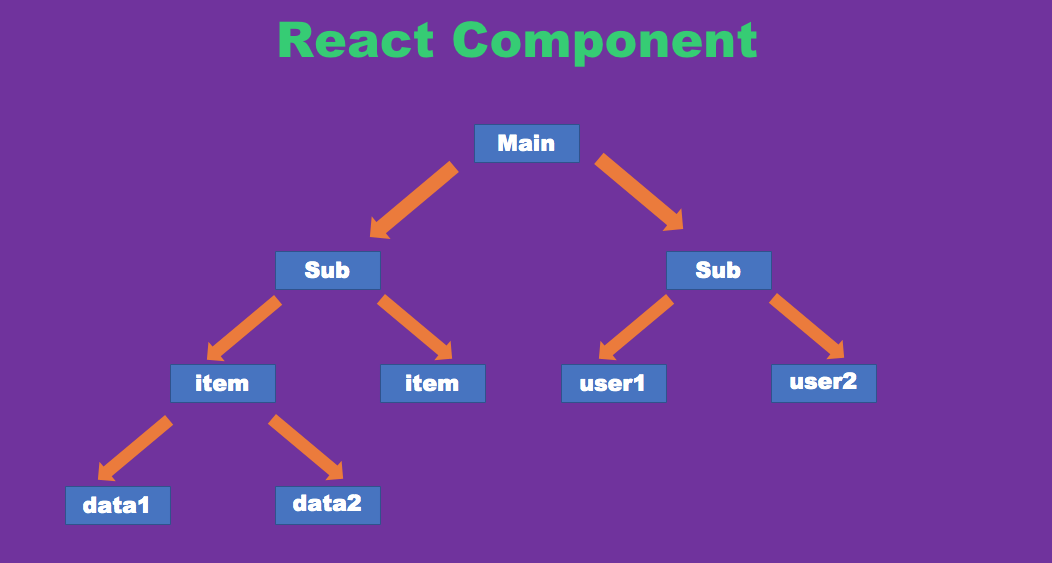
컴포넌트를 트리 구조처럼 계층화되어 있는 리액트는 쪼개서 나누어 마치 회사 조직도 같은 모습을 지니고 있다.
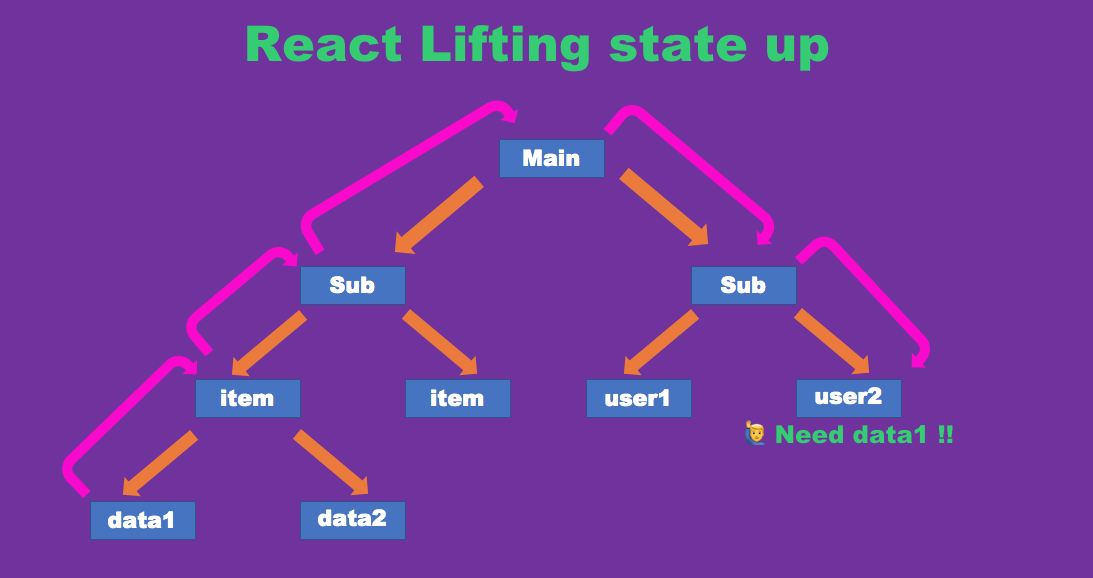
그러나 하위 컴포넌트의 데이터를 다른 하위 컴포넌트 측에 전달하기 위해서는
상태 끌어올리기(Lifting state up) 활용하는데 굳이 필요없는 다른 컴포넌트까지 받아서
보내야하는 계층화 특성 때문에 불편한 작업이 이루어진다.
Redux
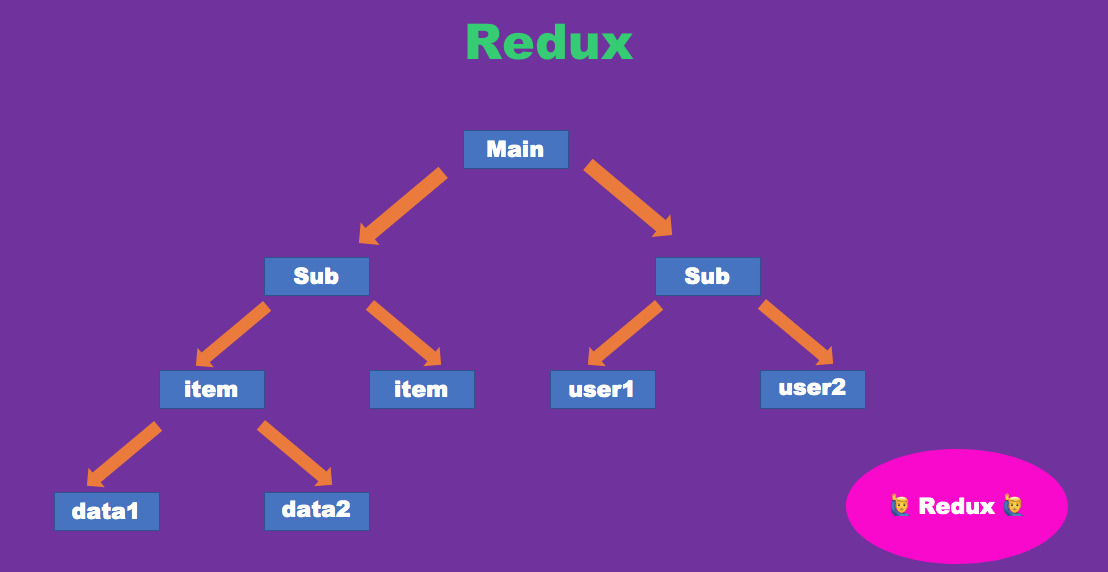
필요한 컴포넌트를 직접적으로 저장하여 해당 컴포넌트의 데이터를 활용할 경우 바로 불러와서 쓸수 있는
상태 관련 라이브러리가 바로 Redux이다.
Redux 라이브러리 철학은 마치 피보나치 수열을 재귀함수로 응용할때 쓰였던
동적 계획법의 메모이제이션과 개념이 비슷하다.
Redux 패턴 분석
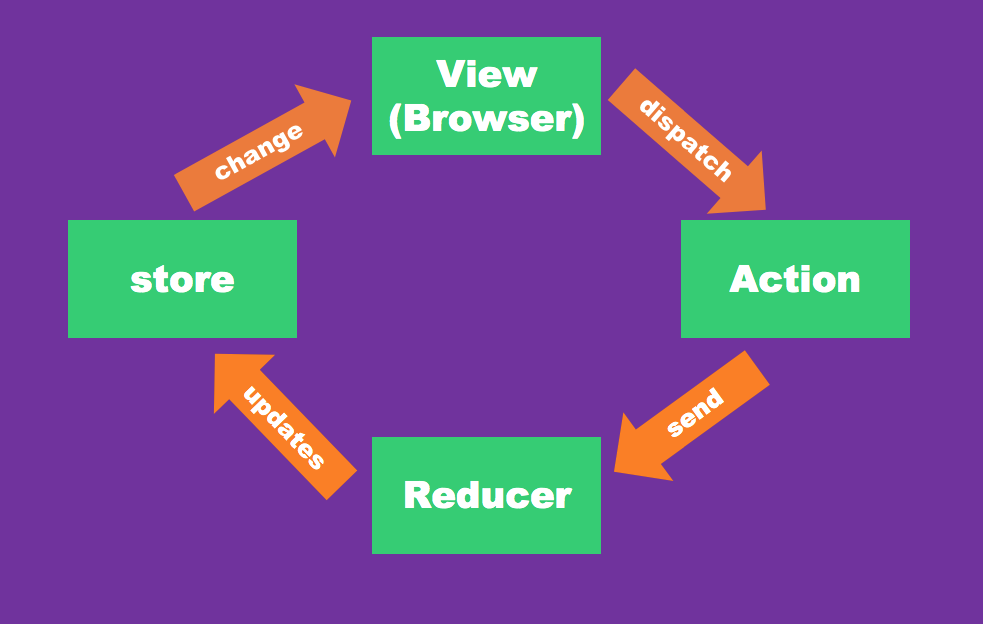
패턴도를 분석해보면 단방향 데이터 흐름으로 진행된다.
먼저 순서 과정을 설명할려면 View는 브라우저 상에서 렌더링되어 사용자와 가장 가깝게 밀접되어 있다.
예를 들어 오늘 날씨를 확인하는 이벤트를 클릭할 경우 view를 통해 Action이 연결되어
이는 이용자가 원하는 action(동작)이 정의되어 있으며 Dispatch 메서드는 store에 전송된다.
store로 이동하는 과정에 Reducer가 내장된 관계로 데이터를 관리 및 처리를 하여
update된 데이터를 다시 View로 순회하게 되어 단방향으로 데이터가 반복되는 모습을 확인할 수 있다.
Redux 패턴 코드화
우선 Redux 라이브러리를 활용하기 위해선 설치부터 해야한다
npm install redux
const redux = require('redux')
const createStore = redux.createStore;


// actions
const INFOR_PLAYER = 'INFOR_PLAYER'
function nba_player() {
  return {
    type: 'INFOR_PLAYER'
  }
}


// reducers
const initialState = {
  salary_m : 50
}

function reducers(state = initialState, action)  {
  switch(action.type) {
    case INFOR_PLAYER:
    return {
      ...state,
      salary_m: state.salary_m+1
    }
    default:
    return state;
  }
}


// store
const store = createStore(reducers)


// update - view - dipatch
 store.subscribe(() => {
 console.log(store.getState())
 })

store.dispatch(nba_player())
store.dispatch(nba_player())


// 51
// 52
redux 초기 세팅
const redux = require('redux')node 모듈에 require 메서드로 redux 우선 초기 설정 한다.
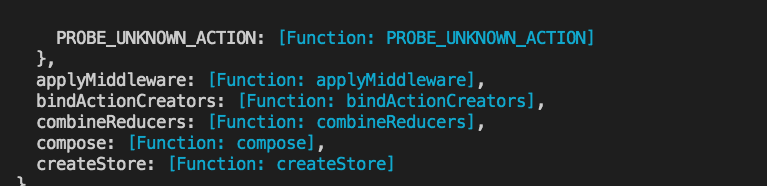
해당 redux 변수를 console.log를 해보면 위와 같은 내장된 메서드들이 객체 형식으로 묶인 것을 확인할 수 있다.
actions
const INFOR_PLAYER = 'INFOR_PLAYER'

function nba_player() {
  return {
    type: 'INFOR_PLAYER'
  }
}
nba_player는 하나의 동작을 갖고 있으며 동작 type 이 INFOR_PLAYER라는 객체를 지니고 있다.
reducers
const initialState = {
 salary_m : 50
}

function reducers(state = initialState, action)  {
 switch(action.type) {
   case INFOR_PLAYER:
   return {
     ...state,
     salary_m: state.salary_m+1
   }
   default:
   return state;
 }
}
initialState는 하나의 데이터 값을 가지고 있으며 이는 초기값이 50을 지니고 있다.
reducers 함수에는 데이터 state, action의 인자를 갖고 있으며
조건문 switch를 작성하여 action.type 은 action 작성한 type인 INFOR_PLAYER에 넘겨받은 요소이다.
기존 프로퍼티를 ...state spred 문법으로 나열하여 salary_m: state.salary_m+1 초기값이
1씩 증가하는 메커니즘을 지니게 설계 하였다.
store
const createStore = redux.createStore;

const store = createStore(reducers)
초기에 redux를 console.log를 찍었을때 내장된 함수들이 있었다.
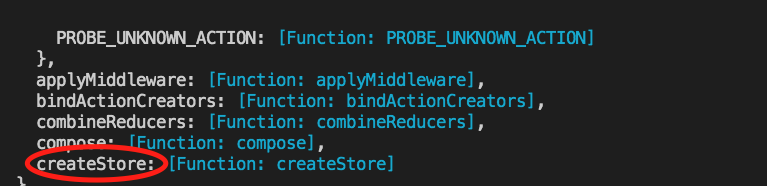
위 메서드 중 createStore에 생성했던 reducers 함수를 전달인자에 보내야하며
redux.createStore 를 사전에 설정해야 한다.
dispatch
console.log(store.getStage())만일 현재 초기값을 바로 확인하고 싶다면 getStage 내장 메서드를 통해 확인할 수 있다.
이는 createStore(reducers).getStage() 메서드를 연쇄적으로 활용한 관계로
reducers 함수의 switch 조건문에 default 영역이 성립되므로 initialState를
접근하여 초기값이 출력된 것이다.
store.dispatch(nba_player())
console.log(store.getStage())
이제 store를 제어하기 위해 dispatch(nba_player()) 메서드에 액션 함수를 인자로 호출하게 되면
switch 첫번째 case가 성립되어 salary_m 프로퍼티 값이 1 씩 증가가 된다.
번외
store.dispatch(nba_player()) 호출문을 3번하여 console.log를 찍게 된다면 3이라는
결과값이 바로 증가된 모습으로 보게될텐데,
만일 1씩 증가하는 순차적으로 터미널 창에 확인하고 싶다면 subscribe() 내장 메서드를 사용하면 된다.
 store.subscribe(() => {
 console.log(store.getState())
 })


store.dispatch(nba_player())
store.dispatch(nba_player())