윈도우와 Linux OS 사이의 TCP/IP 통신을 테스트할 수 있고 GUI를 제공하는 프로그램을 만드는 일이 생겨 Qt와 MFC 프로그래밍을 찾게 되었다. 그 중 Cross-platform을 지원하고 쉽고 생산성이 높은 Qt를 사용해보려고 한다.
Setup
Visual Studio
Qt는 라이브러리와 개발 툴(IDE)는 제공하지만 컴파일러와 디버거는 제공하지 않아서 C++로 작성한 코드를 빌드하기 위해서는 Visual Studio를 설치해야 한다.
Visaul Studio 2022 설치하기, 해당 블로그에 Visual Studio를 설치하는 방법이 자세하게 나와있으니 참고하여 설치하면 된다.
Qt, Qt Creator
Qt 라이브러리와 Qt Creator를 설치하기 위해서는 Qt 홈페이지에 들어가서 Download를 진행하면 된다.
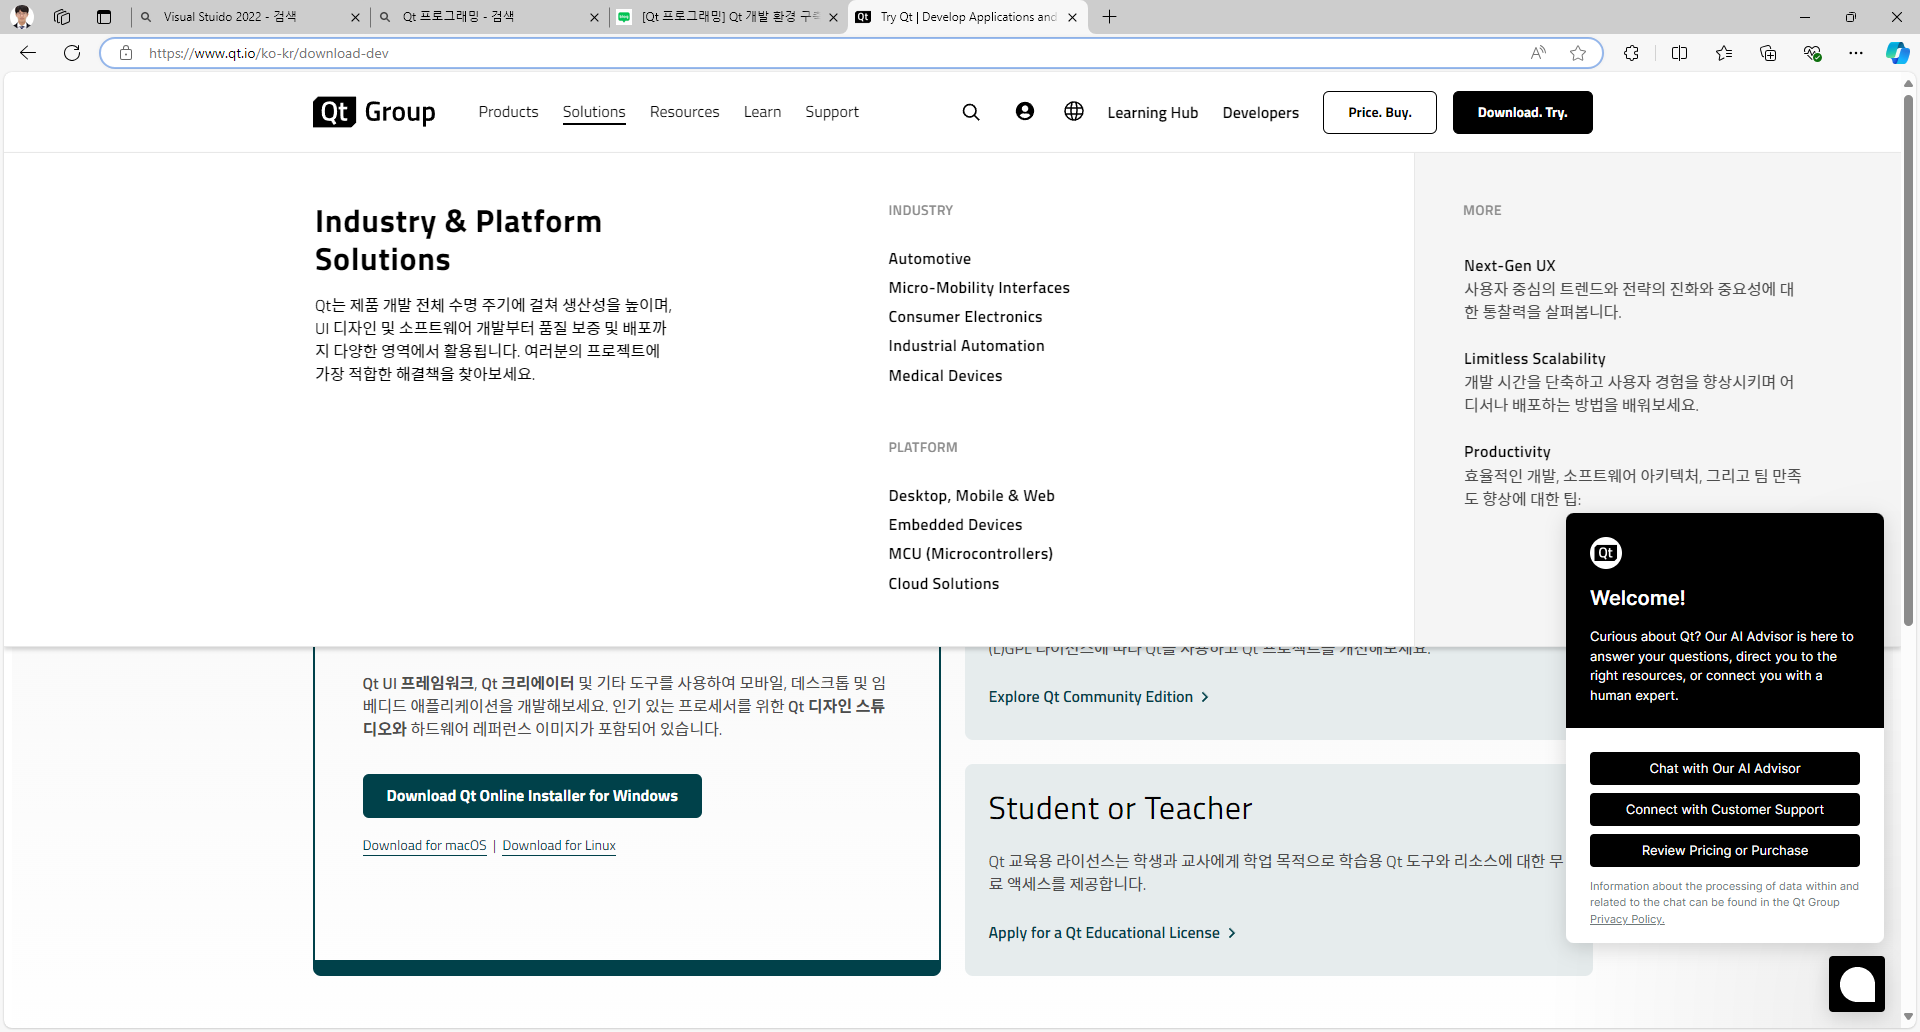
해당 페이지에서 Student or Teacher 항목을 통해서, 무료 버전을 다운로드하면 된다.
다운로드를 진행하고 Account Verify를 진행하면 Qt Installer를 사용할 수 있다.
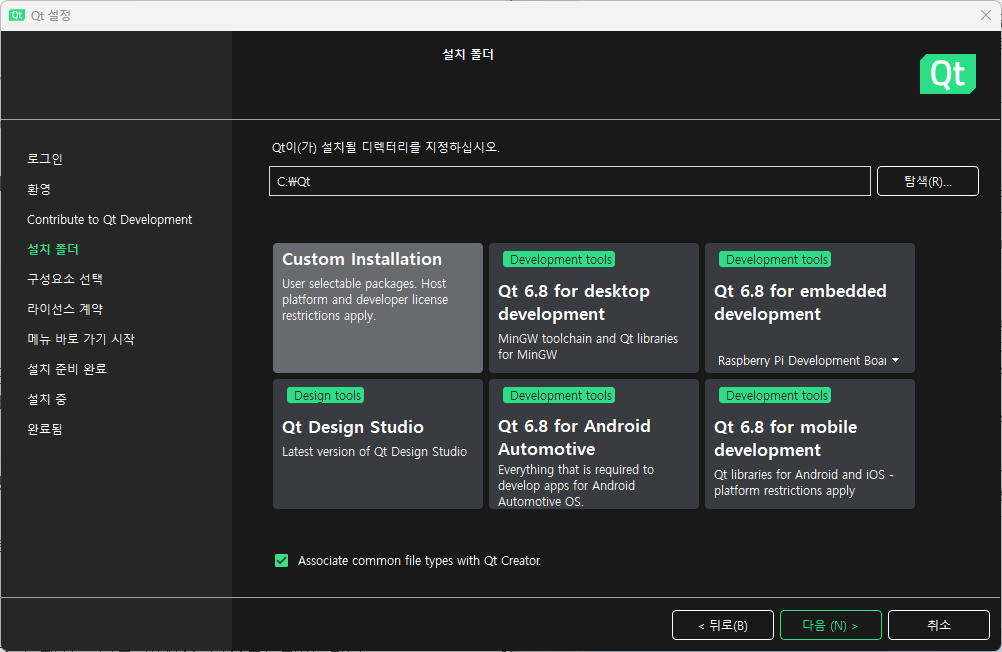
다음과 같은 Online Qt Installer를 이용해서 설치를 완료할 수 있다. Desktop을 위한 어플리케이션을 만들기 위해서 두 번째 옵션을 선택해서 설치했다.
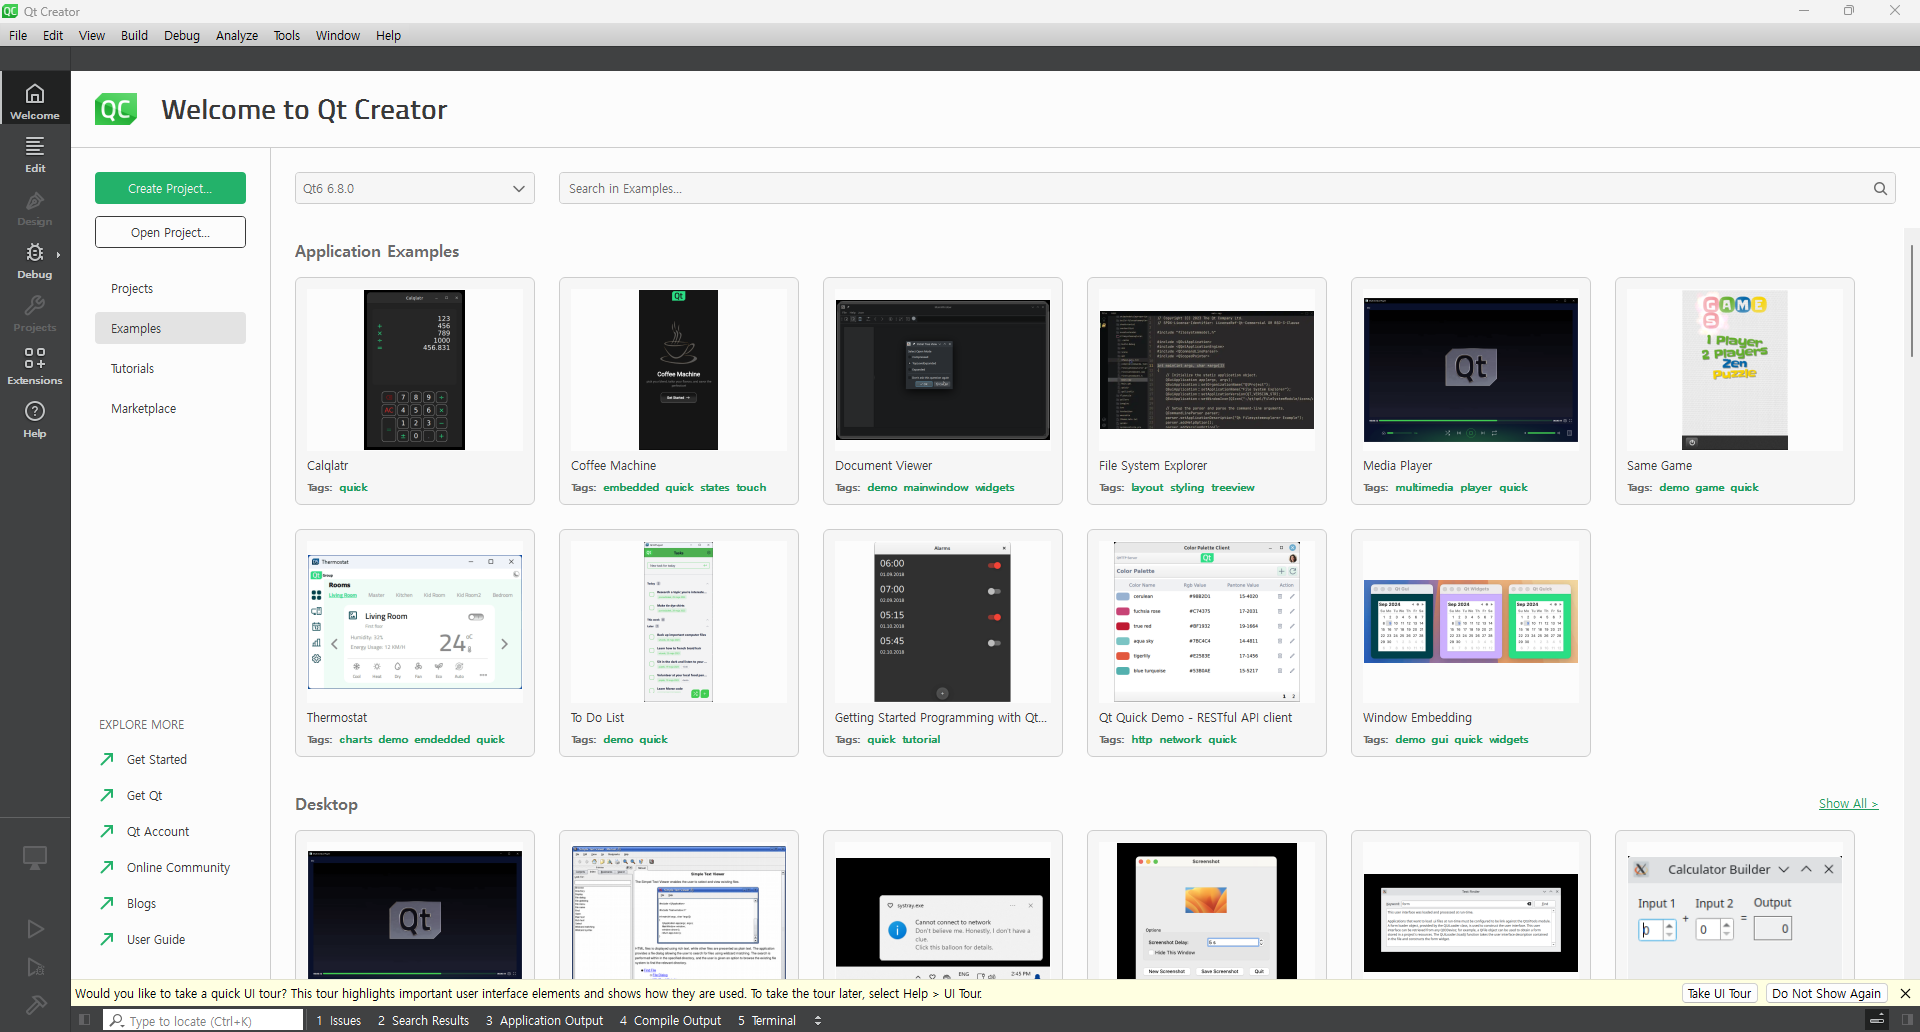
설치 완료 후에 Qt Creator를 실행하면 다음과 같은 창이 나타난다!
Qt Examples
Qt에서 제공해주는 Example을 진행해보면서 Windows OS 상에서 어떻게 Qt 프로그래밍을 진행하는지 확인해보려고 한다.
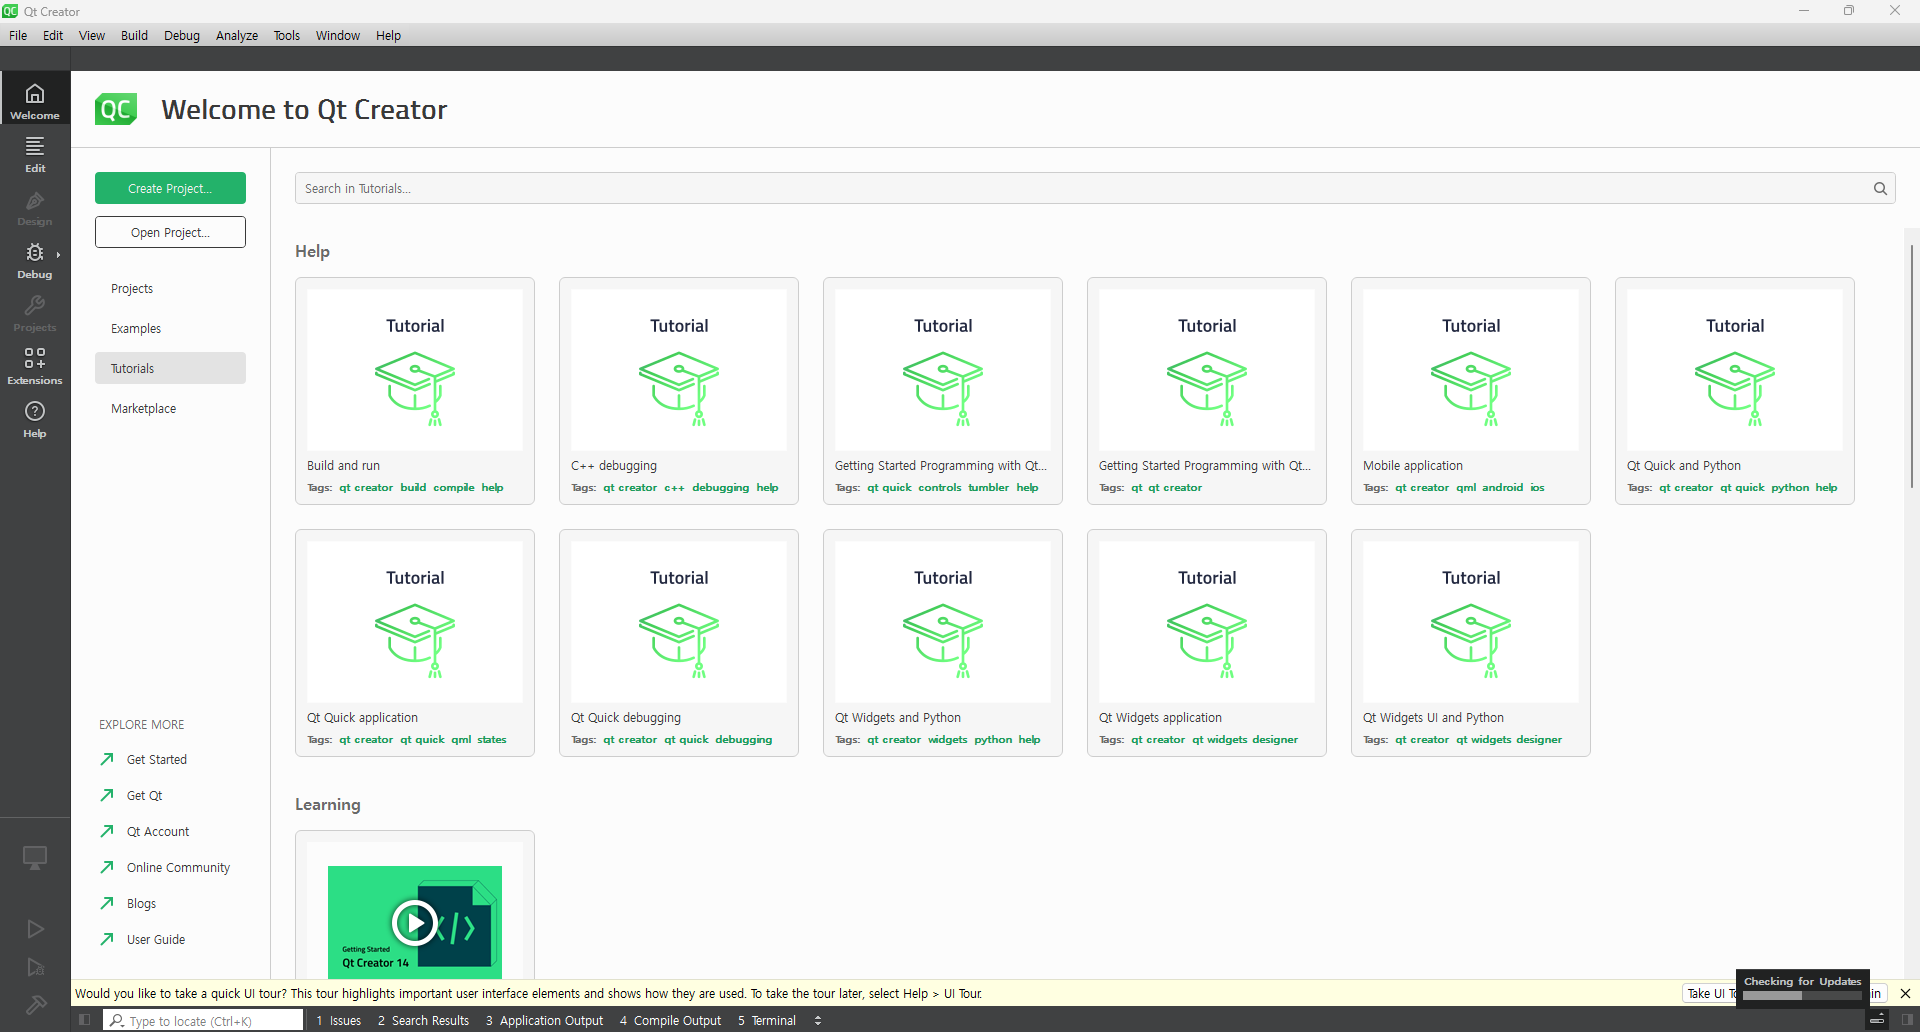
Qt Examples에 들어가면 다양한 예제들이 있기 때문에 제작하려는 프로그램에 맞게 참고하면 좋다.
기본 API
QApplication: Qt 응용 프로그램을 관리하는 클래스로main()함수 내에 인스턴스 하나만 생성QWidget: 모든 GUI 요소의 기본 클래스이다. 윈도우(창), 버튼, 텍스트 박스 등 모든 위젯이 이를 상속QPushButton, QLabel, QLineEdit등 : 다양한 GUI 요소 제공- Signals & Slots
- Signals : 특정 이벤트가 발생했음을 알리는 매커니즘 (ex: 버튼 클릭)
- Slots : 시그널에 연결되는 함수이다. 시그널이 발생하면 슬롯이 호출
- Examples
QPushButton *button = new QPushButton("Click Me", this);
connect(button, &QPushButton::clicked, this, &MyClass::mySlot);
- Layouts
-
QVBoxLayout: 수직으로 위젯 배치 -
QHBoxLayout: 수평으로 위젯 배치 -
QGridLayout: 그리드 형식으로 위젯 배치 -
Examples
QWidget window;
QVBoxLayout *layout = new QVBoxLayout;

QPushButton *button1 = new QPushButton("Button 1");
QPushButton *button2 = new QPushButton("Button 2");

layout->addWidget(button1);
layout->addWidget(button2);

window.setLayout(layout);
window.show();
- Event Handling : Qt에서는 특정 이벤트에 대한 동작을 정의할 수 있다. 예를 들어, 마우스 클릭이나 키보드 입력을 처리하면
QWidget의 이벤트 헨들러를 재정의하면 된다.
class MyWidget : public QWidget {
protected:
    void mousePressEvent(QMouseEvent *event) override {
        if (event->button() == Qt::LeftButton) {
            qDebug() << "Left mouse button clicked!";
        }
    }
};
New Project
Qt가 제공해주는 Example을 실행해보면서 공부해보려다가 차라리 간단한 프로젝트를 만들어보면서 Qt에서 사용하는 API에 대한 이해를 넓히려고 한다.
Project Setting
- Application Type : Qt Widgets Application
- Kits : Desktop Qt 6.8.0 MinGW 64-bit
Baisc Configuration
main.cpp: 프로그램의 시작점으로QApplication객체,MainWindow객체를 생성하고 이벤트 루프를 실행 -> 구체적인 기능 구현 Xmainwindow.cpp:MainWindow의 레이아웃과 기능 정의, 주로 메뉴, 툴바, 상태바, 위젯 등을 설정 -> 구체적인 기능 구현 및 UI 구성mainwindow.ui: Qt Designer를 통해 XML 형식의 UI 파일로 사용자가 GUI 요소를 시각적으로 배치할 수 있도록 도와준다.
- 버튼, 텍스트 입력 필드, 레이블 등을 드래그 앤 드롭하여 배치
- 시그널과 슬롯을 연결하여 버튼 클릭시 특정 동작 수행하도록 설정
Project
QTcpSocket를 이용하여 입력된 IP와 Port Number로 TCP/IP 통신을 연결하는 GUI를 만들어보려고 한다.
-
mainwindow.cpp#include "mainwindow.h" #include "ui_mainwindow.h" #include <QVBoxLayout> #include <QGridLayout> #include <QLabel> #include <QMessageBox> MainWindow::MainWindow(QWidget *parent) : QMainWindow(parent) , ui(new Ui::MainWindow) , tcpSocket(new QTcpSocket(this)) { ui->setupUi(this); // 레이아웃 설정 QWidget *centralWidget = new QWidget(this); setCentralWidget(centralWidget); QGridLayout *layout = new QGridLayout(centralWidget); // IP 주소 입력 필드 QLabel *ipLabel = new QLabel("IP Address:", this); ipLineEdit = new QLineEdit(this); ipLineEdit->setPlaceholderText("e.g., 192.168.1.1"); // Port 번호 입력 필드 QLabel *portLabel = new QLabel("Port Number:", this); portLineEdit = new QLineEdit(this); portLineEdit->setPlaceholderText("e.g., 12345"); // portLineEdit->setValidator(new QIntValidator(1, 65535, this)); // Connect 버튼 connectButton = new QPushButton("Connect", this); connectButton->setStyleSheet("background-color: green; color: white;"); // Disconnect 버튼 disconnectButton = new QPushButton("Disconnect", this); disconnectButton->setStyleSheet("background-color: red; color: white;"); disconnectButton->setEnabled(false); // 레이아웃에 추가 layout->addWidget(ipLabel, 0, 0); layout->addWidget(ipLineEdit, 0, 1); layout->addWidget(portLabel, 1, 0); layout->addWidget(portLineEdit, 1, 1); layout->addWidget(connectButton, 2, 0); layout->addWidget(disconnectButton, 2, 1); // 슬롯 연결 connect(connectButton, &QPushButton::clicked, this, &MainWindow::connectToServer); connect(disconnectButton, &QPushButton::clicked, this, &MainWindow::disconnectFromServer); connect(tcpSocket, &QTcpSocket::connected, this, &MainWindow::onConnected); connect(tcpSocket, &QTcpSocket::disconnected, this, &MainWindow::onDisconnected); connect(tcpSocket, &QTcpSocket::readyRead, this, &MainWindow::onReadyRead); connect(tcpSocket, &QTcpSocket::errorOccurred, this, &MainWindow::onErrorOccurred); } MainWindow::~MainWindow() { delete ui; } // 서버에 연결하는 슬롯 void MainWindow::connectToServer() { QString ipAddress = ipLineEdit->text(); QString portNumber = portLineEdit->text(); if (ipAddress.isEmpty() || portNumber.isEmpty()) { QMessageBox::warning(this, "Input Error", "Please enter both IP address and port number."); return; } tcpSocket->connectToHost(ipAddress, portNumber.toUInt()); connectButton->setEnabled(false); disconnectButton->setEnabled(true); } // 서버와 연결을 끊는 슬롯 void MainWindow::disconnectFromServer() { tcpSocket->disconnectFromHost(); } // 서버에 연결되었을 때 호출 void MainWindow::onConnected() { QMessageBox::information(this, "Connected", "Successfully connected to the server."); } // 서버와 연결이 끊어졌을 때 호출 void MainWindow::onDisconnected() { QMessageBox::information(this, "Disconnected", "Disconnected from the server."); connectButton->setEnabled(true); disconnectButton->setEnabled(false); } // 네트워크 오류가 발생했을 때 호출 void MainWindow::onErrorOccurred(QAbstractSocket::SocketError socketError) { Q_UNUSED(socketError); QMessageBox::critical(this, "Error", tcpSocket->errorString()); connectButton->setEnabled(true); disconnectButton->setEnabled(false); } -
주요 함수 정리
Qt 프로그래밍을 공부하는 것이 목표인 프로젝트이기 때문에 Qt와 관련된 코드를 중점적으로 설명
centralWidget
- Code
QWidget *centralWidget = new QWidget(this); setCentralWidget(centralWidget); - Code Examine
Qwidget은 Qt에서 가장 기본이 되는 위젯 클래스로 모든 UI 요소는 해당 클래스를 상속하거나Qwidget을 사용하여 생성된다. 따라서centralWidget을 생성하기 위헤 동적 메모리 할당(new)를 통해QWidget객체를 생성한다. 여기서this는QMainWindow객체가 된다. 부모-자식 관계를 통해 위젯 간의 레이아웃 관리와 메모리 관리를 용이하게 하기 위해 사용setCentralWidget은QMainWindow의 중앙에 위젯을 설정하는 함수이다.QMainWindow는 내부적으로 상단 메뉴, 툴바, 상태바 외에도 중앙 위젯을 가질 수 있다.
ipLabel과ipLineEdit
- Code
QLabel *ipLabel = new QLabel("IP Address:", this); ipLineEdit = new QLineEdit(this); ipLineEdit->setPlaceholderText("e.g., 192.168.1.1"); - Code Examine
QLabel은 텍스트를 표시하는 위젯으로 설명이나 라벨링을 위해 사용QLineEdit은 단일 행의 텍스트 입력란을 만드는 위젯으로 사용자가 텍스트를 입력할 수 있는 필드를 제공하여 일반적으로 사용자 입력을 받을 때 사용setPlaceholderText()는QLineEdit에 플레이스홀더(기본값) 텍스트를 설정하는 함수
connectButton과disconnectButton
- Code
disconnectButton = new QPushButton("Disconnect", this); disconnectButton->setStyleSheet("background-color: red; color: white;"); disconnectButton->setEnabled(false); - Code Examine
QPushButton은 버튼을 생성하는 클래스로, 사용자가 클릭할 수 있는 위젯으로 이벤트 처리나 사용자 상호작용을 처리할 때 사용setStyleSheet은 위젯의 스타일을 설정하는 메서드이다. Qt에서 제공하는 스타일 시트(CSS와 유사한 문법)을 사용하여 버튼의 외형 변경 가능setEnabled는 버튼 또는 위젯의 활성화 상태를 설정하는 함수로false를 전달하면 비활성화되어 버튼 클릭 X,true를 전달하면 버튼이 활성화되어 버튼 클릭 O
QMainWindow, ui, tcpSocketInitialize
- Code
QMainWindow(parent) ui(new Ui::MainWindow) tcpSocket(new QTcpSocket(this)) - Code Examine
QMainWindow는 Qt에서 제공하는 윈도우의 기본 클래스로, 메인 윈도우 구성 담당,QMainWindow의 생성자에서 부모 객체를 전달하면, 이QMainWindow는 부모 객체를 기반으로 배치ui(new Ui::MainWindow)는 Qt Designer를 사용하여 UI를 정의한 클래스이다.Ui는 Qt에서 UI를 정의하고 설계하는데 사용되는 자동 생성 클래스이다. 해당 클래스는 사용자가 Qt Designer에서 만든 UI를 코드에 연결하는 역할new QTcpSocket(this)는QTcpSocket객체를 동적으로 생성하여 TCP 소켓 통신을 처리한다.
QGridLayout
-
Code
QGridLayout *layout = new QGridLayout(centralWidget); layout->addWidget(ipLabel, 0, 0); layout->addWidget(ipLineEdit, 0, 1); layout->addWidget(portLabel, 1, 0); layout->addWidget(portLineEdit, 1, 1); layout->addWidget(connectButton, 2, 0); layout->addWidget(disconnectButton, 2, 1); -
Code Examine
QGridLayout은 위젯들을 격자 형태로 배치하는 레이아웃 클래스이다. Layout은 각 위젯을 행과 열에 맞춰 배치layout -> addWidget(ipLabel, 0, 0);: 레이아웃에 위젯을 추가하는 함수이다. 각 위젯은 행과 열을 지정하여 추가된다.
- Slot Connect : 신호와 슬롯을 연결하는 코드로
connect()함수는 이벤트 기반프로그래밍을 구현하는 핵심적인 부분
-
Code
connect(connectButton, &QPushButton::clicked, this, &MainWindow::connectToServer); connect(disconnectButton, &QPushButton::clicked, this, &MainWindow::disconnectFromServer); connect(tcpSocket, &QTcpSocket::connected, this, &MainWindow::onConnected); connect(tcpSocket, &QTcpSocket::disconnected, this, &MainWindow::onDisconnected); connect(tcpSocket, &QTcpSocket::readyRead, this, &MainWindow::onReadyRead); connect(tcpSocket, &QTcpSocket::errorOccurred, this, &MainWindow::onErrorOccurred); -
Code Examine
connect(connectButton, &QPushButton::clicked, this, &MainWindow::connectToServer);는connectButton이라는 클릭할 수 있는 버튼 위젯으로 사용자가 클릭하면&QPushButton::clicked라는 신호가 발생하게 되고&MainWindow::connectToServer라는 슬롯이 호출된다.connect(tcpSocket, &QTcpSocket::connected , this, &MainWindow::onConnected);는tcpSocket이라는 객체로 서버와 TCP 연결을 담당하여 소켓이 서버에 성공적으로 연결되었을 때&QTcpSocket::connected라는 신호를 발생한다. 그 후&MainWindow::onConnected라는 슬롯을 호출하여 연결 성공 후 처리 작업을 담당한다.
Troubleshooting
QTcpSocketfile not found :QTcpSocket를 찾지 못하는 문제로 프로젝트가 기존의 Qt 프로젝트인지 CMake를 사용하는 프로젝트인지에 따라 다른 방식으로 해결할 수 있다.
-
Qt 프로젝트 파일(
*.pro) 사용 : Qt Creator에서.pro를 사용하여 프로젝트를 구성하고 빌드QT += core gui network # 'network' 모듈 추가 greaterThan(QT_MAJOR_VERSION, 4): QT += widgets TARGET = ChatExample TEMPLATE = app SOURCES += main.cpp\ mainwindow.cpp HEADERS += mainwindow.h FORMS += mainwindow.ui -
CMake를 사용하는 Qt 프로젝트 : 최근에는 CMake를 사용하는 Qt 프로젝트가 많이 생기면서
CMakeLists.txt파일을 통해 프로젝트 설정 관리cmake_minimum_required(VERSION 3.14) project(ChatExample) # Qt 6 설정 find_package(Qt6 REQUIRED COMPONENTS Core Widgets Network) add_executable(ChatExample main.cpp mainwindow.cpp) target_link_libraries(ChatExample PRIVATE Qt6::Core Qt6::Widgets Qt6::Network)
완성본
- GUI