쿠버네티스로 컨테이너 실행하기
kubectl [command][type] [name][flags]
command : 자원에 실행할 명령 ex) create, get, delete
type : 자원의 타입 ex) node, pod, service
command 예시
# 리소스들 참고
kubectl api-resources

# 명령어 도움말 참고
kubectl --help

# 노드 정보 보기
kubectl get nodes -ㅐ 쟝ㄷ
Pod 생성
# pod생성 -> run
kubectl run webserver --image=nginx:1.14 --port 80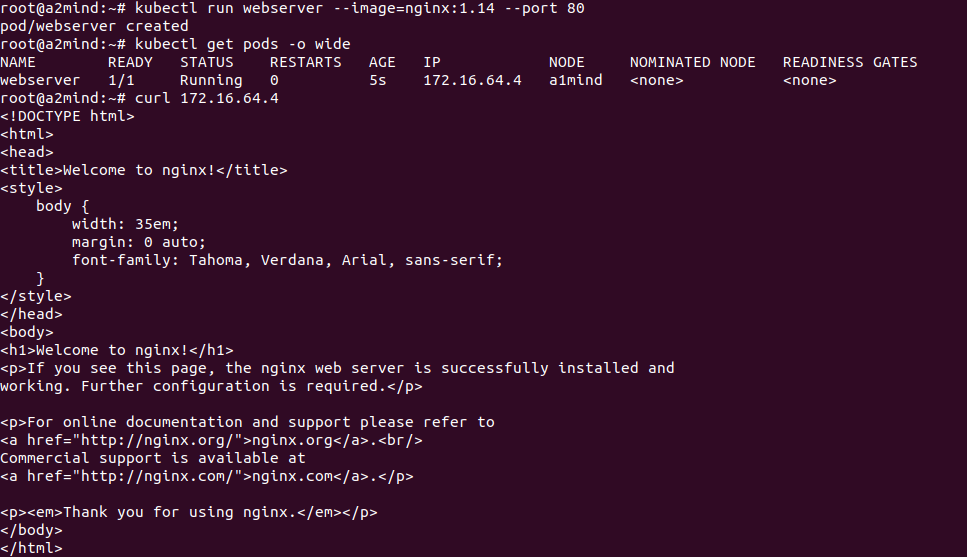
잘 돌아가는지 확인하기 위해서 아래 명령어로 접속해보면 잘 나오는걸 알 수 있다
curl 172.16.64.4
# 뭔가 웹 베이스 이런거로 보고 싶다 하면?
apt-get update
apt install elinks
elinks 172.16.64.4 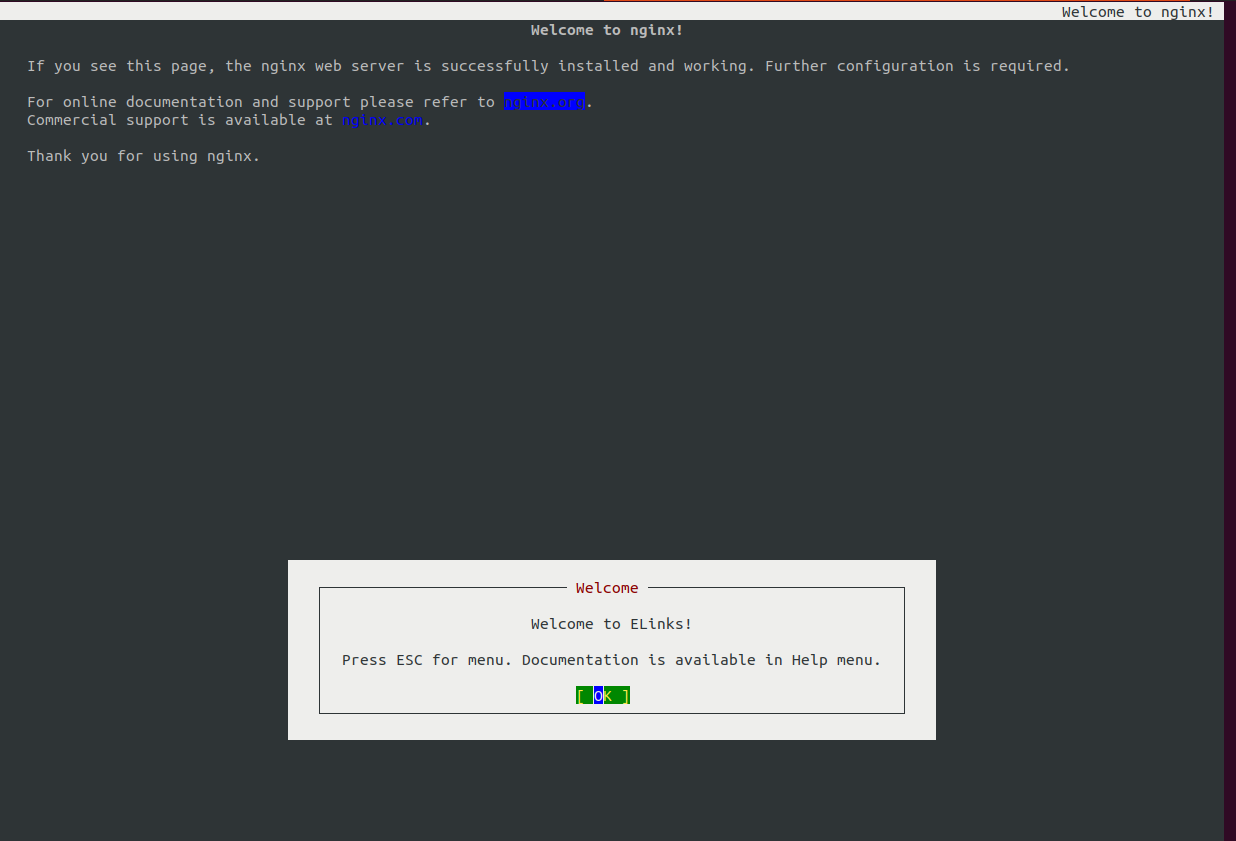
#run과 다른점은 run은 컨테이너가 하나인경우
kubectl create deployment mainui --image:httpd --replicas=3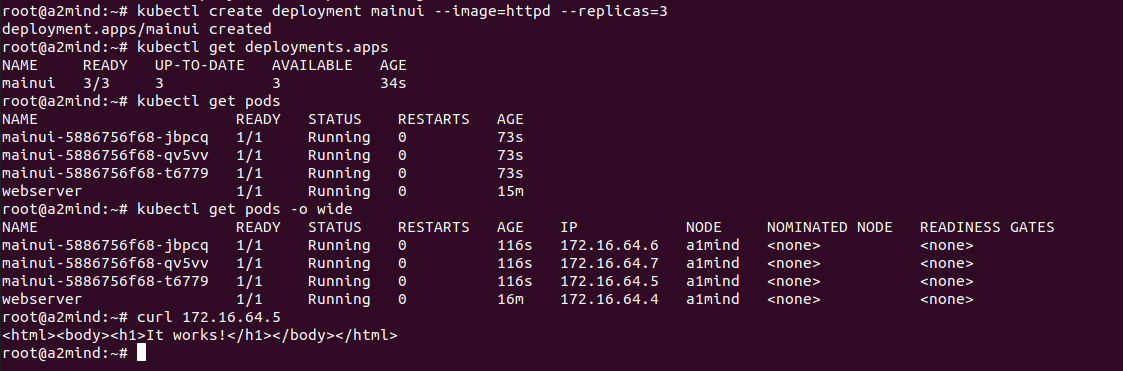
Pod 안에 있는 container에 접근하기
webserver에 있는 컨테이너의 index.html을 수정해보자
kubectl exec webserver -it -- /bin/bash
ls
cd /usr/share/nginx/html/
echo "Minseo's web" > index.html
cat index.html
exit


container의 동작 log확인은?
kubectl logs webserver
kubectl port-forward webserver 80:80
포워딩 시켜주면 이렇게도 할 수 있다.
아까 만들어준 deployment를 수정하려면 여기서 replicas도 수정할 수 있음
replicas는 파드 수
kubectl edit deployment.apps mainui #파드 실행
kubectl run webserver --image=nginx:1.14 --port 80
#파드가 실행되는지 체크
kubectl run webserver --image=nginx:1.14 --port 80 --dry-run
#그 파드 형식을 yaml파일 형식으로 보여줘
kubectl run webserver --image=nginx:1.14 --port 80 --dry-run -o yaml
# > 사용해서 해당 yaml파일 저
kubectl run webserver --image=nginx:1.14 --port 80 --dry-run -o yaml > webserver-pod.yaml그럼 저장한 yaml파일로 pod생성가능


혼자 이것저것 해보는걸 즐깁니다..!