지금까지 iOS LiDAR를 이용하여 거리를 측정하고 상단의 이미지를 추출하는 것을 진행하였다. 이번에는 거리에 따라 notification 즉 알림을 보내는 기능을 추가하는 방법에 대해 글을 쓰고자 한다.
unity에서 notification을 사용하기 위해서는 우선
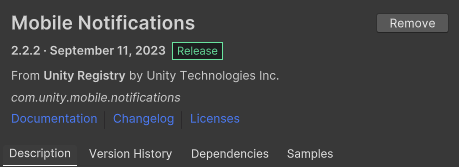
Mobile Notification 패키지를 import 해줘야한다. 해당 패키지를 다운하면 이제 android와 iOS에서 notification을 사용할 수 있다. 이제 script를 이용하여 사용을 해주면 되는데 기본적인 내용은
이곳에서 볼 수 있으며, 유튜브 강의는 여기를 참고하였다. 먼저 notification을 사용하기 위한 기본적은 script를 작성할 필요가 있는데 해당 내용은
using System.Collections;
using System.Collections.Generic;
using UnityEngine;
using Unity.Notifications.iOS;


public class iosNotificationController : MonoBehaviour
{

    //notification 사용하기 위함
    public IEnumerator<string> RequestAuthorization()
    {
        using (var req = new AuthorizationRequest(AuthorizationOption.Alert | AuthorizationOption.Badge, true))
        {
            while (!req.IsFinished)
            {
                yield return null;
            }
        }
    }

    public void SendNotification(string title, string body, string subtitle, int fireTimeInSeconds)
    {
        var timeTrigger = new iOSNotificationTimeIntervalTrigger()
        {
            TimeInterval = new System.TimeSpan(0, 0, fireTimeInSeconds),
            Repeats = false
        };

        var notification = new iOSNotification()
        {
            Identifier = "hello_world_notification",
            Title = title,
            Body = body,
            Subtitle = subtitle,
            ShowInForeground = true,
            ForegroundPresentationOption = (PresentationOption.Alert | PresentationOption.Sound),
            CategoryIdentifier = "default_category",
            ThreadIdentifier = "thread1",
            Trigger = timeTrigger

        };

        iOSNotificationCenter.ScheduleNotification(notification);

    }


    // Start is called before the first frame update
    void Start()
    {

    }

    // Update is called once per frame
    void Update()
    {

    }
}
위와 같이 작성하였다.
var timeTrigger = new iOSNotificationTimeIntervalTrigger()
        {
            TimeInterval = new System.TimeSpan(0, 0, fireTimeInSeconds),
            Repeats = false
        };
이 부분에서 TimeInterval이 int라 가장 빠르게 동작하는 시간이 1초라 좀 더 빨리는 할 수 없을까 double로 변경하려 했으나 아직 제대로 못해서 그런지 double로 하면 오류가 나서 일단은 1초로 진행하기로 하고 위 코드 그대로 진행하였다.
이제 기본적은 코드는 작성하였으니 사용하기 위한 코드가 필요하다. 사용하기 위한 코드는
이전에 만들었던 코드에서
// notification 불러오기
    [SerializeField]
    private iosNotificationController iosNotificationController;
위 코드로 이전 script를 가져온 후 void Start() 부분에 notification 사용 승인을 질문할
StartCoroutine(iosNotificationController.RequestAuthorization());
코드를 넣었다.
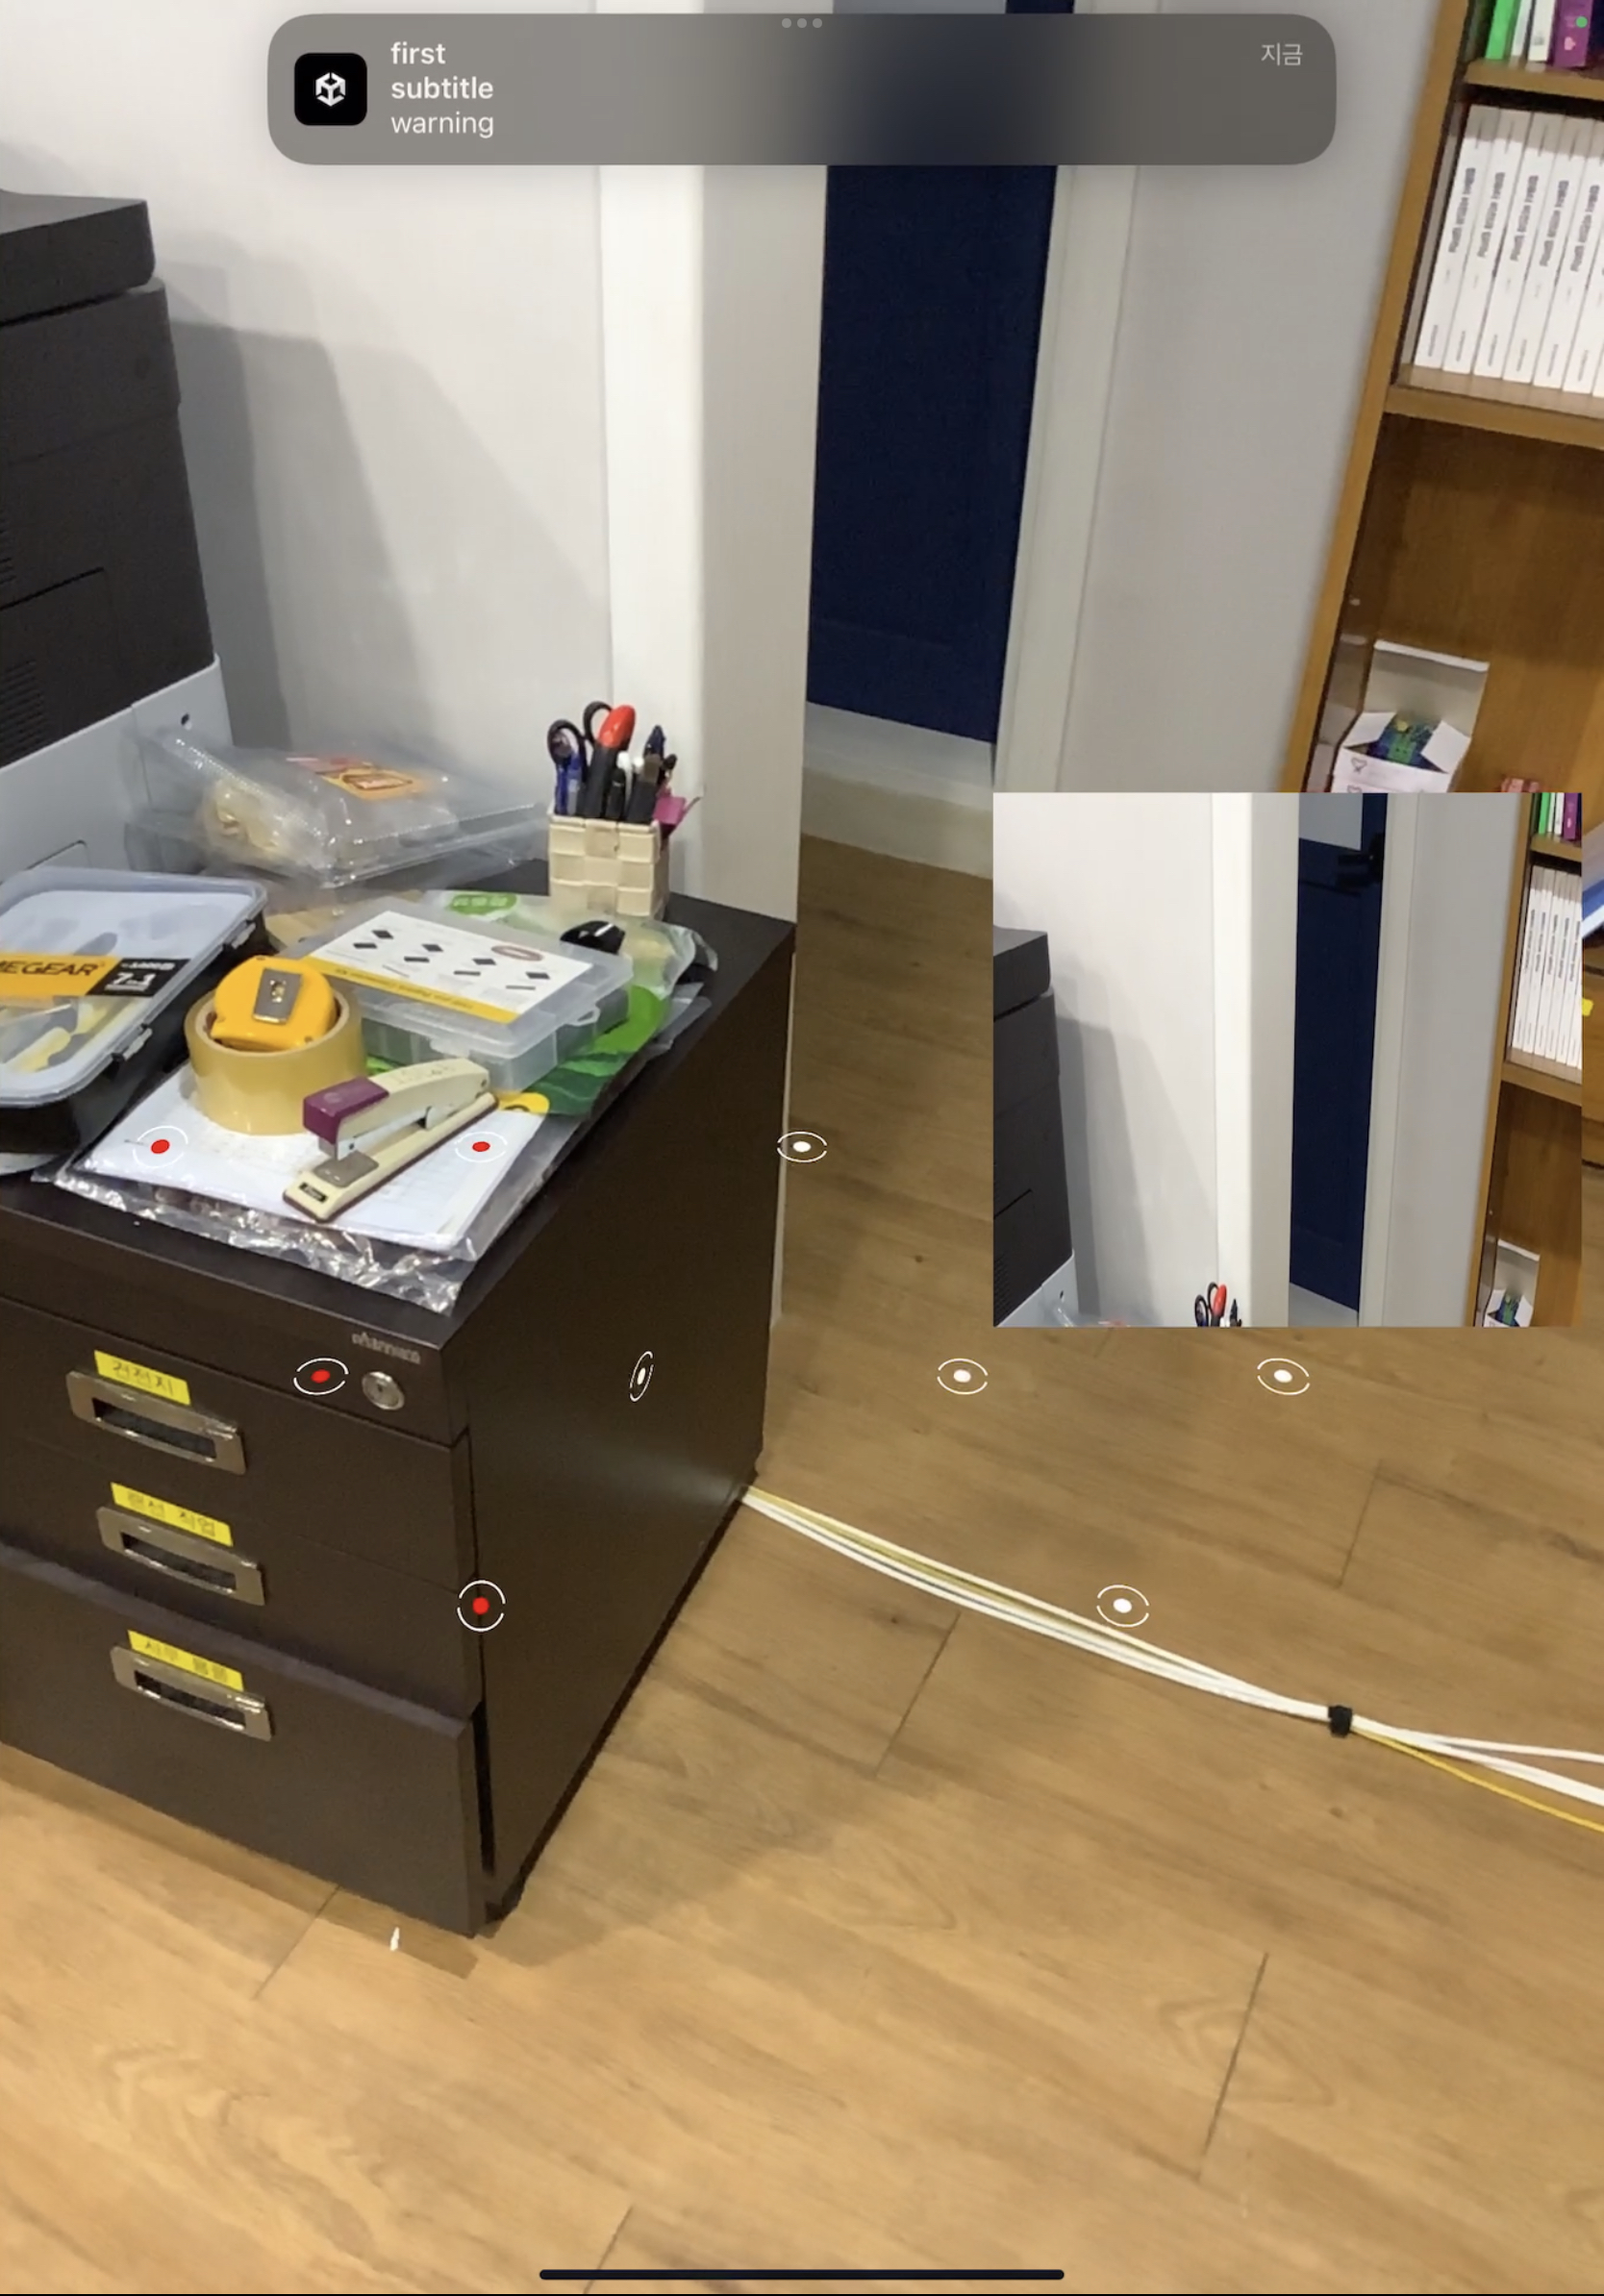
이전 글에서 작성한 것을 사용하여 1.3m 보다 가까워졌을 때 빨간 표기와 함께 notification도 동작하길 바라며 void Update()에
// first는 제목부분, warning은 body부분, subtitle은 말그대로, 1은 TimeInterval 시간이다.
iosNotificationController.SendNotification("first", "warning", "subtitle", 1);
을 넣으니 Update의 속도가 TimeInterval인 1초 보다 빨라 notification문구가 나오지 않았고, 앱을 종료하면 그제서야 나오는 상황이 나타났다. (이 이유를 몰라서 하루를 썼다...)
해당 문제를 해결하기 위해 Update가 아닌 FixedUpdate()를 이용하였다.
FixedUpdate는 매 프레임마다 실행되는 Update와 달리 원하는 주기를 설정하여 해당주기에 따라 Update시킬 수 있기에 원하는 주기를 1초 보다 크게 한다면 동작에 문제가 없을 것이라 판단하였다. FixedUpdate의 주기를 변경하기 위해서는 project setting의 player Setting에 들어가야 한다. 그 후
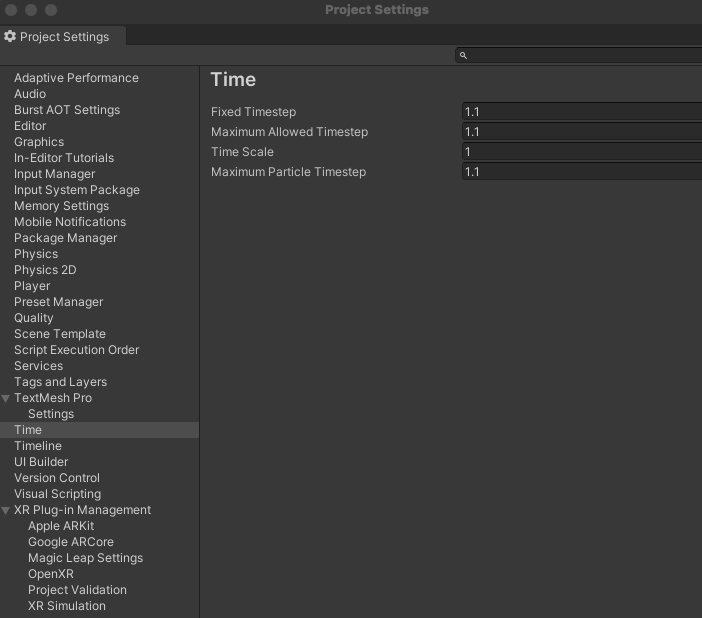
위 사진과 같이 작성하면 주기는 1.1초가 된다.
주기를 설정한 후 iosNotificationController를 FixedUpdate에 사용하기 위해
// notification을 실행시키기 위한 trigger
    static int trigger;
static을 이용하여 trigger라는 전역변수를 만들고 1.3m보다 가까워졌을 때
if (hitDis < 1.3f)
                {
                    trigger = 0;
                    color[i].material.color = Color.red;

                    Debug.Log("거리가 가까워짐");
                    trigger = 1;


                }
다음과 같이 trigger가 1이 되도록 했다.
이후
private void FixedUpdate()
    {
        if(trigger == 1)
        {
            iosNotificationController.SendNotification("first", "warning", "subtitle", 1);
            trigger = 0;
        }
    }
다음과 같이 동작 후 초기화를 해주니 원하는 동작이 실행되었다!!
원래는 실시간성이 가장 중요하여 1초 보다 빠른 반응이 필요하지만 아직 해당 부분은 좀 더 공부가 필요해 보인다.
원하는 프로젝트를 만들기 위해 남은 task는
- 여전히 존재하는 classification 실행 시의 화면 딜레이
- 임시로 적용한 classification model의 정확성 문제
- 최적의 화면 추출 위치 설정
- Backgroud 실행
이 있다. 그런데 여기서 Background 실행 방법을 찾아보던 중 iOS의 정책상 해당 어플을 Background에서 실해하는 것이 불가능한 듯한 글을 보았다... 만약 불가능하다면 아쉽지만 정책이니 4번 task를 제외한 task를 진행할 예정이다...ㅠㅠ
아직 남은 task가 있으니 열심히 연구해 볼 예정이다!!
실행 결과 (사진 클릭 시 유튜브 영상으로 이동합니다.)