상황
내 기록 페이지에 들어가게 각종 정보들을 제공하는데 ,
그 중에서 매치 타입별로 매치 결과들을 테이블 형태로 보여주고 클릭하게 되면
해당 매치의 상세 통계들을 보여주는 부분이 있다
여기에는 매치 결과들을 보여주는 테이블에서 보여주는 경기 개수의 상한선을
선택할 수 있도록 버튼을 추가해 놓았다
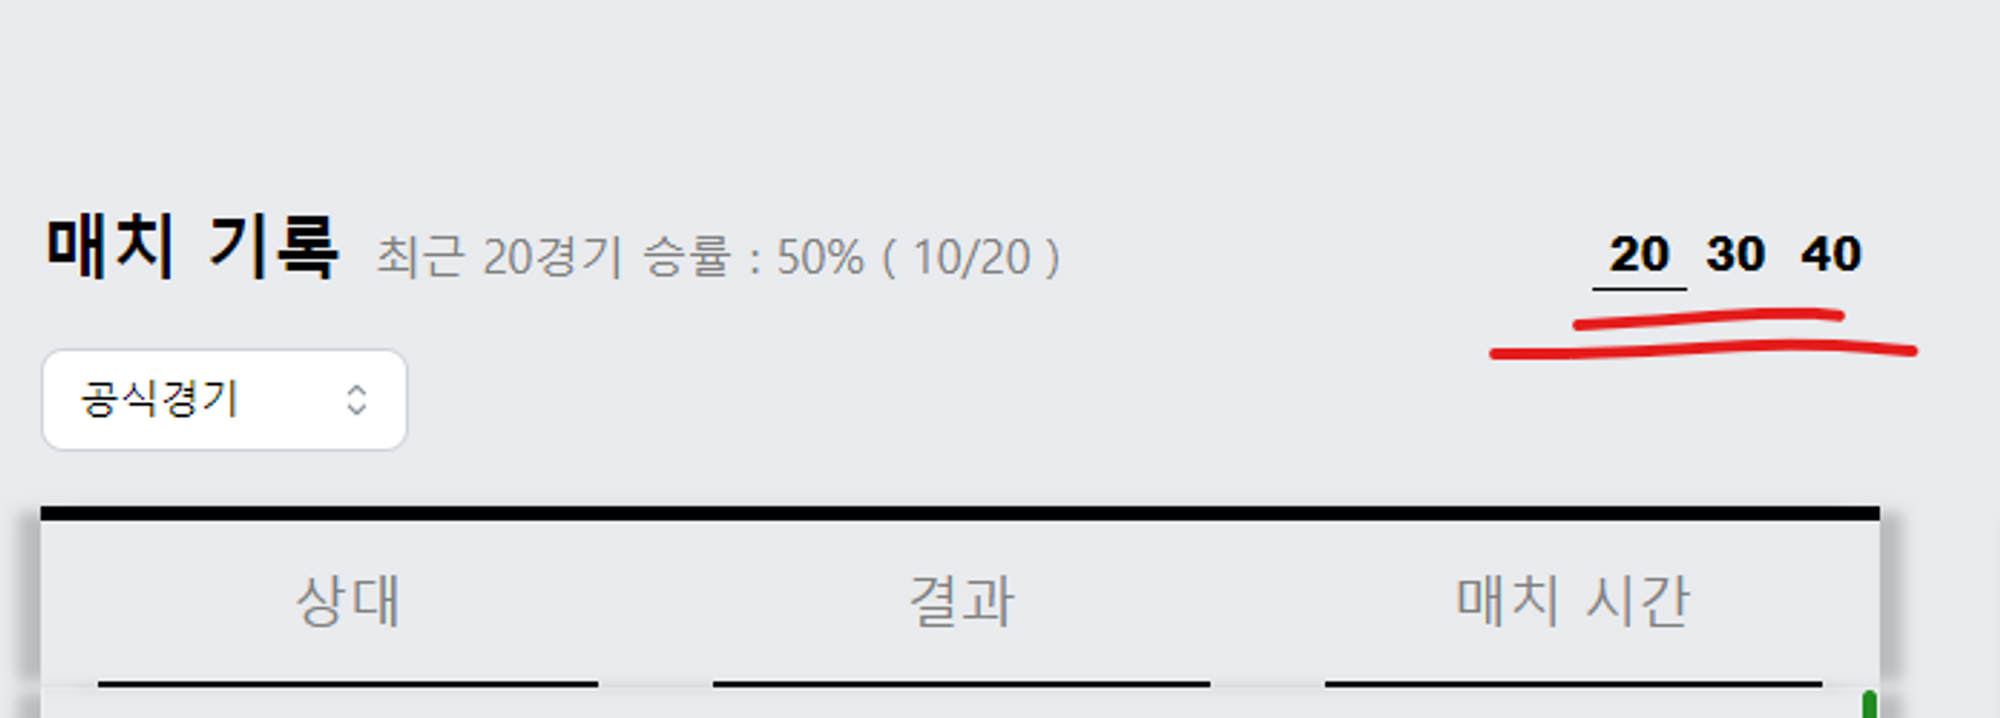
보다 나은 UX를 위해서는, 내가 현재 선택한 경기 상한선이 몇 경기인지
즉 , 내가 지금 어느 버튼을 선택한 상황인지 당연히 표시를 해야한다
그래서 사용한 것이 styled-components의 variant이다
variant이라는 단어는 Styled-components의 공식적인 용어나 API는 아니지만, 통상적으로
사용하는 패턴이다
이 패턴은 특정 Styled-components가 여러 변형(variants)을 가질 수 있도록 해준다
즉 , 동일한 베이스 스타일을 가진 컴포넌트가 추가적인 다른 스타일로 표현될 수 있는 것이다
variant의 간단한 예시
- 일반 variant만 사용했을 경우
import styled, { css } from 'styled-components';

const Button = styled.button`
  /* 기본 스타일 */
  background: gray;
  color: white;

  /* variant에 따른 스타일 */
  ${props => props.variant === 'primary' && `
    background: blue;
  `}
  ${props => props.variant === 'danger' && `
    background: red;
  `}
`;

// usage
<Button variant="primary">Primary Button</Button>
<Button variant="danger">Danger Button</Button>
- 상태값과 함께 사용하는 경우
import React, { useState } from 'react';
import styled from 'styled-components';

const Button = styled.button`
  /* 기본 스타일 */
  background: gray;
  color: white;

  /* variant에 따른 스타일 */
  ${props => props.variant === 'primary' && `
    background: blue;
  `}
  ${props => props.variant === 'danger' && `
    background: red;
  `}
`;

function ButtonContainer() {
  const [buttonVariant, setButtonVariant] = useState('primary');

  return (
    <div>
      <Button variant={buttonVariant}>My Button</Button>
      <button onClick={() => setButtonVariant('primary')}>Make Primary</button>
      <button onClick={() => setButtonVariant('danger')}>Make Danger</button>
    </div>
  );
}

export default ButtonContainer;
적용 해보기
가장 중요한 것은 상태와 같이 사용하는 것이다
위의 예시처럼 문법적으로 무조건 상태값을 사용해야 한다는 것은 아니다
그렇지만 코드 로직상 웹에서 동적으로 선택한 요소에 대해 실시간으로 추가적인 스타일이 적용하는 것이므로 이를 위해서는 가변적인 상태값이 필수적이라는 것이다
아래는 위에서 언급한 상황에 대해 variant를 적용한 예시이다
(ul과 li부분의 스타일 정보는 생략합니다)
...

const [matchLength, setMatchLength] = useState(20);

const onMatchLengthClick = (e: React.MouseEvent<HTMLButtonElement>) => {
    const { value, name } = e.currentTarget;

    setMatchLength(Number(value));
  };

...

return (
	...
	<ul>
          <li>
            <MatchLengthBuuton type="button" value={20} onClick={onMatchLengthClick} variant={20} matchLength={matchLength}>
              20
            </MatchLengthBuuton>
          </li>
          <li>
            <MatchLengthBuuton type="button" value={30} onClick={onMatchLengthClick} variant={30} matchLength={matchLength}>
              30
            </MatchLengthBuuton>
          </li>
          <li>
            <MatchLengthBuuton type="button" value={40} onClick={onMatchLengthClick} variant={40} matchLength={matchLength}>
              40
            </MatchLengthBuuton>
          </li>
	</ul>
	...
)
interface MatchLengthProps {
matchLength: number;
variant: number;
}
export const MatchLengthBuuton = styled.button<MatchLengthProps>`
background-color: transparent;
border: none;
// variant 적용
border-bottom: ${(props) => (props.matchLength === props.variant ? '1px solid black' : 'none')};
font-weight: 1000;
font-size: 1rem;
`;-
각 버튼을 클릭하게 되면 그 버튼에 해당하는 value들 (20,30,40)에 따라 matchLength라는 상태가 업데이트 된다
-
그러면 MatchLengthBuuton 에 넘겨준 props인 variant는 각각 20 30 40을 가지고 있지만
matchLength는 현재 클릭된 상태값인 20 30 40 중 하나의 값을 가지게 된다
// 30버튼을 클릭 했을 때 <MatchLengthBuuton ...> 20 </MatchLengthBuuton> // variant : 20 , matchLength : 30 <MatchLengthBuuton ...> 30 </MatchLengthBuuton> // variant : 30 , matchLength : 30 <MatchLengthBuuton ...> 40 </MatchLengthBuuton> // variant : 40 , matchLength : 30 -
그러므로 props.matchLength === props.variant에 해당하는 30버튼만
border-bottom가 적용되는 것이다