1. 'supabase' 패키지를 설치하고 login
npm i -D supabase
npx supabase login
2. Enter를 누르고, 브라우저 창이 열리면 보이는 번호를 복사 후 로그인 실행
❯ npx supabase login
Hello from Supabase! Press Enter to open browser and login automatically.

Here is your login link in case browser did not open https://supabase.com/dashboard/cli/login?session_id=57c791ee-89e9-4868-b498-9aa6fa982200&token_name=cli_MJKIM@MacBook-Air-3.local_1756211129&public_key=045af2a4d50a34349c9d8d2d8883780f33a3fa34e7fde83268dc077a95ee026342a310df3758714bfa10ea578d7b4ff6236da2c085331e5df86b3cc15f5fdbee9e

Enter your verification code: 313ff97b
Token cli_MJKIM@MacBook-Air-3.local_1756211129 created successfully.
3. Docker 설치
Supabase 로컬 개발 환경은 Docker가 반드시 필요하다. CLI는 단지 명령을 전달할 뿐, 실제 Postgres, Auth, Functions 서버는 Docker 컨테이너로 띄우기 때문이다.
docker infoDocker 공식 웹사이트에서 설치 및 실행 후, 위 명령어를 통해 Docker 데몬이 실행되고 있는지 확인한다.
4. supabase CLI 설치
테스트를 위해 supabase CLI를 설치한다.
brew install supabase/tap/supabaseSupabase CLI는 과거에는 npm으로 설치할 수 있었지만, 현재 공식적으로 권장되는 설치 방식은 Homebrew (macOS/Linux), Winget (Windows) 또는 Deno 설치 방식이다.
npm으로 설치하면 CLI 일부 기능이 제대로 작동하지 않거나, 로컬 Functions 서버(supabase start) 같은 명령이 정상 동작하지 않을 수 있다.
특히 supabase start 명령은 npm 설치로는 지원되지 않는다. 이 명령은 Docker 기반 로컬 환경을 띄우기 때문에 Homebrew나 Deno 설치가 필요하다.
5. Deno CLI를 설치한다.
🔎 Deno란?
JavaScript와 TypeScript를 실행하는 런타임으로서, Supabase Edge Function은 Deno Runtime 위에서 실행된다.
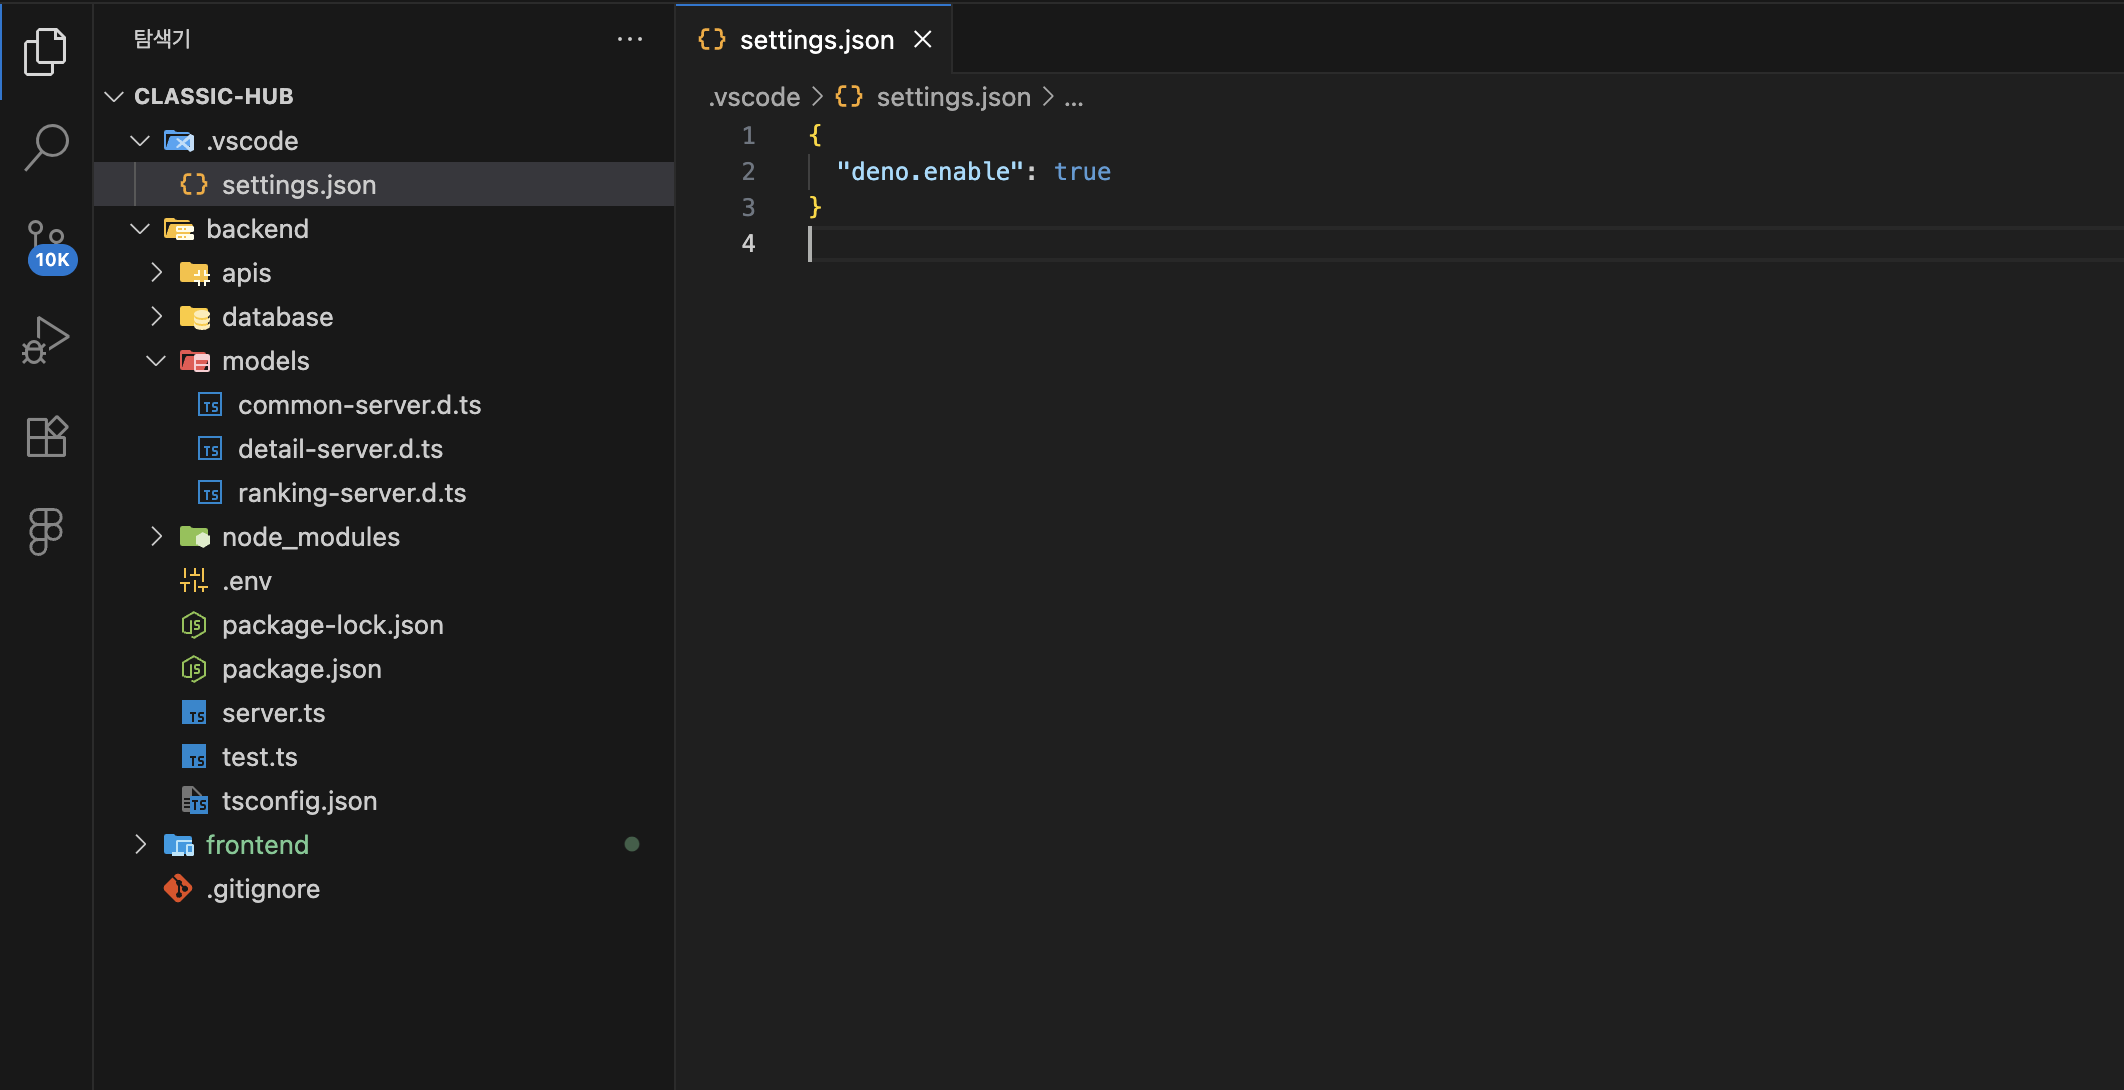
VS Code 기준으로, Extension에 deno를 검색하고 다음 확장을 설치하면 된다.

Command + P를 눌러 파일 검색창을 띄운 후 .vscode를 입력하여 다음과 같이 설정된 것이 보이면 완료된 것이다.
6. Supabase 프로젝트를 생성한다.
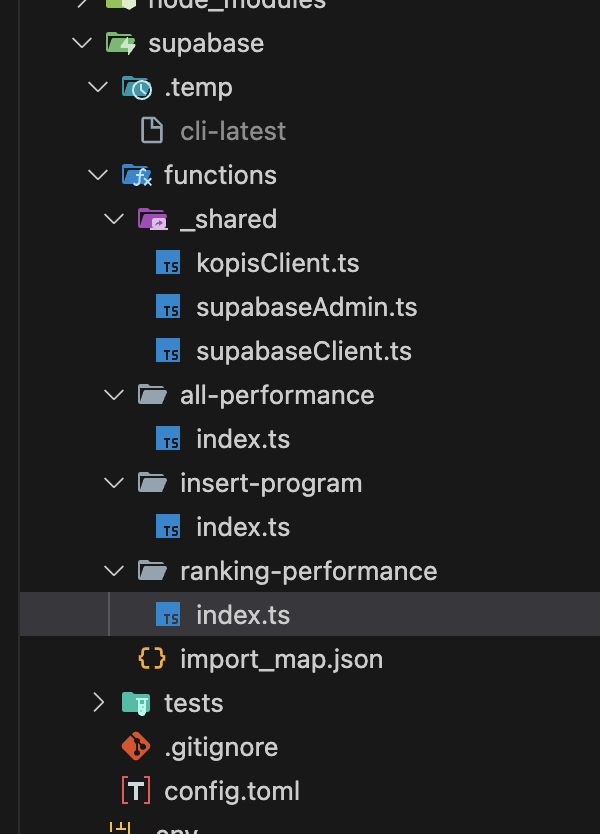
supabase initSupabase Edge Functions 폴더 구조는 공식문서 상 다음과 같은 구조가 좋다고 한다.
└── supabase
    ├── functions
    │   ├── import_map.json     # Top-level import map
    │   ├── _shared             # Shared code (underscore prefix)
    │   │   ├── supabaseAdmin.ts # Supabase client with SERVICE_ROLE key
    │   │   ├── supabaseClient.ts # Supabase client with ANON key
    │   │   └── cors.ts         # Reusable CORS headers
    │   ├── function-one        # Use hyphens for function names
    │   │   └── index.ts
    │   └── function-two
    │       └── index.ts
    ├── tests
    │   ├── function-one-test.ts
    │   └── function-two-test.ts
    ├── migrations
    └── config.toml
따라서 나는 이에 맞게 다음과 같이 폴더를 구성했다.
7. 로컬 Supabase 개발 환경 시작
supabase start인증(Auth), 스토리지(Storage), Functions 등 Supabase 기능을 로컬에서 테스트 가능한 명령어다.
⚠️ failed to load import map 에러가 발생한다면?
Initialising schema...
Seeding globals from roles.sql...
WARN: no files matched pattern: supabase/seed.sql
Starting containers...
WARNING: analytics requires mounting default docker socket: /var/run/docker.sock
Stopping containers...
failed to load import map: open supabase/functions/update-data/deno.json: no such file or directory
Try rerunning the command with --debug to troubleshoot the error.
폴더 구조를 수정하고 supabase start를 했는데 내가 임의로 폴더 구조를 한 번 변경해서인지 failed to load import map 이라는 에러가 발생했다. 관련 파일들을 모두 삭제하고 다시 실행해주었다.
rm -rf [supabase edge functions 템플릿 폴더]우선 생성되었던 템플릿 폴더를 삭제해준다.
rm -rf .supabase
rm -f .npmrc.supabase와 .npmrc는 supabase start를 실행하여 로컬 개발 서버가 구동될 때 생성된 폴더와 파일이다. 이것도 삭제해준다.
.supabase폴더: 로컬 데이터베이스, 컨테이너 설정, 시드 파일 등 Supabase 로컬 환경과 관련된 정보를 담는다(ex. Postgres 데이터, 함수 배포 상태, 인증 설정 등).npmrc파일: npm(혹은 npx)이 패키지를 설치할 때 사용하는 설정 파일이다. Supabase CLI나 함수 템플릿 설치 경로 같은 설정이 여기에 기록될 수 있다.
이제 다시 supabase start를 하면 정상 동작한다.
76a90e4b08b7: Pull complete
af3ecda37c27: Pull complete
d3549eaeba46: Pull complete
aed3ab7f1b33: Pull complete
Digest: sha256:b5c98da1179ceb9fba1c374d470ca5237bc707aa80d5034fc2c740373005c0d5
Status: Downloaded newer image for public.ecr.aws/supabase/studio:2025.08.18-sha-c153df2
Waiting for health checks...
Started supabase local development setup.

         API URL: http://127.0.0.1:54321
     GraphQL URL: http://127.0.0.1:54321/graphql/v1
  S3 Storage URL: http://127.0.0.1:54321/storage/v1/s3
          DB URL: postgresql://postgres:postgres@127.0.0.1:54322/postgres
      Studio URL: http://127.0.0.1:54323
    Inbucket URL: http://127.0.0.1:54324
      JWT secret: super-secret-jwt-token-with-at-least-32-characters-long
        anon key: eyJhbGciOiJIUzI1NiIsInR5cCI6IkpXVCJ9.eyJpc3MiOiJzdXBhYmFzZS1kZW1vIiwicm9sZSI6ImFub24iLCJleHAiOjE5ODM4MTI5OTZ9.CRXP1A7WOeoJeXxjNni43kdQwgnWNReilDMblYTn_I0
service_role key: eyJhbGciOiJIUzI1NiIsInR5cCI6IkpXVCJ9.eyJpc3MiOiJzdXBhYmFzZS1kZW1vIiwicm9sZSI6InNlcnZpY2Vfcm9sZSIsImV4cCI6MTk4MzgxMjk5Nn0.EGIM96RAZx35lJzdJsyH-qQwv8Hdp7fsn3W0YpN81IU
   S3 Access Key: 625729a08b95bf1b7ff351a663f3a23c
   S3 Secret Key: 850181e4652dd023b7a98c58ae0d2d34bd487ee0cc3254aed6eda37307425907
       S3 Region: local
잘 되었따.
⚠️ failed to parse import map: EOF 에러가 발생한다면?
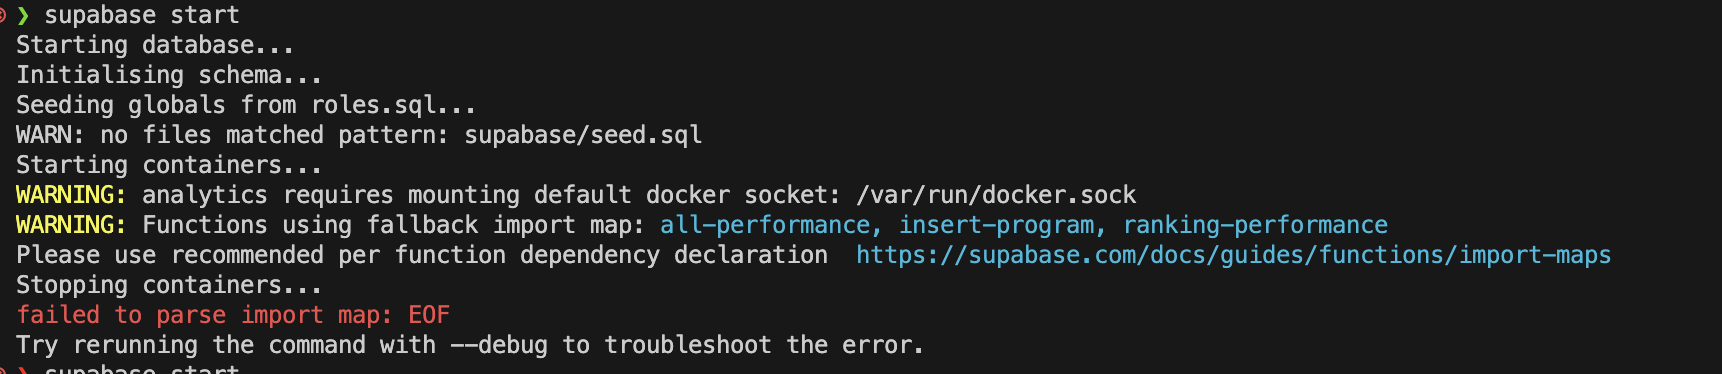
함수 파일에 import dayjs from "npm:dayjs" 방식으로 모듈을 import 했었다.
Deno 1.34 이상에서는 기본적으로 npm: 스킴을 지원해 NPM 패키지를 직접 불러올 수 있는데, 이 기능은 Deno가 내부적으로 npm registry를 해석하고 변환할 수 있어야 하고, 프로젝트 설정에 따라 import map이나 --unstable 플래그 등이 필요할 때가 있다. 따라서 위 에러가 발생하는 경우
import_map.json 과 같은 의존성 파일 설정이 잘 되어있는지 확인하자.
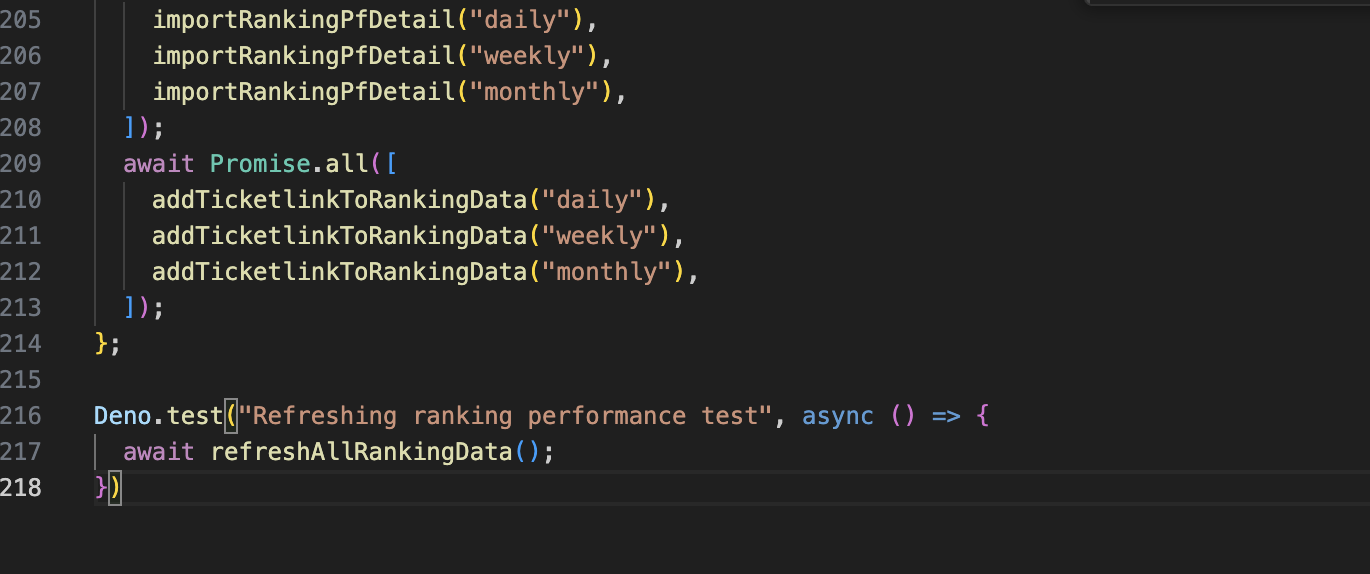
8. 로컬에서 함수 실행 테스트
우선 테스트하고자 하는 함수가 있는 파일에 다음과 같이 Deno.test를 통해 콜백과 함께 작성한다.
완료되면 다음 명령어를 통해 테스트한다. 명령어를 실행하기 위해서는 brew install deno 를 통해 deno가 운영체제에 설치된 상태여야 한다.
deno test --allow-all [테스트 파일 경로]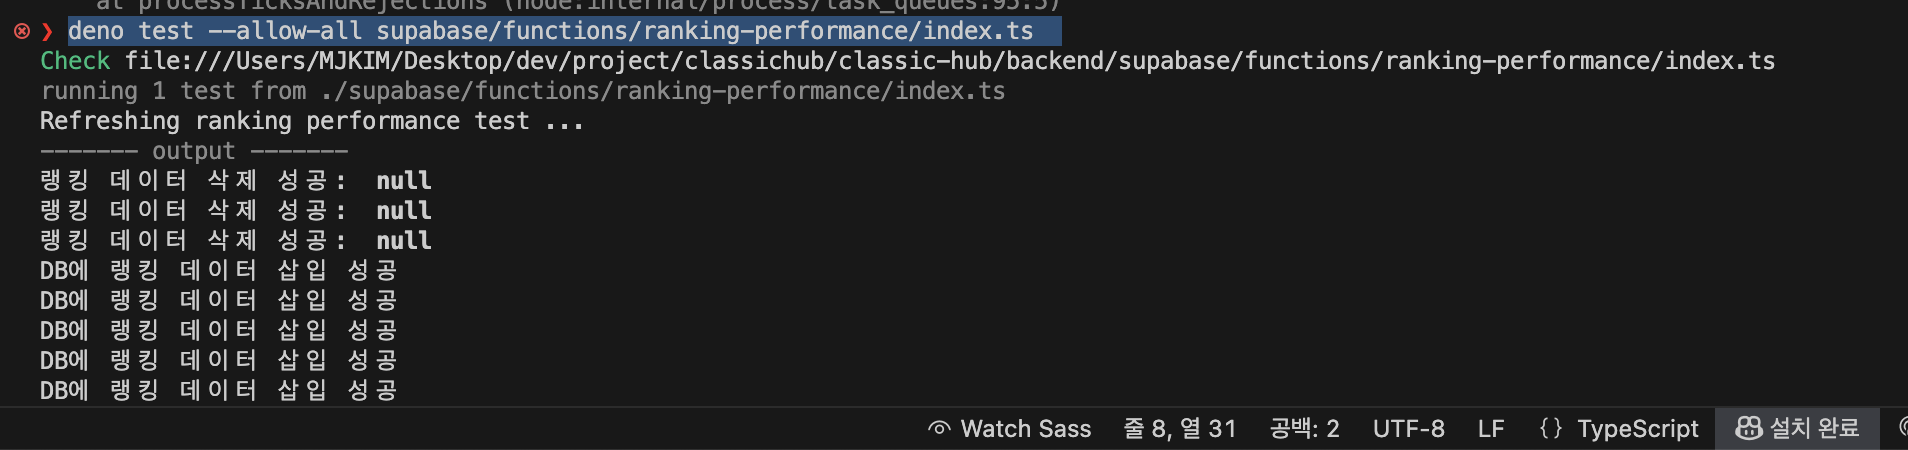
⚠️ Deno가 활성화되지 않음으로 인한 에러
vs code의 deno 익스텐션을 활성화해주면 해결된다.
./index.ts (uncaught error)
error: (in promise) Error: 환경변수 SUPABASE_ANON_KEY가 설정되어 있지 않습니다!
    throw new Error("환경변수 SUPABASE_ANON_KEY가 설정되어 있지 않습니다!");
          ^
    at file:///Users/MJKIM/Desktop/dev/project/classichub/classic-hub/backend/supabase/functions/_shared/supabaseClient.ts:9:9

This error was not caught from a test and caused the test runner to fail
on the referenced module.

It most likely originated from:
    - a dangling promise,
    - an event/timeout handler, or
    - top-level code.
유의할 점은, .vscode의 deno.enable도 true여야 한다.
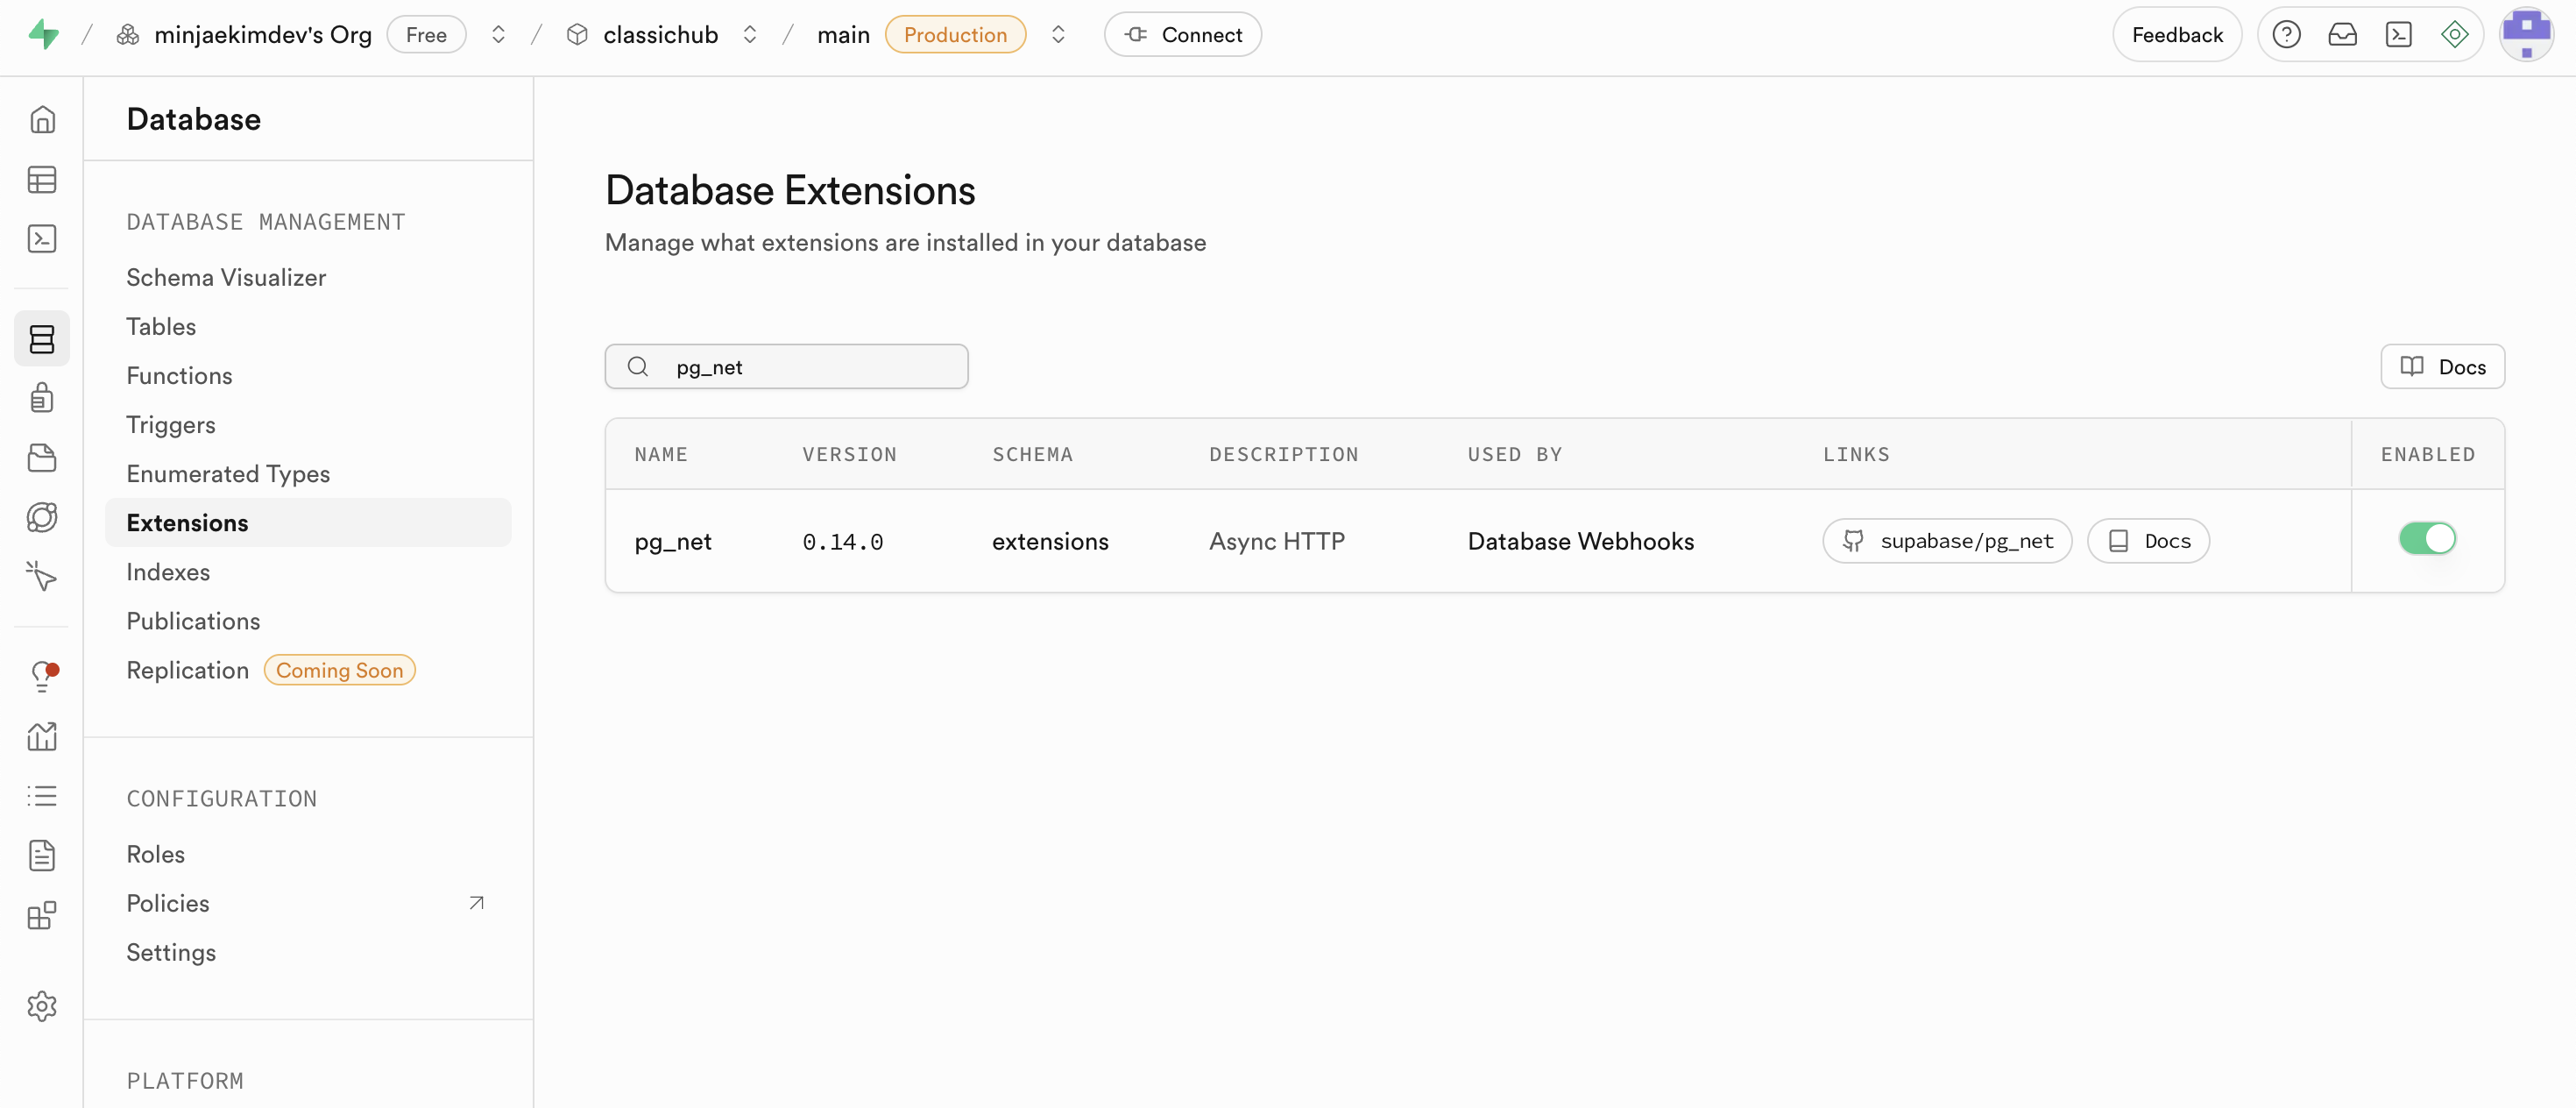
9. Supabase Extension 설치
클라우드 Supabase > 내 프로젝트 > 왼쪽 사이드바 Database > Extension으로 들어가 pg_net을 검색 후, enable 한다.