MongoDB 설치법
-
terminal에서
$ brew tap mongodb/brew입력
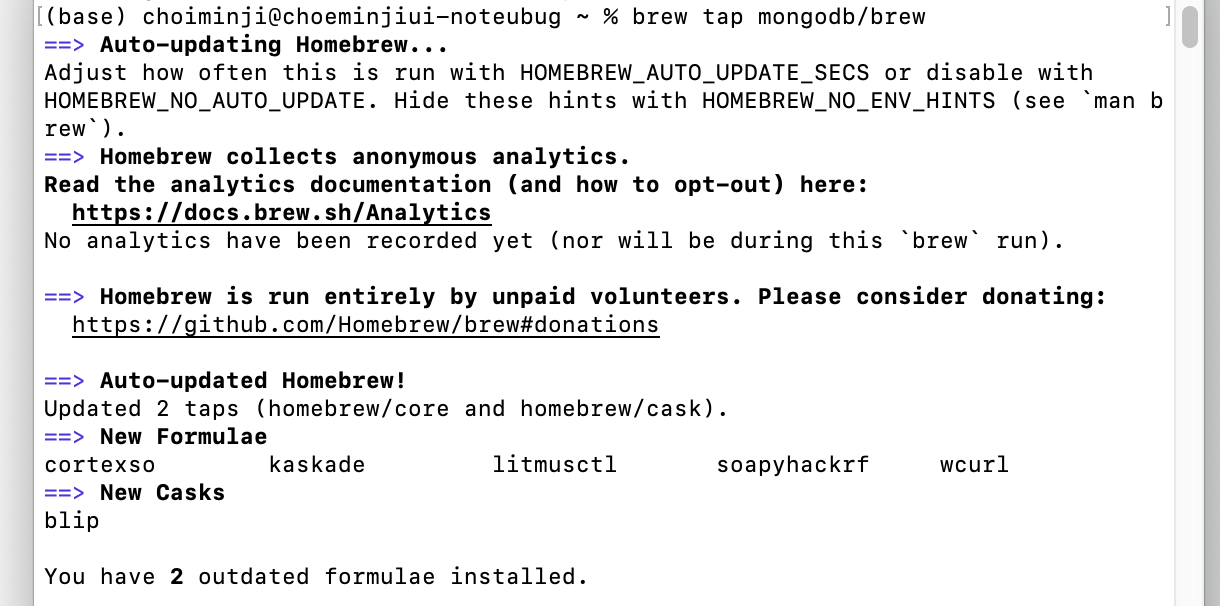
설치에 성공하면 이런 식으로 뜬다! -
커뮤니티 버전 설치
$ brew install mongodb/brew/mongodb-community -
잘 설치되었는지 확인
$ mongod
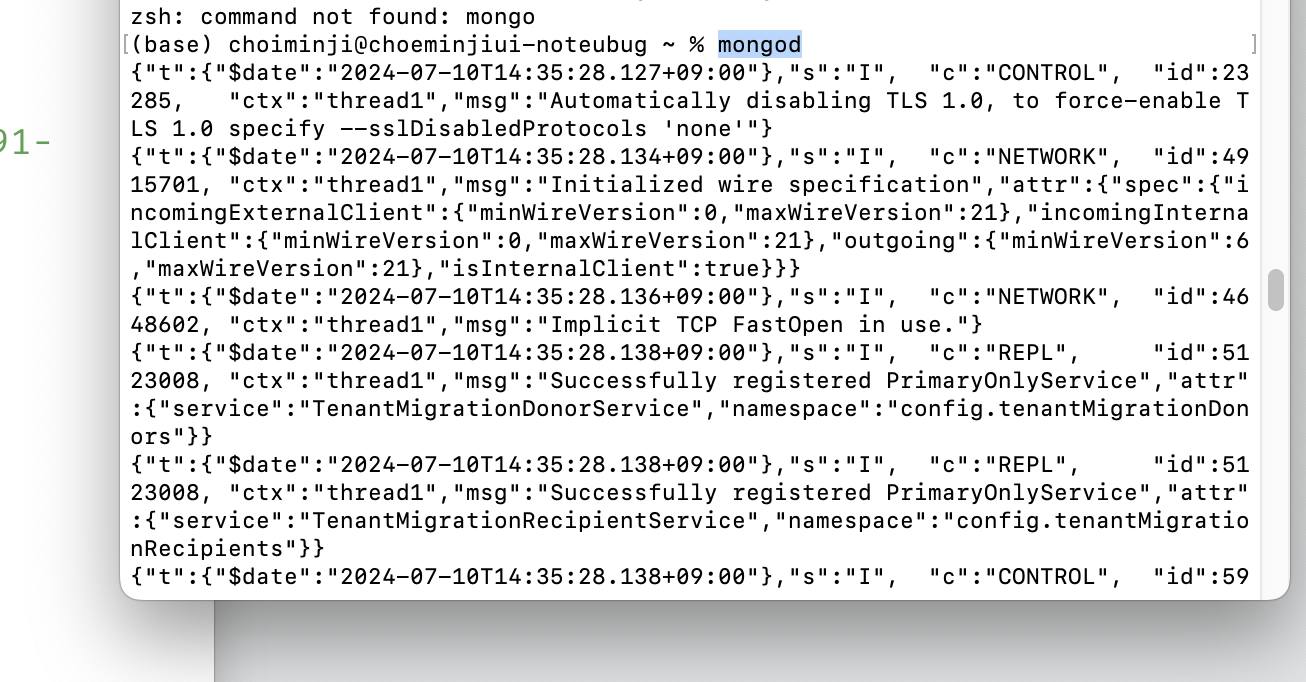
이런식의 목록이 뜬다. -
mongoDB 시작
$ brew services start mongodb-community -
mongoDB 실행되고 있는지 확인
$ brew services list

이렇게 뜨면 실행중인 것! -
mongoDB 접속
$ mongo
이때,zsh: command not found:mongo가 뜬다면
mongoDB 쉘을 다운로드 해줘야한다. -
$ brew install mongodb-community-shell
이렇게 쉘을 다운로드 해주면$ mongo가 문제없이 실행될것이다.

접속되면 커맨드 창이 '>'로 바뀐다!
--> mongo 를 입력해 접속하면 mongoDB가 내 서버에서 어떤 포트에 설치되어있는지 알수 있다.

그래서 웹에 접속해 127.0.0.1:27017 을 들어가면

이렇게 뜨는 걸 확인할 수 있을 것이다.
mongoose
Node.js 에서 데이터 처리를 쉽게 도와주는 스키마 기능 제공.
mongoose 설치
vscode terminal에서 진행했다.
$ npm i mongoose
pakage.json 에서 설치되어 추가됐는지 확인할 수 있음!
index.js 코드
저번 글의 코드에 이 부분을 추가해줘야 한다.
import mongoose from 'mongoose';
//mongoose connect, 서버와 데이터베이스 연결!
//몽고데베-> 데이터베이스, 콜렉션, 문서(키:값)
mongoose
    .connect('mongodb://127.0.0.1:27017')
    .then(()=> console.log('DB 연결 성공'))
    .catch(e => console.error(e))

//일반적으로 테이블에 저장하는데, 몽구스에서는 몽구스 안의 콜렛견에 저장!
// mongoose set 스키마 기능사용해서 데이터 형식 정의
const { Schema } = mongoose; //스키마 정의

const WritingSchema = new Schema({
    title: String,
    contents: String,
    date: {
        type: Date,
        default: Date.now,
    }
})// 스키마 구조 만든거임

//사용할 데이터의 스키마 정해줌
//몽고데베는 port 27017로 서버를 띄워줌. 서버는 3000
const Writing = mongoose.model('Writing',WritingSchema);
설명은 주석 참고!
여기서 또 서버를 실행시켜보면
--> npm run dev
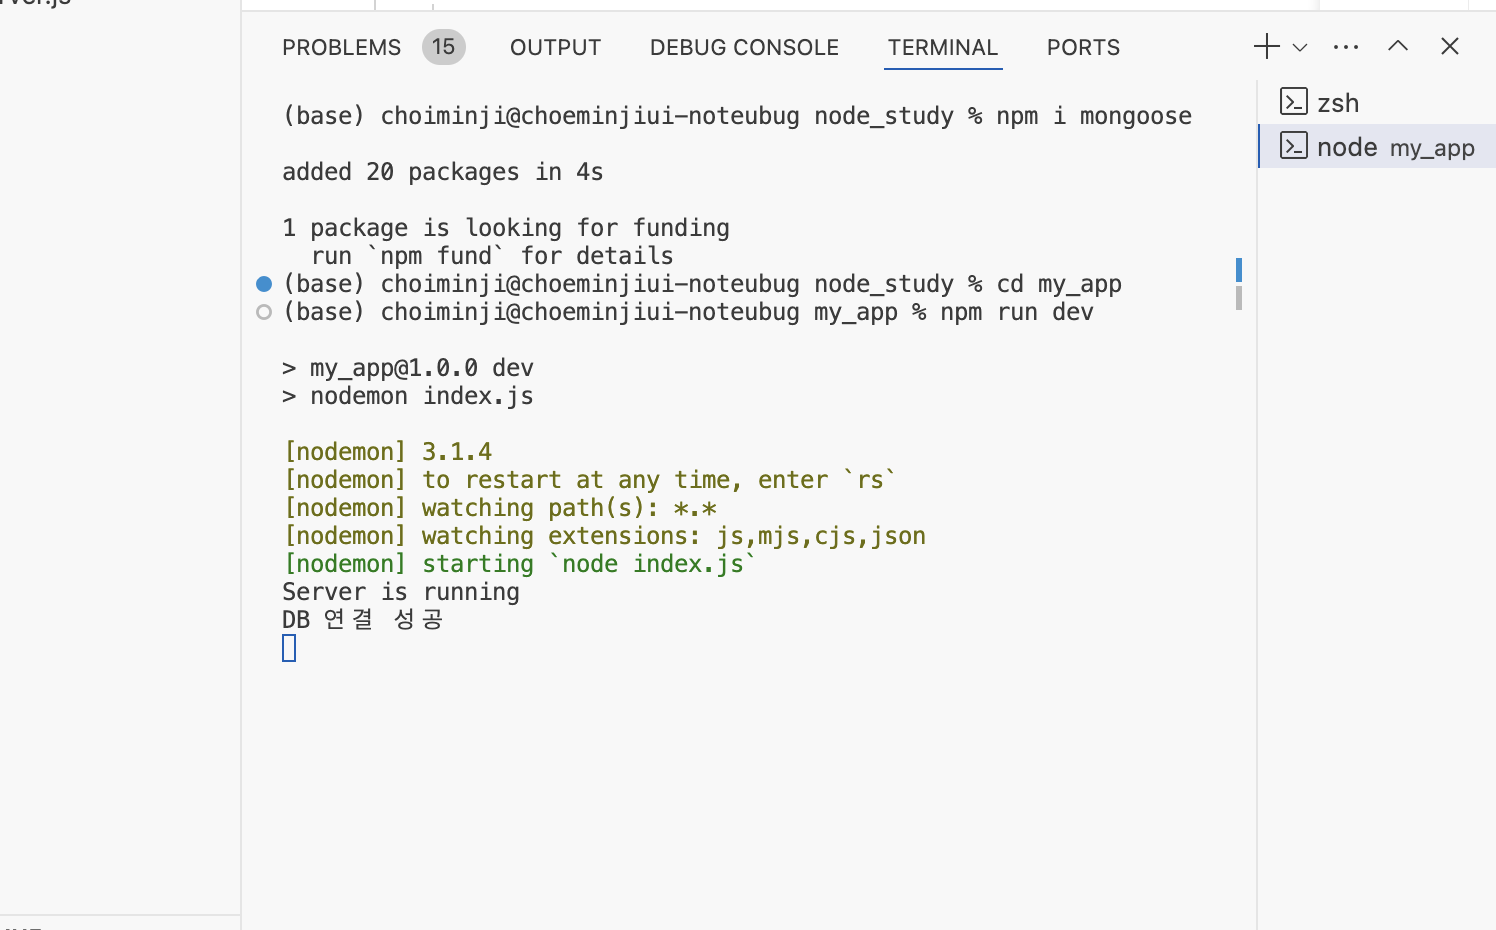
연결 성공했을 때 다음과 같이 뜬다!!
mongoDB 추가 세팅
<< mongoDB shell에서 진행 >>
1. $ show dbs 하면 목록이 나오는데 여기에 없는 걸 쓰고 싶다면 use 000
2. 내가 사용할 DB 지정 $ use express하면 생성하면서 지정된다.
--> $ show dbs 를 실행시켜 보면 아직도 목록에 express가 없을 것임. 이유는 비어있는 데이터베이스라서!
3. 콜렉션 생성해줌. 'writings'는 콜렉션 이름 $ db.createCollection('writings')
--> 이제 목록에서 확인 가능!
--> collection을 확인하려면 $ show collections
4. documents 값 넣기 $ db.writings.insert({"키":"값", "키2:값2" })' 5. 값을 확인하려면 $ db.writings.find().좀 더 보기쉽게 정렬된 자료를 보려면 뒤에.pretty()` 덧붙이면 됨.
MongoDB 연결하여 CRUD 구현
index.js
import express from 'express';
import path from 'path';
import nunjucks from 'nunjucks';
import bodyParser from 'body-parser';
import fs from 'fs';
import mongoose from 'mongoose';
import { title } from 'process';
import { error } from 'console';

const __dirname = path.resolve();

const app = express();

//my_app/data/writing.json
const filepath = path.join(__dirname, 'data', 'writing.json')

// body parser set
app.use(bodyParser.urlencoded({ extended: false })); // express 기본 모듈 사용
app.use(bodyParser.json());

// view engine set
app.set('view engine', 'html'); // main.html -> main(.html)

// nunjucks
nunjucks.configure('views', {
    watch: true, // html 파일이 수정될 경우, 다시 반영 후 렌더링
    express: app
})

//mongoose connect, 서버와 데이터베이스 연결!
//몽고데베-> 데이터베이스, 콜렉션, 문서(키:값)
mongoose
    .connect('mongodb://127.0.0.1:27017')
    .then(()=> console.log('DB 연결 성공'))
    .catch(e => console.error(e))

//일반적으로 테이블에 저장하는데, 몽구스에서는 몽구스 안의 콜렛견에 저장!
// mongoose set 스키마 기능사용해서 데이터 형식 정의
const { Schema } = mongoose; //스키마 정의

const WritingSchema = new Schema({
    title: String,
    contents: String,
    date: {
        type: Date,
        default: Date.now,
    }
})// 스키마 구조 만든거임

//사용할 데이터의 스키마 정해줌
//몽고데베는 port 27017로 서버를 띄워줌. 서버는 3000
const Writing = mongoose.model('Writing',WritingSchema);

// middleware
// main page GET
app.get('/', async (req, res) => {
    //const fileData = fs.readFileSync(filepath);
    //값이 버퍼 데이터니까 제이슨 parse 를 이용해서 값으로 변경
    //const writings = JSON.parse(fileData);

    let writings = await Writing.find({})
    //find에 아무값도 넣지 않으면 writing의 모든 객체 가져옴

    res.render('main',{ list: writings});
});

app.get('/write', (req, res) => {
    res.render('write');
});
//async 이 요청자체는 await이 다 처리가 되어야 완료됨
app.post('/write', async (req, res) => {
    // request 안에 있는 내용을 처리
    // request.body
    const title = req.body.title;
    const contents = req.body.contents;

   //mongodb에 저장
   //db 연결
   const writing = new Writing({
        title: title,
        contents: contents
   })
   //값들을 db에 저장
   const result = await writing.save().then(()=>{
        console.log('Success')
        res.render('detail', { 'detail': {title: title, contents: contetnts}});

   }).catch((err)=> {
        console.error(err)
        res.render('write')
   })

    res.render('detail', { 'detail': { title: title, contents: contents, date: date } });
});

//id 붙이면 이 id 값을 가진 페이지로 이동.
//req 안의 값을 이용해야함
app.get('/detail/:id', async (req, res) => {
    const id = req.params.id;

    //findOne이 성공한다면 이 값을 result에 넣어주고, render함수를 이용해서 detail이라는 값으로 넘어가
    //이 값을 detail 변수에 저장
    const detail = await Writing.findOne({ _id: id}).then((result)=>{
        res.render('detail', detail)
    }).catch((err)=> {
        console.error(err)
    })//실패한다면 에러를 콘솔에 출력!

})

app.get('/edit/:id', async (req, res) => {
    const id = req.params.id;

    const edit = await Writing.findOne({ _id: id }).then((result) => {
        res.render('detail', { 'edit': result })
    }).catch((err) => {
        console.error(err)
    })
})

//db에 연결되는 작업일 때는 async!!
app.post('/edit/:id', async (req, res) => {
    const id = req.params.id;
    const title = req.body.title;
    const contents = req.body.contents;

    const edit = await Writing.replaceOne({ _id: id }, { title: title, contents: contents }).then((result) => {
        console.log('update success')
        res.render('detail', { 'detail': { 'id': id, 'title': title, 'contents': contents } });
    }).catch((err) => {
        console.error(err)
    })
})

app.post('/delete/:id', async (req, res)=>{
    const id =req.params.id;

    const delete_content = await Writing.deleteOne({_id: id}).then(()=>{
        console.log('delete seccess')
        res.redirect('/')
    }).catch((err)=>{
        console.error(err)
    })
})

app.listen(3000, () => {
    console.log('Server is running');
});
main.html
{% extends 'base.html' %}

{% block content %}
    <h1>메인 페이지</h1>
    {% if list %}
    <table class="table table-bordered">
        <thed>
            <tr>
                <th>글 제목</th>
                <th>글 내용</th>
                <th>글 날짜</th>
            </tr>
        </thed>
        <tbody class="table-group-divider">
            {% for writing in list %}
            <tr>
                <td><a href="/detail/{{writing.id}}" class="btn">{{writing.title}}</a></td>
                <td>{{writing.contents}}</td>
                <td>{{writing.date}}</td>
            </tr>
        {% endfor %}
        </tbody>
    </table>
    {% else %}
        <p> 작성된 글이 없습니다.</p>
    {% endif %}
{% endblock %}
base.html
<!DOCTYPE html>
<html lang="en">
<head>
<meta charset="UTF-8">
<meta name="viewport" content="width=device-width, initial-scale=1.0">
<title>Document</title>
<link href="https://cdn.jsdelivr.net/npm/bootstrap@5.3.0-alpha3/dist/css/bootstrap.min.css" rel="stylesheet" integrity="sha384-KK94CHFLLe+nY2dmCWGMq91rCGa5gtU4mk92HdvYe+M/SXH301p5ILy+dN9+nJOZ" crossorigin="anonymous">
</head>
<body>
<!-- 공통된 요소 -->
<nav class="navbar bg-body-tertiary">
<div class="container-fluid">
<a class="navbar-brand" href="/">
Express blog
</a>
<a href="/write" class="btn">글 작성</a>
</div>
</nav>
<!-- 바뀌는 요소 -->
<div class="container">
{% block content %}
{% endblock %}
</div>
<!-- 공통된 요소 -->
<div class="container">
<footer class="d-flex flex-wrap justify-content-between align-items-center py-3 my-4 border">
<p class="col-md-4 mb-0 text-body-secondary">© 2023 Company, Inc</p>
<a href="/" class="col-md-4 d-flex align-items-center justify-content-center mb-3 mb-m">
<svg class="bi me-2" width="40" height="32"><use xlink:href="#bootstrap"/></svg>
</a>
</footer>
</div>
<script src="https://cdn.jsdelivr.net/npm/bootstrap@5.3.0-alpha3/dist/js/bootstrap.bundle.min.js" integrity="sha384-ENjdO4Dr2bkBIFxQpeoTz1HIcje39Wm4jDKdf19U8gI4ddQ3GYNS7NTKfAdVQSZe" crossorigin="anonymous"></script>
</body>
</html>detail.html
{% extends 'base.html' %}

{% block content %}
    {% if detail %}
        <h1>상세 페이지</h1>
        <p>글 제목: {{ detail.title }}</p>
        <p>글 내용: {{ detail.contents }}</p>
        <a href="/edit/{{ detail.id }}" class="btn">글 수정</a>
        <form action="/delete/{{detail.id}}" method="post">
                <input type="submit" value="글 삭제">
        </form>
    {% else %}
        <h1>상세 페이지 수정</h1>
        <form action="/edit/{{ edit.id }}" method="post">
            <p>글 제목: <input type="text" name="title" value="{{ edit.title }}"></p>
            <p>글 내용: <input type="text" name="contents" value="{{ edit.contents }}"></p>
            <input type="submit" value="수정 완료">
        </form>
    {% endif %}
{% endblock %}
write.html
{% extends 'base.html' %}

{% block content %}
<h1>글 작성 페이지입니다.</h1>
<form action="/write" method="post">
    <label for="title">제목</label>
    <input type="text" name="title" id="title">
    <br>
    <label for="contents">내용</label>
    <textarea name="contents" id="contents" cols="20" rows="5"></textarea>
    <br>
    <!-- input submit -->
    <input type="submit" value="글 작성 완료">
</form>
{% endblock %}
아직 이 코드 부분들은 정확히 이해하지 못해서 더 공부해볼 예정이다,,
강의에서 생략된 부분이 있는 거같은데 ㅠ 그것때문인지 get이 안되는 페이지들이 있어서 수정중이다..
이 수정과정이 큰 도움이 될지도!!!
강의는 끝났으니 복습하며 다른 실습들을 찾아서 해봐야겠다!