Server Setup
zoom이라는 폴더 생성- 폴더를 VSCode에서 열어서
npm init -y명령어로 초기세팅
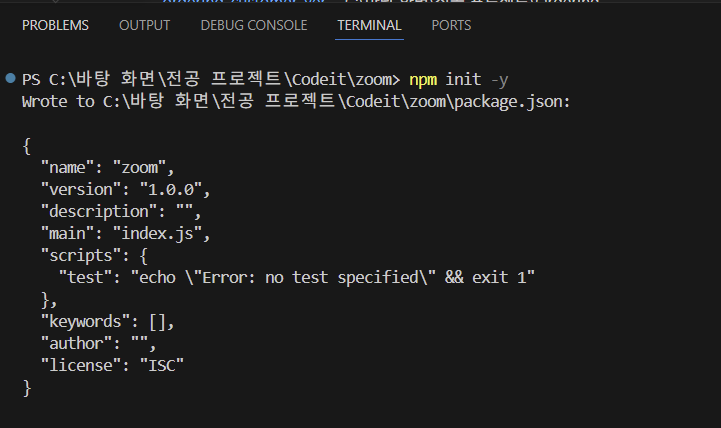
package.json파일을 열어서 아래와 같이 편집
{
  "name": "zoom",
  "version": "1.0.0",
  "description": "Zoom Clone using WebRTC and Websockets",
  "license": "MIT"
}Readme.md파일을 생성하기 위해touch README.md명령어로 생성
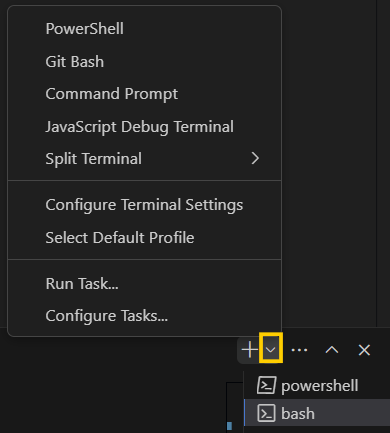
✨ 이 때, 기존에 하던 대로 powershell에서 입력하는 것이 아니라, git bash 로 터미널 옵션을 변경한 후touch README.md입력!
- Nodemon 설치:
npm i nodemon -D
Nodemon은 프로젝트를 모니터링하며 서버 부분에 변경사항이 있을 시 서버를 재시작해주는 프로그램 - 파일과 폴더들 생성:
babel.config.json파일,nodemon.json파일 생성,src폴더 생성 후 아래에server.js파일 생성 - Git bash에서
git init .,clear - Babel 설치:
npm i @babel/core @babel/cli @babel/node -D← 혹시 이 명령어에서 문제가 생긴다면 설치파일을 하나씩 설치해보고, 환경변수에 들어가서 PATH에C:\Program Files\nodejs등node.js의 경로가 잘 설정되어있는지도 확인하기
npm i @babel/preset-env -D
Babel은 src/server.js 파일에 작성된 코드를 일반 Node.js 코드로 컴파일 .gitignore파일 생성 후 해당 파일 내용으로/node_modules입력
node_modules는 단순히npm i로 한번에 설치할 수 있는 폴더이기도 하고 용량도 크므로 git에 업로드하지 않기 위해 다음과 같은 작업을 함nodemon.json파일에 아래와 같은 코드를 넣어서 실행 단축어 생성
server.js에 대한babel-node명령문 실행
{
  "exec": "babel-node src/server.js"
}babel.json파일에 아래와 같은 코드를 넣어서 실행 단축어 생성
{
  "presets": ["@babel/preset-env"]
}package.json에scripts추가
"scripts": {
  "dev": "nodemon"
},- Express 설치:
npm i express
그 후server.js에 가서express불러오고 app 생성하기
// server.js
import express from "express";

const app = express();

console.log("hello");

const handleListen = () => console.log('Listening on http://localhost:3000');
app.listen(3000, handleListen);- Pug 설치:
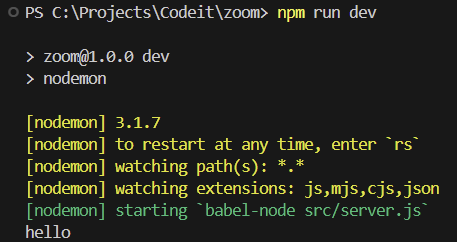
npm i pug npm run dev로 최종 설정 확인
FrontEnd Setup
src폴더 >public폴더 >js폴더 >app.js파일 순으로 작성
추후에 css 폴더 등을 생성할 수도 있으므로 굳이public폴더 >js폴더 구조를 고수
public폴더: FE 설정에 필요한 Js 파일들을 모으는 폴더- pug 설정 ← pug 페이지들을 렌더링하기 위함
src폴더 >views폴더 >home.pug파일 생성
// server.js
import express from "express";

const app = express();

app.set("view engine", "pug");
app.set("views", __dirname + "/views");


const handleListen = () => console.log('Listening on http://localhost:3000');
app.listen(3000, handleListen);- route 설정: 이 프로젝트에서는 하나의 route만 사용함
app.get("/", (req, res) => res.render("home");✨ 본 프로젝트에서 express가 하는 일은 view를 설정하고 render 해주는 정도로, 나머지는 websocket에서 실시간으로 다룰 것
home.pug파일에html:5로 기본적인 html 설정하기
doctype html
html(lang="en")
head
meta(charset="UTF-8")
meta(name="viewport", content="width=device-width, initial-scale=1.0")
title ZOoom
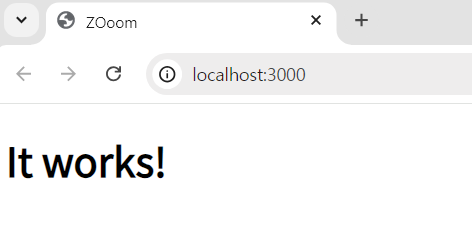
body
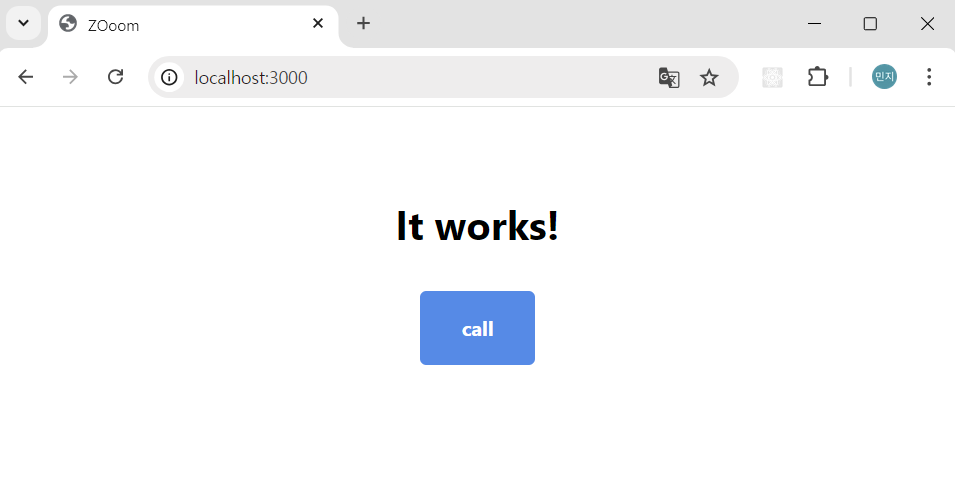
h1 It works!
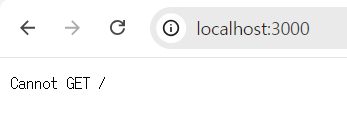
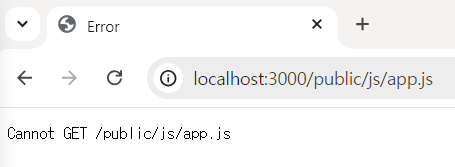
script(src="/public/js/app.js")- 그러나 여기까지 작성한다고 해서
script의 경로는 작동하지 않음
←http://localhost:3000/public/js/app.js라고 적으면 아래와 같이 나옴.
static 작업이 아직 안 되어있기 때문!
- static 작업
// server.js
import express from "express";

const app = express();

app.set("view engine", "pug");
app.set("views", __dirname + "/views");
// 여기에 추가
app.use("/public", express.static(__dirname + "/public"));
app.get("/", (req, res) => res.render("home");

const handleListen = () => console.log('Listening on http://localhost:3000');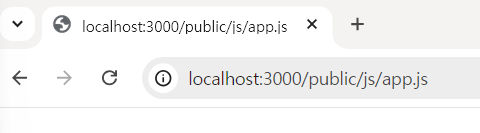
app.listen(3000, handleListen);- error에서 빈화면으로 바뀜, 이제
app.js에 내용을 추가하게 되면 이 화면에 렌더링 될 것임
- nodemon 재시작 주기

현재는 FE에 렌더링되는app.js가 수정될 때마다도 nodemon이 재시작되고 있음.. 이 경우 서버 재시작이 너무 빈번하게 일어나게 됨.
views나 서버를 수정할 때만 nodemon이 재시작될 수 있도록 수정!
▷nodemon.json파일에 가서 폴더public을 무시하도록 설정
{
    "ignore": ["src/public/*"],
  	"exec": "babel-node src/server.js"
}
✨ Ctrl + C 로 서버를 종료한 후 npm run dev로 재시작하고, app.js를 수정했을 때 서버가 재시작되지 않는 것을 확인!
home.pug파일에서, 결과물을 좀 더 개선하기 위해MVP CSS를 사용
<link rel="stylesheet" href="https://unpkg.com/mvp.css">를 header에 추가
- 전
- 후
doctype html
html(lang="en")
head
meta(charset="UTF-8")
meta(name="viewport", content="width=device-width, initial-scale=1.0")
title ZOoom
link(rel="stylesheet", href="https://unpkg.com/mvp.css")
body
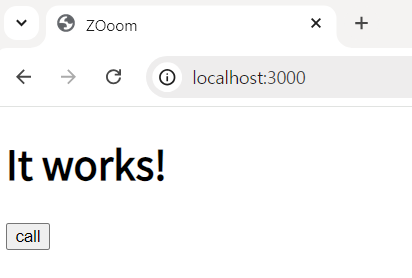
header
h1 ZOoom
main
h2 Welcome to ZOoom
button call
script(src="/public/js/app.js")app.js의 자바스크립트가 잘 연결되었는지 확인하기 위해alert("hi");추가 후 새로고침
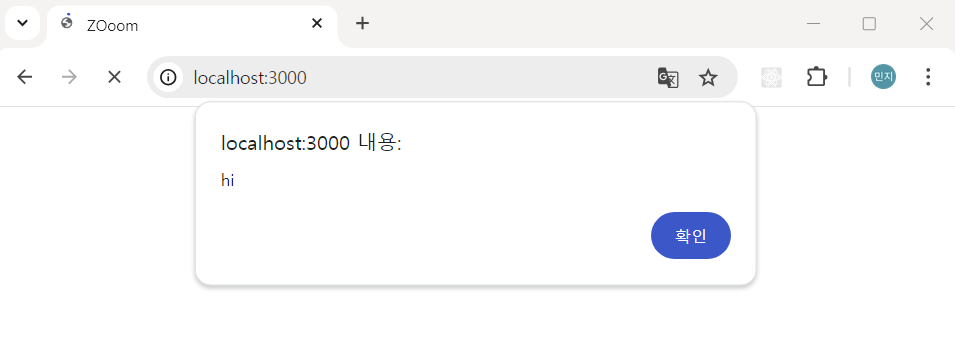
- 성공적으로 FE 세팅 끝
server.js에서 우리는/의 홈화면만 사용할 것이므로 사용자가 다른 링크를 입력했을 때 무조건 홈화면으로 redirect하기 위해 아래의 코드를 추가해줄 수 있음
app.get("/*", (req, res) => res.redirect("/"));HTTPS vs WebSockets
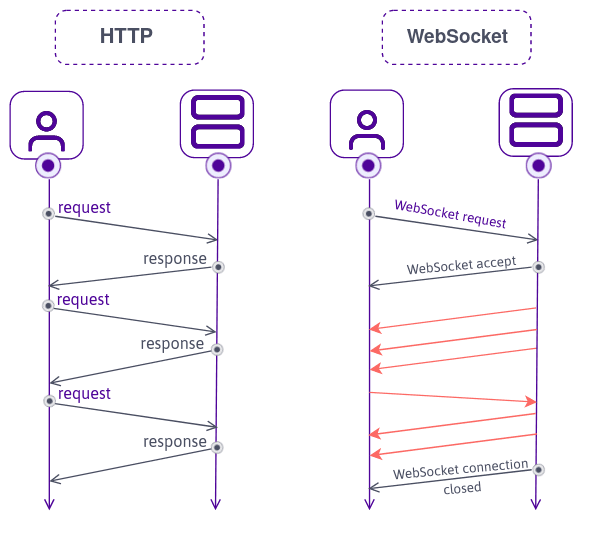
- HTTP와 WebSocket은 둘 다 프로토콜이라는 공통점이 있다.
- HTTP
- HTTP는 stateless하다: 사용자가 request를 보내고 (예: get, post..) 나서 서버는 respond 한 후 사용자를 매번 잊어버리므로(stateless), 로그인 등에 사용되는 OAuth에서는 개인페이지 조회 등 사용자를 특정해야 하는 동작에서 서버에게 사용자를 remind하기 위해 cookie를 보냄
- HTTP는 request를 받아야 respond할 수 있다: 아무때나 사용자에게 정보를 보낼 수는 없다
- HTTP는 real time으로 동작하지 않는다
- 모든 인터넷은 HTTP를 중심으로 구축되어있다
- WebSockets
- 접근 주소:
wss://또는ws://로 시작하며, 이는 web sockets secure 또는 web sockets의 약자이다 - request를 받고 나면 accept를 하게 되는데, 이 후로는 bi-directional한 connection을 생성한다 (즉, 양방향 연결을 생성한다.)
- 이러한 bi-directional한 connection을 생성하고 나면 사용자와 서버는 마치 터널이 연결되듯, 계속해서 연결되어있으며 당연하게도 서버는 사용자를 기억하게 된다.
- 또한, 서버는 request 없이도 브라우저(사용자)에게 정보를 자유롭게 보낼 수 있다.
WebSockets in NodeJS
ws: WebSockets의 가장 기초가 되는 기본적인 foundation으로 필수 기능만 존재함
npm i ws로 설치- 채팅방 구현 등의 필수적이지 않은 기능의 구현을 위해
ws를 사용해서 제작된 framework를 활용할 예정
- 현재 express로 작성된
server.js는 http 기반으로 서버를 구동하고 있음. 우리는 이 로직을 ws로 바꾸고자 하므로, 몇가지 변경사항들을 작성할 것임
아래의 로직을 추가함으로서 express가 ws를 지원하도록 함
// 이 때, http는 node.js에 이미 설치되어있으므로 설치할 필요는 없음
import http from "http";
import express from "express";
import WebSocket from "ws";

const app = express();
const server = http.createServer(app); // server 구축 완료 ✨ 이 서버 위에서 WebSockets 작성
// wss의 인자로 server를 줌으로서 http 서버가 시작되면 동시에 WebSocket 서버도 시작됨!
const wss = new WebSocket.server({ server });// WebSocket server
✨ 최종 server.js 코드
import express from "express";
import http from "http";
import WebSocket from "ws";

const app = express();

app.set("view engine", "pug");
app.set("views", __dirname + "/views");
app.use("/public", express.static(__dirname + "/public"));
app.get("/", (_, res) => res.render("home"));
app.get("/*", (_, res) => res.redirect("/"));

const handleListen = () => console.log('Listening on http://localhost:3000');
const server = http.createServer; // HTTP server
const wss = new WebSocket.server({ server });// WebSocket server

server.listen(3000, handleListen);
WebSocket Events
- FE에서는 어떤 것도 설치할 필요 없음, BE에서만 추가 설치
- WebSocket은 FE의 버튼과 유사하다고 이해할 수 있다.
버튼에서 우리는addEventListener등을 통해 이벤트를 확인하고, 이벤트가 발생했을 때 실행할 함수를 정의한다.
이처럼 WebSocket에도 이벤트가 있고, 이벤트가 발생할 때 사용할 function을 정의하면 된다. - form, 버튼에
click,submit등의 특정 이벤트들이 존재하는 것과 같이 WebSocket에도 특정 이벤트가 있음
Socket이란 무엇일까? 현재 연결된 사용자와 브라우저의 contact line (연락 라인)으로,on메소드에서 반환값으로 반환되며 BE에 연결된 사용자의 정보를 제공함.
function handleConnection(socket) {
    console.log(socket);
}

wss.on("connection", handleConnection);- FE와 Socket을 연결하기
- 브라우저 위치 정보 받아오기: 브라우저 개발자도구 → console창에서 window.location.host 입력 → 현재 브라우저 위치 정보 받아올 수 있음
// app.js
const socket = new WebSocket(`ws://${window.location.host}`);
// server.js update
import express from "express";
import http from "http";
import WebSocket from "ws";
const app = express();
app.set("view engine", "pug");
app.set("views", __dirname + "/views");
app.use("/public", express.static(__dirname + "/public"));
app.get("/", (req, res) => res.render("home"));
app.get("/*", (req, res) => res.redirect("/"));
const handleListen = () => console.log("Listening on http://localhost:3000");
const server = http.createServer(app);
const wss = new WebSocket.Server({ server });
function handleConnection(socket) {
socket.send("hello!!!!!!!!!!!!!!");
}
wss.on("connection", handleConnection);
server.listen(3000, handleListen);