
게시판 모델을 작성하면서..
작성은 공식 문서 Django-CkEditor를 참고하고 작성 했습니다.
Django를 통한 프로젝트를 진행하면서 게시판 Edit을 만드는 부분을 어떻게 구현해야 할 지 고민했다.
단순하게 게시글 Model에 Image, Description 적어야하며, 사용자에게 보다 많은 선택지를 주고 싶었다.
그리고 사용자에게 여러 이미지 파일을 올려도 모델 구성으로써 하려면 Image 관련 모델을 1:N 구성으로 저장하여야 했다.
이게 과연 효율적인가? 라는 고민으로 여러 라이브러리 Editor을 살펴보았다.
WYSIWYG 정의와 종류
찾아보니 Django에서 사용하는 Editor APP으로 많은 종류가 있었다.
그 중에서 정보가 많은 두 에디터를 찾아보았다.
그리고 이러한 에디터를 WYSIWYG 기반의 Editor라고 하며 이에 대한 정의를 확인해보자.
WYSIYG란?
한국말로 위지위그 라고 표현한다.
줄임말로 "What you see is what you get "이라는 의미를 가지고 있다.
글 그대로 보는대로 얻는다. 라는 뜻을 가지고있다.
따로 HTML에서의 Style을 통한 문법이 아닌, 문서 편집 과정을 통해
화면에 포맷된 낱말, 문장이 출력물과 동일하게 나오는 방식을 뜻한다.
Summernote
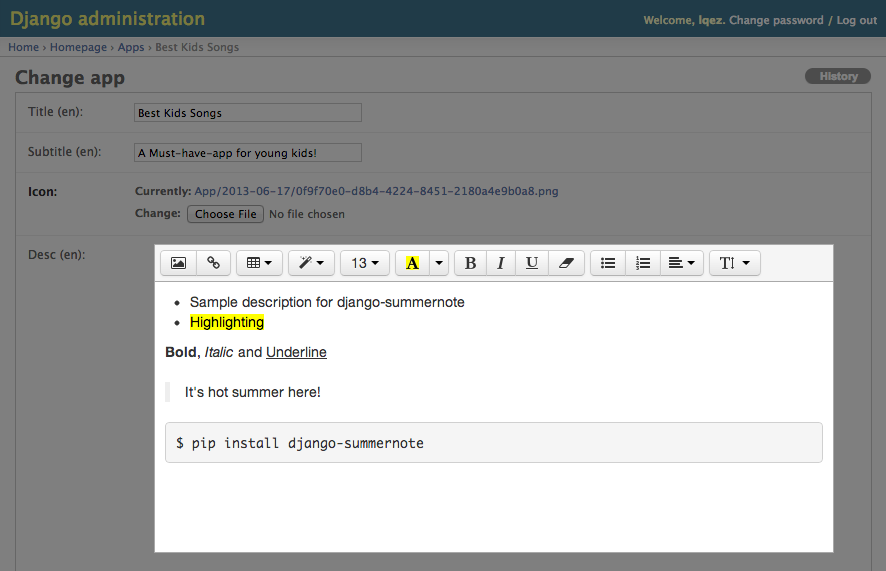
기본적으로 Summernote는 CDN 방식으로 Jquery를 이용해서 적용한다.
그리고 Django app으로 개발되어 있어서 쉽게 불러서 설치 할 수 있다.
그렇지만 이걸 말고 다른 에디터를 사용해보려고 한다. (그런데 이 Editor가 더 사용하기 편한듯..?)
CkEditor
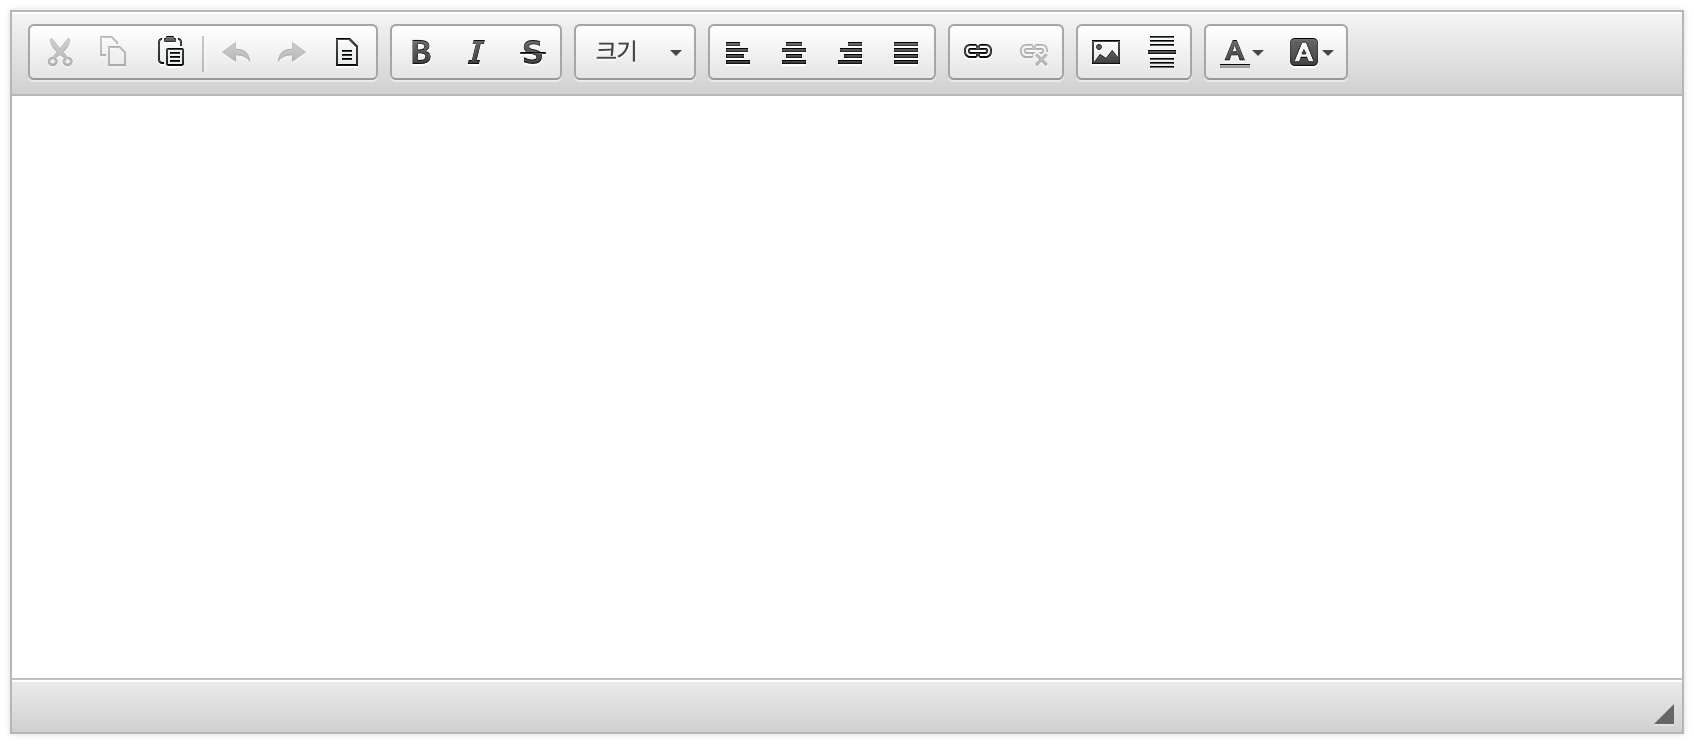
우리가 실행 해볼 CkEditor이다.
Summernote보다 기능도 적지만 꾸준히 업데이트 되고 있다. 가장 단점은 저장 기능이 유료이다.
본 게시글은 Django-Ckeditor를 통해, 작성하였습니다.
커스텀 하는 법
사실 사용 방식에 대해서는 너무 많이 알려져 있어서 옆 블로그 링크를 이용하면 좋을 것 같다.
Django에서 CKeditor를 커스텀하기 위해서는 config 값을 오버라이딩 해야 한다.
#setting 파일에서 해당 코드 값을 불러와 커스텀한다.
CKEDITOR_CONFIGS = {
    'default': {
        'skin': 'moono',
        # 'skin': 'office2013',
        'toolbar_Basic': [
            ['Source', '-', 'Bold', 'Italic']
        ],
        'toolbar_YourCustomToolbarConfig': [
            {'name': 'document', 'items': ['Source', '-', 'Save', 'NewPage', 'Preview', 'Print', '-', 'Templates']},
            {'name': 'clipboard', 'items': ['Cut', 'Copy', 'Paste', 'PasteText', 'PasteFromWord', '-', 'Undo', 'Redo']},
            {'name': 'editing', 'items': ['Find', 'Replace', '-', 'SelectAll']},
            {'name': 'forms',
             'items': ['Form', 'Checkbox', 'Radio', 'TextField', 'Textarea', 'Select', 'Button', 'ImageButton',
                       'HiddenField']},
            '/',
            {'name': 'basicstyles',
             'items': ['Bold', 'Italic', 'Underline', 'Strike', 'Subscript', 'Superscript', '-', 'RemoveFormat']},
            {'name': 'paragraph',
             'items': ['NumberedList', 'BulletedList', '-', 'Outdent', 'Indent', '-', 'Blockquote', 'CreateDiv', '-',
                       'JustifyLeft', 'JustifyCenter', 'JustifyRight', 'JustifyBlock', '-', 'BidiLtr', 'BidiRtl',
                       'Language']},
            {'name': 'links', 'items': ['Link', 'Unlink', 'Anchor']},
            {'name': 'insert',
             'items': ['Image', 'Flash', 'Table', 'HorizontalRule', 'Smiley', 'SpecialChar', 'PageBreak', 'Iframe']},
            '/',
            {'name': 'styles', 'items': ['Styles', 'Format', 'Font', 'FontSize']},
            {'name': 'colors', 'items': ['TextColor', 'BGColor']},
            {'name': 'tools', 'items': ['Maximize', 'ShowBlocks']},
            {'name': 'about', 'items': ['About']},
            '/',  # put this to force next toolbar on new line
            {'name': 'yourcustomtools', 'items': [
                # put the name of your editor.ui.addButton here
                'Preview',
                'Maximize',

            ]},
        ],
        'toolbar': 'YourCustomToolbarConfig',  # put selected toolbar config here
        # 'toolbarGroups': [{ 'name': 'document', 'groups': [ 'mode', 'document', 'doctools' ] }],
        # 'height': 291,
        # 'width': '100%',
        # 'filebrowserWindowHeight': 725,
        # 'filebrowserWindowWidth': 940,
        # 'toolbarCanCollapse': True,
        # 'mathJaxLib': '//cdn.mathjax.org/mathjax/2.2-latest/MathJax.js?config=TeX-AMS_HTML',
        'tabSpaces': 4,
        'extraPlugins': ','.join([
            'uploadimage', # the upload image feature
            # your extra plugins here
            'div',
            'autolink',
            'autoembed',
            'embedsemantic',
            'autogrow',
            # 'devtools',
            'widget',
            'lineutils',
            'clipboard',
            'dialog',
            'dialogui',
            'elementspath'
        ]),
    }
}
위 코드를 Setting 파일에서 수정하고 서버를 구동시키면 된다.
기본적으로 'toolbar':'YourCustomToolbarConfig' 값이 지정 되어있다.
모든 기능을 사용하고 싶다면 toolbar_Basic 값으로 교체 해주면 된다.
그렇게해서 우리가 필요한 플러그인을 커스텀하여 Editor를 이용할 수 있다.
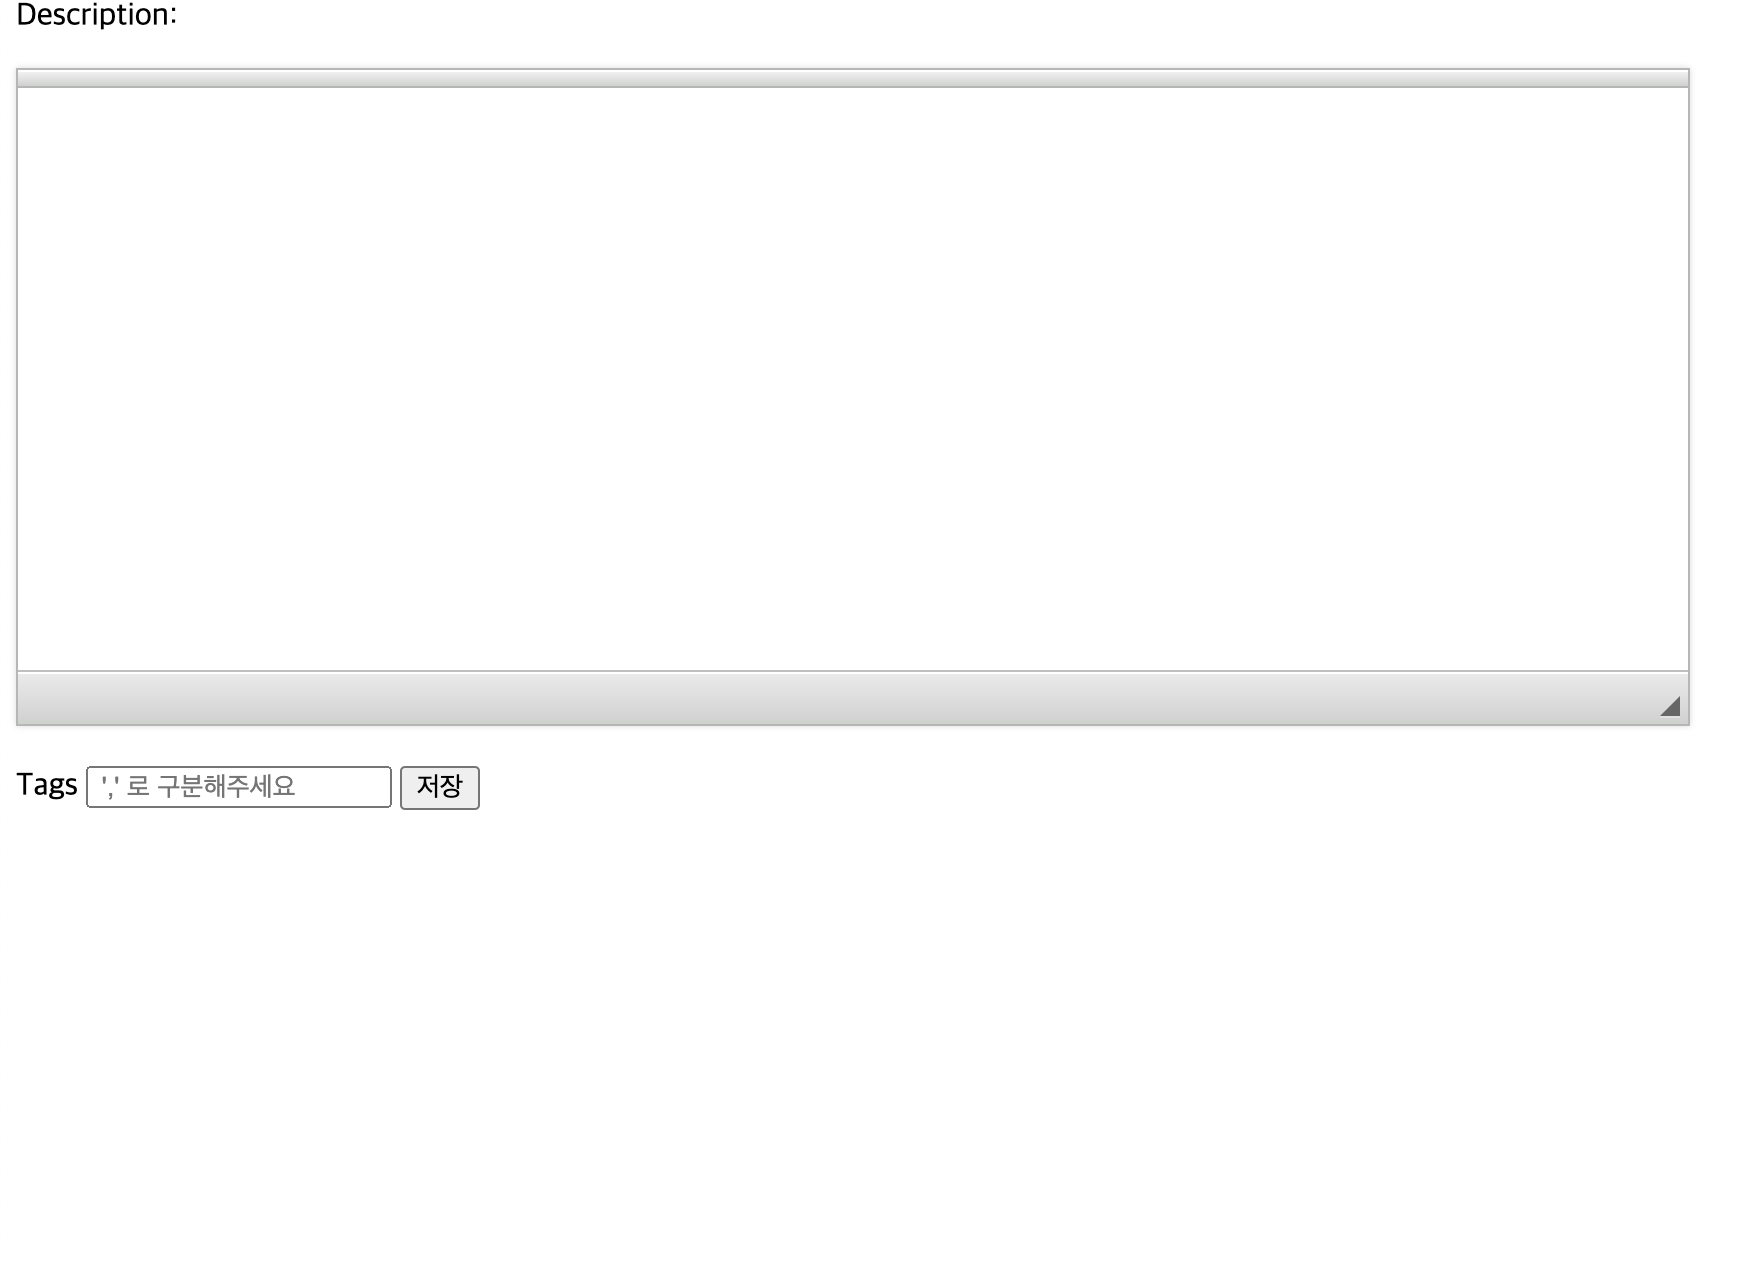
toolbar를 다 삭제한 폼의 모습이다.
사용 후 느낀 점,
가장 불편한 점은 역시 Forms.py 를 이용해서 App을 불러온다는 점이다. 편리함을 위해 만든 기능이지만, 잘 사용하지 못하면 굉장히 불편하다고 느꼈다.
