Minikube에 프로메테우스, 그라파나 k8s 모니터링 파이프라인 구축하기

안녕하세요!
이번엔 Minikube에 쿠버네티스 리소스 모니터링 환경을 구축해보려고 합니다.
이~전 포스팅에서 VirtualVM을 이용해서 구축한 k8s 환경에 모니터링 환경(파이프라인)을 구축한 적이 있는데,
실제로 프로젝트에서 사용하고자 하는 Minikube에 프로메테우스와 그라파나를 설치하고 연동한 뒤 리소스를 모니터링 해보고자 합니다.
레츠 기릿!
Minikube 구축
Minikube와 관련된 내용은 제 블로그 검색창에 minikube를 검색해서 참고해주세요!
사전 환경 점검
- Ubuntu 18.04
- minikube version: v1.24.0
- kubectl version
Client Version: version.Info{Major:"1", Minor:"22", GitVersion:"v1.22.3", GitCommit:"c92036820499fedefec0f847e2054d824aea6cd1", GitTreeState:"clean", BuildDate:"2021-10-27T18:41:28Z", GoVersion:"go1.16.9", Compiler:"gc", Platform:"linux/amd64"}- 버전이 딱히 중요하다고 생각되진 않지만, 혹시 종속되는 버전이 있다면 알 수 있게 기록해두겠습니다.
- 리눅스 서버에서 사용자는 Minikube를 사용하고 있는 sysadmin으로 진행하겠습니다.
헬름 설치
- 아래를 따라 헬름을 설치하고 활성화합니다.
$ curl -fsSL -o get_helm.sh https://raw.githubusercontent.com/helm/helm/master/scripts/get-helm-3
$ chmod 700 get_helm.sh
$ ./get_helm.sh
얼럿매니저 설정
- 헬름 레포를 가져오고 업데이트 합니다.
helm repo add prometheus-community https://prometheus-community.github.io/helm-charts
helm repo update-
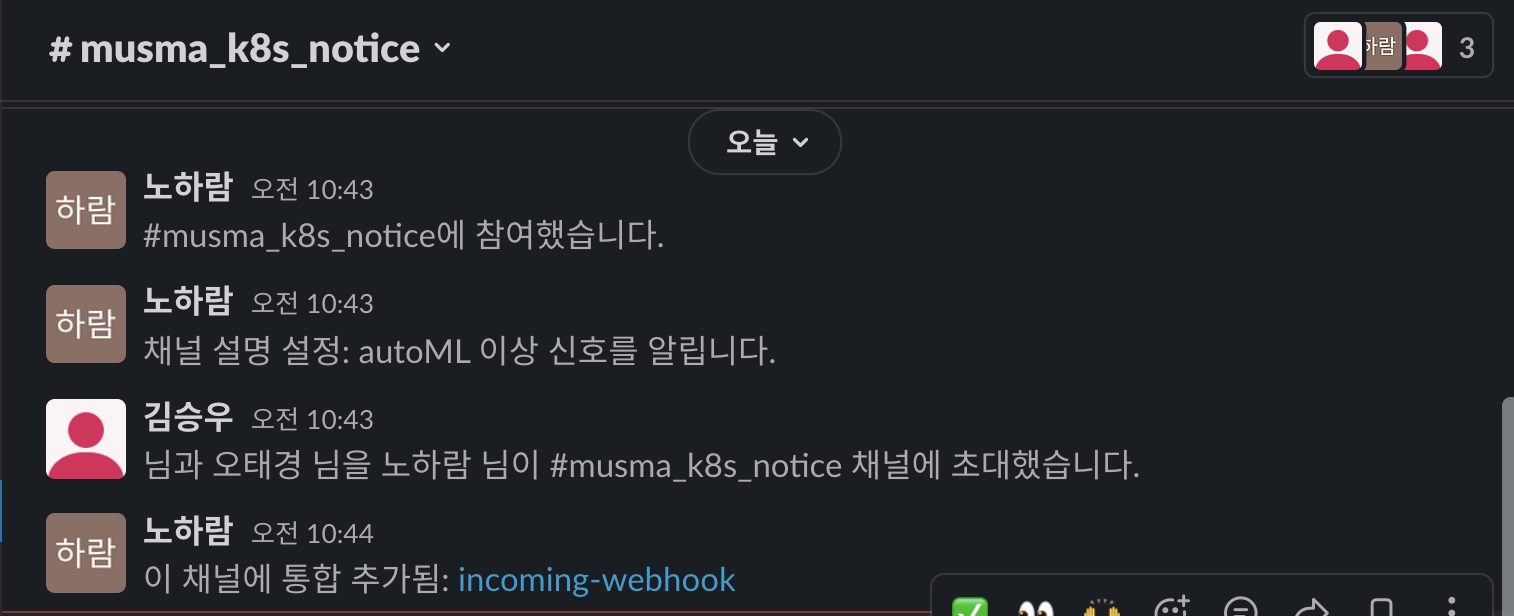
슬랙에 들어가서 채널 우클릭 - 슬랙에 앱 추가 - 수신 웹후크 추가

-
슬랙 채널 uri를 저장해두고, prometheus-community/kube-prometheus-stack의 values.yaml을 수정합니다.
-
prometheus-community/kube-prometheus-stack을 pull해서 직접 values.yaml의 내용을 수정하고 update 해주겠습니다.
-helm pull prometheus-community/kube-prometheus-stack: 헬름 차트를 tar로 받아옵니다.
-tar -xf ./kube-prometheus-stack-32.2.1.tgz: 압축을 해제합니다.
-cd kube-prometheus-stack/: 압축해제한 폴더로 들어갑니다.
-vim values.yaml: 차트에 적용될 정의를 직접 수정할 파일입니다.

-
아래에 따라 세 부분을 수정해주세요!
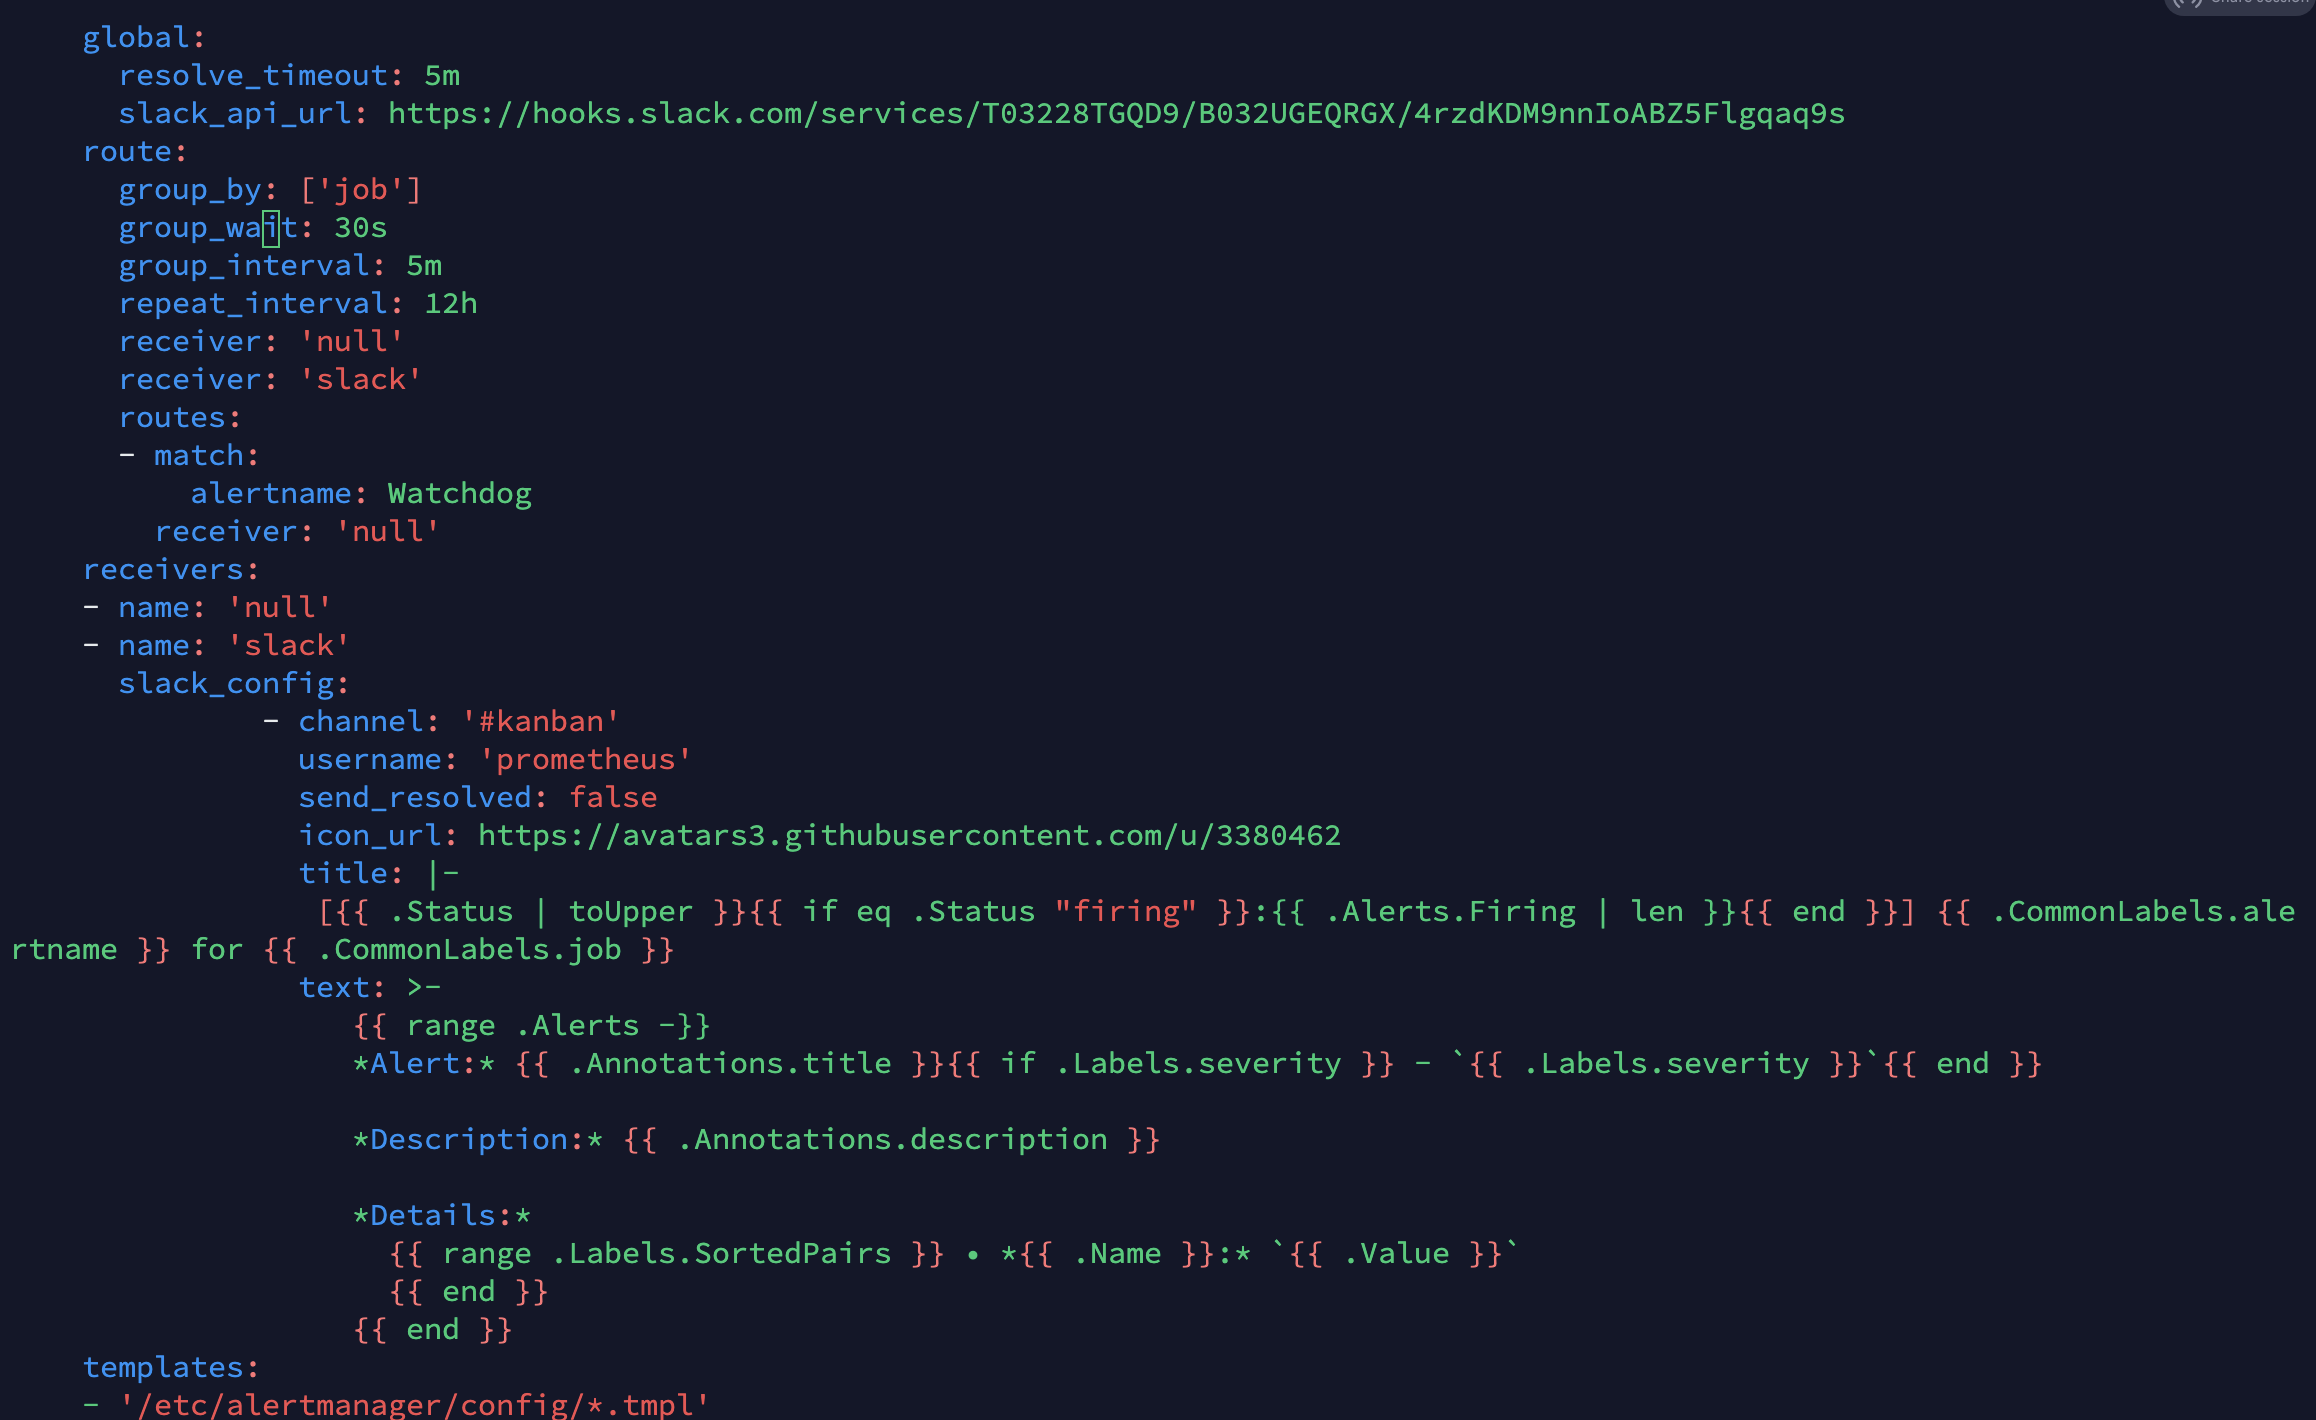
alertmanager - config - global - slack_api_url을 아까 저장해둔 경로로 추가합니다.(원래는 없습니다.)
- 각 내용이 들어가는 위치에 유의하세요!
-slack_api_url: <수신 웹후크 채널>추가
-receiver: 'slack'추가
- 아래 내용도 추가
    receivers:
    - name: 'null'
    - name: 'slack'
      slack_config:
              - channel: '#musma_k8s_notice'
                username: 'prometheus'
                send_resolved: false
                icon_url: https://avatars3.githubusercontent.com/u/3380462
                title: |-
                 [{{ .Status | toUpper }}{{ if eq .Status "firing" }}:{{ .Alerts.Firing | len }}{{ end }}] {{ .CommonLabels.alertname }} for {{ .CommonLabels.job }}
                text: >-
                   {{ range .Alerts -}}
                   *Alert:* {{ .Annotations.title }}{{ if .Labels.severity }} - `{{ .Labels.severity }}`{{ end }}

                   *Description:* {{ .Annotations.description }}

                   *Details:*
                     {{ range .Labels.SortedPairs }} • *{{ .Name }}:* `{{ .Value }}`
                     {{ end }}
                   {{ end }}
- values를 이용해서 헬름 차트를 설치하겠습니다. 동시에 얼럿매니저, 프로메테우스와 그라파나 모두 설치됩니다!
helm install -n monitoring prometheus . -f values.yaml

- 위처럼 변경 사항을 적용했다면 위에서 로드밸런서로 서비스 타입을 바꿔둔 것이 초기화됩니다. 얼럿매니저도 포함해서 모두 바꿔줍니다.
kubectl patch service -n monitoring prometheus-kube-prometheus-prometheus -p '{"spec": {"type": "LoadBalancer"}}'

kubectl patch service -n monitoring prometheus-grafana -p '{"spec": {"type": "LoadBalancer"}}'

kubectl patch service -n monitoring prometheus-kube-prometheus-alertmanager -p '{"spec": {"type": "LoadBalancer"}}'- 그 후 로컬 포트포워딩(
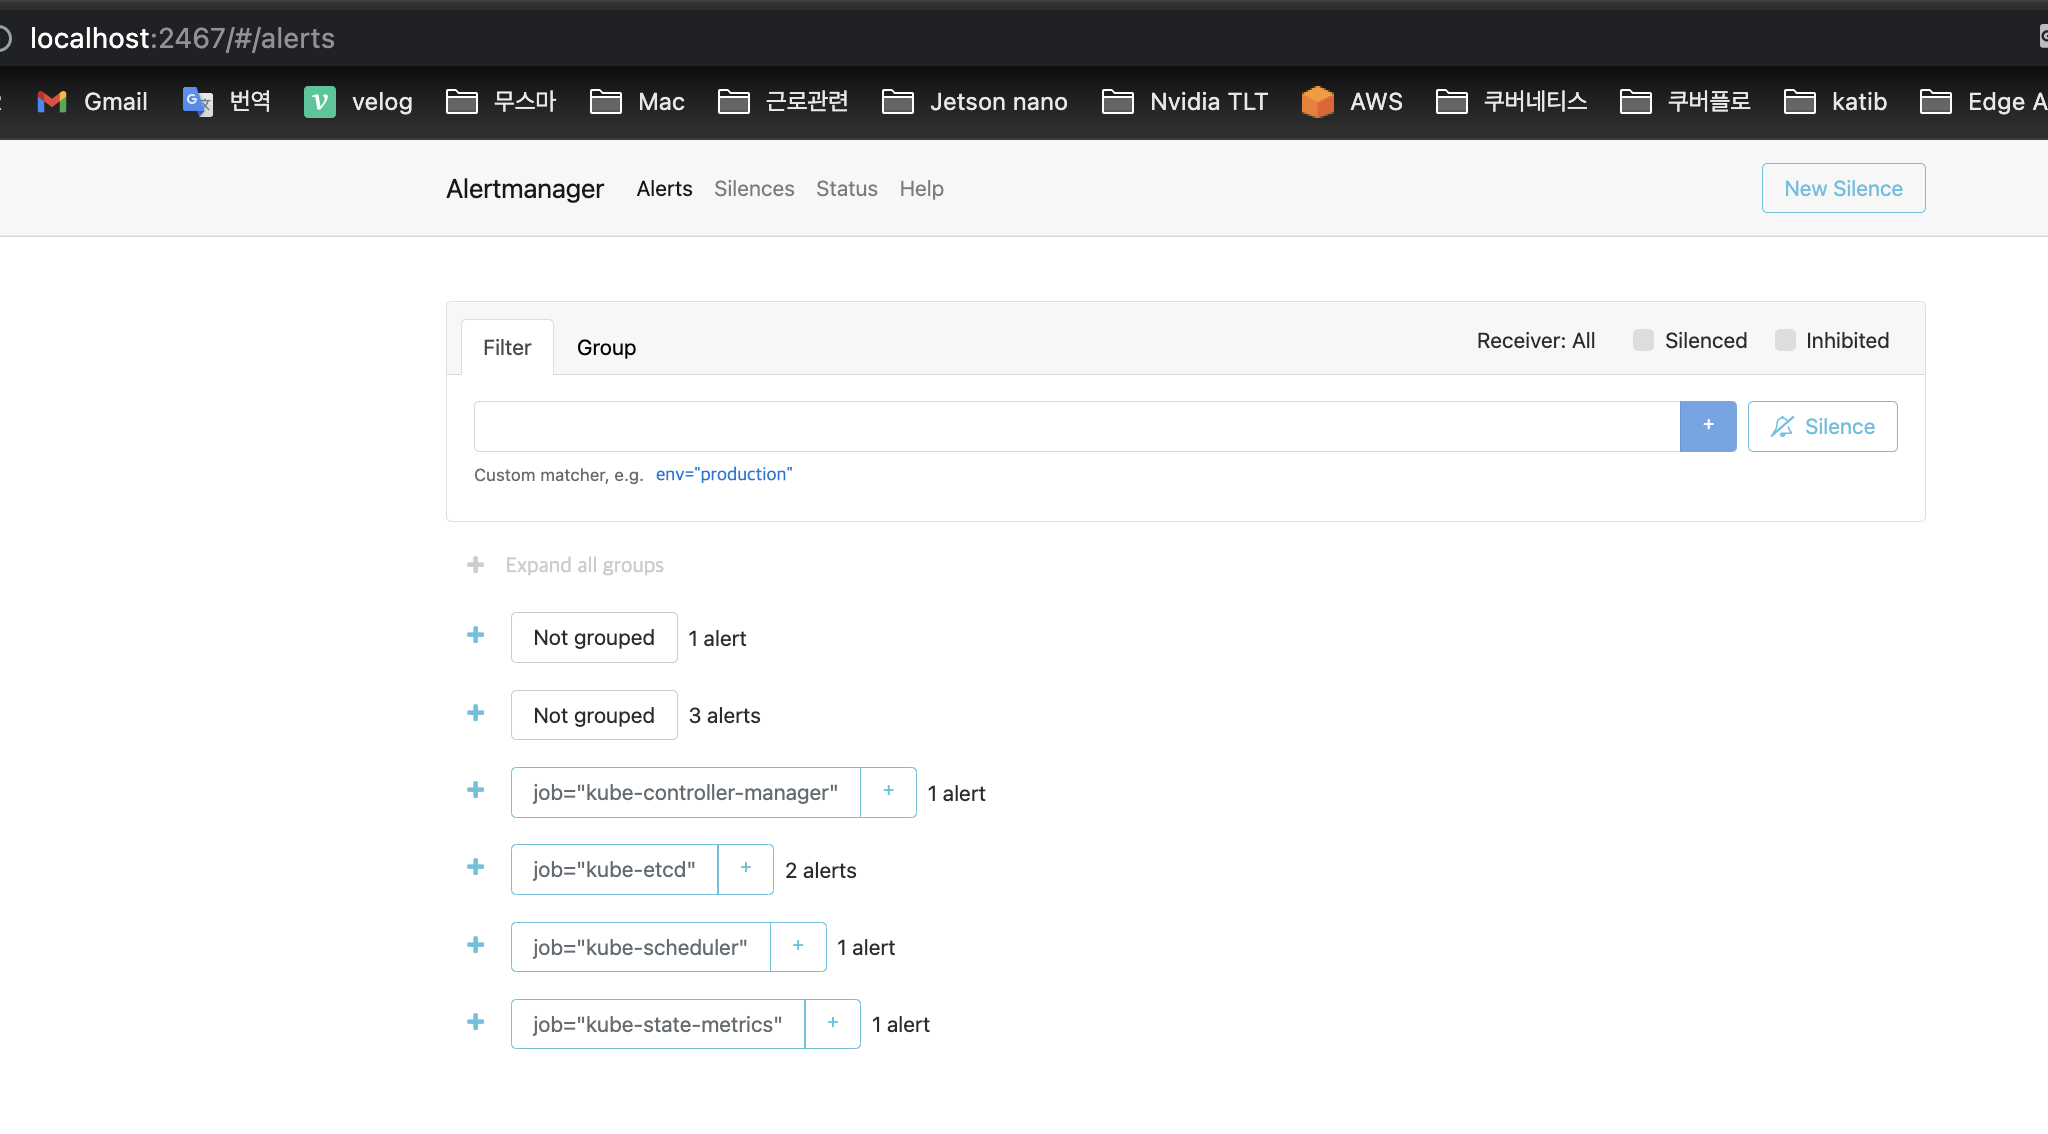
ssh -L <사용할 포트번호>:<서비스 EXTERNAL-IP>:<서비스포트> <서버 계정명>@<서버 주소>)로 얼럿매니저 서비스에 접근할 수 있습니다!

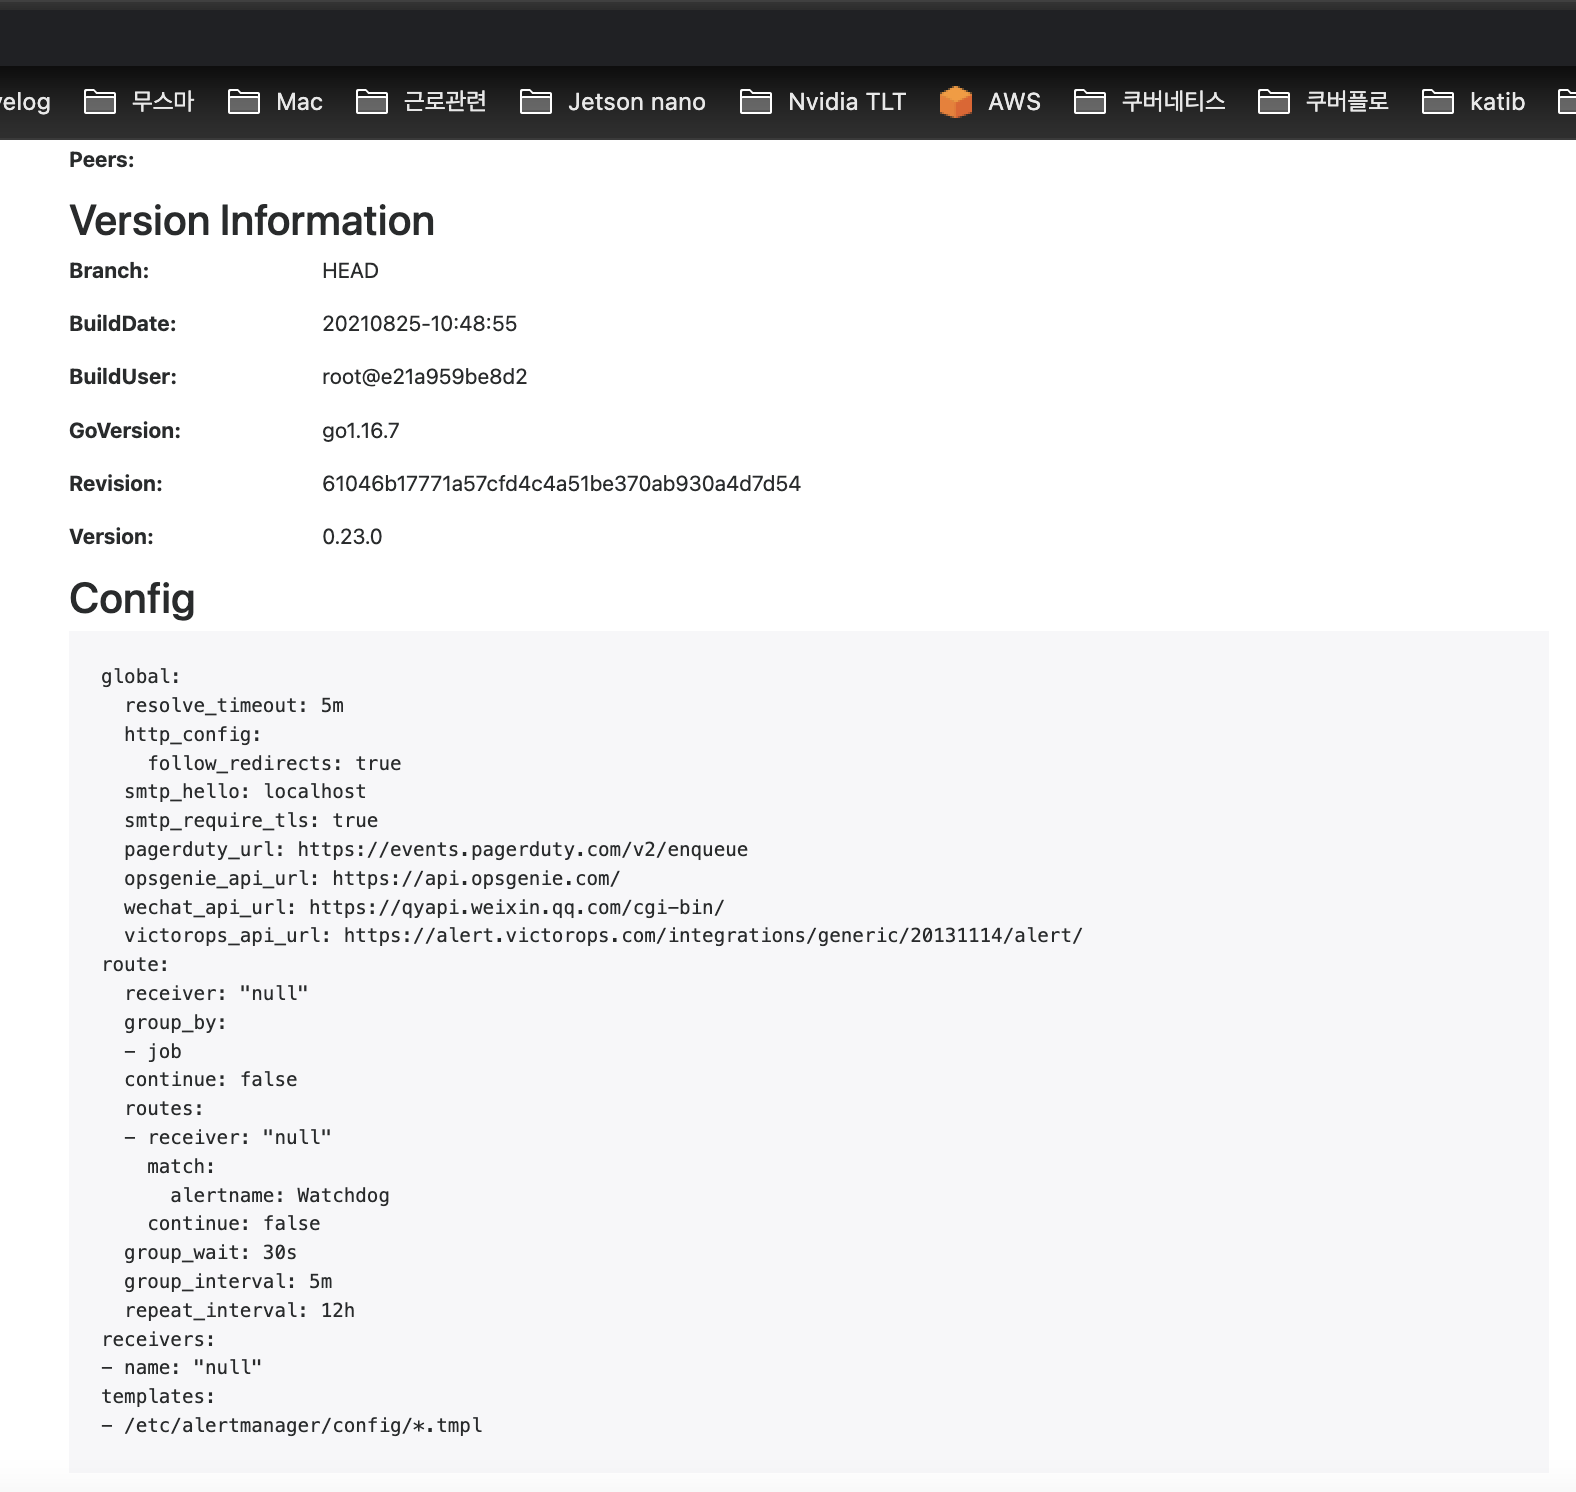
서비스 UI에 접근해서, Status로 이동해서 아까 작성한 내용이 제대로 적용되었나 확인해주세요!

프로메테우스 설치
- 헬름을 이용해서 프로메테우스를 설치합니다. 위의 설치과정에서 한번에 설치되었으니 바로 로컬 포트 포워딩을 통해 이용만 해도 됩니다. 아래는 알럿매니저 설정 없이 프로메테우스와 그라파나만 이용하고자 할 때 참고하시기 바랍니다!
- 보통 인터넷에서 확인할 수 있는 헬름을 통한 일반적인 방법이나, 소유 권한(chown), 혹은 helm 설치시 values.yaml 수정 등의 방법을 모두 시도해봤으나 권한 오류가 해결되지 않았습니다.
- 그냥 아래 명령을 그대로 따라하시길 바랍니다. 어렵게 찾아낸 minikube에서 정상적으로 프로메테우스를 띄우는 방법입니다.
- 선행으로 minikube 구축, minikube 내 metalLB 에드온 활성화 등이 필요합니다.
- 아래 명령을 모두 수행 후 로컬 포트포워딩을 통해 로컬 클라이언트에서 서버의 프로메테우스 UI에 접속할 수 있습니다.
ssh -L 2465:192.168.49.3:9090 sysadmin@192.168.0.14
$ kubectl create namespace monitoring
$ kubectl config set-context --current --namespace=monitoring
$ helm repo add prometheus-community https://prometheus-community.github.io/helm-charts
$ helm repo update
$ helm install prometheus prometheus-community/kube-prometheus-stack
$ kubectl get svc -n monitoring
$ kubectl patch service -n monitoring prometheus-kube-prometheus-prometheus -p '{"spec": {"type": "LoadBalancer"}}'
그라파나 설치
위의 과정을 진행하면 그라파나도 함께 설치됩니다.
클라이언트에서 접속할 수 있게 서비스 타입만 변경하고
로컬 포트포워딩을 통해 접속해봅시다!
kubectl patch service -n monitoring prometheus-grafana -p '{"spec": {"type": "LoadBalancer"}}'kubectl get svc -n monitoring
- EXTERNAL-IP가 192.168.49.4라는 정보를 얻었습니다. kubeflow부터 시작해서 IP가 1씩 증가하는 걸 알 수 있네요.ssh -L 2466:192.168.49.4:80 sysadmin@192.168.0.14- 그라파나 UI의 ID:
admin, password:prom-operator입니다.

이제 클라이언트에서 kubeflow, prometheus, grafana를 모두 사용할 수 있게 되었습니다!

하지만 설치가 끝이 아니죠, 실제로 프로메테우스와 그라파나를 통해 노드 메트릭을 수집하고, 시각화해서 쿠버네티스를 관리해야합니다.
이는 이전에 포스팅했듯 PromQL을 이용해서 메트릭을 가져와서 시각화 하는 방법도 있고, 아니면 Kuberhealthy라는 오픈소스를 이용하는 방법도 있습니다!
그라파나 UI에서 프로메테우스 메트릭을 가져와 시각화를 달성하는 방법을 알고싶다면 이 포스팅을 참고하세요!
삭제
helm uninstall -n monitoring prometheus- CRD는 수동으로 삭제해주어야합니다.
kubectl delete crd alertmanagerconfigs.monitoring.coreos.com \
kubectl delete crd alertmanagers.monitoring.coreos.com \
kubectl delete crd podmonitors.monitoring.coreos.com \
kubectl delete crd probes.monitoring.coreos.com \
kubectl delete crd prometheuses.monitoring.coreos.com \
kubectl delete crd prometheusrules.monitoring.coreos.com \
kubectl delete crd servicemonitors.monitoring.coreos.com \
kubectl delete crd thanosrulers.monitoring.coreos.com