Amazon RDS는 Relational Database Services의 약자로, 클라우드에서 관계형 데이터베이스를 더욱 간편하게 설정, 운영 및 확장할 수 있는 Pass 서비스이다.
설치가 정말 간단하다.
RDS 생성하기
AWS에 "RDS"를 검색하고
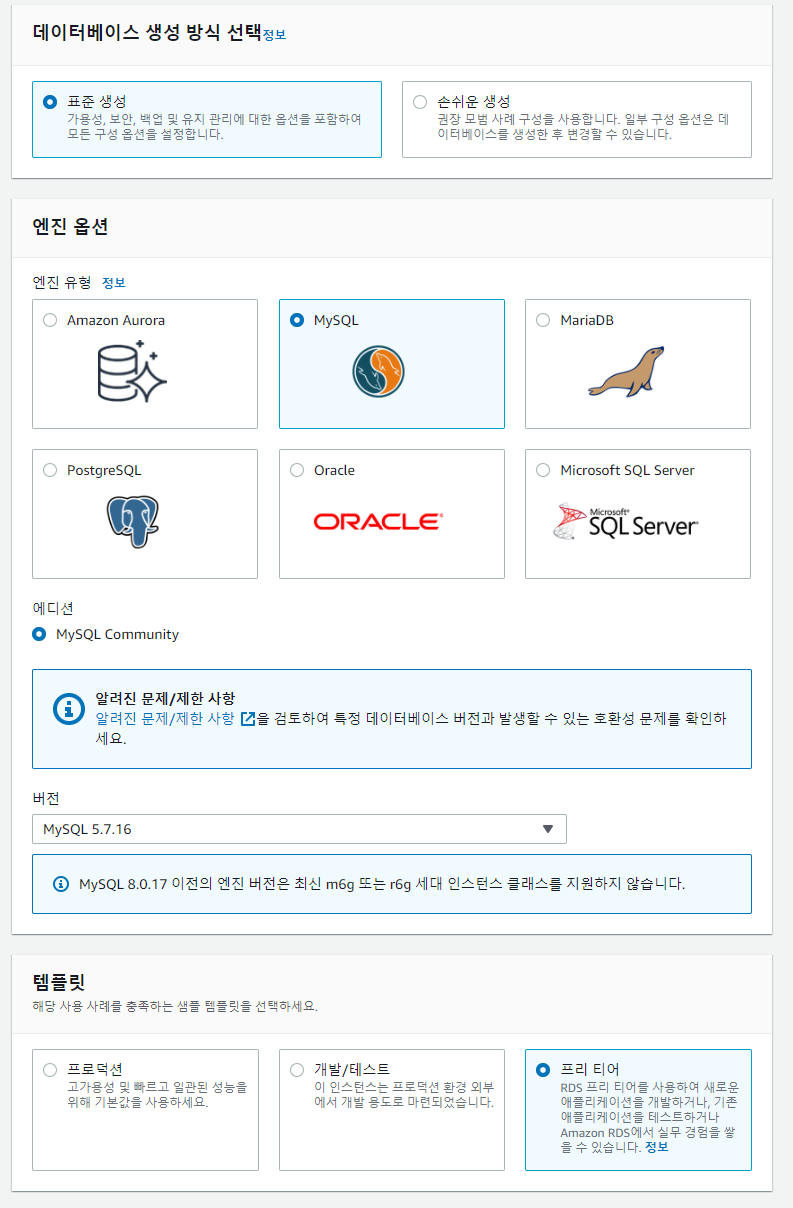
Mysql 버전은 5.7버전 or 8.0x버전으로 실행해보았다. 프리티어로 설정해줍니다.
💡 만약, Replica(master/slave) 설정을 하고 싶다면, 탬플릿 > 프로덕션으로 해줍시다!
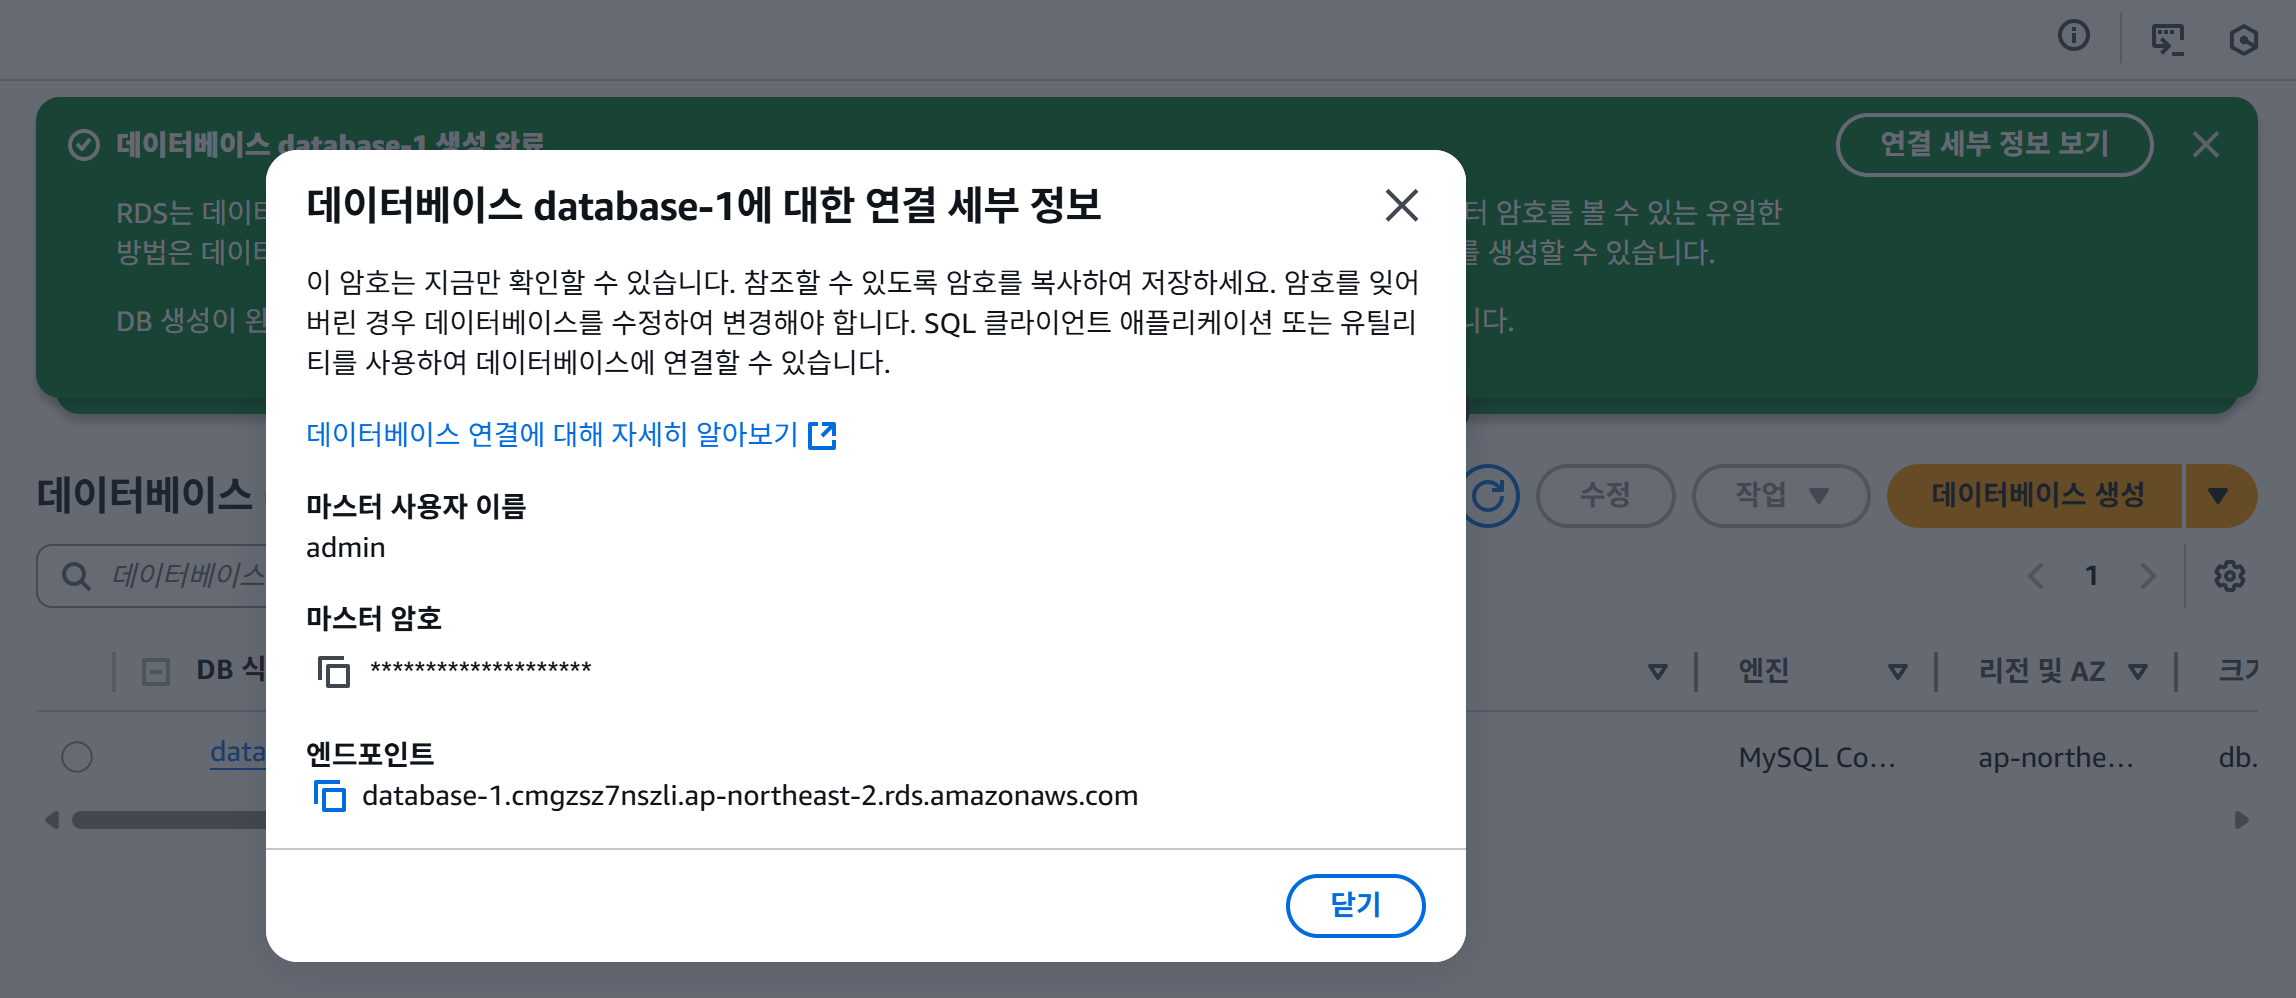
마스터 사용자 이름과 마스터 암호도 설정해준다.

또는 암호자동 생성을 할 수 있다. 암호자동 생성을 한다면, 마스터 암호는 데이터베이스 생성후, 배너 '연결세부 정부 보기' 를 클릭하고 알 수 있다!
그리고
❗: 퍼블릭 엑세스에
예체크
그외 username, password 말고는 건드릴 게 없다.
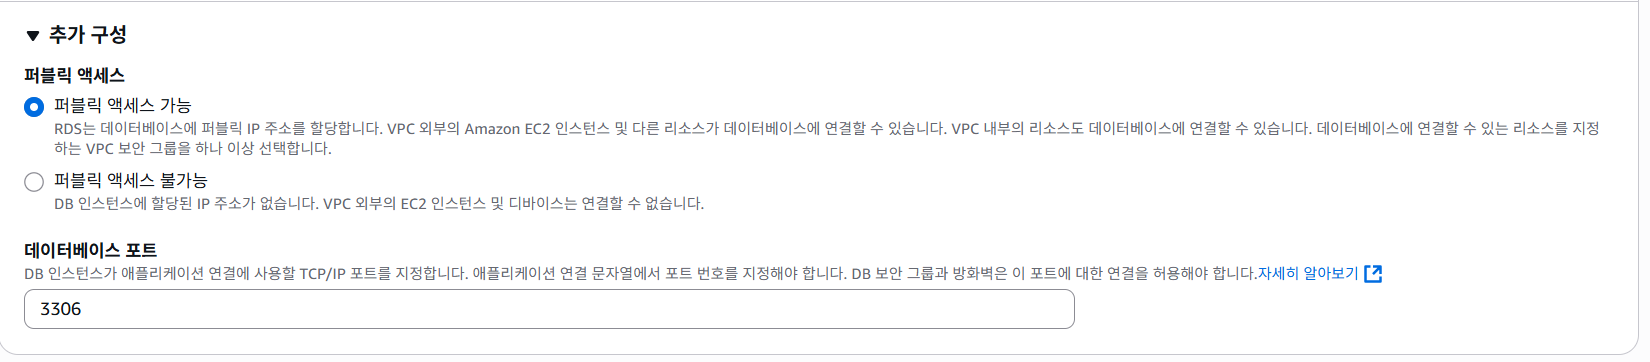
추가구성 > 포트 3306 확인

생성은 약 5분 정도 소요된다.
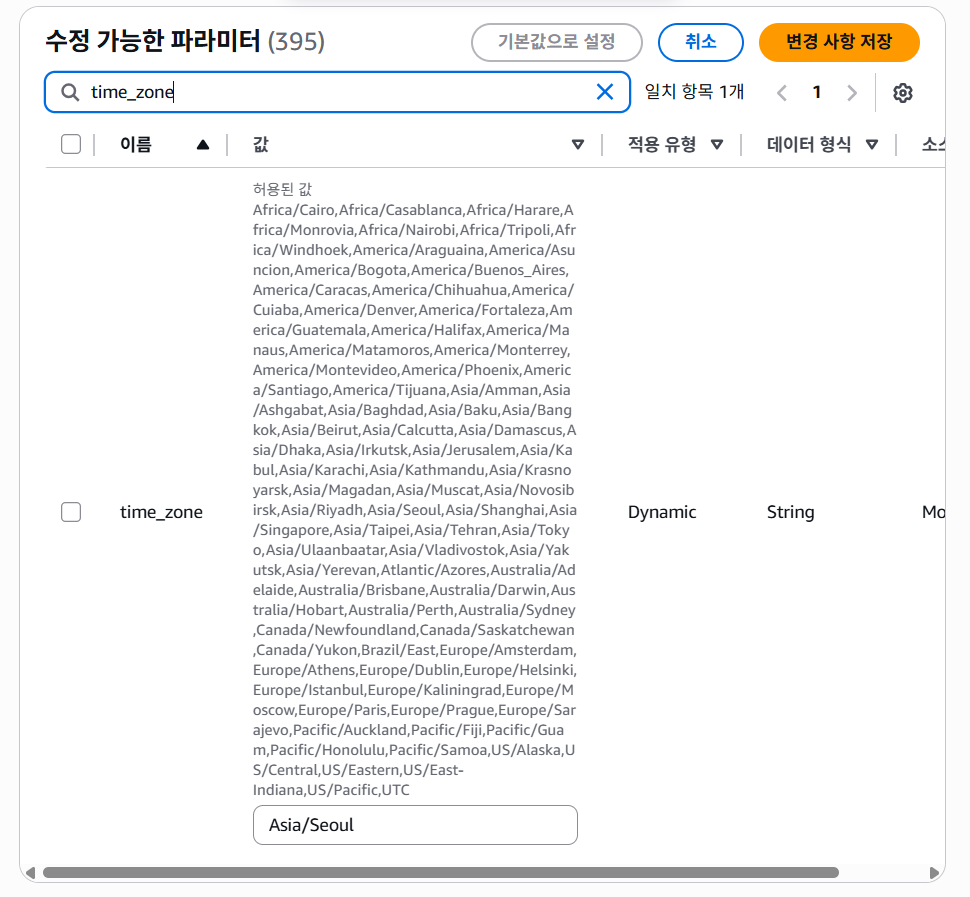
⭐ 파라미터 그룹
데이터베이스 생성후, 수정 > 추가 구성 에서 지정할 수 있다.
대신, 파아미터 그룹을 만들어서 추가해야 한다!
time_zone -> Asia/Seoul
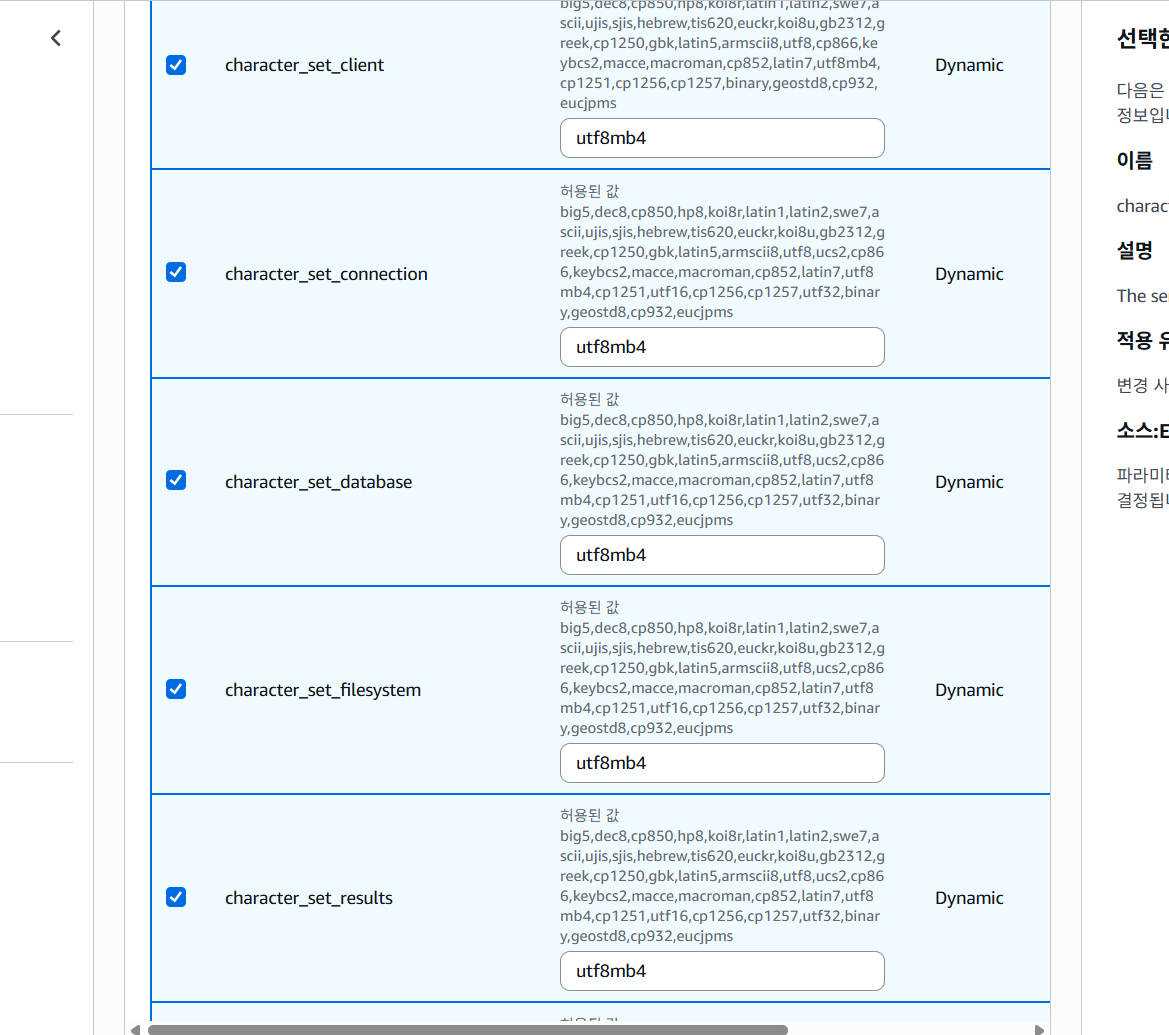
character_set_ -> utf8mb4
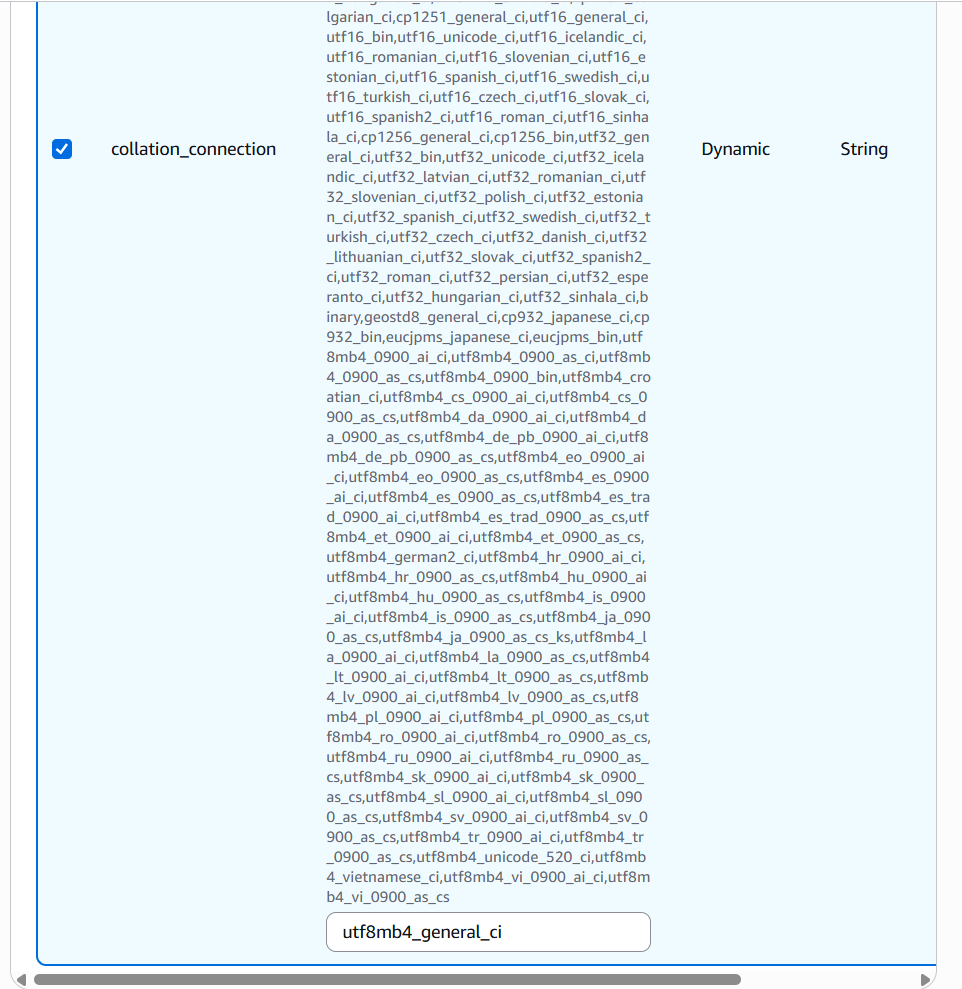
collation_connection -> utf8mb4_general_ci
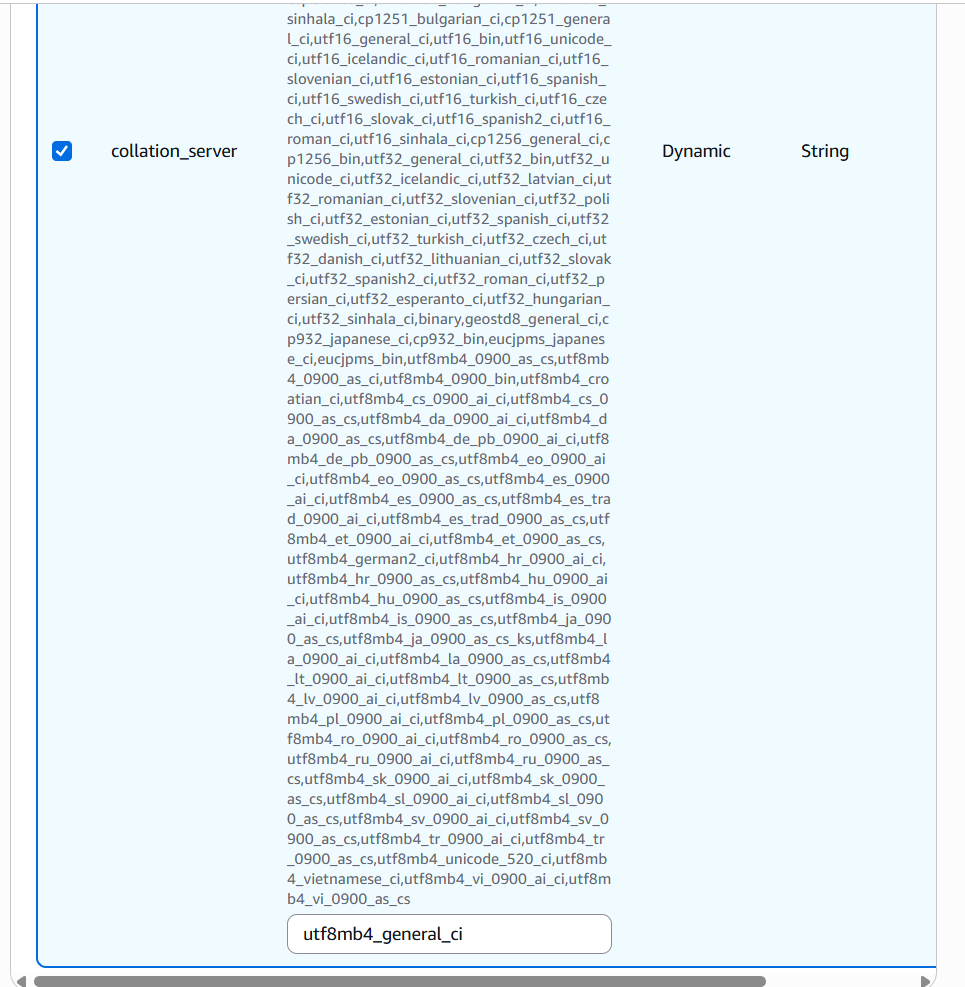
collation_server -> utf8mb4_general_ci
추가구성 -> DB 파라미터 그룹 선택

그리고 즉시 적용!
RDS 접속
즉시적용 후, 수정이 되고 나면 데이터베이스를 클릭하고
엔드포인트가 보일 것이다. 이게 DB의 호스트명 이자 IP주소, DB URL이라 생각하면 된다.
그리고 이게 localhost를 대체한다.

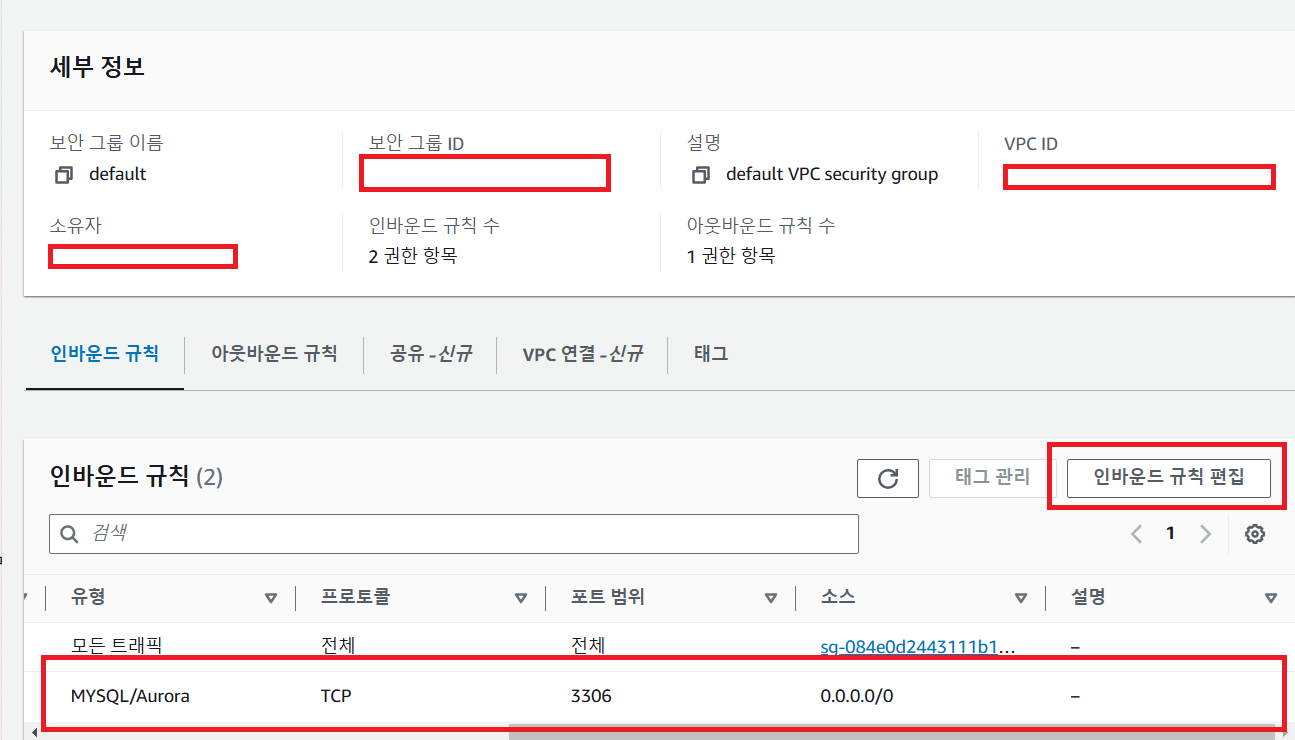
☑️ vpc-XXX... 와 같은 것을 클릭후,
인바운드 규칙 편집에 들어가서 3306포트범위를 지정해주어야 한다.
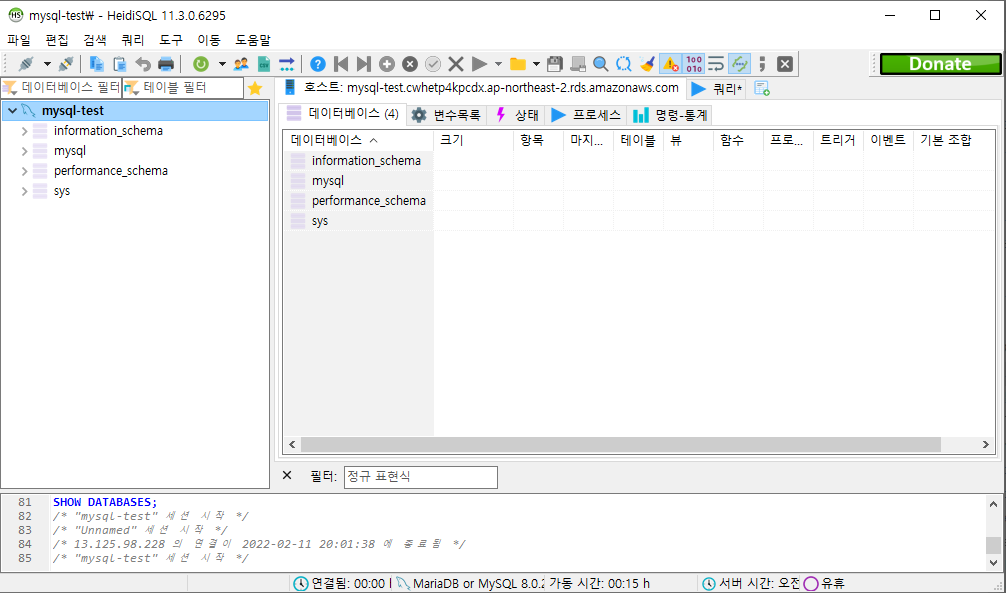
그리고 이제 DB 접속 프로그램(나는 Hedisql을 사용함)에 아래와 같은 정보를 입력후

접속이 되는 것을 확인할 수 있다.
테스트
create database testDB;
use testDB;
create table test (
	id bigint(20) NOT NULL auto_increment,
    content varchar(255) default NULL,
    primary key(id)
) engine = innoDB;

insert into test(content) values('한글 테스트');
select * from test;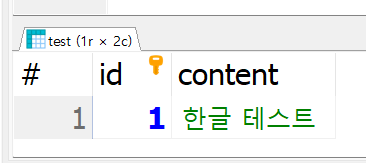
☑️ EC2 에서 접속하기
sudo apt-get update && sudo apt-get install mysql-client -y접속하기
mysql -h database-1.cmgzsz7nszli.ap-northeast-2.rds.amazonaws.com -P 3306 -u admin -pRDS 삭제(snapshot 포함)
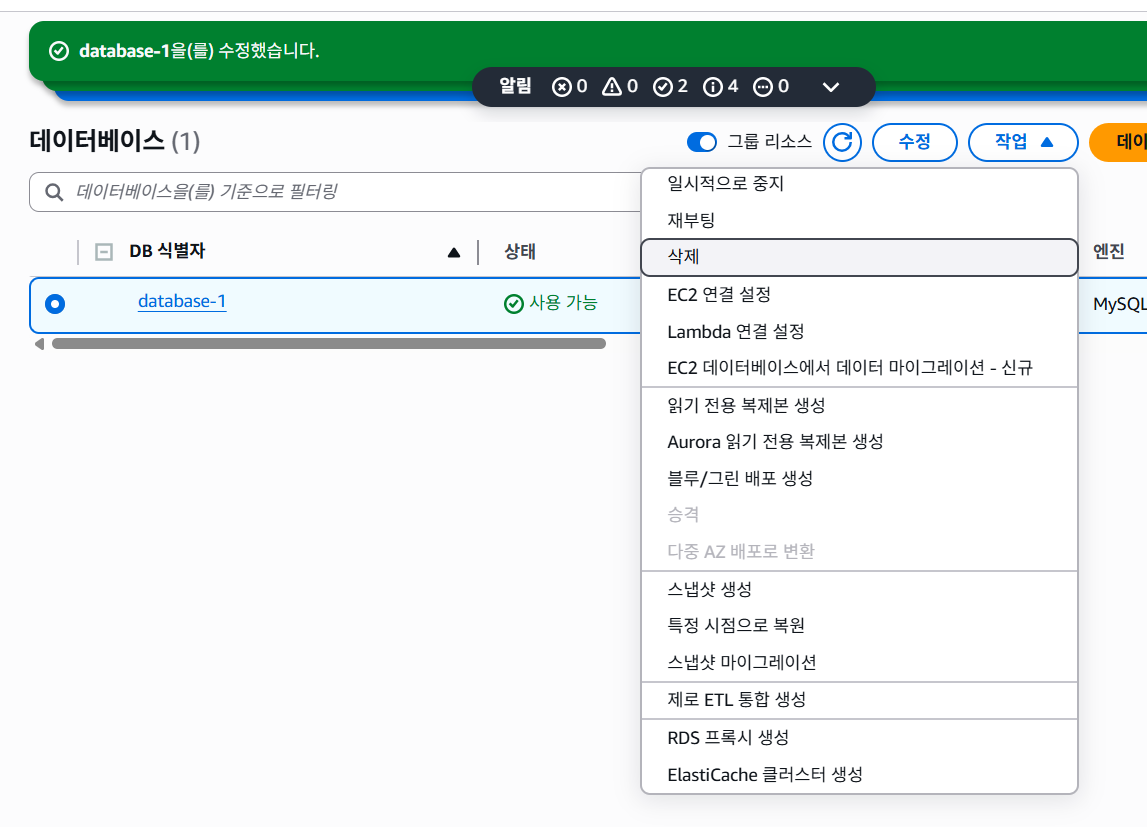
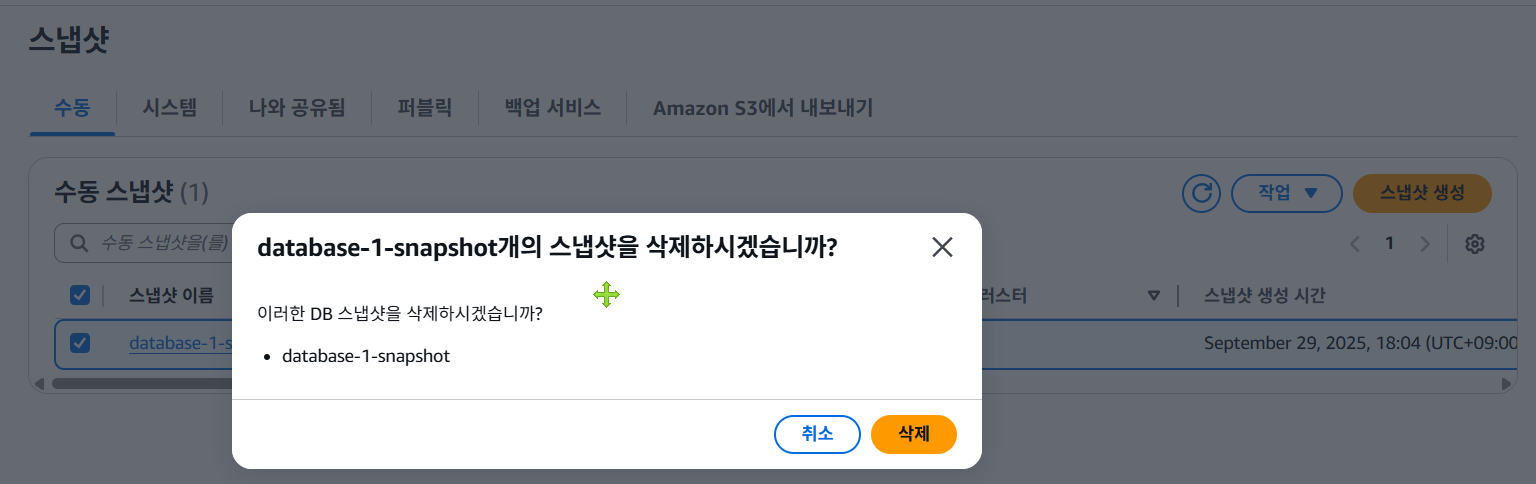
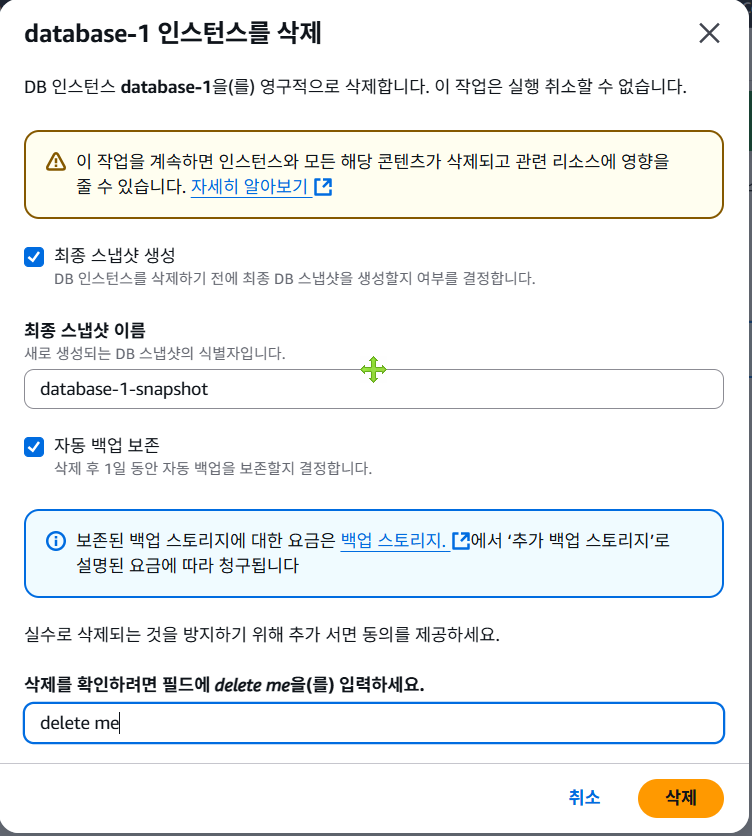
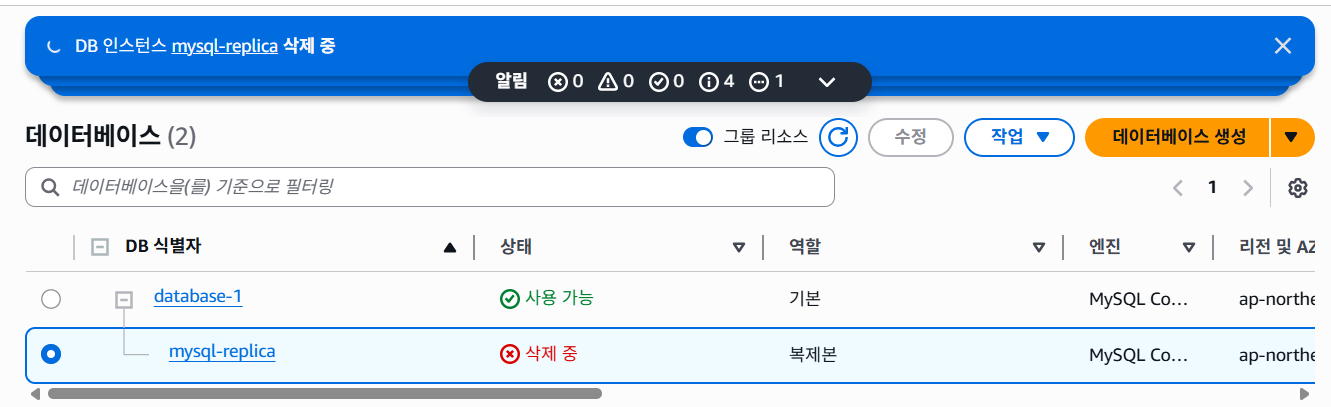
먼저 데이베이스 스냅샷부터 제거해야 한다.
그다음 데이터베이스 delete me 를 해서 삭제하면 끝.
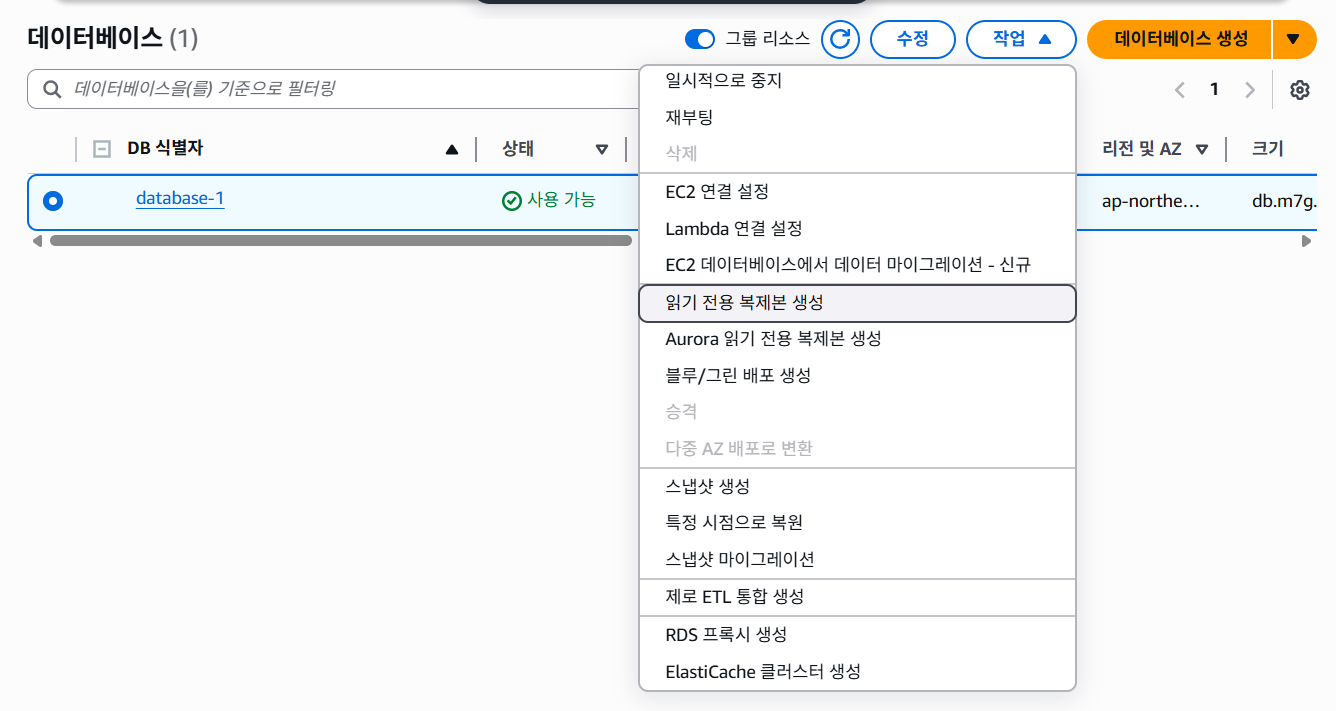
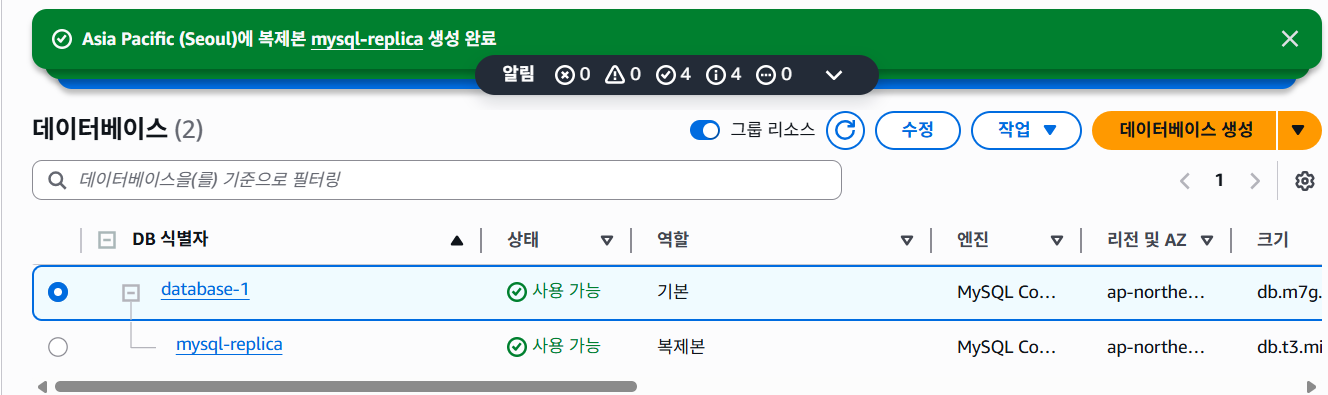
Replica 읽기 전용 복제본(salve) 생성
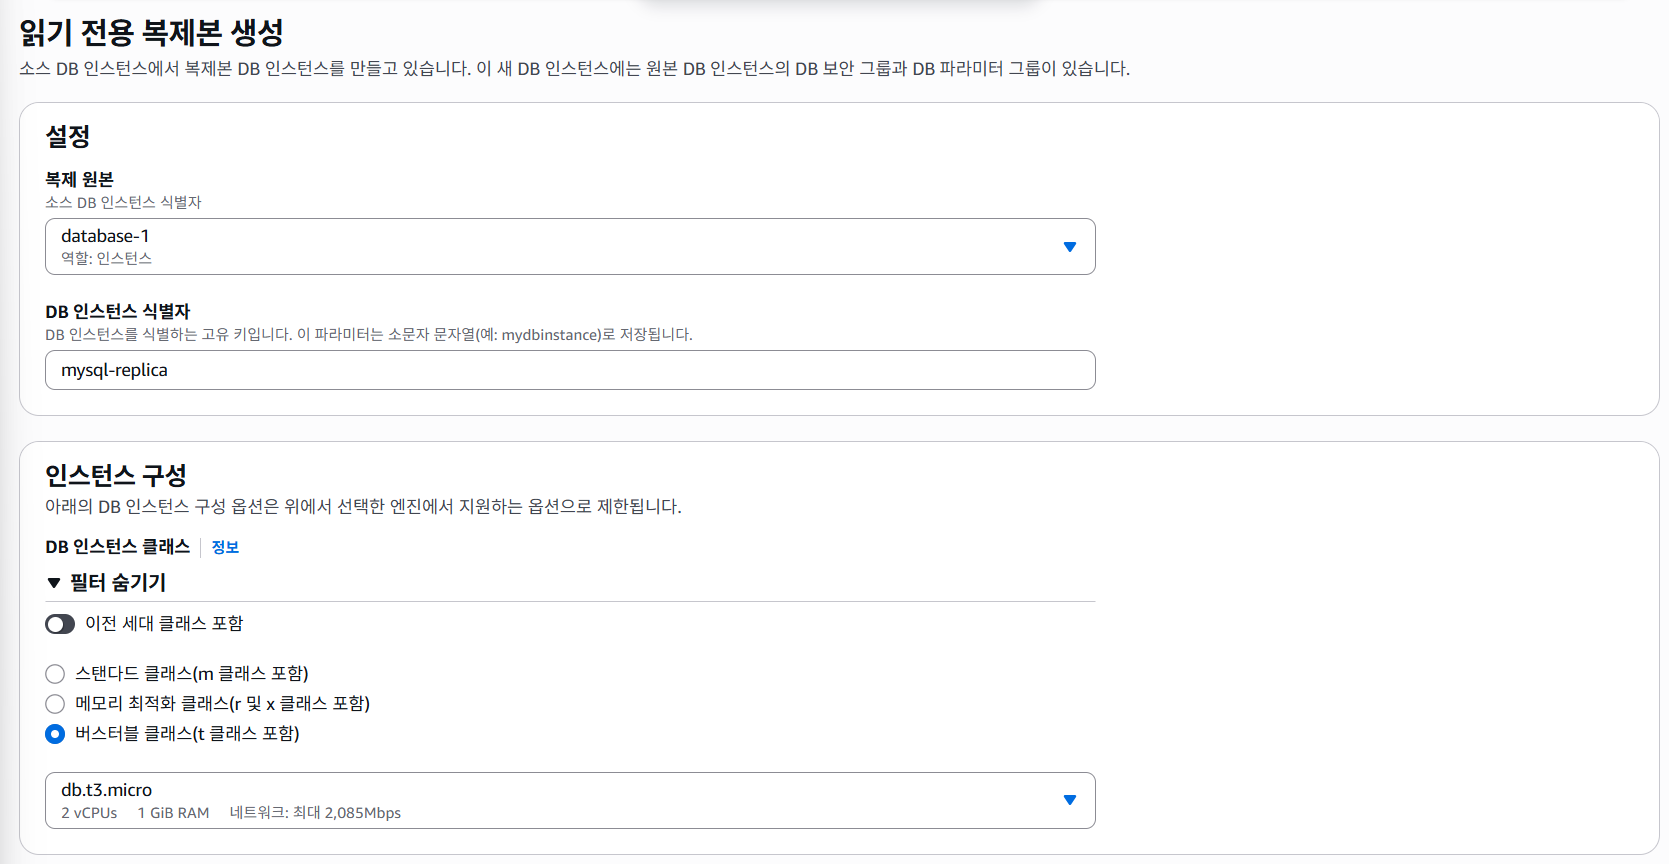
암호도 master 처럼 암호자동생성으로! 수정후, 요약페이지에서 확인가능!

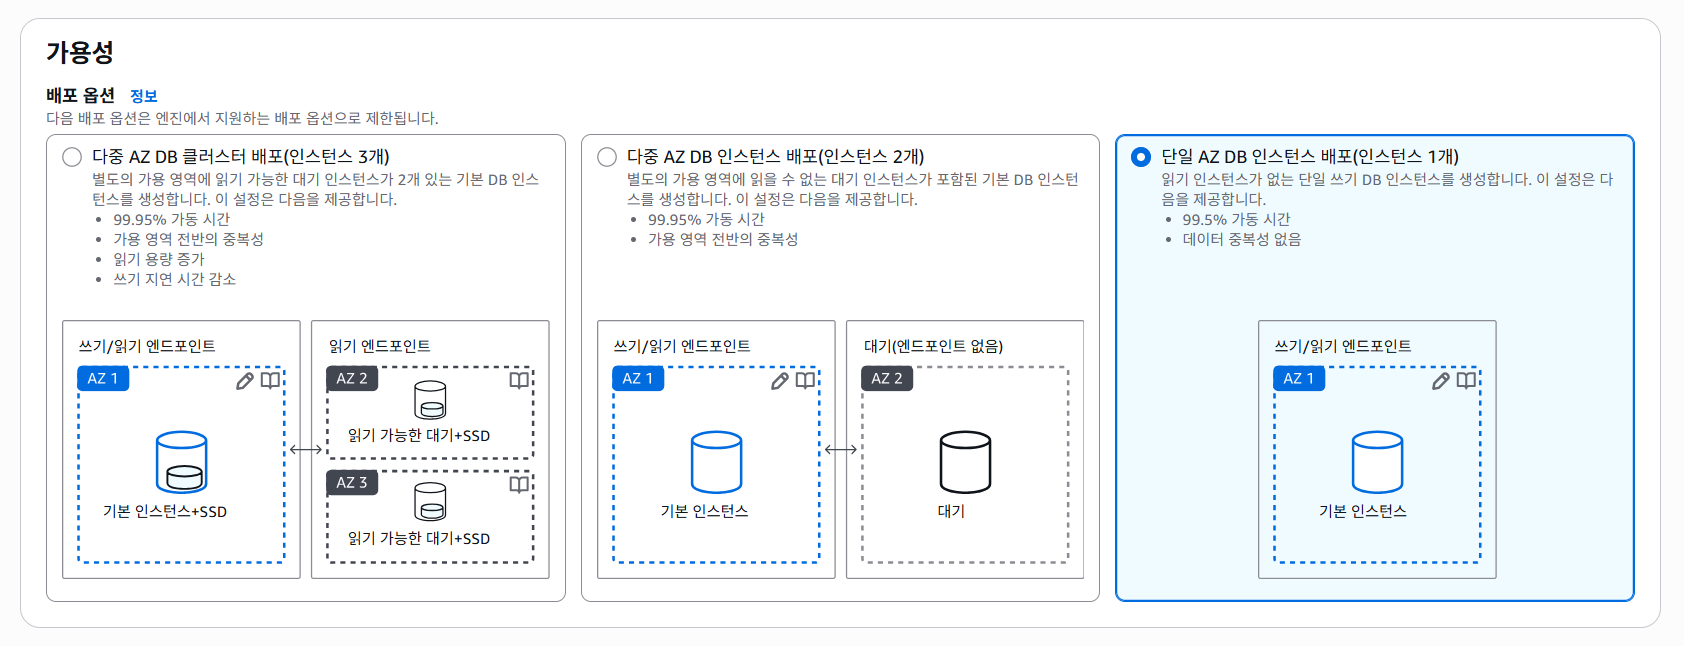
Replica에서도 다중 AZ 구성을 할 수 있다! (하지만 slave구성 실습에서듣 단일 AZ인스턴스로 하자!)
1) multi-AZ : 동기식 복제. active의 db의 정보의 일어난 작업 이후 뒷 단 slave쪽 까지 동기화 작업이 이루어진 후 정합성 이 완료 되는 방식 → 고가용성, 데이터 일관성
2) read Replica : 비동기식 복제. master의 정보 만 가지고 read db 정보까지는 작업을 처리 하지 않는 상태 → 분산 하여 master의 정보를 읽어 들이는 역할. 데이터 일관성이 없음
우리는 read Replica 로 진행할 겁니다!
그외 나머지는 건드릴 거 없고 생성하기!
replica 만들시, 3분 소요...
RDS Read Replica 복제 테스트
master sql test 테이블에 데이터 추가
insert into test(content) values('한글 테스트2');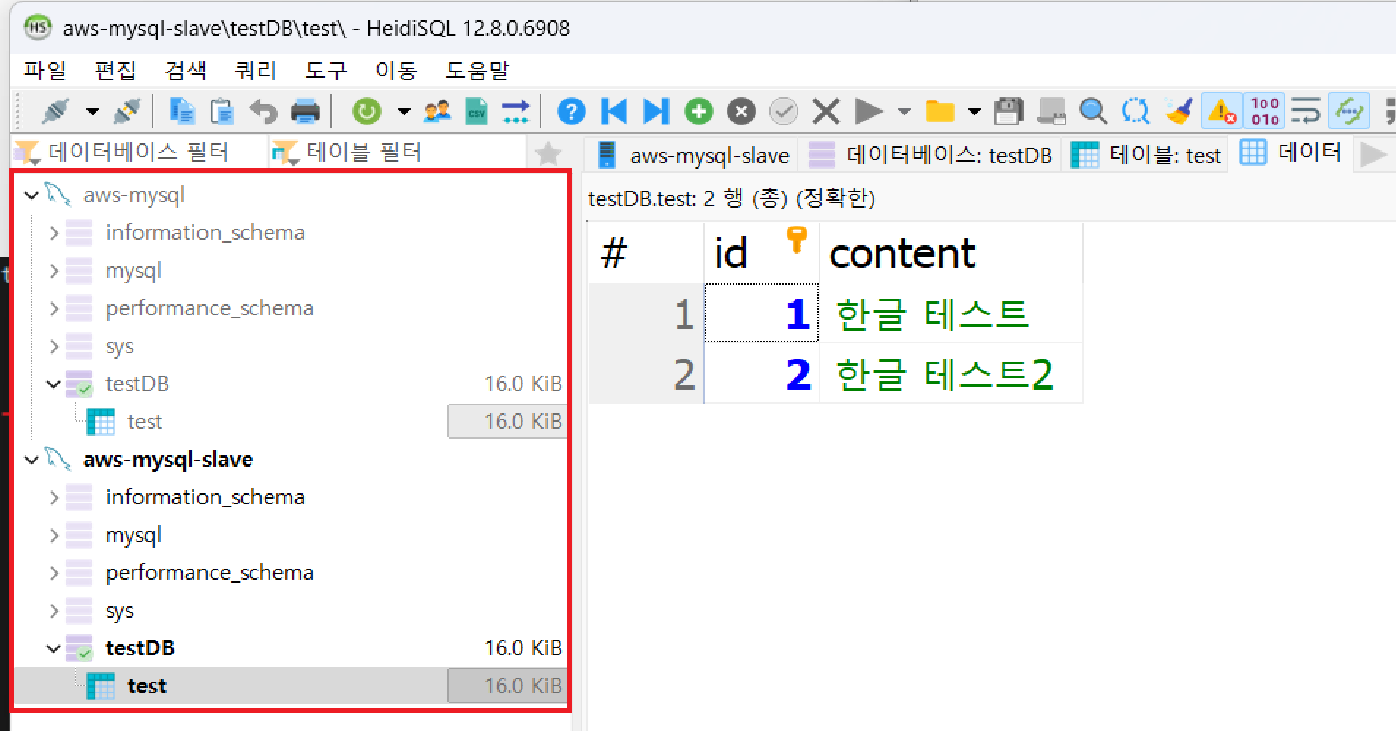
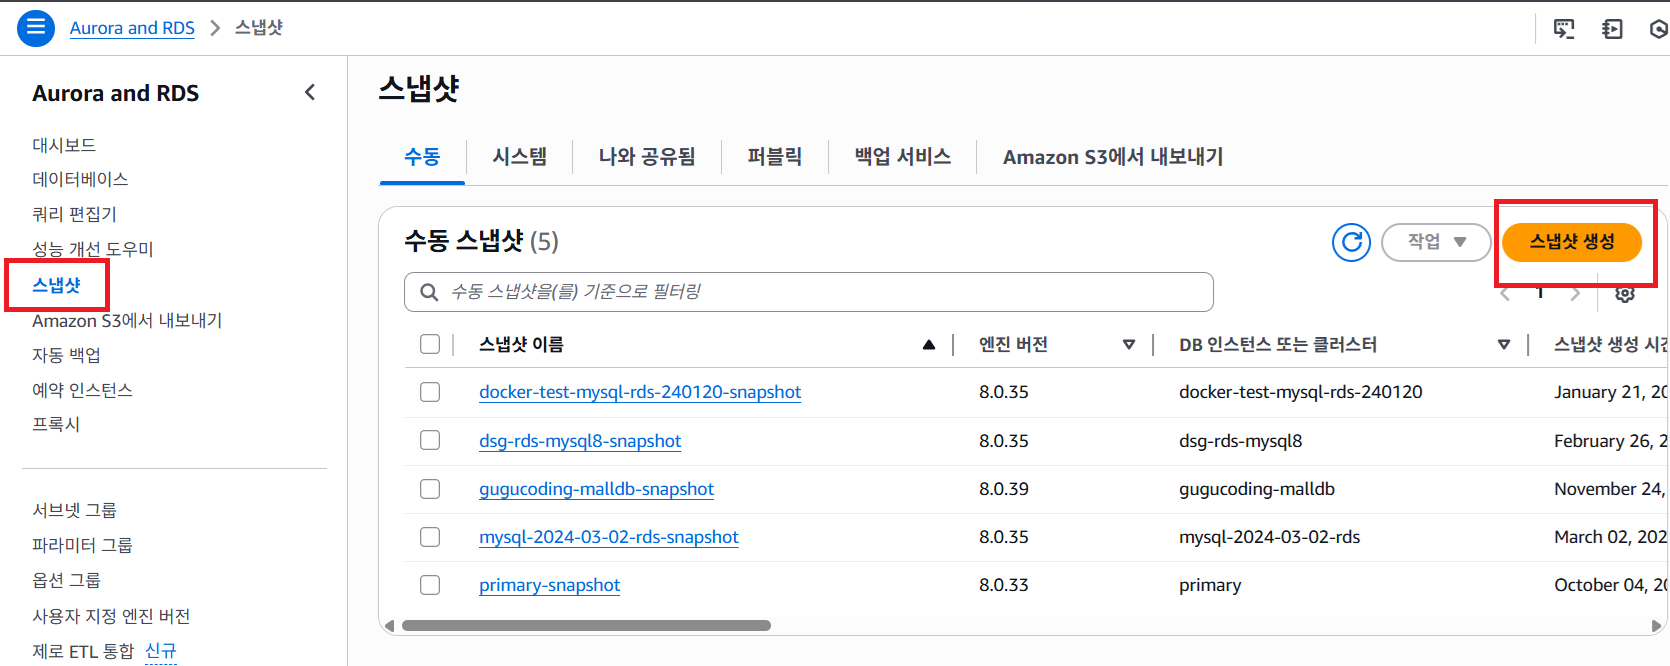
스냅샷
만약 특정 시간의 DB 상태로 되돌아가고 싶다면, 스냅샷 복원을 통해 돌아갈 수 있다.
단, 유의할점이 기존 RDS에서 되돌아가는게 아닌 새로운 RDS를 생성해서 스냅샷을 기반으로 과거의 데이터로 되돌아 가는 원리임을 알자.
Replica(slave) 확인
application.yml
  datasource:
    write:
      jdbc-url: jdbc:mysql://database-1.cmgzsz7nszli.ap-northeast-2.rds.amazonaws.com:3306/shop
      username: admin
      password: iSeoD7JM3Xlgam77uFgA
      driver-class-name: com.mysql.cj.jdbc.Driver

    read:
      jdbc-url: jdbc:mysql://mysql-replica.cmgzsz7nszli.ap-northeast-2.rds.amazonaws.com:3306/shop
      username: admin
      password: PrzFcbhqIaibbyMhpsap
      driver-class-name: com.mysql.cj.jdbc.Driver
config 파일
1) DataSourceRouter
@Slf4j
public class DataSourceRouter extends AbstractRoutingDataSource {

    @Override
    protected Object determineCurrentLookupKey() {
        // @Transactional 어노테이션을 readOnly로 설정한 경우 -> True 이다
        boolean readOnly = TransactionSynchronizationManager.isCurrentTransactionReadOnly();
        log.info("Current transaction readOnly is {}", readOnly);
        return readOnly ? "read" : "write";
    }
}
2) DataSourceConfig
@Configuration
@RequiredArgsConstructor
@EnableJpaRepositories(basePackages = "com.dsg.shopproductapi.repository")
public class DataSourceConfig {

    // write replica 정보로 만든 DataSource 빈
    @Bean
    @ConfigurationProperties(prefix = "spring.datasource.write")
    public DataSource writeDataSource() {
        return DataSourceBuilder.create().type(HikariDataSource.class).build();
    }

    // Read replica 정보로 만든 DataSource 빈
    @Bean
    @ConfigurationProperties(prefix = "spring.datasource.read")
    public DataSource readDataSource() {
        return DataSourceBuilder.create().type(HikariDataSource.class).build();
    }

    // 읽기 모드인지 여부로 DataSource를 분기 처리
    @Bean
    @DependsOn({"writeDataSource", "readDataSource"})
    public DataSource routeDataSource() {
        DataSourceRouter dataSourceRouter = new DataSourceRouter();
        DataSource writeDataSource = writeDataSource();
        DataSource readDataSource = readDataSource();

        HashMap<Object, Object> dataSourceMap = new HashMap<>();
        dataSourceMap.put("write", writeDataSource);
        dataSourceMap.put("read", readDataSource);
        dataSourceRouter.setTargetDataSources(dataSourceMap);
        dataSourceRouter.setDefaultTargetDataSource(writeDataSource);
        return dataSourceRouter;
    }

    // LazyConnectionDataSourceProxy를 사용하여 실제 DataSource에 대한 연결을 지연시킴
    @Bean
    @Primary
    @DependsOn({"routeDataSource"})
    public DataSource dataSource() {
        return new LazyConnectionDataSourceProxy(routeDataSource());
    }

}
ProductServiceImpl
@Slf4j
@Transactional
@Service
@RequiredArgsConstructor
public class ProductServiceImpl implements ProductService {

    private final ProductRepository productRepository;
    private final DataSource lazyDataSource;

    @Transactional(readOnly = true)
    @Override
    public List<ProductDTO> getProducts() {

        try (Connection connection = lazyDataSource.getConnection()) {
            log.info("read url : {}", connection.getMetaData().getURL());
        } catch (SQLException e) {
            throw new RuntimeException(e);
        }

        return productRepository.findAll().stream()
                .map(ProductDTO::toDto)
                .toList();
    }

    @Transactional(readOnly = true)
    @Override
    public ProductDTO getProductById(Long id) {
        return productRepository.findById(id)
                .map(ProductDTO::toDto)
                .orElseThrow(() -> new RuntimeException("Product not found with id: " + id));
    }

    @Transactional
    @Override
    public Long createProduct(ProductDTO productDTO) {
        try (Connection connection = lazyDataSource.getConnection()) {
            log.info("write url : {}", connection.getMetaData().getURL());
        } catch (SQLException e) {
            throw new RuntimeException(e);
        }
        return productRepository.save(Product.of(productDTO)).getId();
    }
}
write 작업시

read 작업시

RDS 인스턴스 삭제
master db 인스턴스 삭제는 바로 삭제가 되지 않는다!
수정 > 삭제 방지 활성화 를 해제해주어야 합니다!
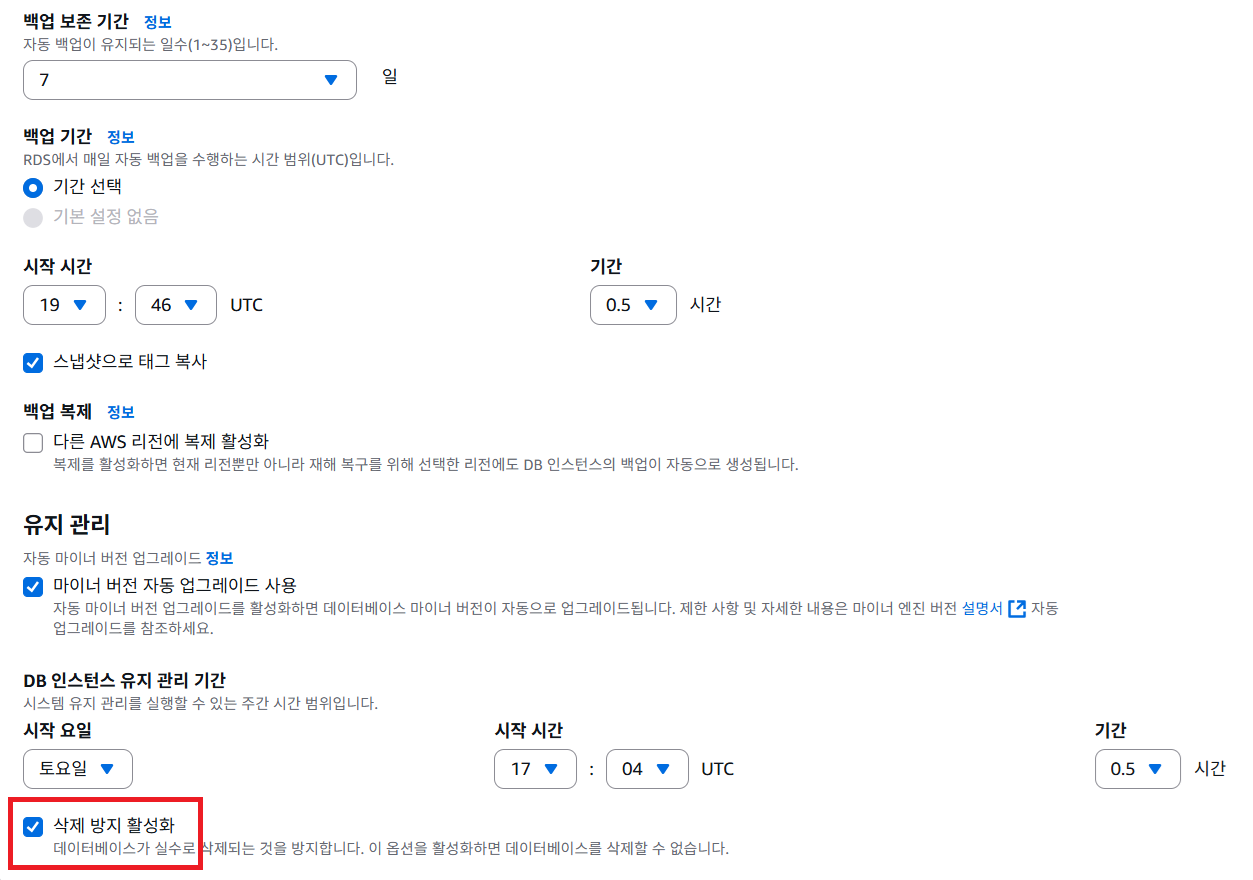
즉시적용후, 삭제가 되어지게됩니다!