git 설치
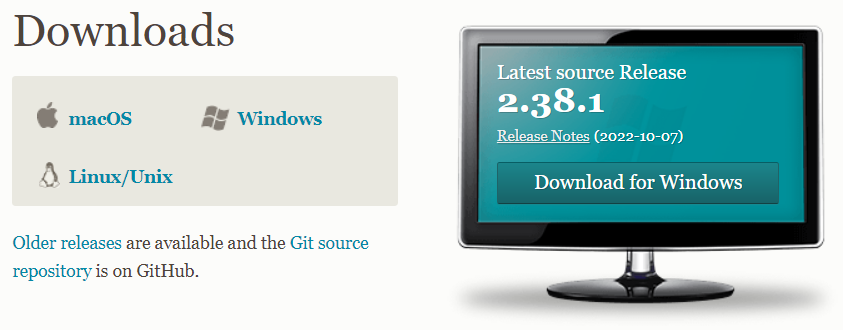
- 깃 설치링크 : https://git-scm.com/downloads
- 링크되어 있는 페이지에 들어가서 자신의 OS에 맞는 Git 설치버전을 받아주세요.
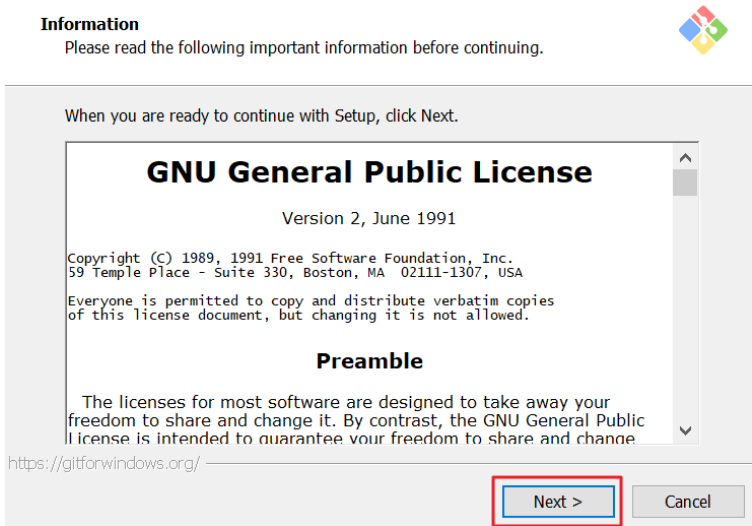
- 설치 파일을 열면 약관이 가장 먼저 나옵니다. 동의하고 넘어갑니다.
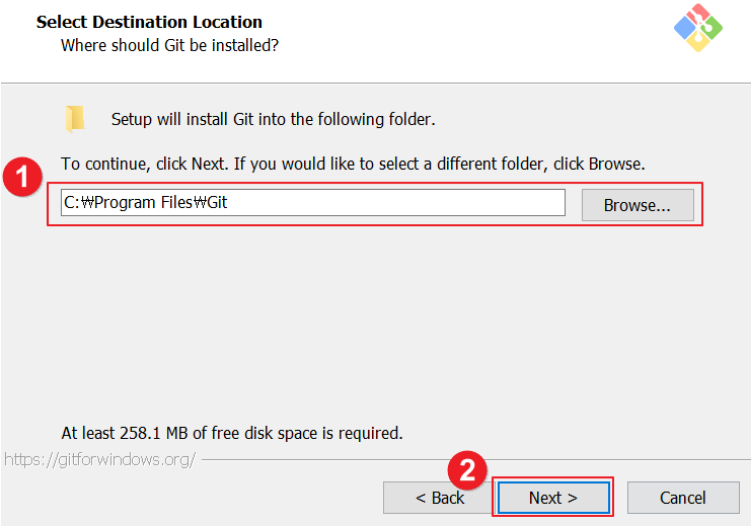
- 설치 경로를 설정합니다. 저는 기본값으로 설정하고 넘어갔습니다.
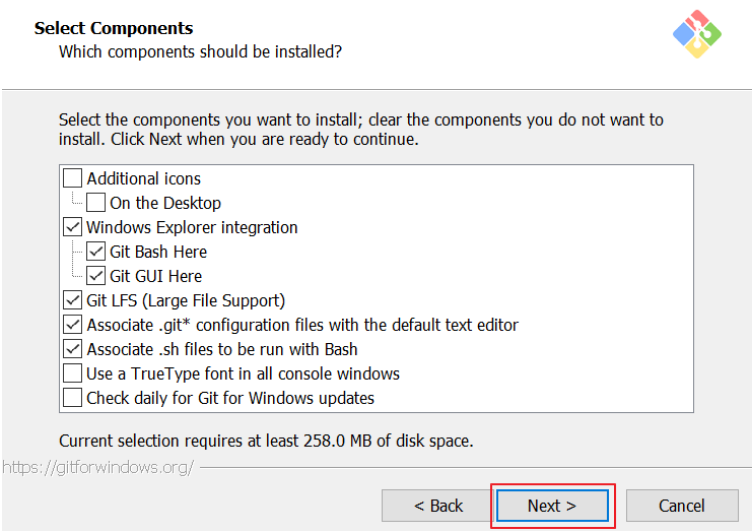
- 설치할 Component들을 선택합니다. 저는 기본으로 선택되어 있는것 이외에는 추가로 설치하지않고 Next를 눌러 진행하겠습니다.
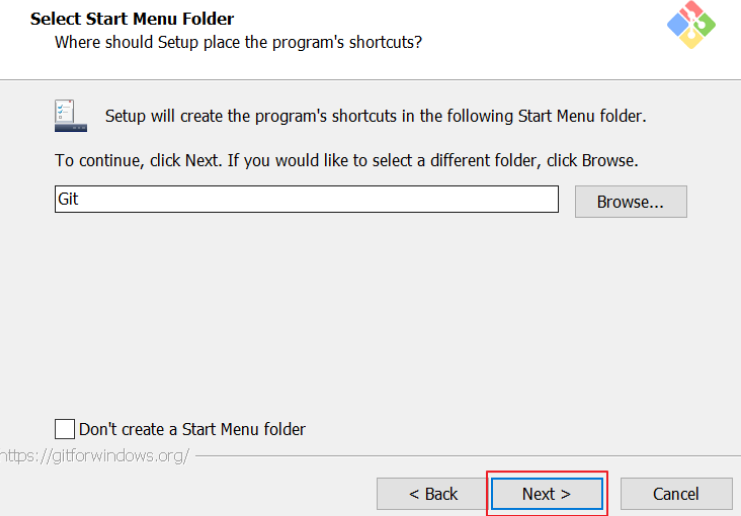
- 시작 메뉴에 폴더를 만듭니다. 시작메뉴에 폴더를 추가하고 싶지 않다면 Don't create a Start Menu folder 체크박스를 클릭하고 Next를 눌러주세요.
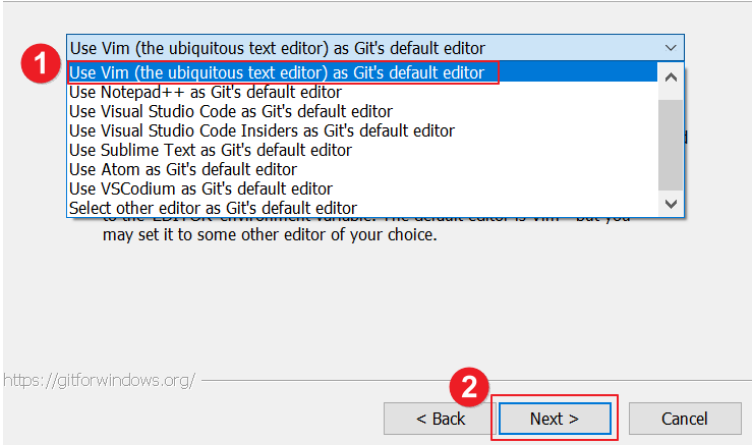
- 깃의 기본에디터를 설정합니다. 설정해주고 Next 를 누릅니다. 저는 Git default editor를 선택했지만 Visual Stdio Code나 Notedpad같이 자신이 주로 사용하고 있는 에디터가 있다면 이것으로 선택해주시는 것을 추천드립니다.
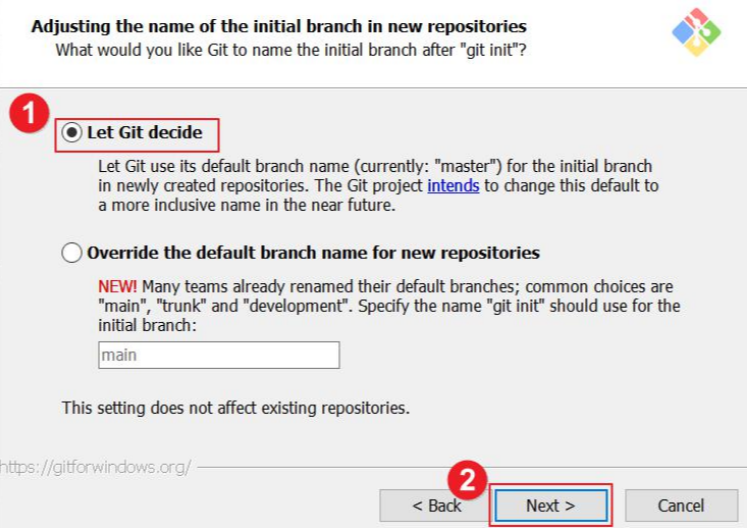
- initial branch의 이름 설정입니다. 기본값으로 체크하고 넘어갑니다.
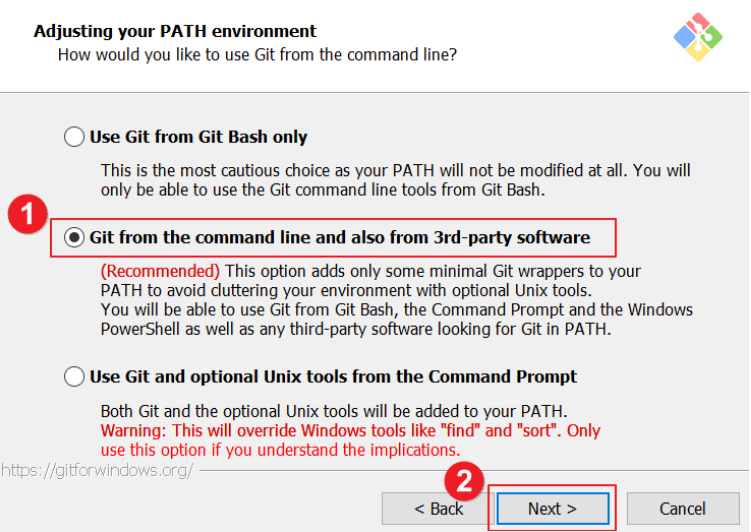
- Git커맨드를 설정합니다. 기본으로 되어있는 Git from the Command line and also from 3rd-party software를 선택하고 Next를 하겠습니다.
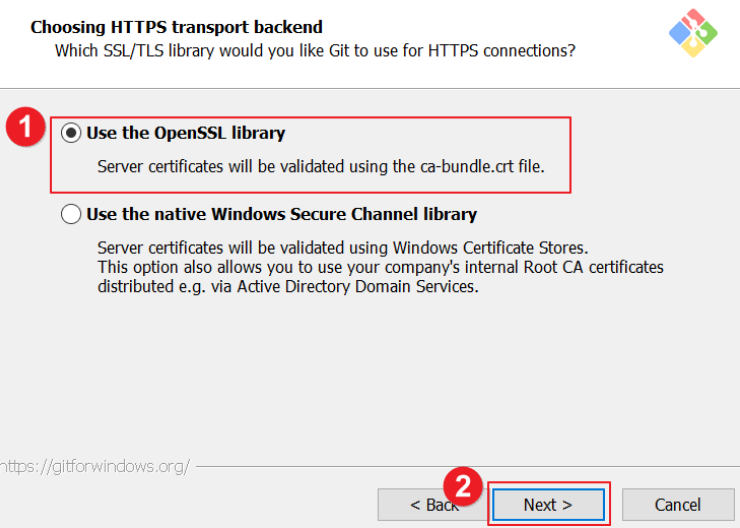
- HTTP 연결에 이용할 git 라이브러리를 선택합니다. 디폴트로 되어있는 Use the OpenSSL library를 선택해주고 Next를 눌러줍시다.
-
Use the OpenSSL library : OpenSSL 라이브러리 사용, 인증서는 ca-bundle.crt 파일을 사용하여 유효성 검사
-
Use the native Windows Secure Channel library : Windows 인증서 저장소를 사용, 인증서의 유효성 검사
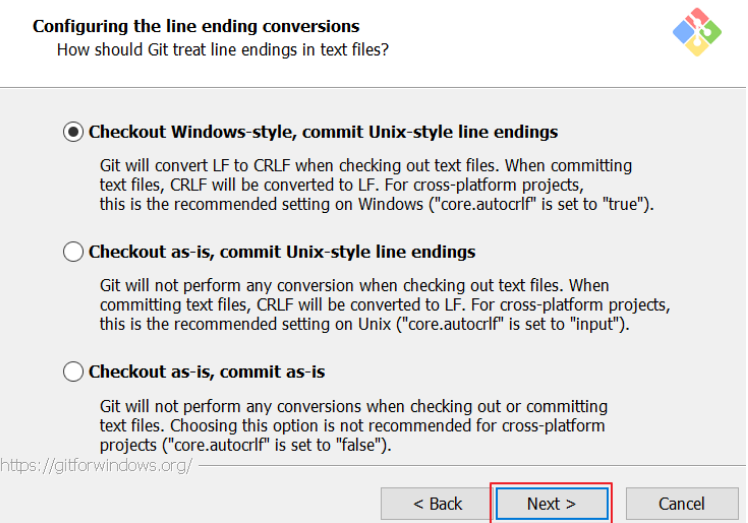
- 텍스트 파일 라인 스타일을 선택합니다. 기본값인 Checkout, Commit할때의 텍스트라인 엔딩을 선택하고 Next를 누릅니다.
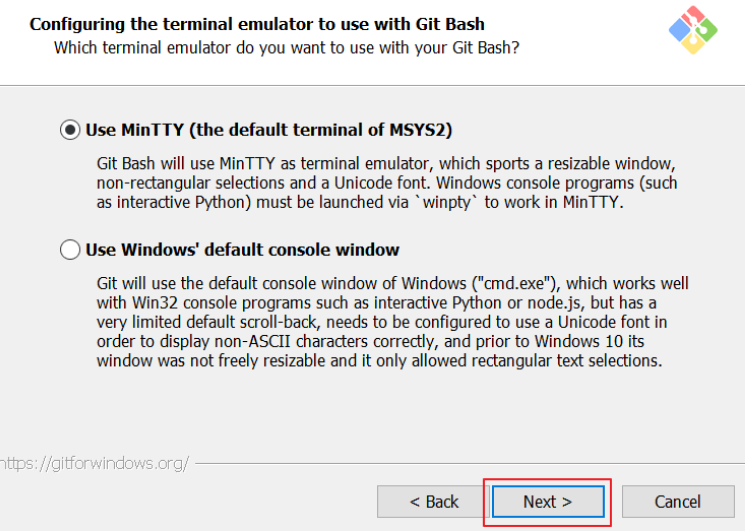
- Git Bash 터미널의 형식을 선택해줍니다. 기본값을 체크하고 넘어갑니다.
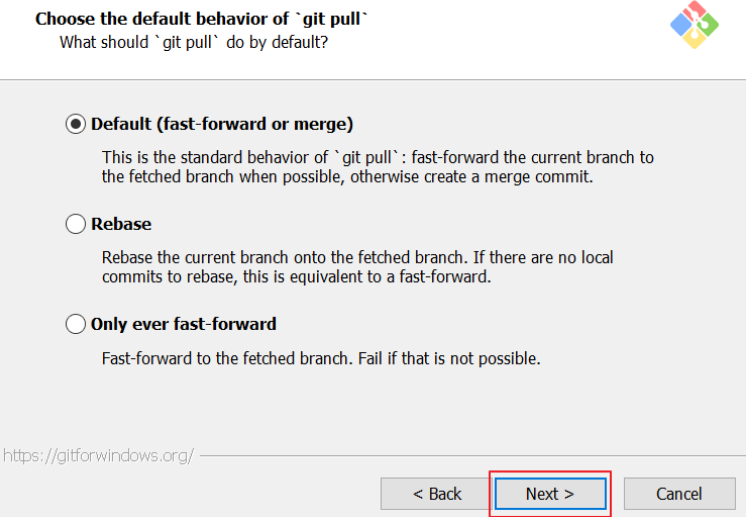
- Git pull 명령어에 대한 설정입니다. 기본값을 체크하고 넘어갑니다.
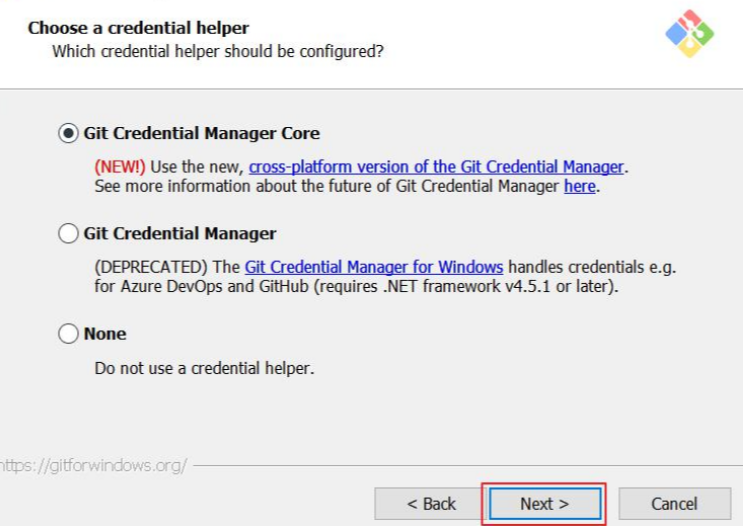
- credential manager를 설정합니다. 기본값으로 넘어갑니다.
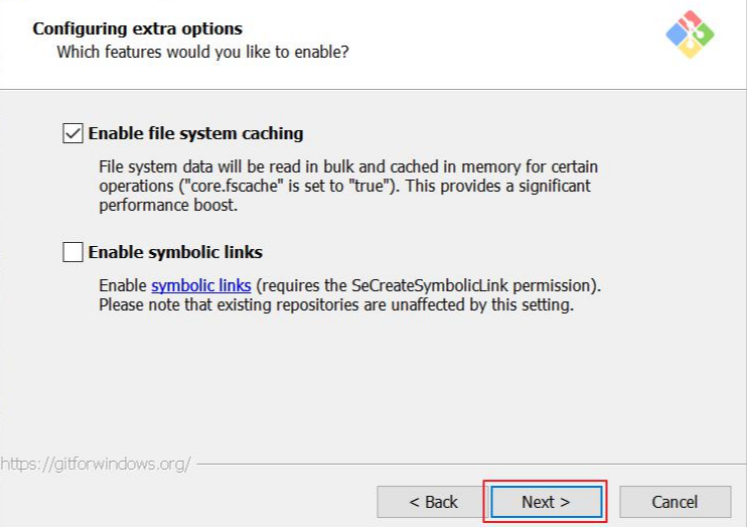
- 그 외 옵션을 선택합니다.
-
Enable file system caching : 성능향상을 위해 파일 시스템 데이터를 메모리에 캐시합니다.
-
Enable symbolic links : symbolic links 활성화합니다.(기존 저장소는 영향을 받지 않습니다)
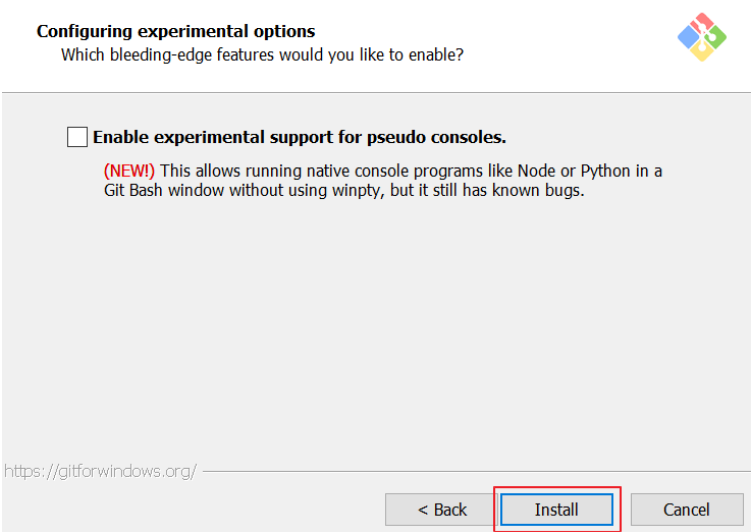
- Install을 눌러 설치를 진행합니다.
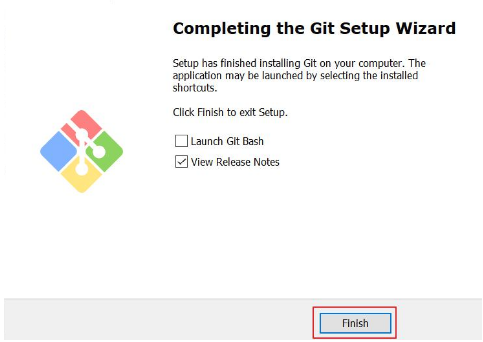
- 설치 끝!
Git 환경설정
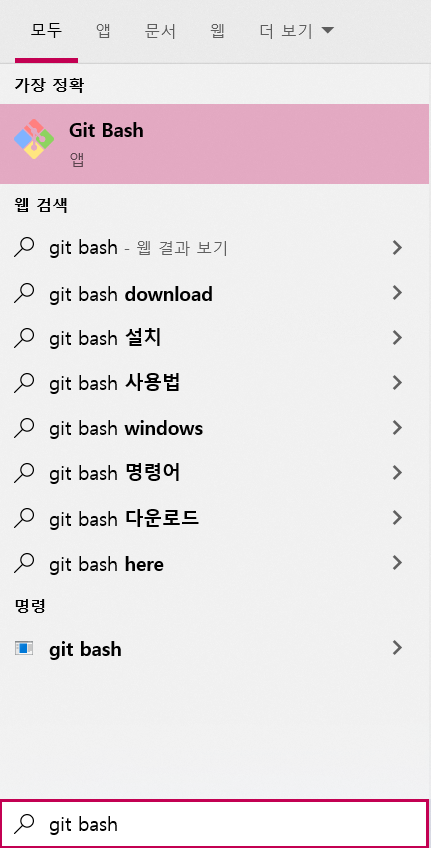
- git 설치가 정상적으로 완료되면, git bash가 설치됩니다. git bash를 실행합니다.
- 깃을 처음 설치하면 Name과 Email이 입력이 되어있지 않습니다. 설치받은 git bash를 열어서 아래의 명령어를 실행해 설정을 해줍시다.
- github에 등록된 이름과 메일주소 입력(github 회원가입 되어있어야 함)
$git config --global user.name "Name명"
$git config --global user.email "메일주소" - 아래의 명령어를 입력하여 Name과 Email이 제대로 들어갔는지 확인할 수 있습니다.
$git config --list 
자라나라 새싹새싹🌱