1편에 적었다시피 이번에는 index.js, store.js, saga.js를 작성하도록 하겠습니다.
이렇게 3가지를 작성한다면 정말로 기본적인 설정은 끝나게 됩니다.
1. saga.js
1-1. import
import {createRequestInstance, watchRequests} from 'redux-saga-requests';
import {createDriver} from "redux-saga-requests-axios";
1-2. Interceptors
요청 , 응답, 오류, 중단 시 중간에서 조작이 가능한 부분입니다.
예를 들어 onRequestSaga 부분은 요청 시 headers에 'Content-Type': 'application/json' 를 붙여서 보내주는 부분입니다.
이렇게 요청 시 필요한 토큰값이 필요한 요청을 이 부분에서 항상 토큰을 붙여 보내거나 혹은 토큰값이 유효기간이 다된다면 리프레쉬 시키는 요청을 자동으로 처리하게 할 수 있도록 하는 부분입니다.
function* onRequestSaga(request, action) {
    request.headers = {
        ...request.headers,
        'Content-Type': 'application/json',
    };
    return request;
}

function* onSuccessSaga(response, action) {
    return response;
}

function* onErrorSaga(error, action) {
    return {error};
}

function* onAbortSaga(action) {
}
1-3. rootSaga
export default function* rootSaga(axiosInstance) {
    yield createRequestInstance({
        driver: createDriver(axiosInstance),
        onRequest: onRequestSaga,
        onSuccess: onSuccessSaga,
        onError: onErrorSaga,
        onAbort: onAbortSaga,
    });
    yield watchRequests();
}
2. store.js
2-1. import
import {createStore, applyMiddleware, combineReducers} from 'redux';
import axios from 'axios';
import createSagaMiddleware from 'redux-saga';
import {composeWithDevTools} from 'redux-devtools-extension/developmentOnly';

import rootSaga from "../saga/saga";
2-2. createStore 및 sagaMiddleware
const sagaMiddleware = createSagaMiddleware();

export default createStore(
    combineReducers({
        reducer: 해당 컴포넌트의 Reducer를 넣는 곳,
    }), composeWithDevTools(
        applyMiddleware(sagaMiddleware),
    ),
);

const axiosInstance = axios.create({
    baseURL: '통신해야 할 서버 주소',
});

sagaMiddleware.run(rootSaga, axiosInstance);
여기서 "applyMiddleware"를 통해 모든 것이 미들웨어를 통과하게 되는 것이고, "combineReducers"를 이용하여 reducers를 모두 묶을 수 있습니다.
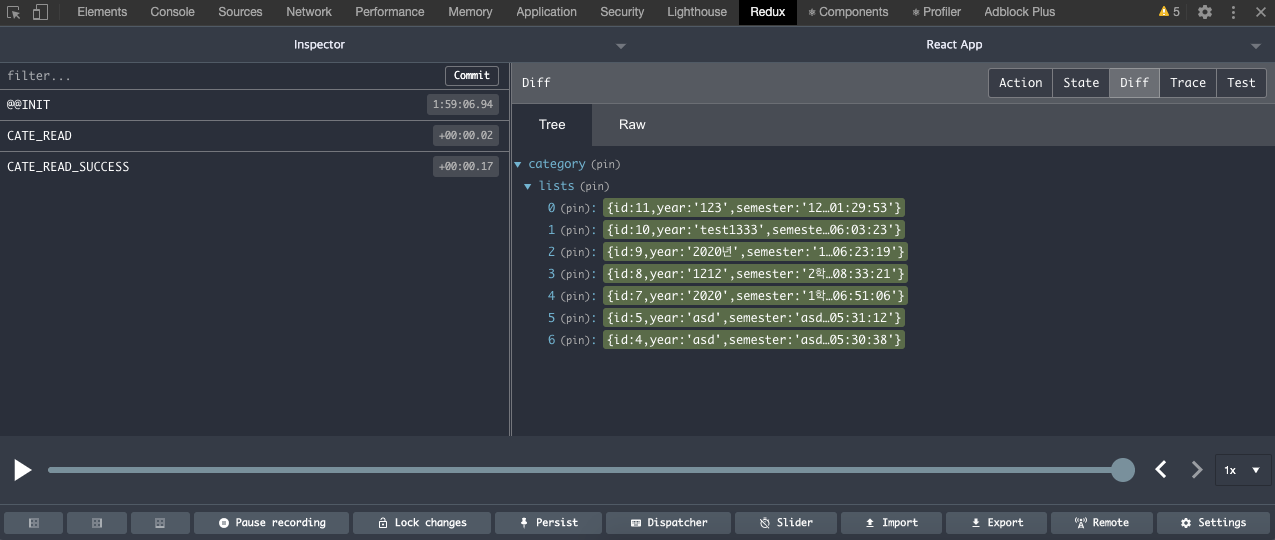
"composeWithDevTools"는 아래의 사진과 같이 개발자툴을 이용하게 해주는 방식입니다.
3. index.js
3-1. index.js
사가 및 스토어를 모두 생성하였으니 모든 컴포넌트 구조 상 가장 위에 있는 부분인 index.js에 스토어를 주입해야합니다.
import React from 'react';
import ReactDOM from 'react-dom';
import {Provider} from 'react-redux';
import store from "./store/store";

import './index.css';
import App from './App';

ReactDOM.render(
    <Provider store={store}>
        <App/>
    </Provider>,
    document.getElementById('root')
);
이제 완전하게 설정이 완료되었고, 지금부터는 action, reducer, constants(types)를 작성하고 데이터를 주고 받는 방식을 서술하도록 하겠습니다.

다양하지만 공부할 것이 많은 개발자입니다.