Fun with HTML5 Canvas
🚀 구현목표
- 자바스크립트에서 마우스가 움직이는 이벤트를 만들어 동적으로 캔버스에 그림을 그릴 수 있게해보자!

😎 START index.html
<!DOCTYPE html>
<html lang="en">
<head>
  <meta charset="UTF-8">
  <title>HTML5 Canvas</title>
  <link rel="icon" href="https://fav.farm/🔥" />
</head>
<body>
<canvas id="draw" width="800" height="800"></canvas>
<script>
</script>

<style>
  html, body {
    margin: 0;
  }
</style>

</body>
</html>
🎨 Canvas 설정
- 가져온
canvas의width와height를window의innerWidth,innerHeight로 할당
      const canvas = document.querySelector("#draw");
      const ctx = canvas.getContext("2d");
      canvas.width = window.innerWidth;
      canvas.height = window.innerHeight;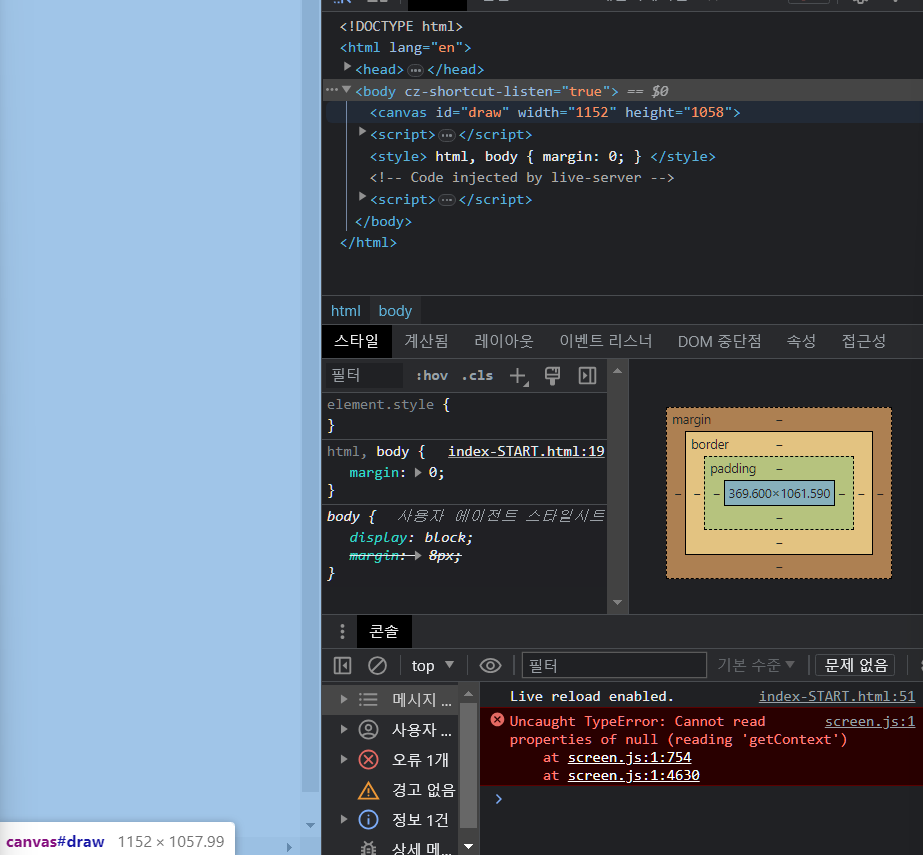
window.innerWidth,innerHeight를 할당하면 canvas의 크기가 새로 할당된다
ctx의strokeStyle(윤곽선의 색상)을 지정하고.lineJoin(선이 연결되는 지점의 모양),lineCap(선의 끝부분 모양) 을 새로 할당한다
❓여기서 ctx란?
ctx는context를 뜻한다. 캔버스에 그림을 그릴 때,
getContext메서드를 호출해 캔버스의context를 가져와 사용해야 한다.
context는 캔버스의 그리기 영역이면서 그리기 메서드를 가지는 객체를 뜻함
ctx.strokeStyle = "#BADA55";
ctx.lineJoin = "round";
ctx.lineCap = "round";

let isDrawing = false;
let lastX = 0;
let lastY = 0;
🐭 canvas에 관한 mouseEvent 설정하기
- 해당코드에선
draw()함수에서isDrawing이true가 될때 리턴시켜버린다 - 그리고 해당 함수에서 이벤트를 연결해, 마우스의 왼쪽,오른쪽 버튼을 클릭해서 끌때를 제외하고 전부 제한시켜버렸다
     let isDrawing = false;


     function draw(e) {
        if (!isDrawing) return;
        console.log(e);
      }

      canvas.addEventListener("mousemove", draw); //mouse를 움직일때
      canvas.addEventListener("mousedown", () => (isDrawing = true)); //mouse 버튼을 눌렀을때
      canvas.addEventListener("mouseup", () => (isDrawing = false)); //mouse 버튼을 누르고 있는동안 마우커서가 얻은 요소에서 마우스 버튼을 땔 때
      canvas.addEventListener("mouseout", () => (isDrawing = false)); //mouse 커서가 요소 밖으로 이동할때
🌈 draw 함수 완성하기
ctx.beginPath()- 새로운 path를 만드는 메서드
ctx.moveTo(lastX,lastY)- 선의 출발점을 지정한다
- ctx의
moveTo()메서드에argument로lastX,lastY를 넘긴다
ctx.lineTo(e.offsetX, e.offsetY);- 선의 도착점을 지정한다
      function draw(e) {
        if (!isDrawing) return;
        console.log(e);
        ctx.beginPath();
        ctx.moveTo(lastX, lastY);
        ctx.lineTo(e.offsetX, e.offsetY);
        ctx.stroke();
}- 여기서 draw함수에 코드를 더 추가해야하는데,
[lastX, lastY]를 구조분해 할당을 통해서[e.offsetX, e.offsetY]에 할당하였고ctx.strokeStyle- 선색지정, 외부에
hue라는 전역변수를 설정해hue의 선색이 함수가 실행될때마다(마우스가 움직일때마다) 동적으로 증가되면서 값이 변경되게 만들었다(hue++)
- 선색지정, 외부에
      function draw(e) {
        if (!isDrawing) return;
        console.log(e);
        ctx.beginPath();
        ctx.moveTo(lastX, lastY);
        ctx.lineTo(e.offsetX, e.offsetY);
        ctx.stroke();
        [lastX, lastY] = [e.offsetX, e.offsetY];
        ctx.strokeStyle = `hsl(${hue}, 100%,50%)`;
        hue++

      }

hue++덕분에 hue의 색상이 마우스가 움직일때마다 동적으로 움직이고 있다
dircetion이라는 전역변수에true를 할당하고- 만약에 hue의 크기가 360보다 크거나 같아지면 hue의 값을 0으로 초기화하고,
- 만약에 선의 굵기가 100보다 커지키거나, 1보다 작아질때,
direction을false로 만든다
- 만약 direction이
true인 상태일땐, 선의 굵기를 계속 증가시키며, - 아닐땐 direction을
false가 되, 선의 굵기를 계속 감소시킨다
		let direction = true;

        //draw funtino
        if (hue >= 360) {
          hue = 0;
        }
        if (ctx.lineWidth >= 100 || ctx.lineWidth <= 1) {
          direction = !direction;
        }
        if (direction) {
          ctx.lineWidth++;
        } else {
          ctx.lineWidth--;
        }
      }
ctx.lineWidth가 100의 크기가 넘어가면 false가 되서 다시 감소하고 있다
ctx.globalcompositeoperation = "multiply";를 전역변수에 설정하여 흰색을 투명하게하는 기능을 추가할 수 있다.

Talk is cheap. Show me the code.
저도 그림그리고 싶네요오!