✍🏻 서론
안드로이드 스튜디오에서 JDBC를 이용해 MySQL 연동하기!
그 두 번째, 폴더 구조화 내용이다.
민감한 서버 정보가 들어있을 수 있기 때문에 DB 정보는 시크릿으로 깃이그노어 처리를 했고,
SQL 쿼리문의 경우 따로 String으로 관리해주었다.
그럼 바로 코드를 살펴보자.
💻 코드 작성
1️⃣ DB 정보 작성
res > values 폴더 안에 secrets.xml 파일을 만들어서 다음 코드를 작성했다.
<?xml version="1.0" encoding="utf-8"?>
<resources>
    <string name="db_url">jdbc:mysql://10.0.2.2:3306/{데이터베이스명}?useSSL=false</string>
    <string name="db_user">{user}</string>
    <string name="db_password">{password}</string>
</resources>
[db_url]
10.0.2.2: 안드로이드에서 쓰는 localhost3306: 포트 번호{데이터베이스명}: 사용할 DB 이름useSSL=false: insert, update 등을 수행하기 위해 작성
db_user과 db_password 부분에는 나의 현재 정보랑 비교해서 작성하면 된다.
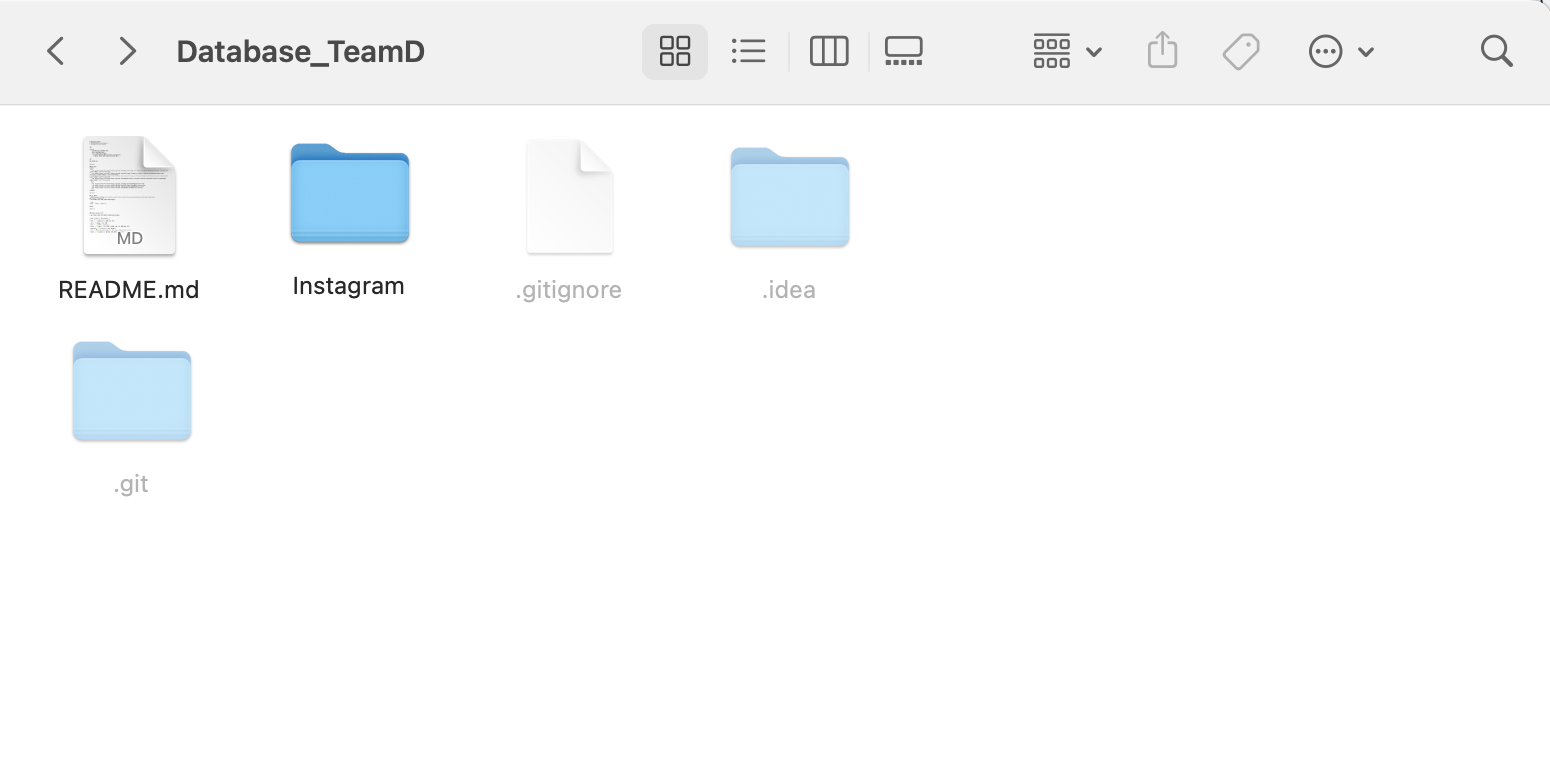
secrets.xml 파일을 .gitignore에 추가해준다.
Instagram/app/src/main/res/values/secrets.xml
2️⃣ 쿼리문 작성
쿼리문 작성은 res > values에서 queries.xml 파일을 만들어서 작성해주었다.
<?xml version="1.0" encoding="utf-8"?>
<resources>
    // 회원가입
    <string name="query_insert_signup_user">INSERT INTO user(user_name, password) VALUES (\\'%1$s\\', \\'%2$s\\')</string>
    // 로그인으로 유저 정보 조회하기 (사용자 이름, 비밀번호 입력)
    <string name="query_select_login_user">SELECT u.user_id, u.user_name, u.name,
(SELECT count(*) FROM following WHERE user_id = u.user_id) AS following_count,
(SELECT count(*) FROM follower WHERE user_id = u.user_id) AS follower_count
FROM user u
WHERE u.user_name = \\'%1$s\\' AND u.password = \\'%2$s\\'</string>
    // user_id로 유저 정보 조회하기 (자동 로그인을 위함)
    <string name="query_select_user_by_userId">SELECT u.user_name, u.name,
(SELECT count(*) FROM following WHERE user_id = u.user_id) AS following_count,
(SELECT count(*) FROM follower WHERE user_id = u.user_id) AS follower_count
FROM user u
WHERE u.user_id = %d;</string>
    // 팔로워, 팔로잉 목록 조회
    <string name="query_select_follow_list">SELECT user_id, user_name, name FROM user WHERE user_id IN (SELECT %1$s FROM %2$s WHERE user_id = %3$d)</string>
    // 팔로워 삭제
    <string name="query_delete_follower_my">DELETE FROM follower WHERE user_id = %1$d AND follower_id = %2$d;</string>
    <string name="query_delete_follower_other">DELETE FROM following WHERE user_id = %2$d AND following_id = %1$d;</string>
    // 팔로잉 취소
    <string name="query_delete_following_my">DELETE FROM following WHERE user_id = %1$d AND following_id = %2$d;</string>
    <string name="query_delete_following_other">DELETE FROM following WHERE user_id = %2$d AND following_id = %1$d;</string>
    // 팔로잉 (팔로우하기)
    <string name="query_insert_following_my">INSERT INTO following VALUES (%1$d, %2$d);</string>
    <string name="query_insert_following_other">INSERT INTO follower VALUES (%2$d, %1$d);</string>

    // 비밀번호 변경
    <string name="query_update_password">UPDATE user SET password = \\'%1$s\\' WHERE password = \\'%2$s\\' AND user_id = %3$d;</string>
</resources>
이번 팀플에서 요구하는 필수 기능을 다 작성한 모습은 이런 내용이었는데,
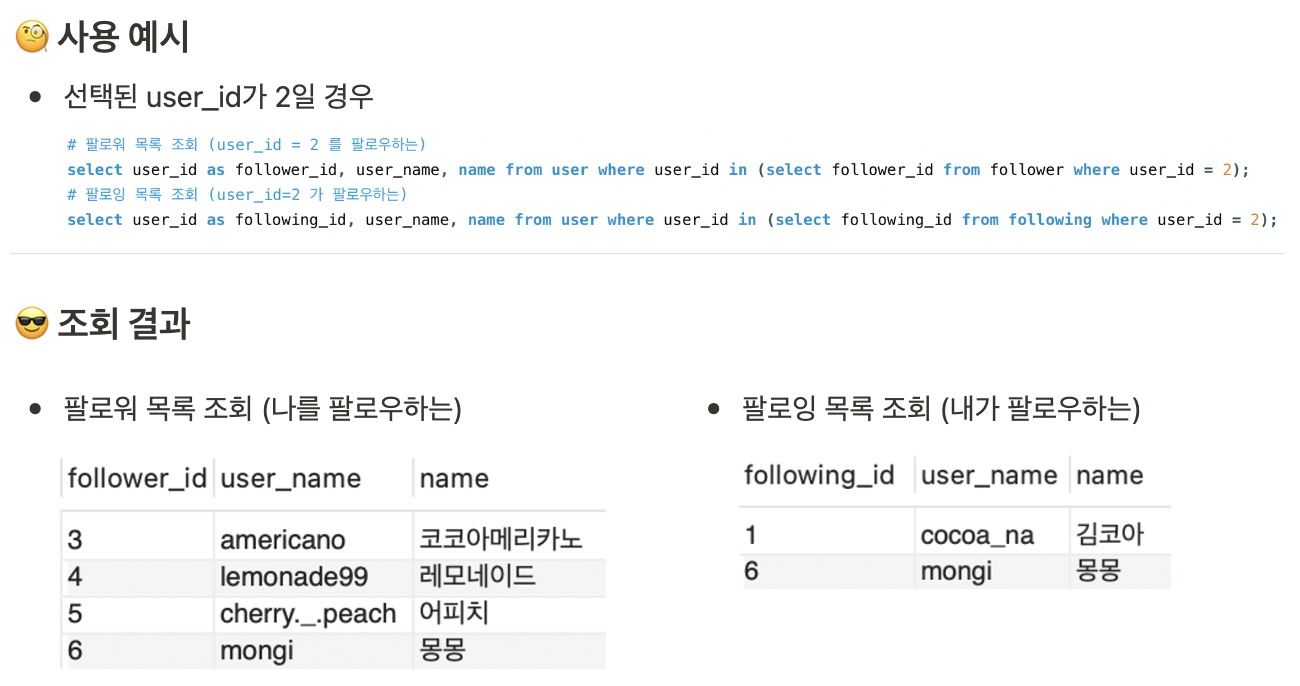
이 중에서 "팔로워, 팔로잉 목록 조회"를 예시로 들어보겠다.
// 팔로잉, 팔로워 목록 조회
<string name="query_select_follow_list">SELECT user_id, user_name, name FROM user WHERE user_id IN (SELECT %1$s FROM %2$s WHERE user_id = %3$d)</string>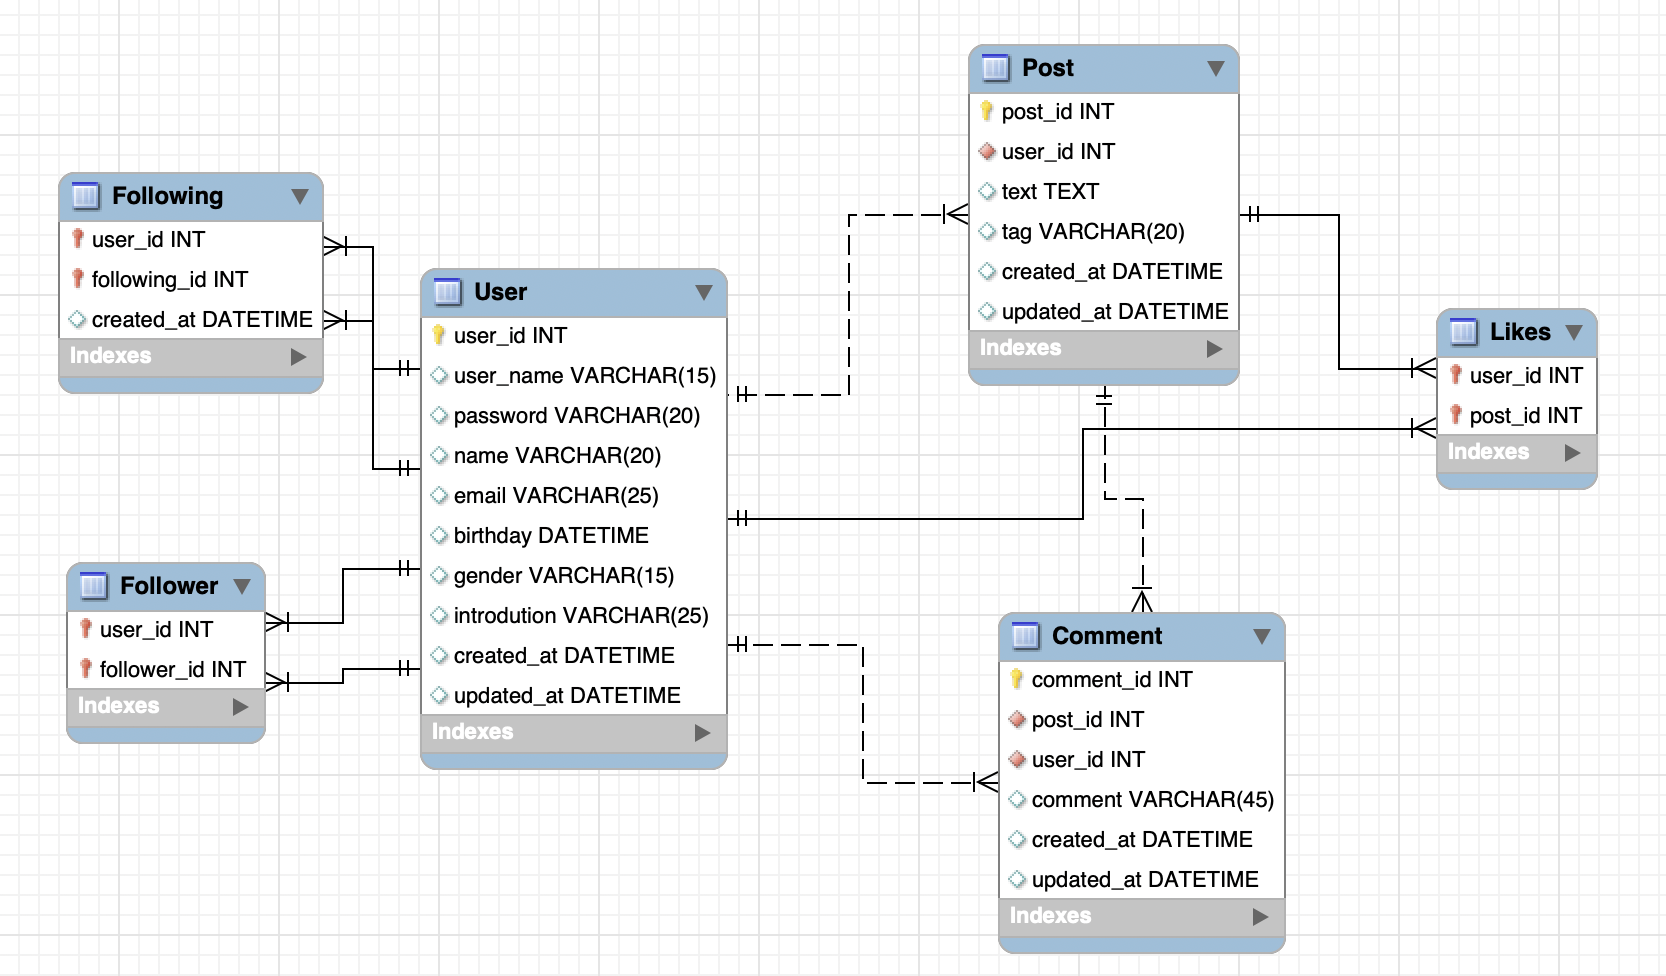
DB는 이런 식으로 Following, Follower 테이블이 각각 있어서
following에서는 누가(user_id) 누구(following_id)를 팔로잉하는지, 그리고
follower에서는 누가(user_id) 누구(follower_id)에게 팔로우 당하는지의 정보가 저장된다.
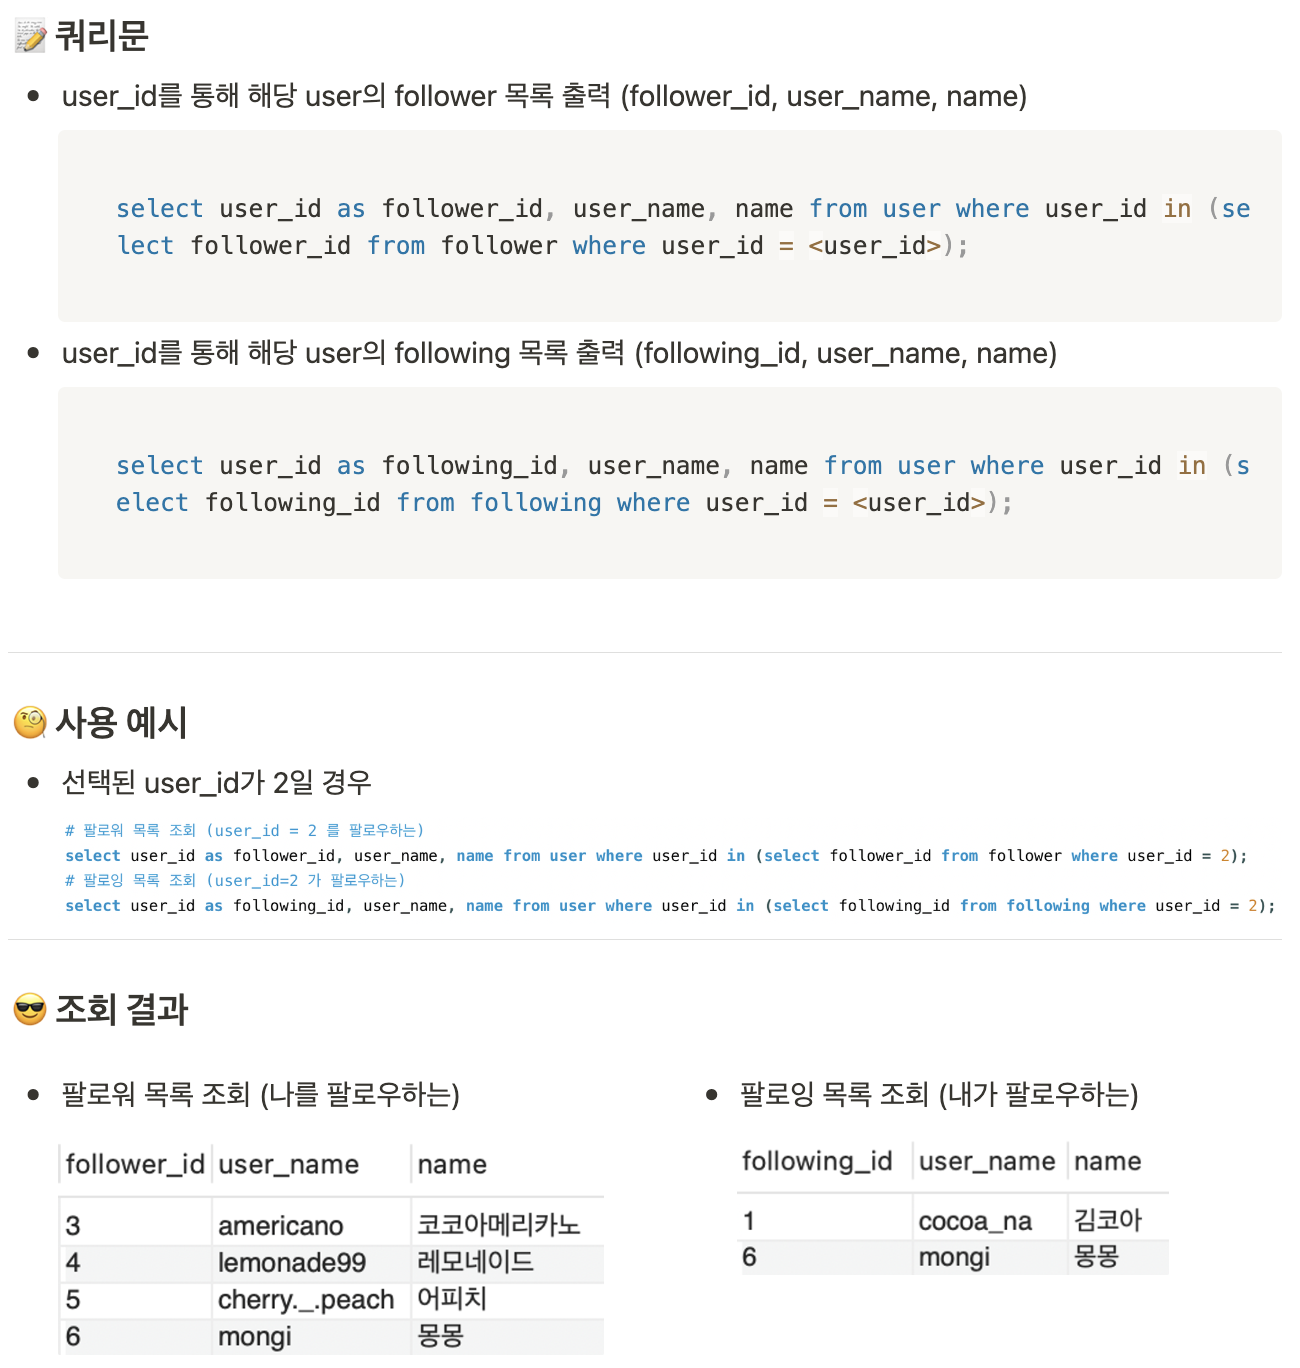
MySQL 워크벤치에서 확인한 모습은 다음과 같다.
user_name은 인스타그램에서의 사용자 이름을 나타낸다.
어쨌든 쿼리문이 잘 적용되는 것을 확인할 수 있다.
// 팔로잉, 팔로워 목록 조회
<string name="query_select_follow_list">SELECT user_id, user_name, name FROM user WHERE user_id IN (SELECT %1$s FROM %2$s WHERE user_id = %3$d)</string>
이 쿼리문을 queries.xml에서 코틀린 파일에서 불러올 수 있도록 다음과 같은 변수 자리를 표시해 주었다.
팔로워 id인지 팔로잉 id인지 구분 (following_id, follower_id)
조회할 테이블명을 구분 (following, follower)
현재 로그인한 아이디를 구별해주기 위한 user_id
위 새 개가 각각 %1$s, %2$s, %3$d에 들어갈 변수이다.
그럼 이 쿼리문을 어떻게 코틀린 파일에서 불러오는지를 살펴보자.
3️⃣ 코틀린 파일에서 쿼리문 사용해서 팔로워, 팔로잉 목록 조회하기
쿼리문을 사용하는 부분
fun getAllFollowList(connection: Connection): List<Follow> {
        // 현재 탭이 어떤 탭인지에 따라 서브쿼리 안에 적어줄 변수를 구분해주기 (팔로워를 조회할지 팔로잉을 조회할지)
        val targetId = if (isFollower) "follower_id" else "following_id" // 조회 대상이 되는 유저의 id
        val table = if (isFollower) "follower" else "following" // 조회할 테이블
        val sql = String.format(resources.getString(R.string.query_select_follow_list), targetId, table, userId)

        return try {
            // Statement 객체를 생성하여 SQL 쿼리를 실행하기 위한 준비를 함
            val statement = connection.createStatement()
            // SQL SELECT 쿼리를 실행하고, 조회 결과를 테이블 형식의 데이터인 ResultSet 객체에 저장함
            val resultSet = statement.executeQuery(sql)

            // 조회 결과를 반환할 리스트 (팔로워 또는 팔로잉 목록)
            val follows = ArrayList<Follow>()

            while (resultSet.next()) { // 조회 결과를 한줄 한줄 받아옴
                val id = resultSet.getInt("user_id")
                val userName = resultSet.getString("user_name")
                val name = resultSet.getString("name")
                // 한 유저(팔로워, 팔로잉) 인스턴스에 받아온 필드를 차례대로 넣어줌
                val user = Follow(id, userName, name)
                // 리스트에 위에서 받아온 유저 정보를 추가해줌
                follows.add(user)
            }
            // DB에서 조회한 팔로워, 팔로잉 리스트를 반환
            follows
        } catch (e: SQLException) {
            println("An error occurred while executing the SQL query: $sql")
            println(e.message)

            ArrayList()
        }
    }
내용은 주석으로 다 달아놨으니 설명은 생략하겠다.
우선, 저 내용이
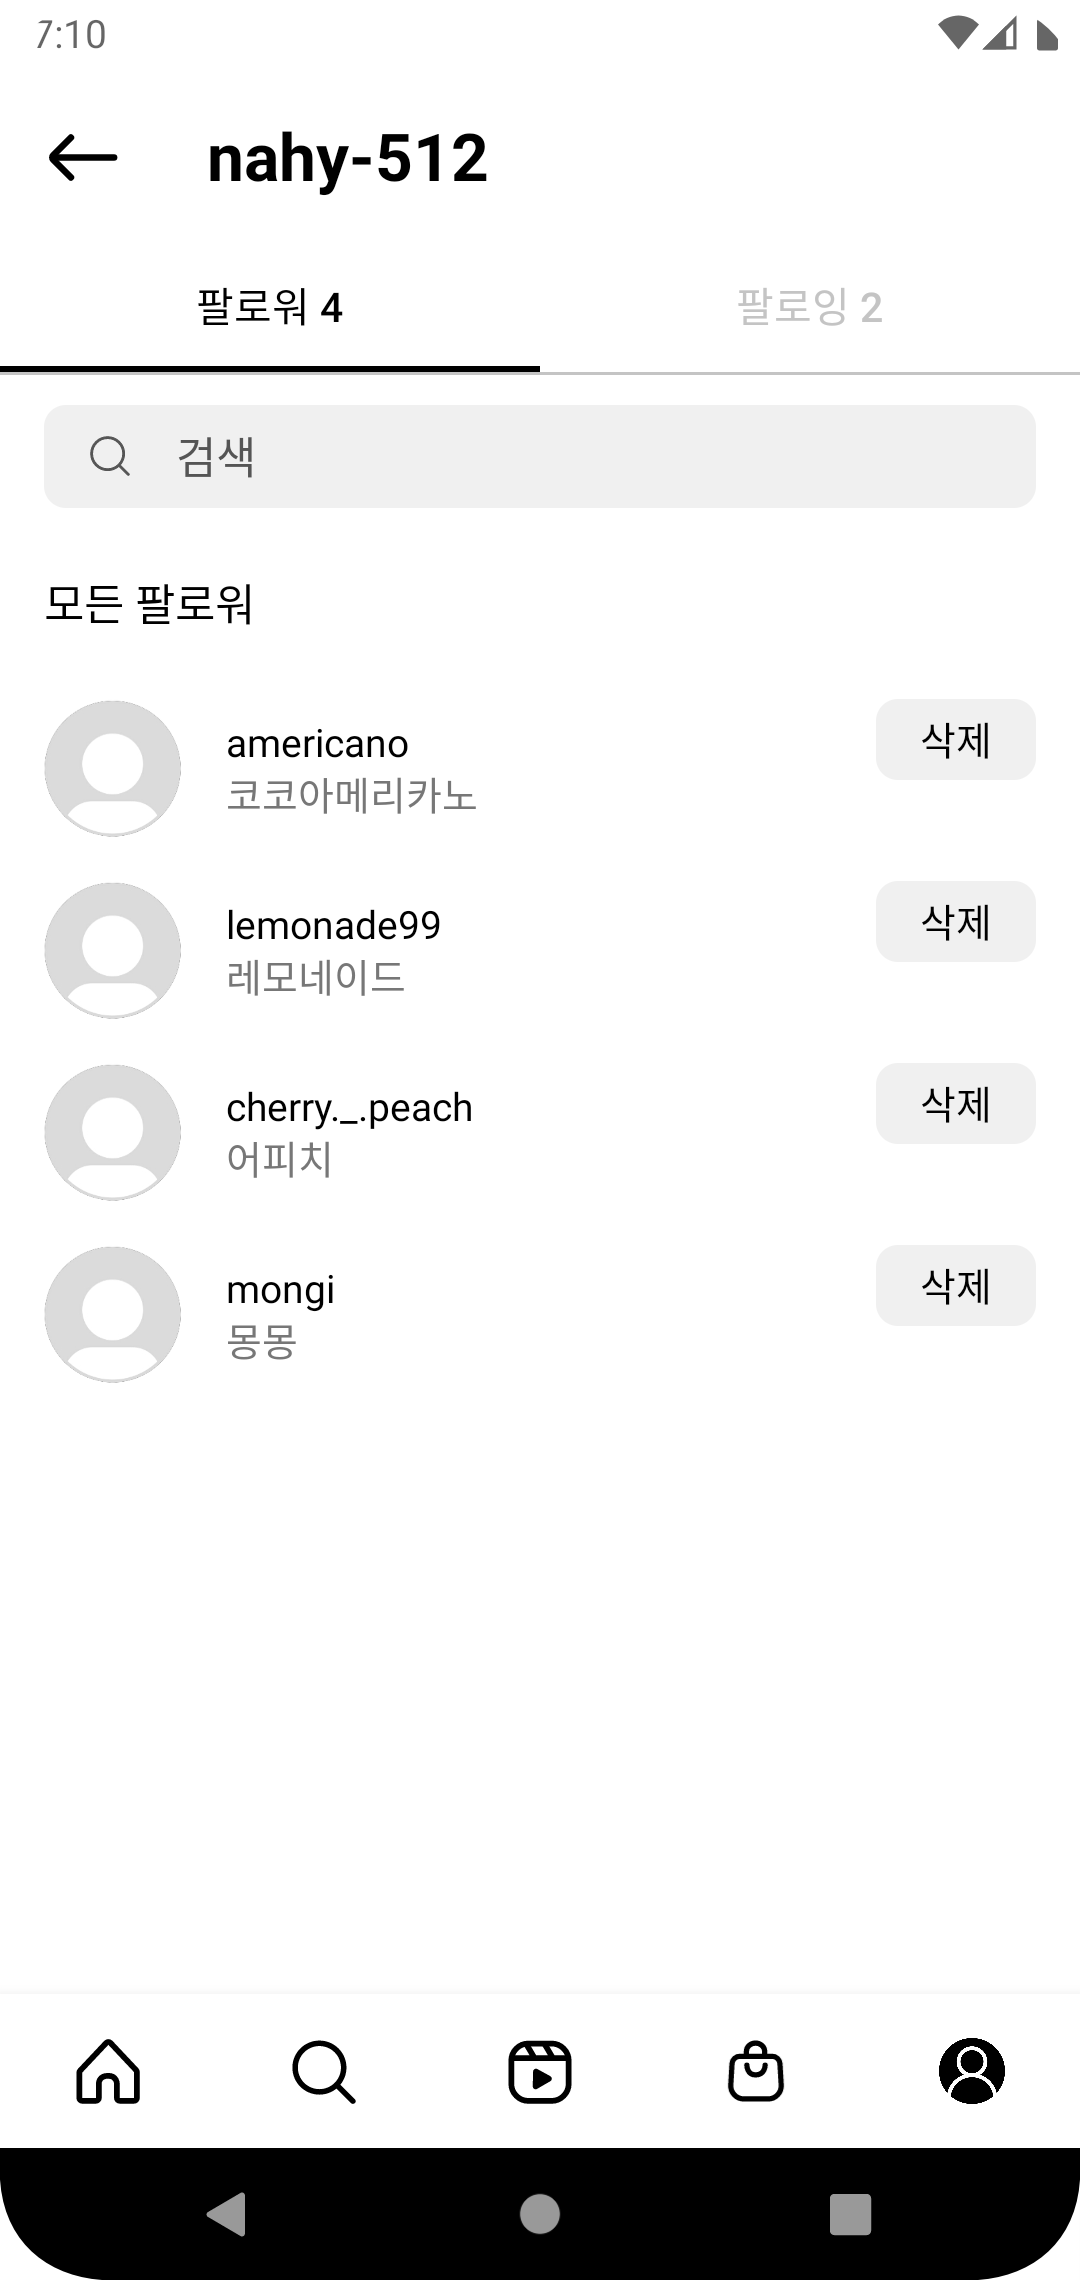 팔로워 탭 팔로워 탭 | 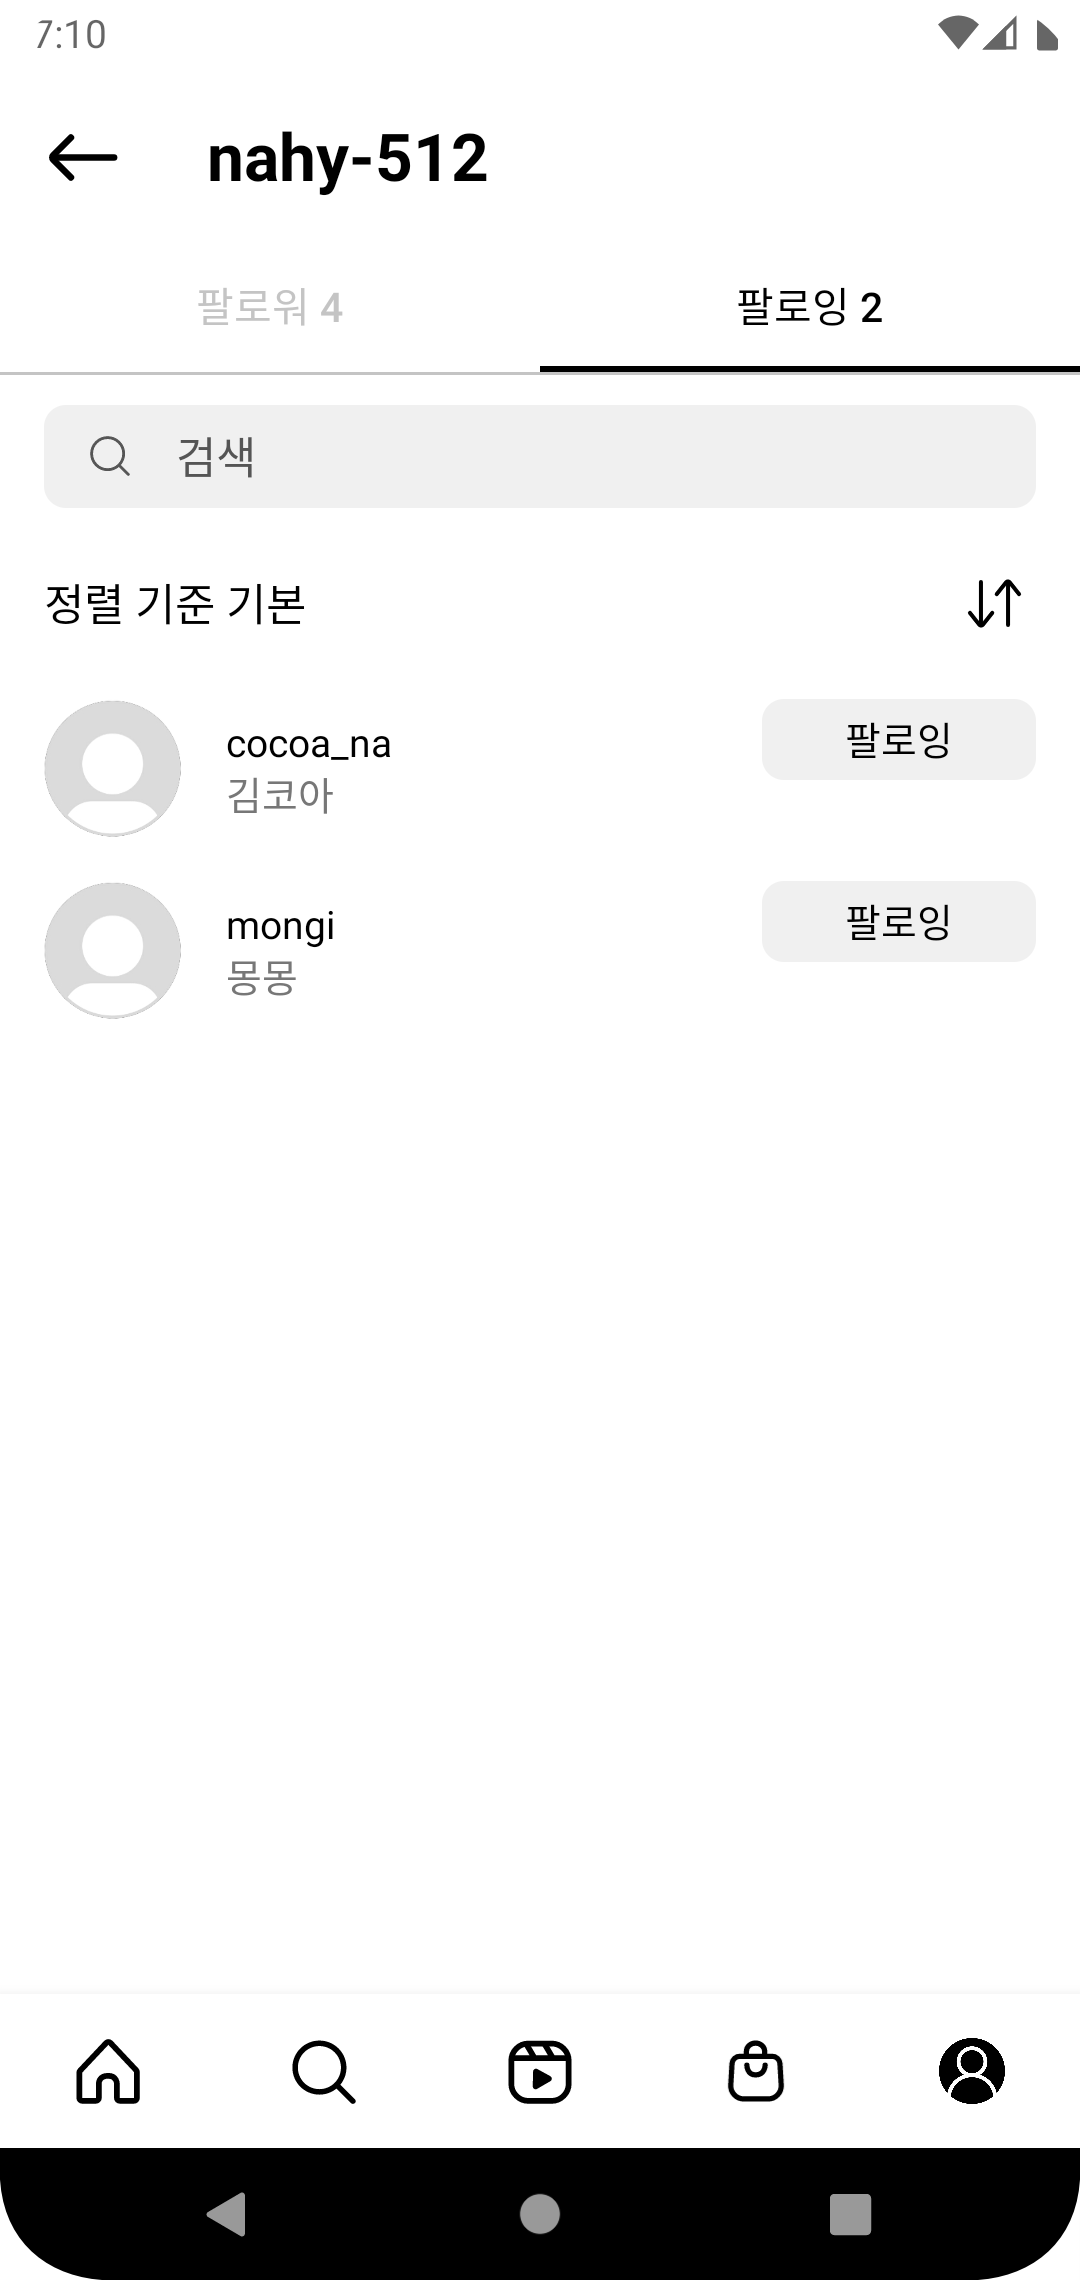 팔로잉 탭 팔로잉 탭 |
|---|
이 화면에 들어갈 내용인데, 나는 이 팔로워, 팔로잉 목록을 뷰페이저로 구분했고, 같은 프래그먼트에서 팔로워 탭인지, 팔로잉 탭인지를 isFollower라는 변수를 통해 0과 1로 구분했다.
앞선 코드의 getAllFollowList() 함수에서
// 현재 탭이 어떤 탭인지에 따라 서브쿼리 안에 적어줄 변수를 구분해주기 (팔로워를 조회할지 팔로잉을 조회할지)
        val targetId = if (isFollower) "follower_id" else "following_id" // 조회 대상이 되는 유저의 id
        val table = if (isFollower) "follower" else "following" // 조회할 테이블
        val sql = String.format(resources.getString(R.string.query_select_follow_list), targetId, table, userId)
해당 부분을 통해 팔로워와 팔로잉 탭에서 구분해서 쿼리문을 날린다.
private fun getDatabaseData() {
        GlobalScope.launch(Dispatchers.IO) {
            val connection = connectToDatabase()
            if (connection != null) {
                // DB에서 조회한 팔로워 or 팔로잉 정보를 리스트로 가져오기
                val users = getAllFollowList(connection)

                // UI 업데이트를 메인 스레드에서 수행
                withContext(Dispatchers.Main) {
                    follows.clear()
                    follows.addAll(users)
                    // 팔로워 or 팔로잉 리스트로 리사이클러뷰 데이터 초기화
                    initFollowRv()
                    // 연결 닫기
                    connection.close()
                }
            } else {
                Log.d("Database", "Failed to connect to the database.")
            }
        }
    }
위의 일련의 코드로 조회해온 데이터를 통해, 팔로워와 팔로잉 리스트를 업데이트 할 수 있다.
😎 완성 모습
애뮬레이터에서 프로젝트를 돌려본 모습이다.
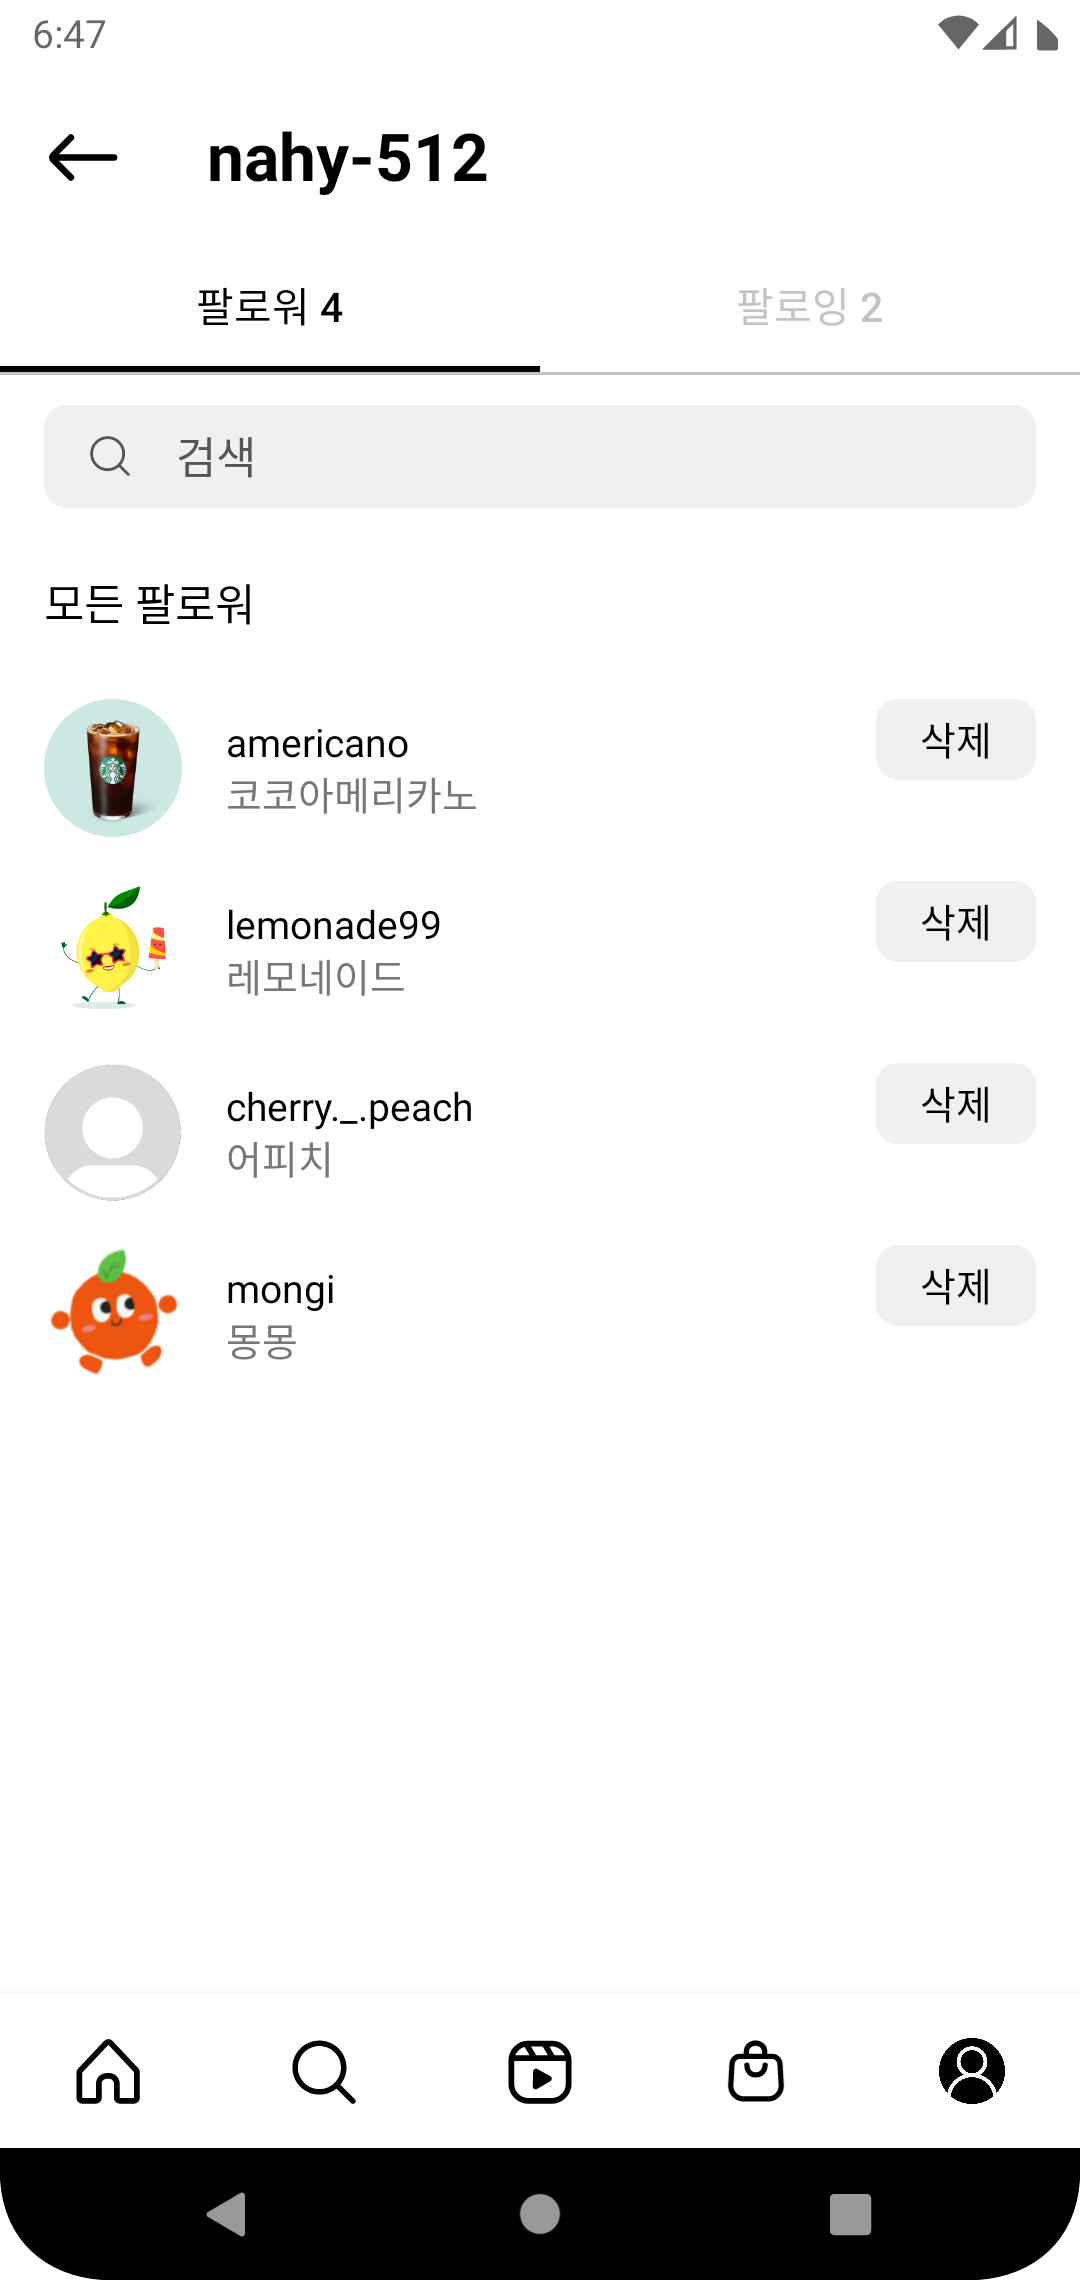 팔로워 탭 팔로워 탭 | 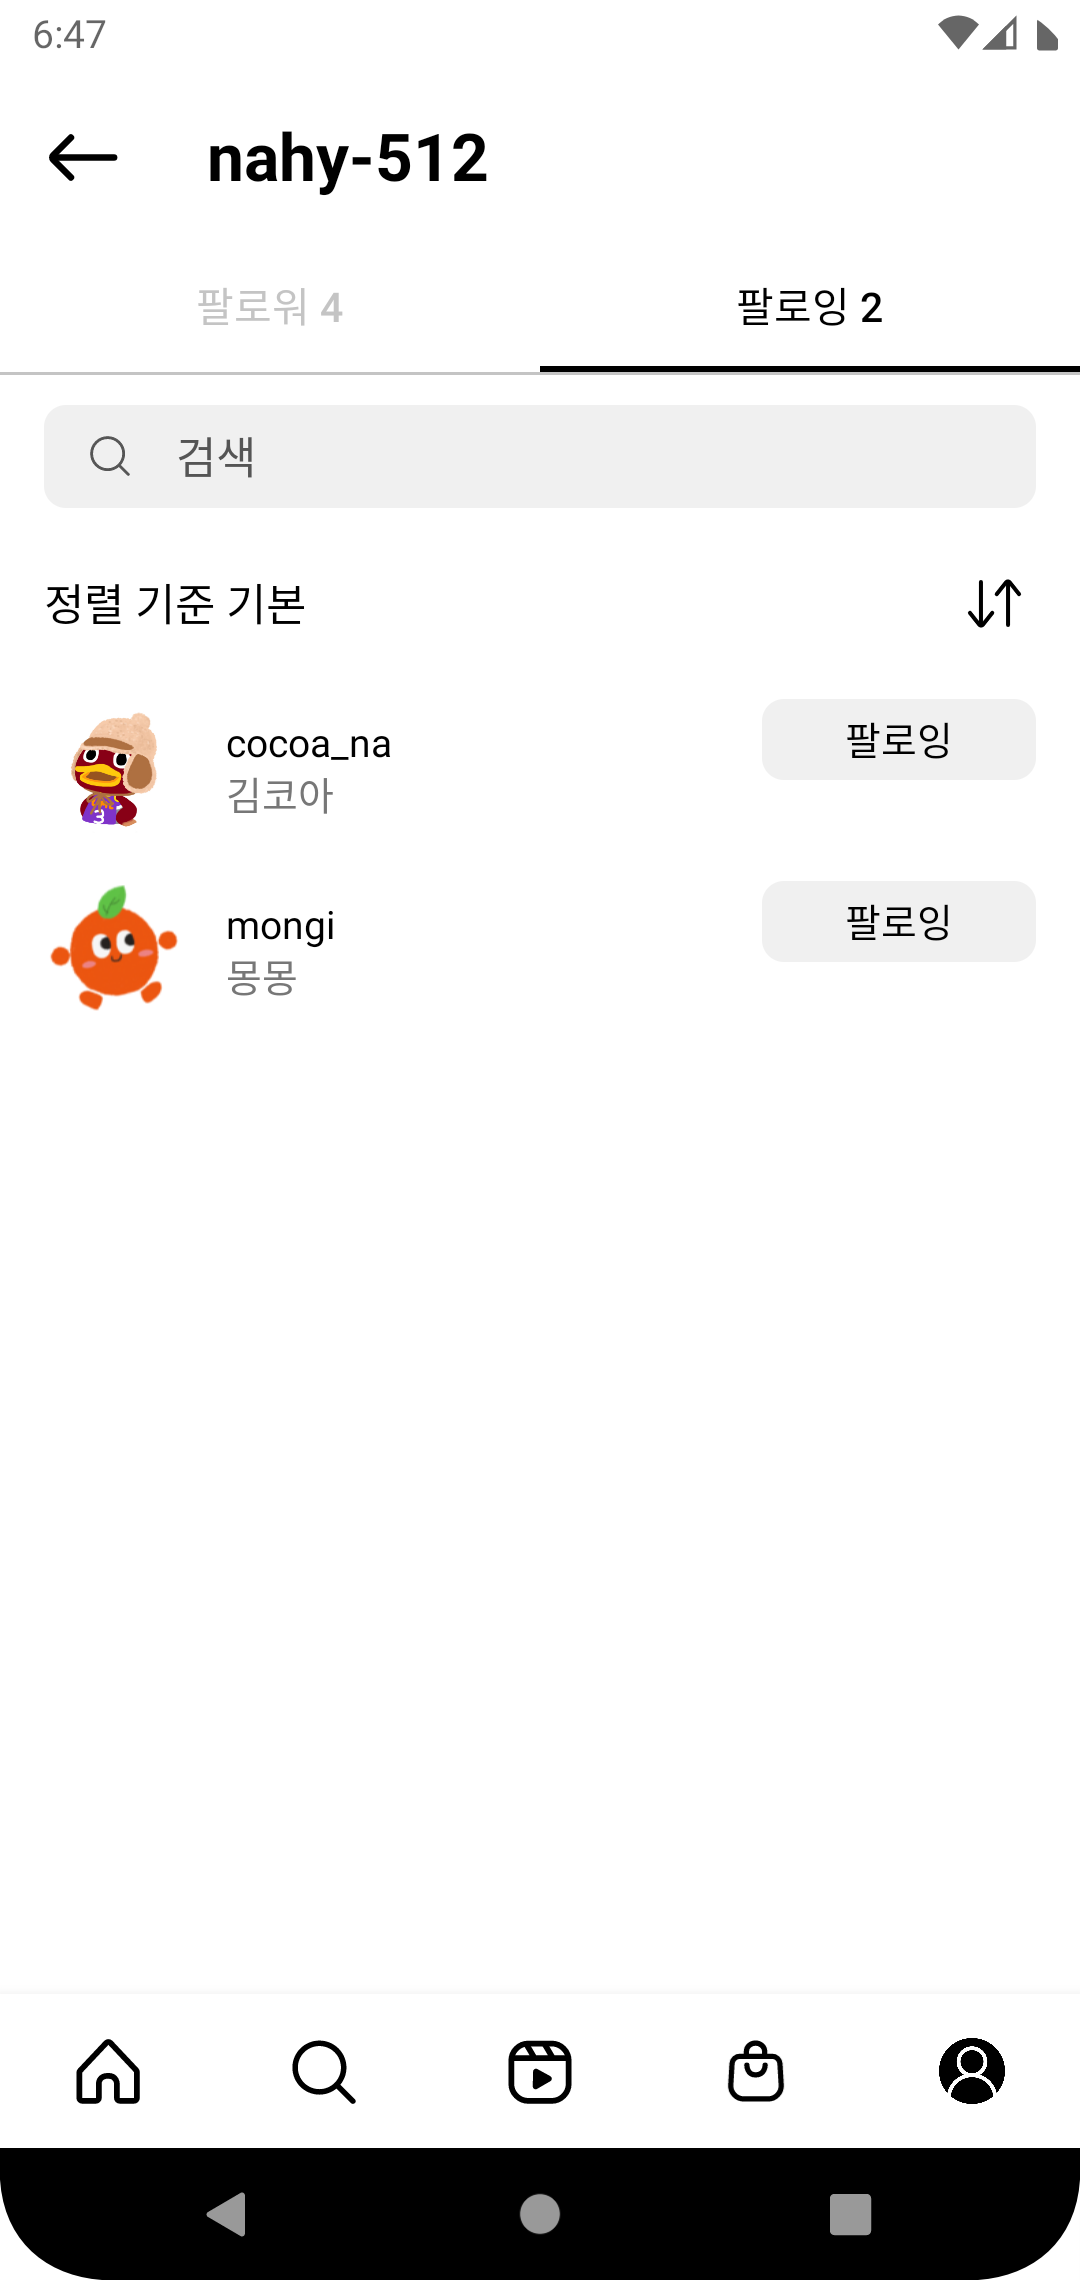 팔로잉 탭 팔로잉 탭 |
|---|
추가로 프로필 이미지 url을 받는 필드도 추가해 만들어보았다.
이전의 데이터였던
여기에서 프로필 이미지를 가져오는 부분만 추가되었다고 보면 된다.
오늘은 DB의 데이터를 조회하는, select를 예시로 들어봤는데, 다음 시간에는 insert, update, delete도 다뤄보겠다.
[JDBC를 이용해 Android와 MySQL를 연동한 인스타 클론코딩 Github]
🔗 https://github.com/nahy-512/Database_TeamD
📚 참고 자료