
React Native로 챗봇 앱 만들기
개요
심리상담을 위한 대화 언어모델와 React Native를 사용해, 서비스 가능한 심리 상담 챗봇 앱을 만들어 보는것을 목표로 한다.
이 포스트에서는 react native와 expo를 이용해 챗봇 서비스를 진행할, 채팅 앱을 만들어 본다.
react native와 expo는 기본적으로 설치 되어 있는것을 가정하고 진행
앱의 가칭은 Stand By Me로 한다.
React-Native와 Expo의 장점
React Native란?
React Native는 js로 Android와 iOS 모두 동작할 수 있는 앱을 만들 수 있는 앱 개발 프레임워크이다. 빠르게 서비스를 만들어서 iOS와 Android에서 제공할 수 있는 장점을 가진다.
장점 외에도 속도 문제나 딥하게 기기를 다뤄야 하는 앱의 경우 결국은 네이티브 코드를 다뤄야 하는 문제들이 있다고 하지만 나의 경우 채팅앱으로 사용하여, 위 단점들이 크게 영향을 주지 못하므로 사용하기로 결정
Expo란?
공식 홈페이지 기준, React Application을 위한 프레임워크이자 플랫폼입니다. 리액트 네이티브 개발시 개발, 빌드, 배포 등 많은 부분을 쉽게 만들어 줘서 유용하게 사용하고 있습니다.
하지만 Expo를 사용하게 되는 경우 기본 리액트 네이티브보다 제한되는 사항들이 많아지며, 앱의 크기도 커진다는 단점이 있습니다.
따라서 개발 목적에 따라 사용하면 좋을것 같습니다.
폴더 구성
- App: React Native App
- DialogModel: 심리 상담을 위한 한국어 언어모델
- Service: 한국어 언어모델 서빙
stand-by-me
 ⎿ App
 ⎿ DialogModel
 ⎿ Service
폴더를 expo프로젝트로 초기화, Expo init
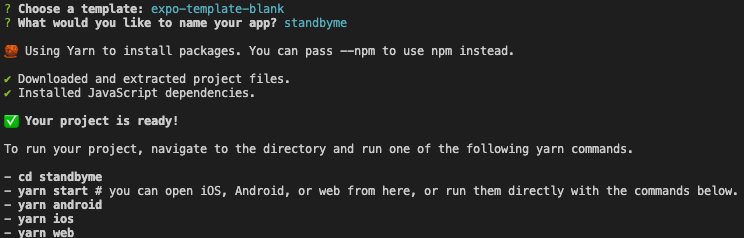
stand-by-me/App 경로에서 expo init
expo init- Template: Blank
- app name: standbyme
입력 후 엔터
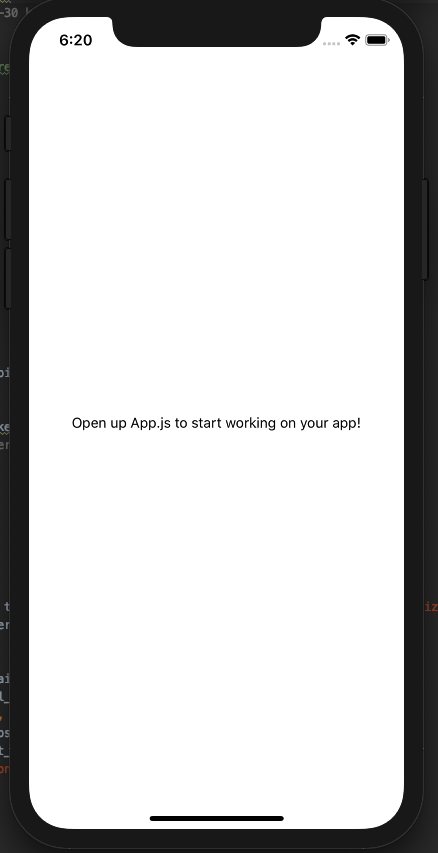
생성된 앱 실행, Expo start
expo init 후 최초로 생성 된 앱 실행🏃♂️
페이지 이동을 위한 React-Navigation 설치
React-Navigation은 리액트네이티브에서 페이지 이동을 위해 사용하는 패키지 중 하나.
React Navigation설치
yarn add @react-navigation/native
yarn add @react-navigation/stack
Expo에서 사용하는데 필요한 dependencies 설치하기
expo install react-native-gesture-handler react-native-reanimated react-native-screens react-native-safe-area-context @react-native-community/masked-viewApp 만들기
App.js
React Navigation을 이용한 메인 화면. 화면 이동하는데 Navigator를 사용한다.
import * as React from 'react';
import { View, Text } from 'react-native';
import Navigator from './src/Navigator'

function App() {
  return (
    <Navigator/>
  );
}

export default App;
Navigator
메인 화면인 HomeScreen과 채팅 화면인 ChatScreen을 이동하기 위한 Navigator
import * as React from 'react';
import { View, Text } from 'react-native';
import { NavigationContainer } from '@react-navigation/native';
import { createStackNavigator } from '@react-navigation/stack';

import HomeScreen from '../Screen/HomeScreen'
import ChatScreen from '../Screen/ChatScreen'


const Stack = createStackNavigator();

function Navigator() {
  return (
    <NavigationContainer>
      <Stack.Navigator>
        <Stack.Screen
            name="Home"
            component={HomeScreen}
            options={{
                headerShown:false,
              }}/>
        <Stack.Screen
            name="Chat"
            component={ChatScreen}
            options={{
                headerShown:false,
              }}
            />
      </Stack.Navigator>
    </NavigationContainer>
  );
}

export default Navigator;
HomeScreen
import * as React from 'react';
import { View, Text, Button, StyleSheet, TouchableOpacity,Dimensions } from 'react-native';
const {height, width} = Dimensions.get("window")

function HomeScreen({ navigation }) {
    return (
        <View style={{ flex: 1, alignItems: 'center', justifyContent: 'center' }}>
            <View style={{ flex: 3, alignItems: 'center', justifyContent: 'center' }}>
                <Text style={{ fontSize:30,fontWeight:"900"}}>Stand By Me</Text>
                <Text style={{marginTop:10, fontSize:18,fontWeight:"500"}}>한국어 언어 모델을 이용한</Text>
                <Text style={{ fontSize:18,fontWeight:"500"}}>심리상담 AI</Text>
            </View>
            <View style={{flex: 1, width:'100%', alignItems: 'center', justifyContent: 'center' }}>
                <TouchableOpacity
                    style={{height:40, width:width-50, borderRadius:10, backgroundColor:'#4169e1',alignItems: 'center', justifyContent: 'center'}}
                    onPress={() => navigation.navigate('Chat')}
                >
                    <Text style={{color:'white', fontSize:16}}>대화하기</Text>
                </TouchableOpacity>
            </View>
        </View>
    );
}

export default HomeScreen;

const styles = StyleSheet.create({

})
ChatScreen
import React, { useState, useCallback, useEffect } from 'react'
import { View, Text,Dimensions } from 'react-native';
import { GiftedChat } from 'react-native-gifted-chat'

const {height, width} = Dimensions.get("window")

function ChatScreen() {
    const [messages, setMessages] = useState([]);

    useEffect(() => {
        setMessages([
            {
                _id: 1,
                text: '안녕하세요! 반가워요 :D',
                createdAt: new Date(),
                user: {
                    _id: 2,
                    name: 'React Native',
                    avatar: 'https://placeimg.com/140/140/any',
                },
            },
        ])
    }, [])

    const onSend = useCallback((messages = []) => {
        // console.log('previousMessages: ',previousMessages)
        console.log('messages: ', messages)
        setMessages(previousMessages => GiftedChat.append(previousMessages, messages))
    }, [])

    return (
        <View style={{ flex: 1}}>
        <View style={{alignItems: 'center', justifyContent: 'center',position:'absolute',width:width, top:50,zIndex:10 }}>
            <Text style={{ fontSize: 30, fontWeight: "900" }}>Stand By Me</Text>
        </View>
        <GiftedChat
            placeholder={'메세지를 입력하세요...'}
            alwaysShowSend={true}
            messages={messages}
            textInputProps={{ keyboardAppearance: 'dark', autoCorrect: false }}
            onSend={messages => onSend(messages)}
            user={{
                _id: 1,
            }}
        />
        </View>

  )
}

export default ChatScreen;아

yarn add react-native-gifted-chat 설치 가이드를 추가하면 좋겠습니다.