tublbug Page (2)
React를 이용해서 Tublbug Page를 제작할 계획
1단계 ) Navigation + Image Slider
2단계 ) Grid + 반응형 - 오늘 구현
Grid + 반응형(media query)
[ 원리 ]
- 최초 4개의 Grid-item -> 2개의 Grid-item로 개수 조정
- 2개가 될 때 width에따라 전체 크기 자체 조정
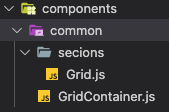
- 파일 구조 : GridContainer 안에 여러개의 Grid 존재
[ 코드 ]
(GridContainer.js)
import React from 'react'
import styled from 'styled-components';
import Grid from './secions/Grid';

const Template = styled.div`
    width: 1000px;
    display: flex;
    flex-direction: column;
    justify-content: center;
    align-items:center;
    @media only screen and (max-width: 996px){
        width:100%;
        height:auto;
    }
`;
const TitleText = styled.div`
    font-size: 20px;
    font-weight: bold;
    margin-top: 40px;
    margin-bottom: 20px;
    align-self: flex-start;
    margin-left: 15px;
`;
const GridContainerTemplate = styled.div`
    display: grid;
    grid-template-columns: repeat(4,1fr);
    grid-template-rows: auto;
    grid-gap: 20px;
    @media only screen and (max-width: 996px){
        grid-template-columns: repeat(2, minmax(220px,1fr));
        width:97%;
    }
`;
function GridTemplate({titletext, object}) {
    return (
        <Template>
            <TitleText>{titletext}</TitleText>
            <GridContainerTemplate>
            {
                object.map((obj,idx)=>(
                    <Grid
                    obj={obj}
                    key={`Grid-${idx}`}
</Grid>
                ))
            }
            </GridContainerTemplate>
        </Template>
    )
}

export default GridTemplate
- GridContainerTemplate에서 4개 item -> 2개 item
const GridContainerTemplate = styled.div`
    display: grid;

/* 최초 4개의 컬럼 유지 ! */
    grid-template-columns: repeat(4,1fr);
    grid-template-rows: auto;
    grid-gap: 20px;

/* 996px 이하가 되면 최소 220px 최대 1fr크기를 가지는 컬럼 유지 ! */
    @media only screen and (max-width: 996px){
        grid-template-columns: repeat(2, minmax(220px,1fr));
        width:97%;
    }
`;
- Grid-item의 크기를 width에 따라 유동적이게 만들기
: 내부 요소의 width나 height 중 하나를 auto, 나머지를 크기지정하면 width에 따라 비율이 유지되면서 크기가 변한다
(Grid.js)
...
const GridTemplate = styled.div`
    display: flex;
    flex-direction: column;
    width: 235px;
    height: 292px;
    padding-bottom: 64px;
    position: relative;
    overflow: hidden;
    border-radius: 6px;
    @media only screen and (max-width: 996px){
        width:100%;
        height:auto;
    }
`;
const Img = styled.img`
    width: 235px;
    height: 160px;
    border-radius: 6px;
    cursor: pointer;
    transition: 0.3s;
    &:hover {
        transform:scale(1.05);
        ${Like} {
            transform:scale(1.2);
        }
    }
    @media only screen and (max-width: 996px){
        width:100%;
        height:auto;
    }
`;
...
function Grid({obj}) {
    return (
        <GridTemplate>
            <Like>
                <LikeImg src="https://tumblbug.com/wpa/1d4978f729cd37a38573e85f399b74c1.png"></LikeImg>
            </Like>
            <Img src={obj.img}></Img>
            <TextBox>
                <TagText>{obj.tagText}</TagText>
                <TitleText>{obj.titleText}</TitleText>
            </TextBox>
            <SuccessRate>{obj.successRate}</SuccessRate>
        </GridTemplate>
    )
}
- GridTemplate의 width:100%, height:auto로 했기 때문에 같은 비율을 지키면서 내부 요소들이 변하게 된다
- 추가적으로 내부 Img태그의 width:100%, height:auto도 지정
Grid-item hover 효과
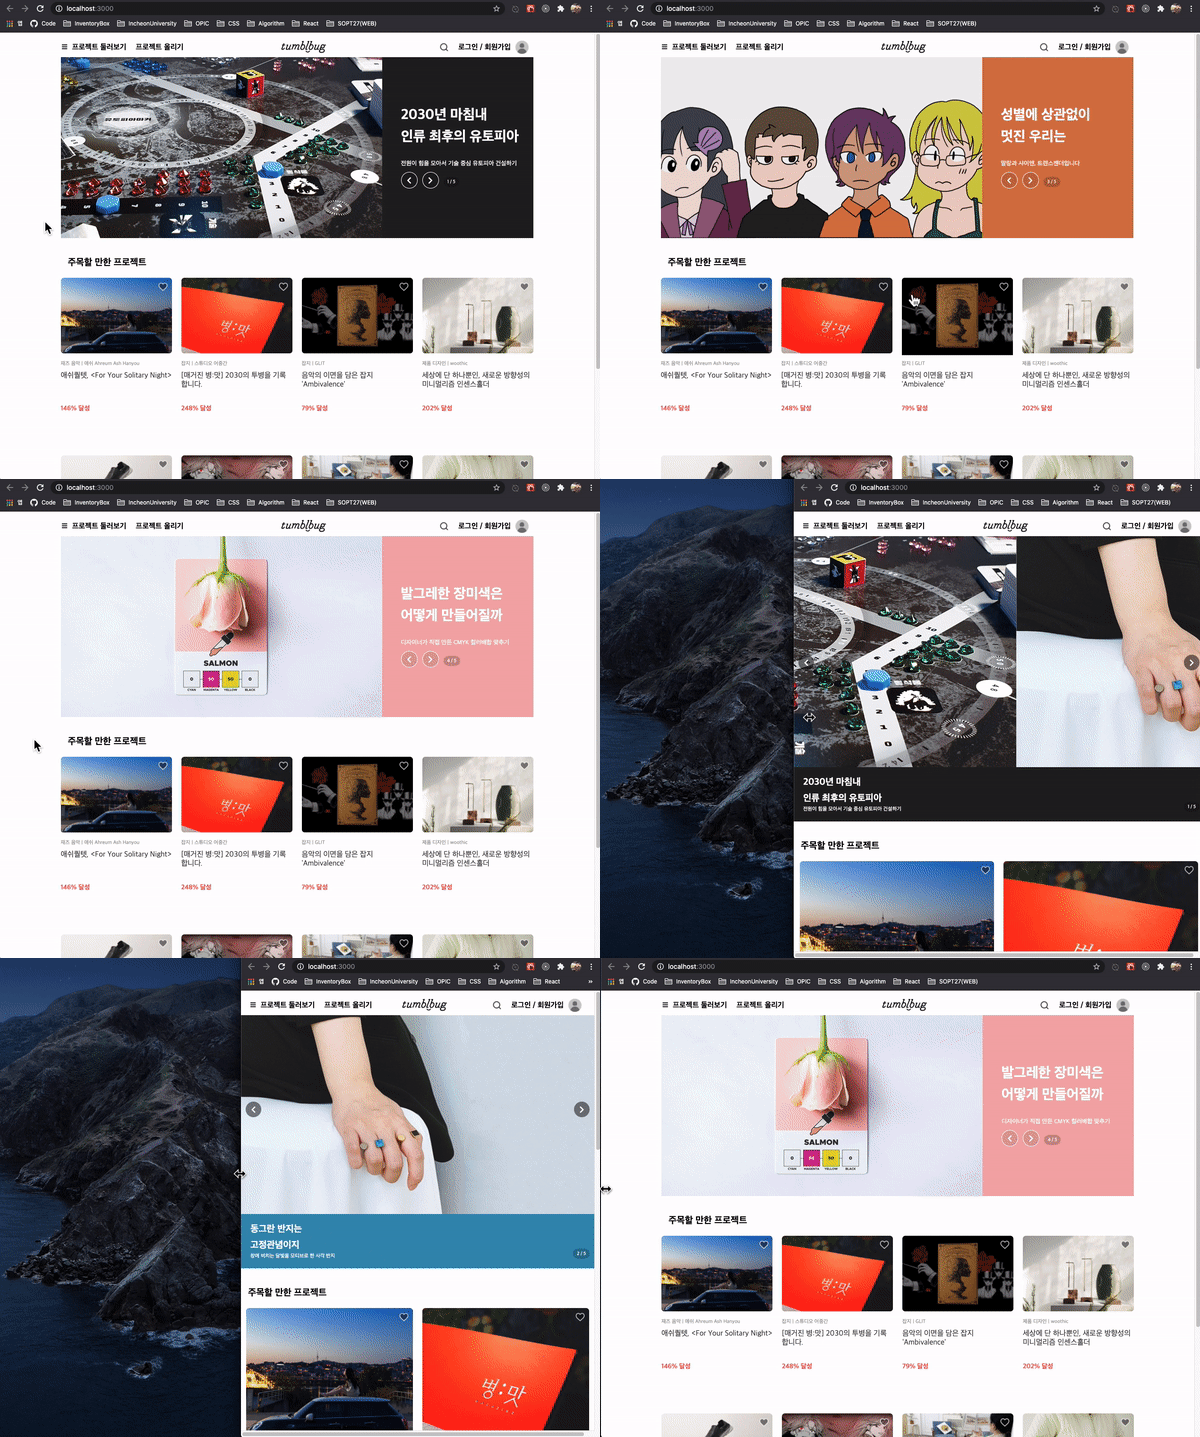
[ 미리보기 ]
- grid-item에 마우스 hover시 이미지가 확대되는 효과
: scale을 키우고 overflow되는 부분을 hidden함const Img = styled.img` width: 235px; height: 160px; border-radius: 6px; cursor: pointer; transition: 0.3s; &:hover { transform:scale(1.05); } @media only screen and (max-width: 996px){ width:100%; height:auto; } `;
ImageSlider에 반응형 추가
[ 원리 ]
- Grid-item의 크기를 같은 비율로 줄이는 것과 같은 원리 사용
- ImageSlider에 대한 mediaquery 추가 작성
(git-hub참조)
[ 코드 ]
(Slider.js)
...
const SliderTemplate = styled.div`
    display: flex;
    justify-content: flex-start;
    position: relative;
    @media screen and (max-width: 960px){
        display: flex;
        flex-direction: column;
        width:100%;
        height:auto;
    }
`;
- ImageSlider에서 Image의 부분은 ImageSlider전체의 구조를 flex-direction: colum으로만 하면 내부 Img크기는 width:100% 이므로 내부요소는 수정이 필요 없음
텍스트 부분도 같은 원리로 외부 틀을 width:100%, height:auto로 하려고 했지만 안됨;
-> img태그는 되고, div는 안되는것을 확인그래서 transition을 포기하고 조건부 렌더링으로 해결함;
(SideText.js)
function SideText({chIdx, obj, onClickLeftButton, onClickRightButton}) { return ( /* 해당되는 텍스트만 width:100%로 출력하게 했음 */ chIdx == obj.idx? <> <SideWrap chIdx={chIdx}> <TextBox> <MainText> <MainTxt1>{obj.mainTxt1}</MainTxt1> <MainTxt2>{obj.mainTxt2}</MainTxt2> </MainText> <SubText>{obj.subTxt}</SubText> </TextBox> <ButtonAndPage> <ButtonBox> <ButtonLeft onClick={onClickLeftButton}> <i className="fas fa-chevron-left"></i> </ButtonLeft> <ButtonRight onClick={onClickRightButton}> <i className="fas fa-chevron-right"></i> </ButtonRight> </ButtonBox> <PageCnt>{obj.idx+1} / 5</PageCnt> </ButtonAndPage> </SideWrap> </> :null ) }
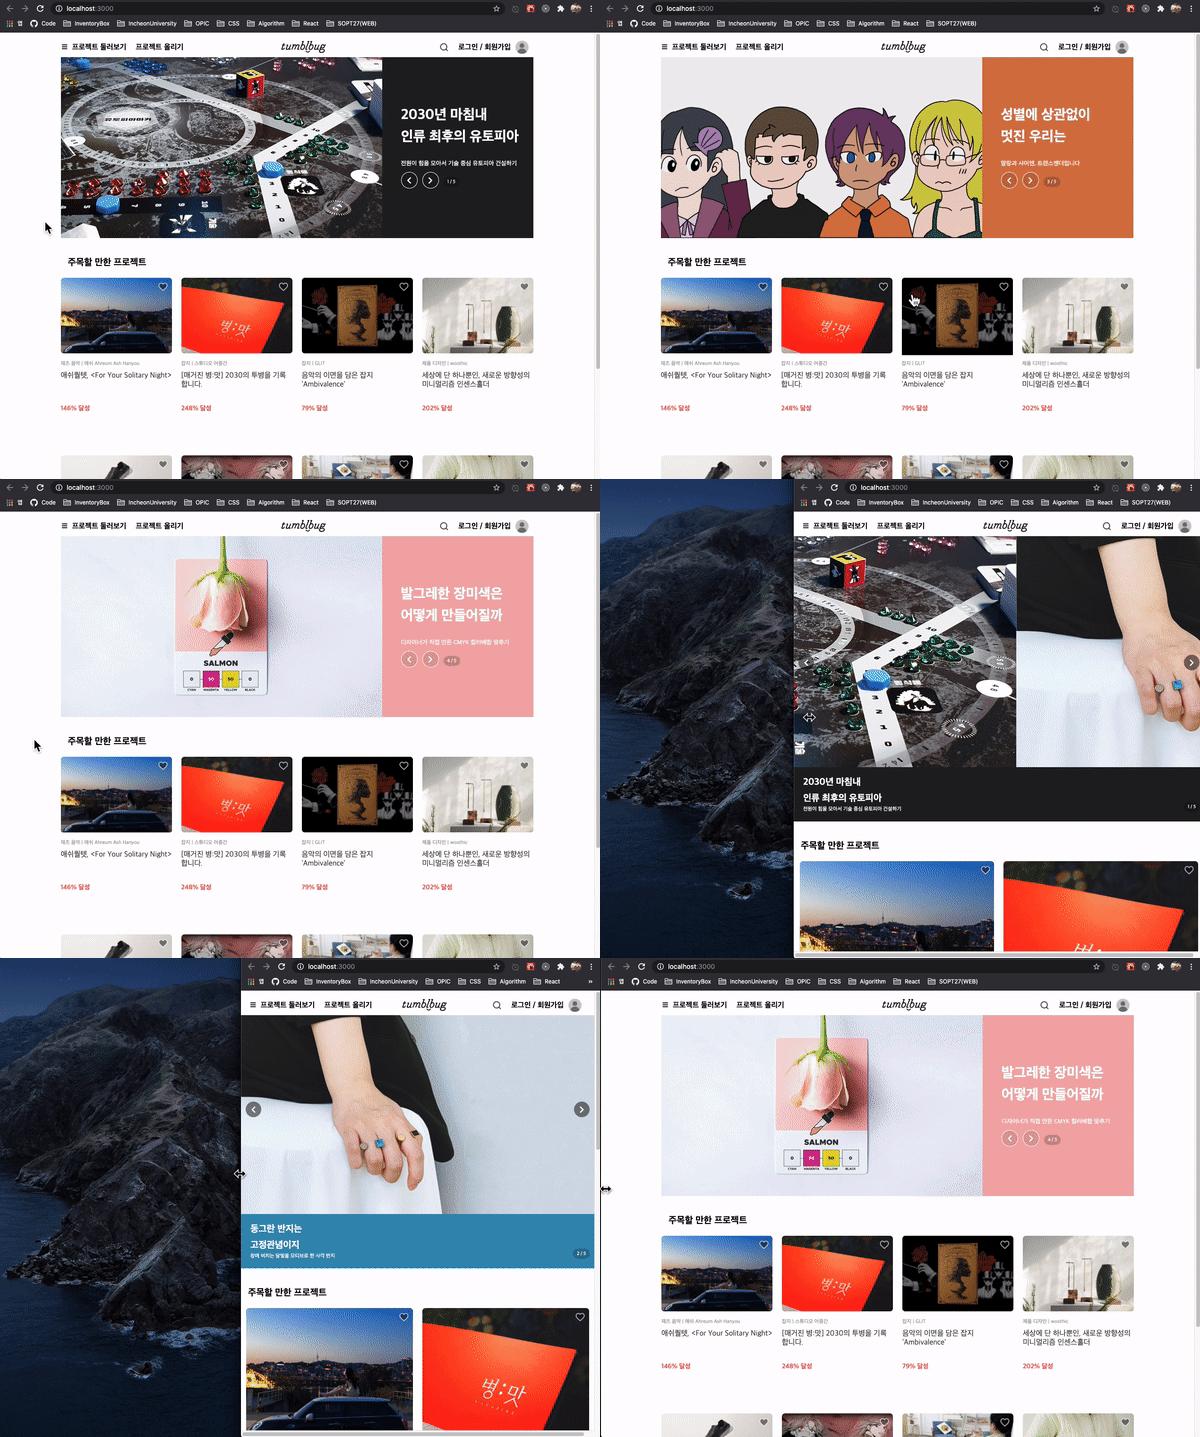
최종 결과물


