리액트 라이브러리나 앵귤러, 뷰 프레임워크 사용 없이 자바스크립트만으로 SPA(Single Page Application)를 구현해보자.
폴더 구조
SPA
├── frontend
│   ├── index.html
│   └── static
│       ├── css
│       │   └── index.css
│       └── js
│           ├── index.js
│           └── views
│               ├── AbstractView.js
│               ├── Dashboard.js
│               ├── NotFound.js
│               ├── Posts.js
│               └── Settings.js
├── package-lock.json
├── package.json
└── server.js
SPA 구현하기
1. HTML 작성
(frontend/index.html)
<!DOCTYPE html>
<html lang="en">
  <head>
    <meta charset="UTF-8">
    <meta http-equiv="X-UA-Compatible" content="IE=edge">
    <meta name="viewport" content="width=device-width, initial-scale=1.0">
    <title>Single Page App</title>
  </head>
  <body>
    <nav class="nav">
      <a href="/" class="nav__link" data-link>Dashboard</a>
      <a href="/posts" class="nav__link" data-link>Posts</a>
      <a href="/settings" class="nav__link" data-link>Settings</a>
    </nav>

    <div id="app"></div>

    <script type="module" src="/static/js/index.js"></script>
  </body>
</html>
html에 스크립트 삽입 시 type="module"로 설정한 이유는, es6의 import/export 문법을 사용하기 위해서다.
/static/js/index.js는 클라이언트 단 자바스크립트의 엔트리 포인트다.
2. npm 세팅
루트 경로에서 npm을 초기화한다.
npm init -y
3. express 설치
npm install express
4. server.js
루트 경로에 server.js 생성 후 코드 작성
const express = require("express");
const path = require("path");

const app = express();

// Single page이기 때문에,
// 모든 경로에서 index.html을 불러온다.
app.get("/*", (req, res) => {
  res.sendFile(path.resolve("frontend", "index.html"));
});

app.listen(process.env.PORT || 5000, () => {
  console.log("Server running...")
})
server.js를 실행한다.
node server.js
node보다는 실시간 업데이트가 반영되는nodemon을 추천한다.
- 설치
npm install nodemon --save-dev- 실행
nodemon server.js
정상적으로 실행되었다면, http://localhost:5000/로 접속했을 때 아래와 같은 페이지가 출력될 것이다.

5. index.js
frontend 폴더에 static 폴더를 생성한다.
static 폴더에 js 폴더를 생성한다.
js 폴더에 index.js를 생성한다.
index.js가 제대로 동작하는지 콘솔로 테스트 해본다.
(index.js)
console.log("JS is loaded!");아마 에러가 출력될 것이다.
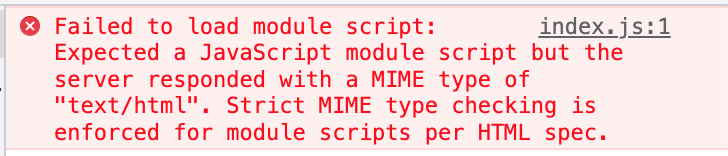
Failed to load module script: Expected a JavaScript module script but the server responded with a MIME type of "text/html". Strict MIME type checking is enforced for module scripts per HTML spec.
server.js에 가서 middleware 설정을 해야 한다.
(server.js)
const express = require("express");
const path = require("path");

const app = express();

// middleware 설정
// __dirname을 빼도 되지만 포함하는 게 정석.
// '/static'으로 시작되는 경로로 접속 시 frondend/static이 기본 고정 경로가 됨.
app.use("/static", express.static(path.resolve(__dirname, "frontend", "static")))

// 여기에도 __dirname 추가
app.get("/*", (req, res) => {
  res.sendFile(path.resolve(__dirname, "frontend", "index.html"));
});

app.listen(process.env.PORT || 5000, () => {
  console.log("Server running...")
})
설정이 완료되면 콘솔창을 확인해본다.

nodemon을 사용하지 않는다면 수정 후 서버를 껐다 다시 켜야 업데이트가 반영된다.
http://localhost:5000/static/js/index.js로 접속하면 스크립트가 정상적으로 출력되는 걸 확인할 수 있다.

6. router
index.js에서 router를 세팅한다.
router 함수에 async를 사용하는 이유는, 어떤 페이지에서는 렌더링 전에 서버 단 요청을 먼저 받아야하는 경우가 있기 때문이다.
(fontend/static/js/index.js)
const router = async () => {
  // 각 route의 경로와 현재 페이지 확인용 콘솔
  const routes = [
    { path: "/", view: () => console.log("Viewing Dashboard") },
    { path: "/posts", view: () => console.log("Viewing Posts") },
    { path: "/settings", view: () => console.log("Viewing Settings") },
  ];
};
현재 route와 현재 페이지 URL이 일치하는지 확인할 수 있는 함수를 작성한다.
(fontend/static/js/index.js)
const router = async () => {
const routes = [
{ path: "/", view: () => console.log("Viewing Dashboard") },
{ path: "/posts", view: () => console.log("Viewing Posts") },
{ path: "/settings", view: () => console.log("Viewing Settings") },
];
// 현재 route와 현재 페이지 경로가 일치하는지 테스트
const potentialMatches = routes.map(route => {
return {
route: route,
isMatch: location.pathname === route.path
};
});
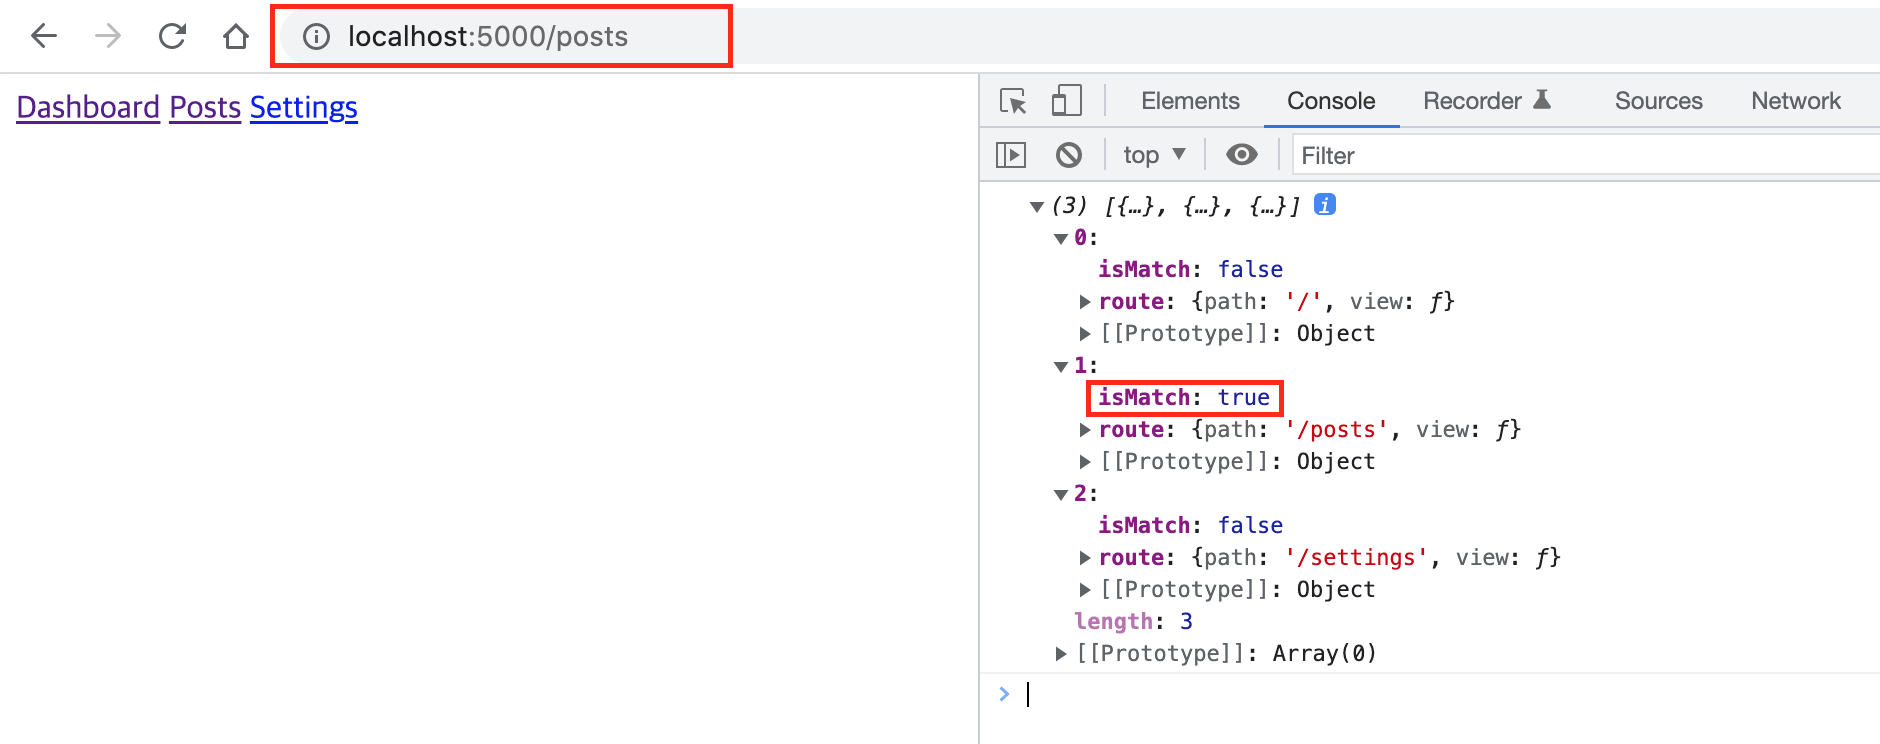
console.log(potentialMatches);
};
// DOM이 렌더링 되면 router 함수 실행
document.addEventListener("DOMContentLoaded", () => {
router();
});콘솔창을 확인해본다. URL과 일치하는 route만 true라면 정상적으로 동작한 것이다.
potentialMatches 배열에 담긴 객체들 중에 isMatch가 true인 객체만 따로 변수에 담는다.
(fontend/static/js/index.js)
const router = async () => {
...
// 현재 route와 현재 페이지 경로가 일치하는지 테스트
const potentialMatches = routes.map(route => {
return {
route: route,
isMatch: location.pathname === route.path
};
});
// find 메서드를 사용해 isMatch가 true인 객체를 찾는다.
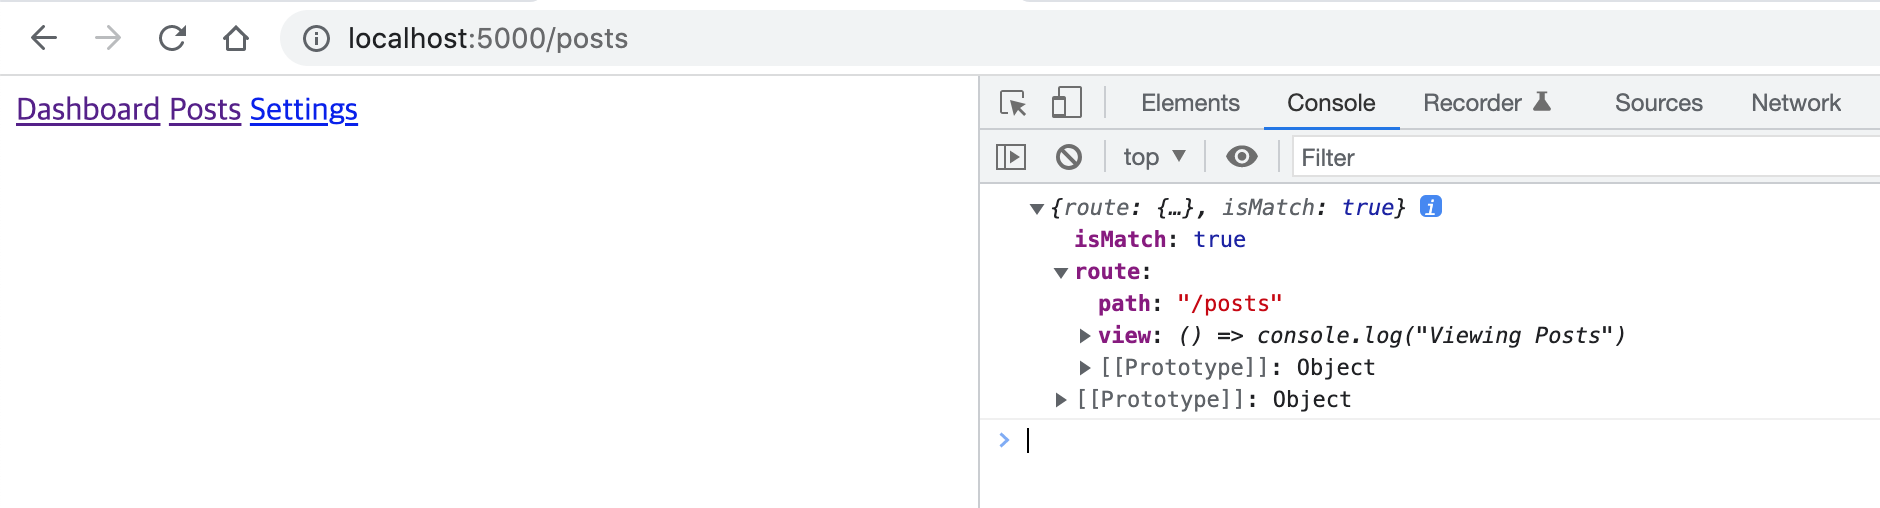
let match = potentialMatches.find(potentialMatch => potentialMatch.isMatch);
console.log(match);
};
// DOM이 렌더링 되면 router 함수 실행
document.addEventListener("DOMContentLoaded", () => {
router();
});isMatch가 true인 객체만 출력되는 것을 확인할 수 있다.
그런데 routes에 포함되지 않은 경로일 때는 어떻게 해야할까? 우선 아무 경로나 입력해서 이동해보자.
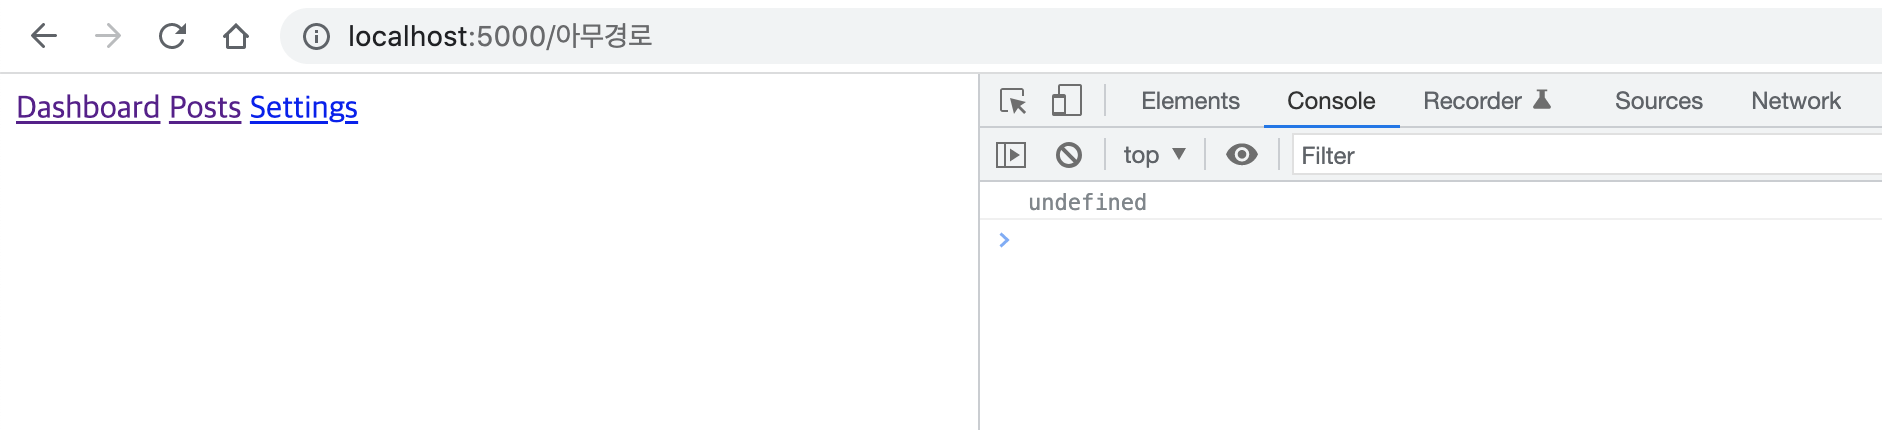
match에 아무 것도 담기지 않아 undefined가 출력될 것이다.
routes에 정의되지 않은 경로로 이동할 경우, 강제로 default 경로로 이동시키거나 Not founded 404 route를 만들어 보여주면 되지 않을까?
(fontend/static/js/index.js)
방법 1)
const router = async () => {
  ...

  const potentialMatches = routes.map(route => {
    return {
      route: route,
      isMatch: location.pathname === route.path
    };
  });

  let match = potentialMatches.find(potentialMatch => potentialMatch.isMatch);

  // isMatch true인 객체가 없을 때 메인 페이지로 이동
  if (!match) {
    match = {
      route: routes[0],
      isMatch: true
    }
  }

};

document.addEventListener("DOMContentLoaded", () => {
  router();
});
방법 2)
const router = async () => {
  const routes = [
    { path: "/", view: () => console.log("Viewing Dashboard") },
    { path: "/posts", view: () => console.log("Viewing Posts") },
    { path: "/settings", view: () => console.log("Viewing Settings") },
    // 404 route 생성
    { path: "/404", view: () => console.log("Not Found") },
  ];

  const potentialMatches = routes.map(route => {
    return {
      route: route,
      isMatch: location.pathname === route.path
    };
  });

  let match = potentialMatches.find(potentialMatch => potentialMatch.isMatch);

  // isMatch true인 객체가 없을 때 404 페이지로 이동
  if (!match) {
    match = {
      route: routes[routes.length - 1],
      isMatch: true
    }
  }

};

document.addEventListener("DOMContentLoaded", () => {
  router();
});
routes에서 설정한 view 함수를 콘솔에 출력해보자.
(fontend/static/js/index.js)
const router = async () => {
 	 ...

	// view 함수를 출력해본다.
    console.log(match.route.view());
  };

document.addEventListener("DOMContentLoaded", () => {
  router();
});

7. history
URL 변경까지 작업이 완료되었으니 이제 새로고침 없이 URL과 일치하는 페이지를 렌더링하는 코드를 작성해보자.
history.pushState()를 사용하면 새로고침 없이 페이지 전환을 할 수 있고 뒤로가기와 앞으로가기도 활성화된다.
(fontend/static/js/index.js)
// 페이지 전환 함수
const navigateTo = url => {
  history.pushState(null, null, url);
  router();
}

const router = async () => {
  const routes = [
    { path: "/", view: () => console.log("Viewing Dashboard") },
    { path: "/posts", view: () => console.log("Viewing Posts") },
    { path: "/settings", view: () => console.log("Viewing Settings") },
    { path: "/404", view: () => console.log("Not Found") },
  ];

  const potentialMatches = routes.map(route => {
    return {
      route: route,
      isMatch: location.pathname === route.path
    };
  });

  let match = potentialMatches.find(potentialMatch => potentialMatch.isMatch);

  if (!match) {
    match = {
      route: routes[routes.length - 1],
      isMatch: true
    }
  }

  console.log(match.route.view());
};

// 뒤로가기 하거나 새로고침 했을 때 router도 그 페이지에 맞게 동작하도록
window.addEventListener("popstate", router);

document.addEventListener("DOMContentLoaded", () => {
  // 클릭 이벤트가 발생했을 때,
  // 해당 target이 'data-link' attribute가 있다면
  // 페이지 이동 함수 실행
  document.body.addEventListener("click", e => {
    if (e.target.matches("[data-link]")) {
      e.preventDefault();
      navigateTo(e.target.href);
    }

  });

  router();
});
📌 matches(css선택자)
css 선택자로 특정 엘리먼트를 찾는다.
📌 history.pushState(state, title, URL)
리액트에서 페이지 전환 시 react-router를 사용한다. react-router는 history.push를 통해 마치 SSR(Server Side Rendering)처럼 새로고침 없이 URL도 바꿔주고 루트 엘리먼트의 콘텐츠도 바꿔준다.
이를 Vanilla JavaScript에서 구현하려면 history.pushState를 사용하면 된다.
- state: 페이지 전환 시 넘겨줄 데이터 (없으면 null)
- title: 변경할 브라우저 title (바꿀 필요 없으면 null)
- URL: 변경할 URL
📌 popstate 이벤트
페이지 이동 시window.onpopstate라는 이벤트가 발생하는데,history.pushState동작 시에는 이 이벤트가 발생하지 않는다. popstate 이벤트는 뒤로가기나history.back()을 통해서만 발생된다.
history.pushState로 페이지 전환 후, 뒤로가기 버튼을 클릭했을 때 라우터가 인식하지 못한다. 즉, URL만 바뀌고 페이지 전환은 되지 않는다. 따라서 popstate 이벤트 발생 시(뒤로가기) router도 같이 실행시키는 코드를 작성하는 것이다.
8. 페이지 생성
static 폴더 안에 views 폴더를 생성한다.
AbstractView.js를 생성해 모든 페이지의 초기 세팅을 해준다.
(views/AbstractView.js)
export default class {
constructor() {
}
// 페이지 타이틀
setTitle(title) {
document.title = title;
}
// 뿌려질 Html
async getHtml() {
return "";
}
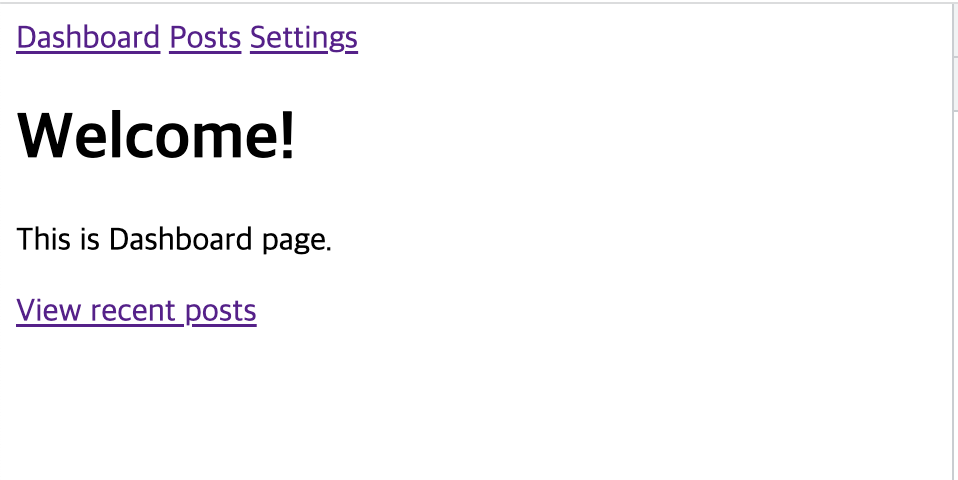
}(views/Dashboard.js)
import AbstractView from "./AbstractView.js";

export default class extends AbstractView {
  constructor() {
    super();
    this.setTitle("Dashboard");
  }

  async getHtml() {
    return `
		<h1>Welcome!</h1>
		<p>This is Dashboard page.</p>
		<a href="/posts" data-link>
			View recent posts
		</a>
	`
  }
}
(views/Posts.js)
import AbstractView from "./AbstractView.js";

export default class extends AbstractView {
  constructor() {
    super();
    this.setTitle("Posts");
  }

  async getHtml() {
    return `
      <h1>Posts</h1>
      <p>You're viewing the posts!</p>
    `;
  }
}
(views/Settings.js)
import AbstractView from "./AbstractView.js";

export default class extends AbstractView {
  constructor() {
    super();
    this.setTitle("Settings");
  }

  async getHtml() {
    return `
      <h1>Posts</h1>
      <p>You're viewing the Settings!</p>
    `;
  }
}
(views/NotFound.js)
import AbstractView from "./AbstractView.js";

export default class extends AbstractView {
  constructor() {
    super();
    this.setTitle("Posts");
  }

  async getHtml() {
    return `
   	 <p>404 Not Found!</p>
    `;
  }
}
(static/js/index.js)
import Dashboard from "./views/Dashboard.js";
import Posts from "./views/Posts.js";
import Settings from "./views/Settings.js";
import NotFound from "./views/NotFound.js";

const navigateTo = url => {
  history.pushState(null, null, url);
  router();
}

const router = async () => {
  const routes = [
    // view 변경
    { path: "/", view: Dashboard },
    { path: "/posts", view: Posts },
    { path: "/settings", view: Settings },
    { path: "/404", view: NotFound },
  ];

  const potentialMatches = routes.map(route => {
    ...
  });

  let match = potentialMatches.find(potentialMatch => potentialMatch.isMatch);

  if (!match) {
   ...
  }

  // 활성화된 view 담기
  const view = new match.route.view();

  // #app 엘리먼트에 활성화된 view의 html 삽입
  document.querySelector('#app').innerHTML = await view.getHtml();

};

window.addEventListener("popstate", router);

document.addEventListener("DOMContentLoaded", () => {
  document.body.addEventListener("click", e => {
    if (e.target.matches("[data-link]")) {
      e.preventDefault();
      navigateTo(e.target.href);
    }

  });

  router();
});
각 페이지의 html이 잘 출력되면 성공이다.
👉 [#2] Vanilla JavaScript로 SPA 구현하기 (No Frameworks)
참고
📎 Build a Single Page Application with JavaScript (No Frameworks)

덕분에 바닐라 JS로 SPA 구현해볼 수 있었어요~ 감사합니다! 🥰