앱개발 플러스 - 1 주차
[수업 목표]
- Expo 앱 개발 환경 세팅과 유용한 개발 환경 세팅
- JSX 문법 리뷰 및 앱화면 만들기
- 필수 리액트 기본 지식 및 함수
01. 1 주차
- 앱 화면
- 화면을 그리는 기술 JSX 문법과 StyleSheet에 대한 내용을 리뷰해보면서 자주 실수하는 부분 및 추가로 유용하게 쓰이는 기술 학습
- 최소한의 리액트 개념
- 컴포넌트 (Component)
- 상태 (State, useState)
- 속성 (Props)
- useEffect
리액트 네이티브는 리액트 (React.js) 기반으로 만들어진 앱 개발 기술
02. 필수 프로그램 설치
03. Expo 개념
Expo
리액트 네이티브를 사용하는 상황과 Expo를 사용하여 앱을 만드는 상황은 다르다.
React Native vs Expo
- 리액트 네이티브 개발
- RN Core나 Expo SDK에서 지원하지 않는 네이티브 모듈 사용 시 Expo를 사용 X
- Expo 개발 환경에서 expo eject 명령어로 Expo 환경을 걷어 낸 후 순수 리액트 네이티브로 개발
- Expo에서 제공하는 쉬운 앱 배포 기능 사용 불가
- Expo 개발
- 빠르게 앱 개발 후 배포 및 일반적 앱 기능으로 앱 서비스 개발 시 적합
초기 앱 기획 시 어떤 기능이 필요할지 나열 후 Expo에 해당 기능 지원 여부 확인 후 진행
04. nvm으로 Node 버전 관리
Node 버전 관리 필요성
- Node.js는 자바스크립트로 개발할 수 있게 해주는 자바 스크립트 기반 개발 환경 의미
- Node 버전이 앱 개발 시 문제 발생 가능성
- ex. Firebase : Node 버전 14에서 버그 발생
Node 버전 관리 툴 nvm
- 사용 라이브러리에 따라 Node 개발 환경이 프로젝트 별로 다를 경우
nvm 설치 및 사용
- 윈도우
- 맥
curl -o- https://raw.githubusercontent.com/nvm-sh/nvm/v0.37.2/install.sh | bash- Node version 12
```
nvm install 12
nvm use 12.20.1
```05. Expo 프로젝트 생성 & Expo 명령어
Expo 명령어 도구 설치
sudo npm install -g expo-cliExpo 가입 및 로컬에 계정 세팅
expo login --username "Expo 사이트 가입당시 입력한 name"
...
expo 패스워드 입력란 > 차례대로 입력하면 로그인
Expo 프로젝트 생성
expo init 프로젝트명
// blank template 선택
Expo 프로젝트 실행
expo start06. 코드 스타일 지정 - Prettier
Prettier 설치
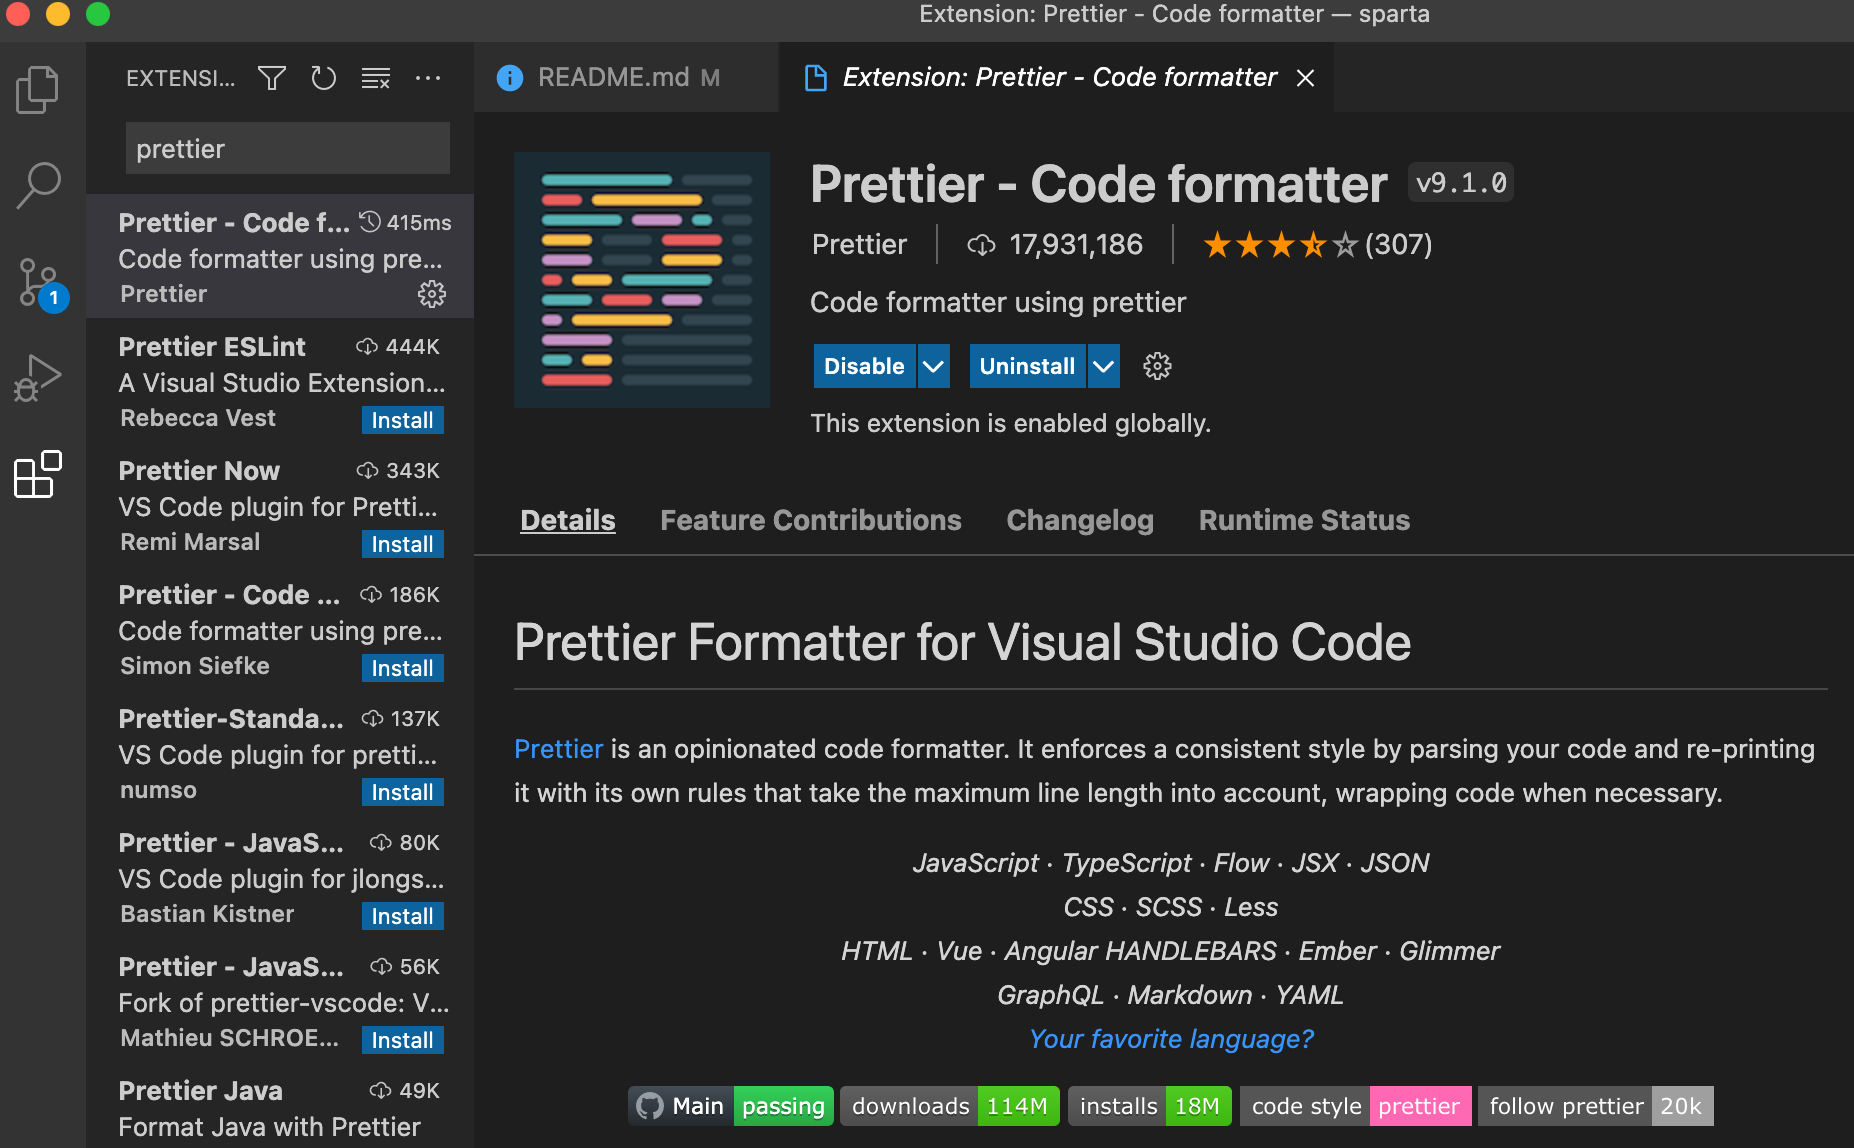
- .prettierrc 파일을 app.js 위치에 생성
- Prettier의 옵션 문서에서 필요한 설정 지정
{
    "trailingComma": "es5",
    "tabWidth": 2,
    "semi": true,
    "singleQuote": true
}- vscode editor 설정
1. mac (shift + command + p) / window (ctrl + ,)
2. user settings (JSON)

// 추가
{
    ...
    "javascript.format.enable": false,
    "prettier.jsxBracketSameLine": true
}

3. Code -> Preferences -> Settings
4. Format On Save 설정 체크
5. Default Formatter 설정 esbenp.prettier-vscode로 변경- 화면이 깨지면 .js 파일을 .jsx 파일로 변경
기본적으로 .js 확장자 (자바스크립트) 기준으로 규칙 적용하기 때문에 발생.
따라서 <> 태그 문법과 자바스크립트 문법 동시 사용 JSX 문법 코드 파일은 .jsx 확장자로 변경.
07. JSX 기본 원칙 5 가지
- App.jsx는 JSX 문법으로 그려져 준비된 화면 반환
- return은 작성한 JSX 문법으로 구성된 화면을 앱상에 보여주는 역할 = 렌더링 (rendering)
- <> 꺽쇠 (태그) 로 작성된 문법은 JSX라 부르는 화면을 그리는 문법
- <> </>와 같이 닫는 태그로 온전히 화면의 한 영역 구성 시 엘리먼트라 일컫음
1. 모든 태그는 가져와서 사용
- View, Text 문법은 임의의 태그가 아닌 리액트 네이티브에서 제공하는 태그 문법 - 공식 사용 설명서
import { StyleSheet, Text, View } from 'react-native';2. 태그는 항상 닫는 태그와 자체적으로 닫는 태그 구분 사용
3. 모든 엘리먼트는 감싸는 최상위 엘리먼트 존재 (엘리먼트 == 태그)
<View>
  <Text>Open up App.js to start working on your app!</Text>
  <StatusBar style="auto" />
</View>- 감싸는 엘리먼트 없이 진행해야 할 경우 의미없는 엘리먼트 <> </>로 감싸서 진행
<>
  <View>
    <Text>Open up App.js to start working on your app!</Text>
  </View>
  <StatusBar style="auto" />
</>
4. return에 의해 렌더링 시 항상 소괄호로 감싸져야 한다
5. JSX 문법 밖과 안의 주석은 다르다
export default function App() {
  //JSX밖에서의 주석
  return (
    //JSX 밖에서의 주석
    <View style={styles.container}>
      {/*
		JSX 문법 안에서의 주석
	  */}
      <Text>Open up App.js to start working on your app!</Text>
      <StatusBar style="auto" />
    </View>
  );
}
08. JSX 주요 태그와 속성 01
< View > </ View >
- 화면의 영역 (레이아웃)을 잡아주는 엘리먼트
- View 엘리먼트로 화면 분할 가능 but StyleSheet를 활용해 Flex 사용
import { StatusBar } from "expo-status-bar";
import React from "react";
import { StyleSheet, Text, View } from "react-native";

export default function App() {
  return (
    <View style={styles.container}>
      <View style={styles.subContainerOne}></View>
      <View style={styles.subContainerTwo}></View>
    </View>
  );
}

const styles = StyleSheet.create({
  container: {
    flex: 1,
    backgroundColor: "#fff",
  },
  subContainerOne: {
    flex: 1,
    backgroundColor: "yellow",
  },
  subContainerTwo: {
    flex: 1,
    backgroundColor: "green",
  },
});
< Text >
- 앱에 글을 작성하기 위해 사용하는 엘리먼트
<View style={styles.container}>
  <Text>
    그날이 오면 그날이 오며는 삼각산(三角山)이 일어나 더덩실 춤이라도 추고,
    한강(漢江)물이 뒤집혀 용솟음칠 그날이, 이 목숨이 끊기기 전에 와주기만 할
    양이면 나는 밤하늘에 날으는 까마귀와 같이 종로(鐘路)의 인경을 머리로
    들이받아 울리오리다. 두개골은 깨어져 산산조각이 나도 기뻐서 죽사오매 오히려
    무슨 한(恨)이 남으오리까.
  </Text>
</View>-
줄바꿈
- { `` } 안에 줄바꿈 포함 글 작성
  <View style={styles.container}>
    <Text>
      {`그날이 오면 그날이 오며는
      삼각산(三角山)이 일어나 더덩실 춤이라도 추고,
      한강(漢江)물이 뒤집혀 용솟음칠 그날이,
      이 목숨이 끊기기 전에 와주기만 할 양이면
      나는 밤하늘에 날으는 까마귀와 같이
      종로(鐘路)의 인경을 머리로 들이받아 울리오리다.
      두개골은 깨어져 산산조각이 나도
      기뻐서 죽사오매 오히려 무슨 한(恨)이 남으오리까. `}
    </Text>
</View>- 특정 부분만 띄우고 싶다면 {"\n"} 표현식을 사용해서 구현
  <View style={styles.container}>
    <Text>
      그날이 오면 그날이 오며는{"\n"}
      삼각산(三角山)이 일어나 더덩실 춤이라도 추고,{"\n"}
      한강(漢江)물이 뒤집혀 용솟음칠 그날이,{"\n"}이 목숨이 끊기기 전에 와주기만
      할 양이면{"\n"}
      나는 밤하늘에 날으는 까마귀와 같이{"\n"}
      종로(鐘路)의 인경을 머리로 들이받아 울리오리다.{"\n"}
      두개골은 깨어져 산산조각이 나도{"\n"}
      기뻐서 죽사오매 오히려 무슨 한(恨)이 남으오리까.{"\n"}
    </Text>
</View>-
말줄임표
- numberOfLines 속성을 사용하여 긴 글에서 몇 줄만 보이게 할지 결정 가능
  <View style={styles.container}>
    <Text numberOfLines={3}>
      그날이 오면 그날이 오며는{"\n"}
      삼각산(三角山)이 일어나 더덩실 춤이라도 추고,{"\n"}
      한강(漢江)물이 뒤집혀 용솟음칠 그날이,{"\n"}이 목숨이 끊기기 전에 와주기만
      할 양이면{"\n"}
      나는 밤하늘에 날으는 까마귀와 같이{"\n"}
      종로(鐘路)의 인경을 머리로 들이받아 울리오리다.{"\n"}
      두개골은 깨어져 산산조각이 나도{"\n"}
      기뻐서 죽사오매 오히려 무슨 한(恨)이 남으오리까.{"\n"}
    </Text>
  </View>
09. JSX 주요 태그와 속성 02
< TouchableOpacity />
- Button 엘리먼트는 본인의 영역 보유 > 각각의 스타일 고려
- 스타일을 따로 주지 않는 이상, 화면에 영향을 주지 않는 고유의 영역을 갖도록 TouchableOpacity 엘리먼트 사용
export default function App() {
  const customAlert = (title = "기본값") => {
    console.log(title);
    if (title) {
      Alert.alert(title);
    } else {
      Alert.alert("TouchableOpacity에도 onPress 속성이 있습니다");
    }
  };

  const customAlert2 = () => {
    Alert.alert(
      "함수이름을 onPress에 바로 사용할땐 아무것도 넘겨도 함수에서 받는 파라미터에도 아무것도 있으면 안되요!"
    );
  };
  return (
    <ScrollView style={styles.container}>
      <TouchableOpacity
        style={styles.textContainer}
        onPress={() => {
          customAlert("값을 함수로 전달");
        }}>
        <Text style={styles.textStyle}>텍스트 버튼</Text>
      </TouchableOpacity>
      <TouchableOpacity
        style={styles.textContainer}
        onPress={() => customAlert()}>
        <Text style={styles.textStyle}>텍스트 버튼</Text>
      </TouchableOpacity>
      <TouchableOpacity style={styles.textContainer} onPress={customAlert2}>
        <Text style={styles.textStyle}>텍스트 버튼</Text>
      </TouchableOpacity>
    </ScrollView>
  );
}
// 정의한 함수에 데이터를 넘길 경우
onPress={() => { customAlert('값을 함수로 넘겨줄 수도 있습니다.'); }}
onPress={() => customAlert()}
// 데이터를 넘기지 않고 함수만 실행시킬 경우
onPress={customAlert2}< Image >
- assets 폴더에 있는 이미지를 가져와서 사용하는 방법 (import)
import favicon from "./assets/favicon.png";

export default function App() {
  return (
    <View style={styles.container}>
      <Image source={favicon} resizeMode={"repeat"} style={styles.imageStyle} />
    </View>
  );
}- 외부 이미지 링크를 넣어 사용하는 방식 (url)
export default function App() {
  return (
    <View style={styles.container}>
      <Image
        source={{
          uri: "https://images.unsplash.com/photo-1424819827928-55f0c8497861?fit=crop&w=600&h=600%27",
        }}
        resizeMode={"cover"}
        style={styles.imageStyle}
      />
    </View>
  );
}
다양한 태그 사용법 - Expo 공식 문서
10. StyleSheet
- StyleSheet는 객체 (딕셔너리)를 만드는 방식
- styles 속성에 styles 객체 container 키를 연결하여 스타일 부여
<View style={styles.container}> - margin (밖 여백)과 padding (안 여백)은 영역의 안과 밖에 여백을 결정
- 스타일 공식 문서
- 스타일 공식 문서
- 자주 사용하는 StyleSheet 문법 & 속성
const styles = StyleSheet.create({
  container: {
    //영역을 잡는 속성입니다. 따로 자세히 다룹니다.
    //flex: 1은 전체 화면을 가져간다는 뜻입니다
    flex: 1,
    //영역의 배경 색을 결정합니다
    backgroundColor: "#fff",
    //아래 두 속성은 영역 안의 컨텐츠들의 배치를 결정합니다.
    //flex를 자세히 다룰때 같이 자세히 다룹니다
    justifyContent: "center",
    alignContent: "center",
  },
  textContainer: {
    //영역의 바깥 공간 이격을 뜻합니다(하단 이미지 참조)
    margin: 10,
    //영역 안의 컨텐츠 이격 공간을 뜻합니다(하단 이미지 참조)
    padding: 10,
    //테두리의 구부러짐을 결정합니다. 지금 보면 조금 둥글죠?
    borderRadius: 10,
    //테두리의 두께를 결정합니다
    borderWidth: 2,
    //테두리 색을 결정합니다
    borderColor: "#000",
    //테두리 스타일을 결정합니다. 실선은 solid 입니다
    borderStyle: "dotted",
  },
  textStyle: {
    //글자 색을 결정합니다. rgb, 값 이름, 색상코드 모두 가능합니다
    color: "red",
    //글자의 크기를 결정합니다
    fontSize: 20,
    //글자의 두께를 결정합니다
    fontWeight: "700",
    //가로기준으로 글자의 위치를 결정합니다
    textAlign: "center",
  },
});
한 태그에 여러 개의 스타일 부여
- 리스트 자료형으로 값 전달
<Text style={[styles.BlueText, styles.BigText, styles.CenterText]}>이다영</Text>11. 화면 구역 나누는 Flex
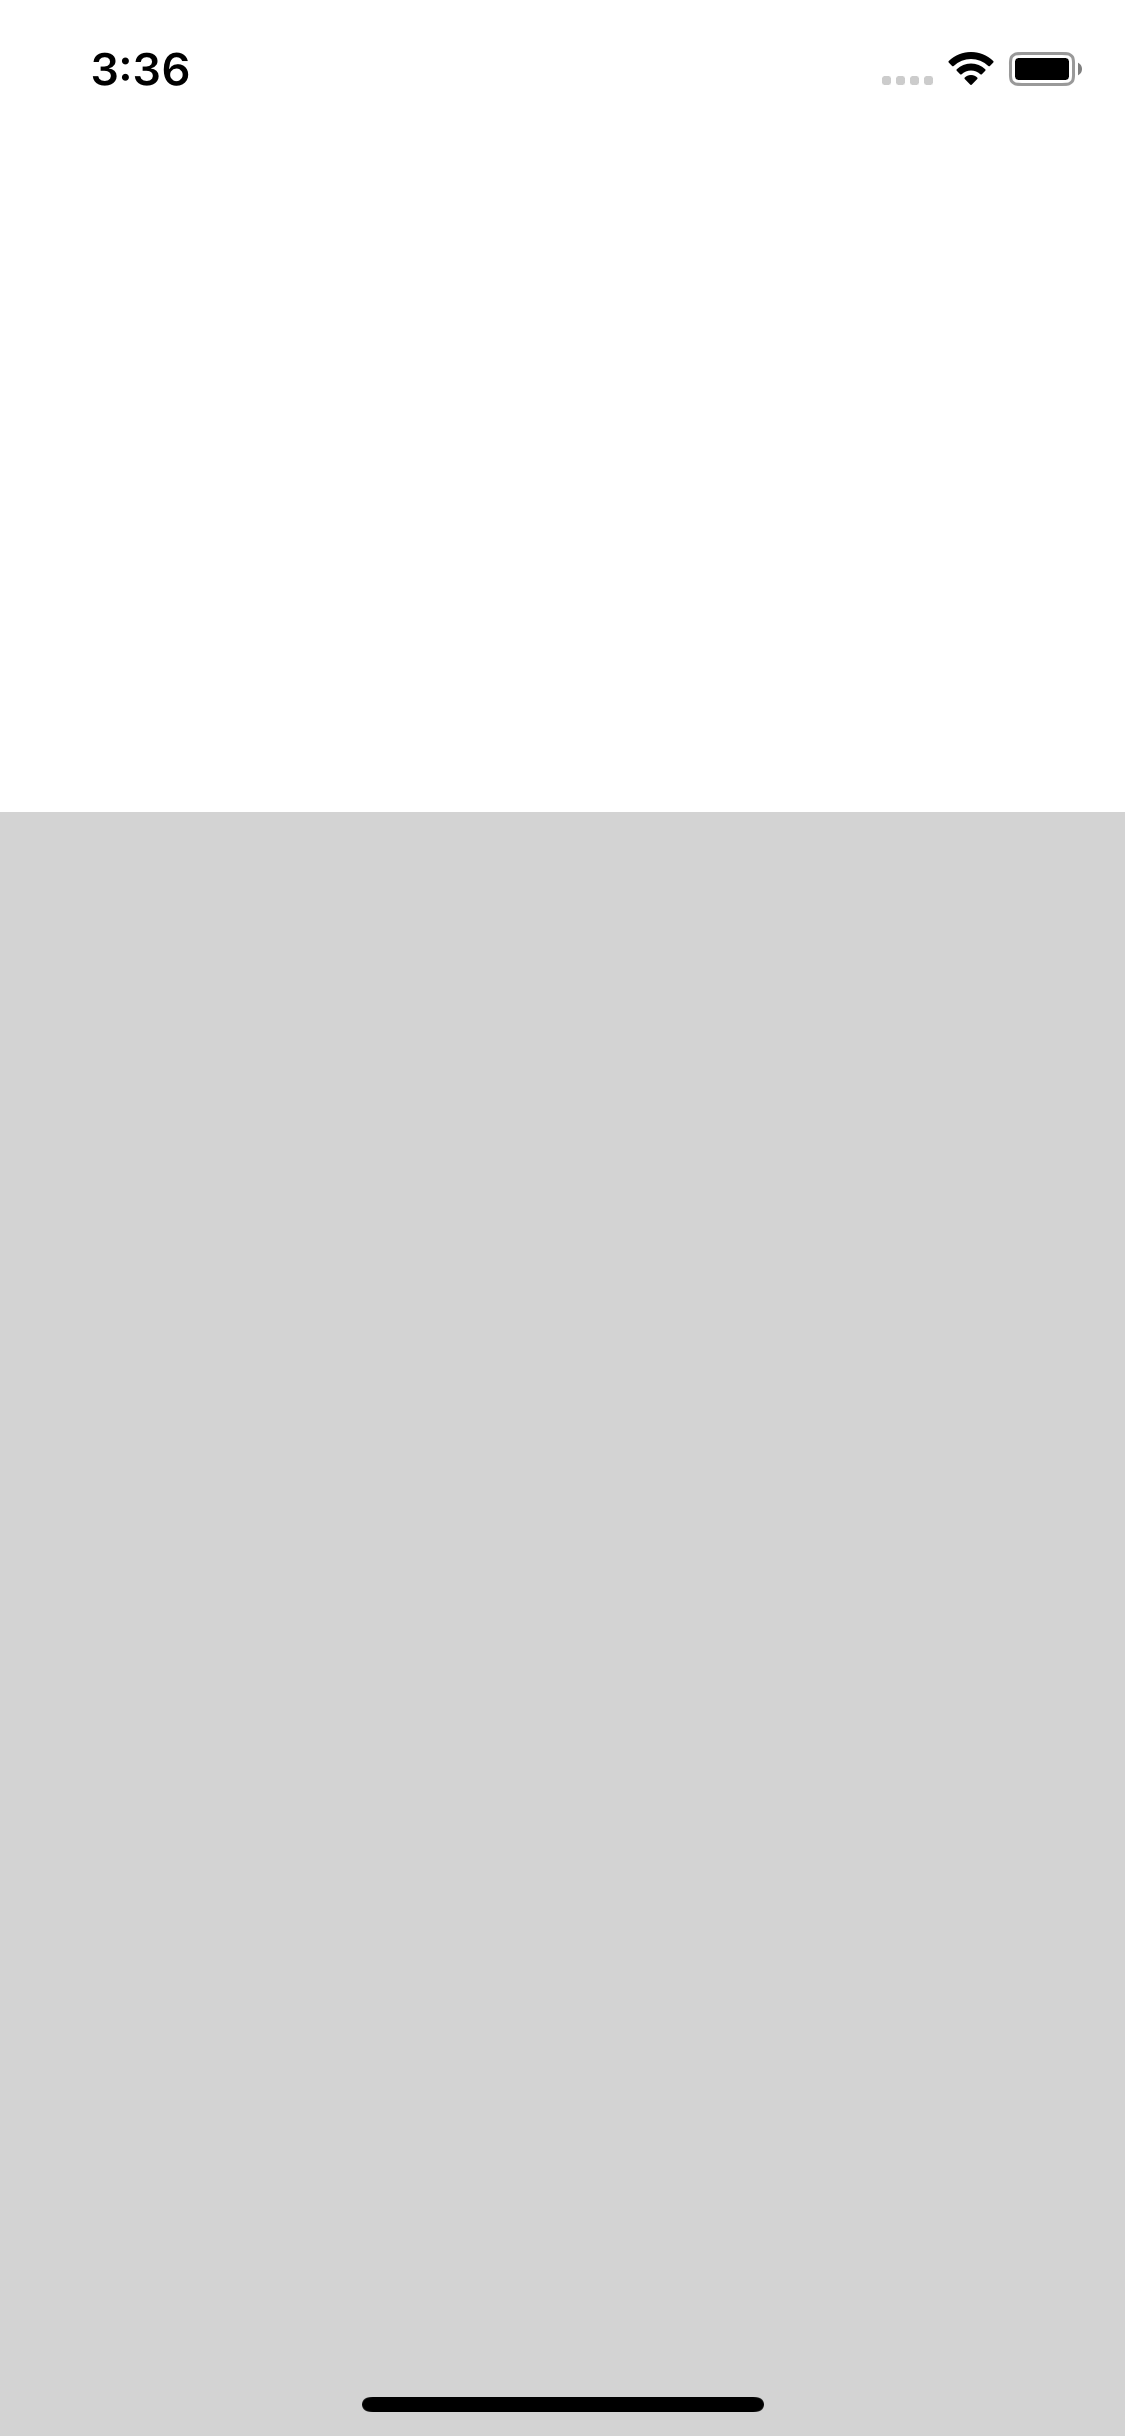
flex
- 영역을 차지하는 속성
- 상대적인 개념
const styles = StyleSheet.create({
container: {
flex: 1,
},
containerOne: {
flex: 1,
backgroundColor: "white",
},
containerTwo: {
flex: 2,
backgroundColor: "lightgray",
},
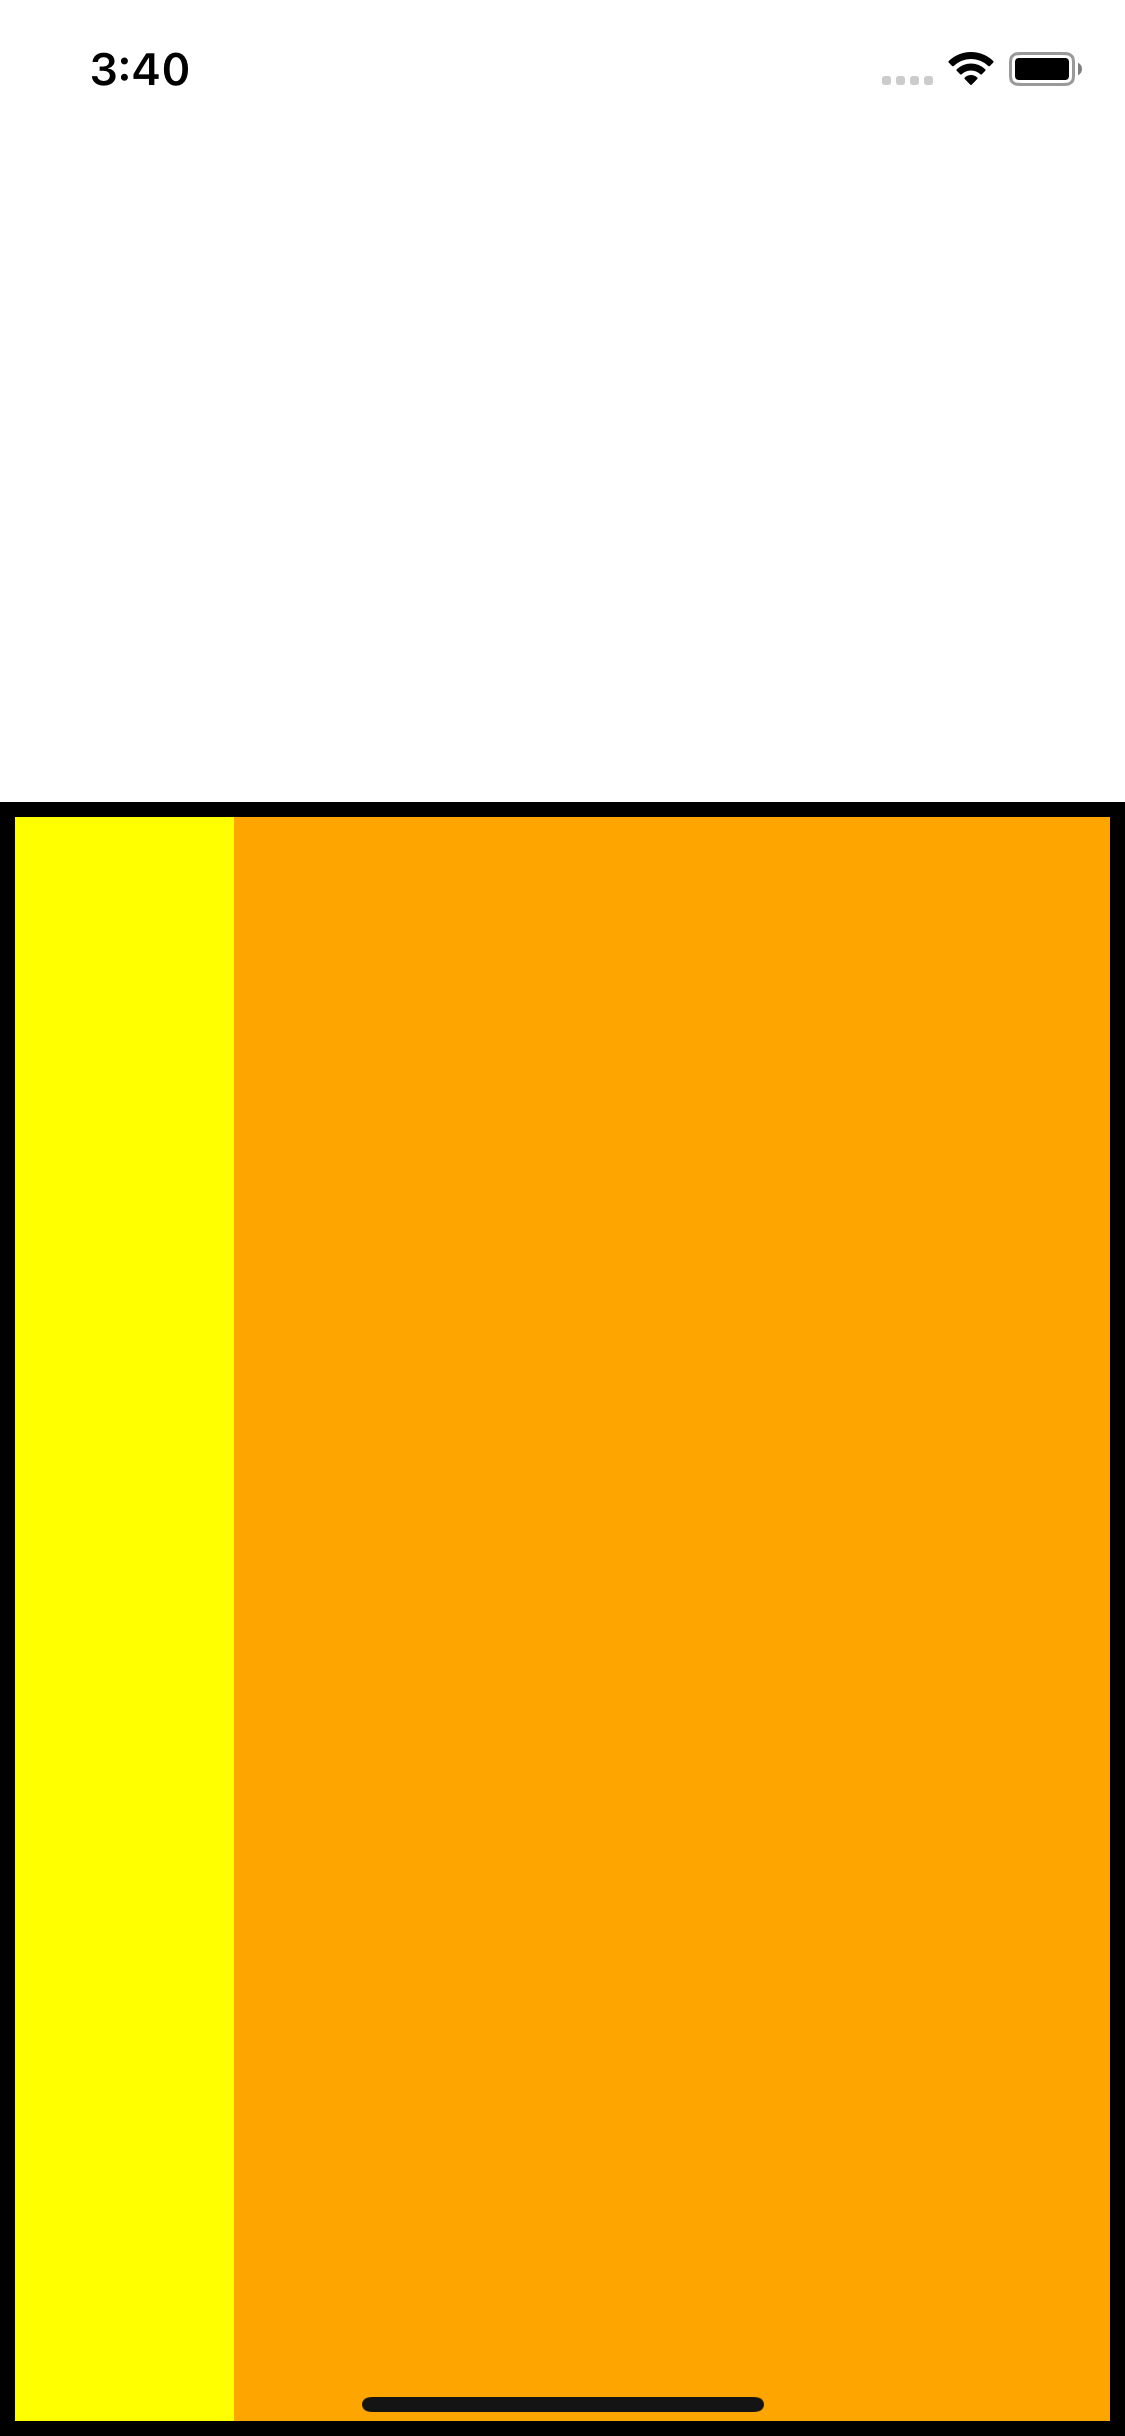
});flexDirection
- 자리 잡은 영역의 방향
- row : 가로 | column : 세로 | (기본 값은 column)
const styles = StyleSheet.create({
  container: {
    flex: 1,
  },
  containerOne: {
    flex: 1,
    backgroundColor: "white",
  },
  containerTwo: {
    flex: 2,
    flexDirection: "row",
    backgroundColor: "black",
    padding: 5,
  },
  innerOne: {
    flex: 1,
    backgroundColor: "yellow",
  },
  innerTwo: {
    flex: 4,
    backgroundColor: "orange",
  },
});
justifyContent
- flexDirection과 동일한 방향으로 정렬하는 속성
- column : 상하 정렬
- row : 좌우 정렬
- flex-start, center, flex-end, space-between, space-around 속성 보유
const styles = StyleSheet.create({
  container: {
    flex: 1,
  },
  containerOne: {
    flex: 1,
    backgroundColor: "white",
  },
  containerTwo: {
    flex: 2,
    flexDirection: "row",
    backgroundColor: "black",
    padding: 5,
  },
  innerOne: {
    flex: 1,
    backgroundColor: "yellow",
  },
  innerTwo: {
    flex: 4,
    justifyContent: "flex-start",
    backgroundColor: "orange",
  },
});
flex flexDirection justifyContent

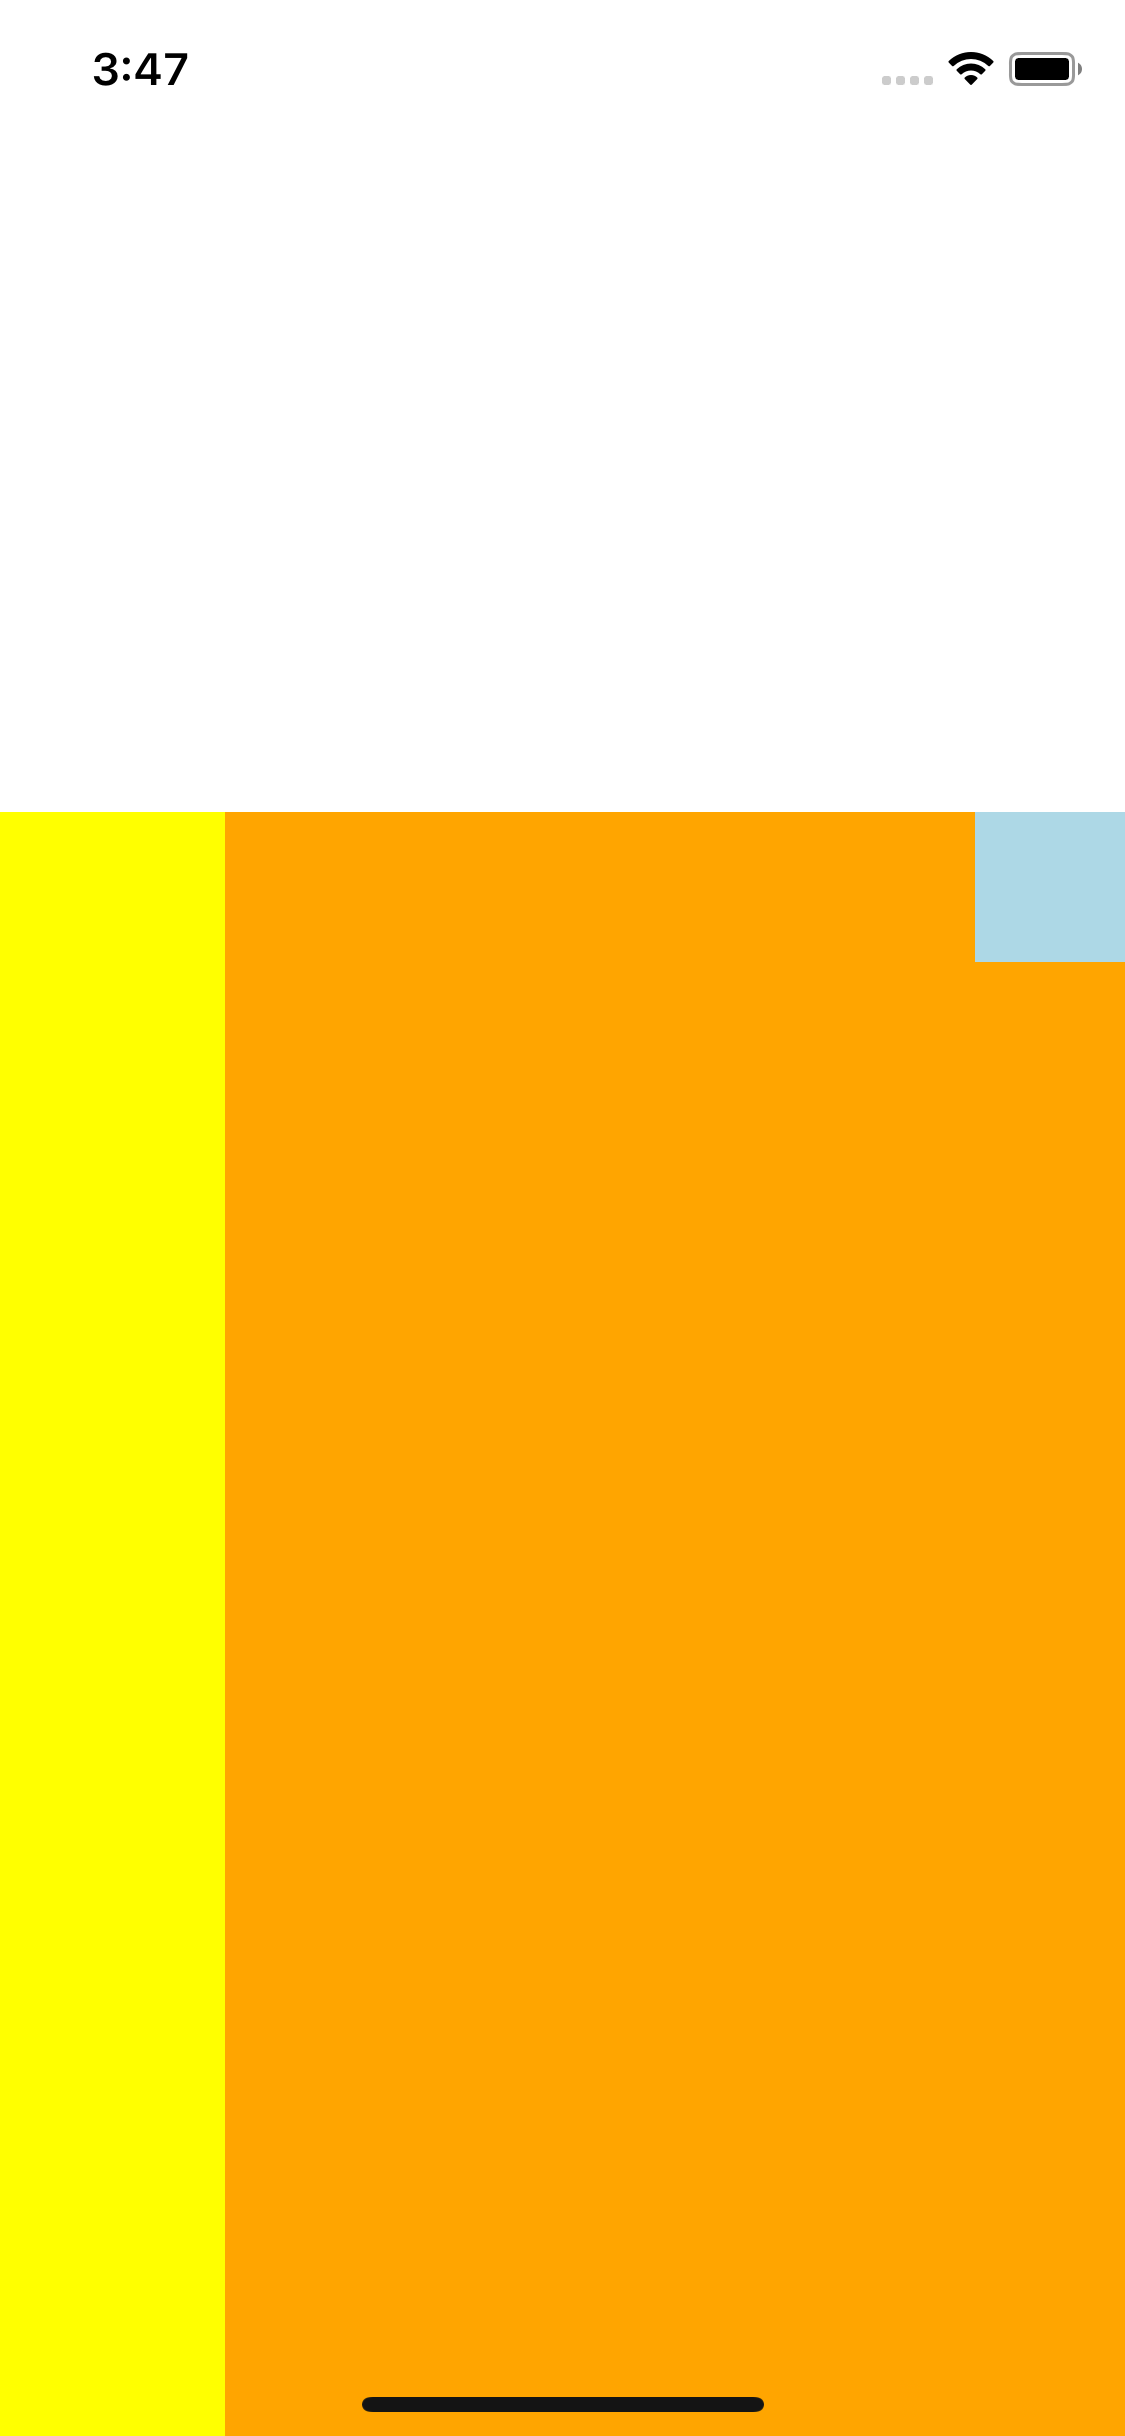
alignItems
- flexDirecton과 반대 방향 (수직 방향)으로 정렬
- column : 좌우 정렬
- row : 상하 정렬
- flex-start, center, flex-end, stretch 속성 보유
const styles = StyleSheet.create({
container: {
flex: 1,
},
containerOne: {
flex: 1,
backgroundColor: "white",
},
containerTwo: {
flex: 2,
flexDirection: "row",
backgroundColor: "black",
},
innerOne: {
flex: 1,
backgroundColor: "yellow",
},
innerTwo: {
flex: 4,
backgroundColor: "orange",
alignItems: "flex-end",
},
content: {
width: 50,
height: 50,
backgroundColor: "lightblue",
},
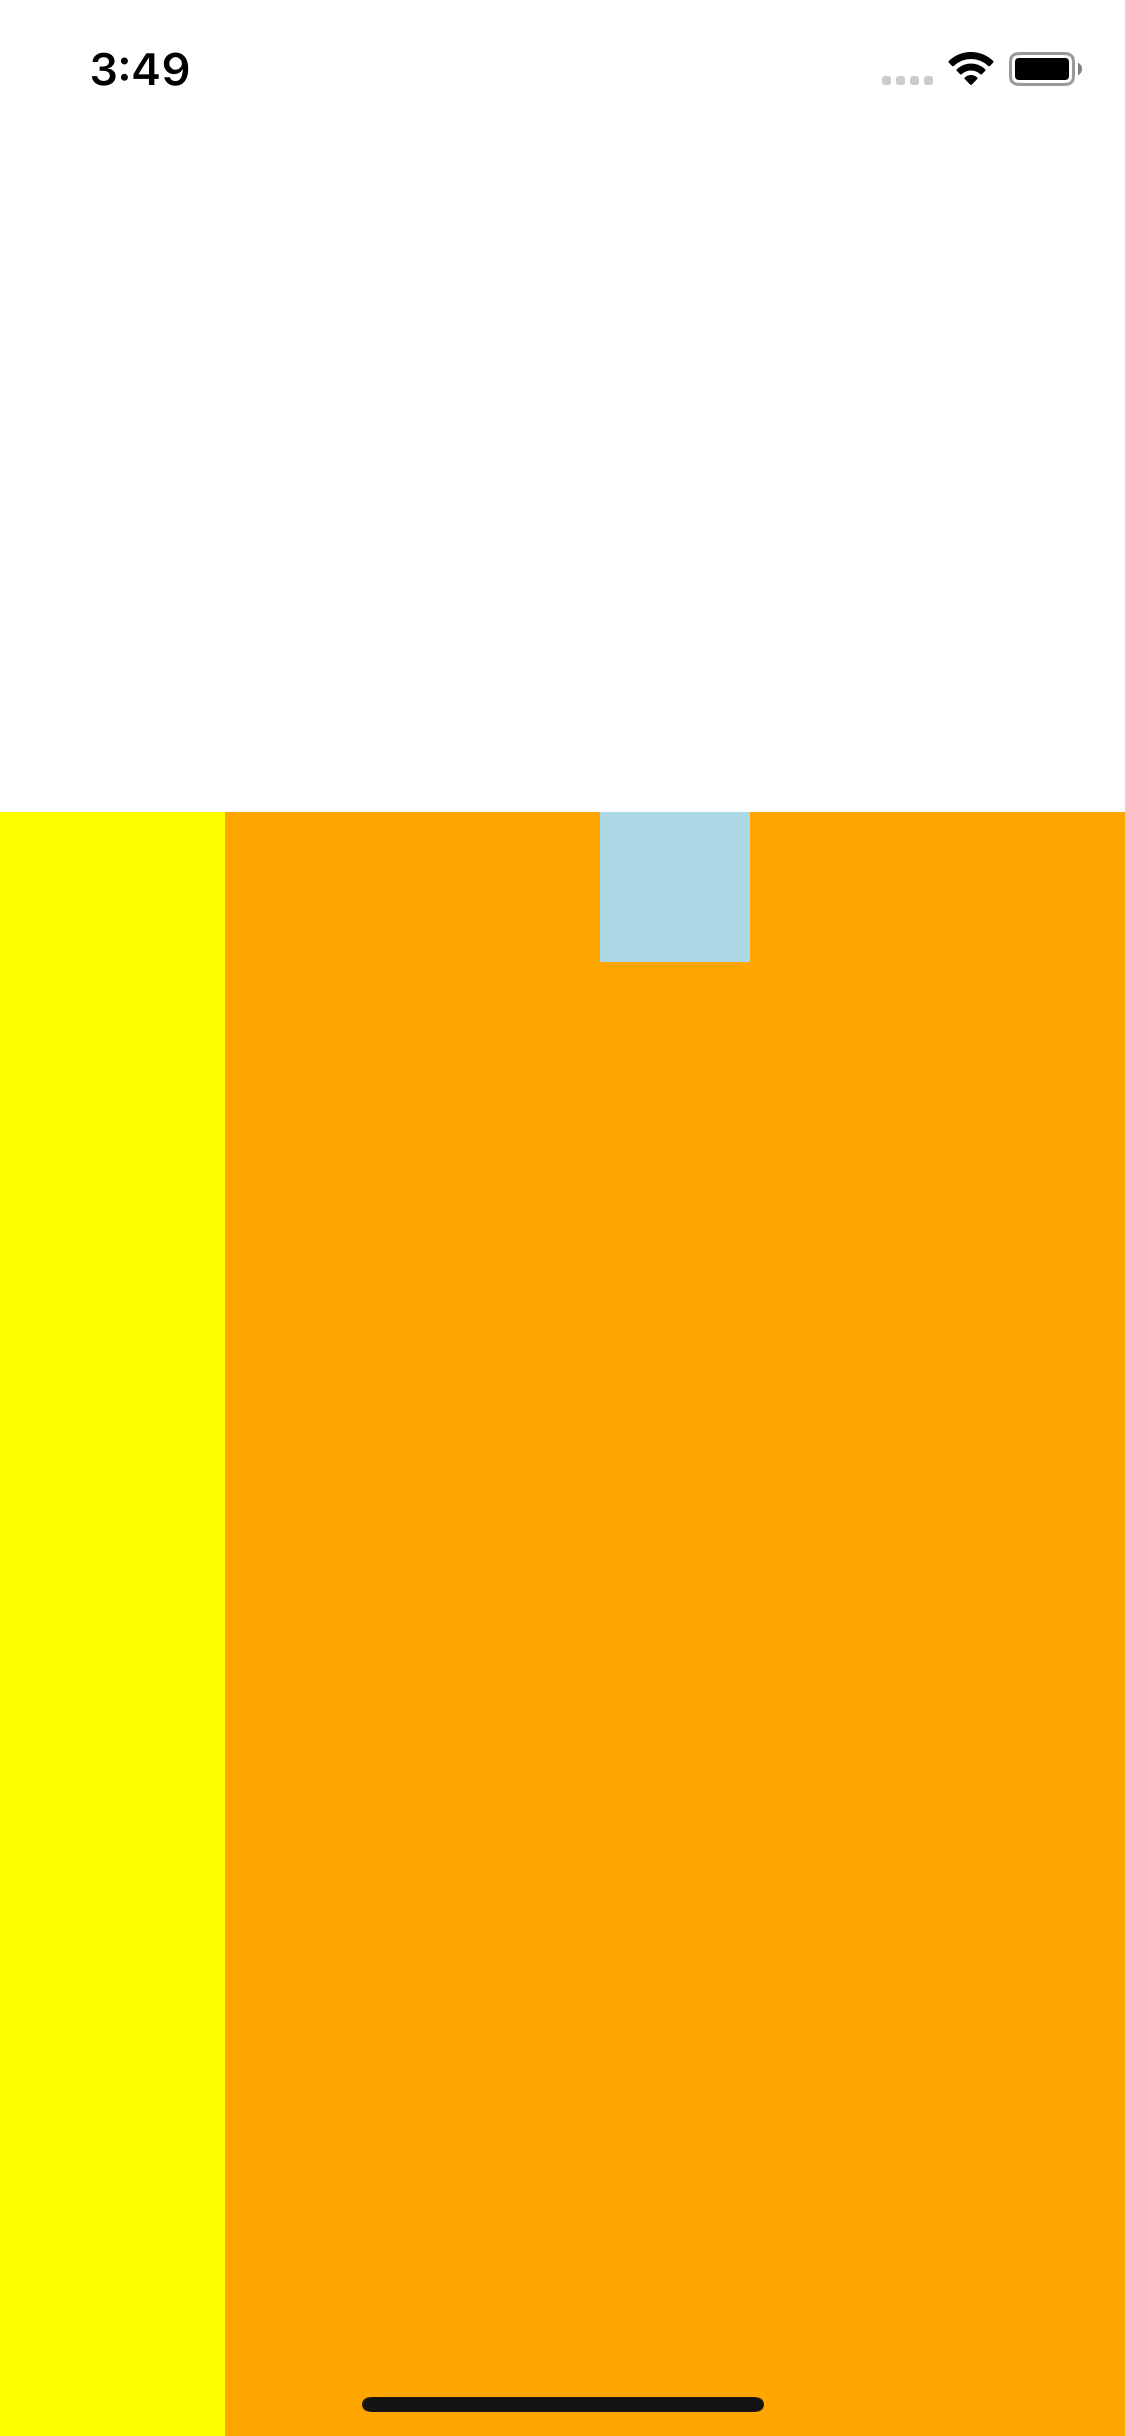
});alignSelf
- 부모 태그가 Flex가 쓰여 레이아웃 결정 영역 안에 있다면 내부 자식 태그는 alignSelf를 사용하여 간단하게 가운데 정렬 가능
const styles = StyleSheet.create({
  container: {
    flex: 1,
  },
  containerOne: {
    flex: 1,
    backgroundColor: "white",
  },
  containerTwo: {
    flex: 2,
    flexDirection: "row",
    backgroundColor: "black",
  },
  innerOne: {
    flex: 1,
    backgroundColor: "yellow",
  },
  innerTwo: {
    flex: 4,
    backgroundColor: "orange",
    alignItems: "flex-end",
  },
  content: {
    width: 50,
    height: 50,
    backgroundColor: "lightblue",
    alignSelf: "center",
  },
});
12. 컴포넌트 이해 & props (속성) 활용
- 리액트 (React.js) 라이브러리 기반 프레임워크로 리액트 구조와 유사
컴포넌트 (Component)
- 정해진 엘리먼트 (요소)를 사용하여 만든 화면의 일부분
- UI의 요소 하나하나를 재사용 가능한 부분으로 조각내어 운영하는 기법
App.js == App 컴포넌트
상태 (State)
- 컴포넌트에서 데이터를 유지하고 관리하기 위한 유일한 방법
- 사용할 데이터
속성 (Props)
- 상위 컴포넌트에서 하위 컴포넌트로 데이터를 전달하는 방식
- 데이터 전달
useEffect
- 화면에 컴포넌트가 그려지면 처음 실행해야 하는 함수들을 모아두는 곳
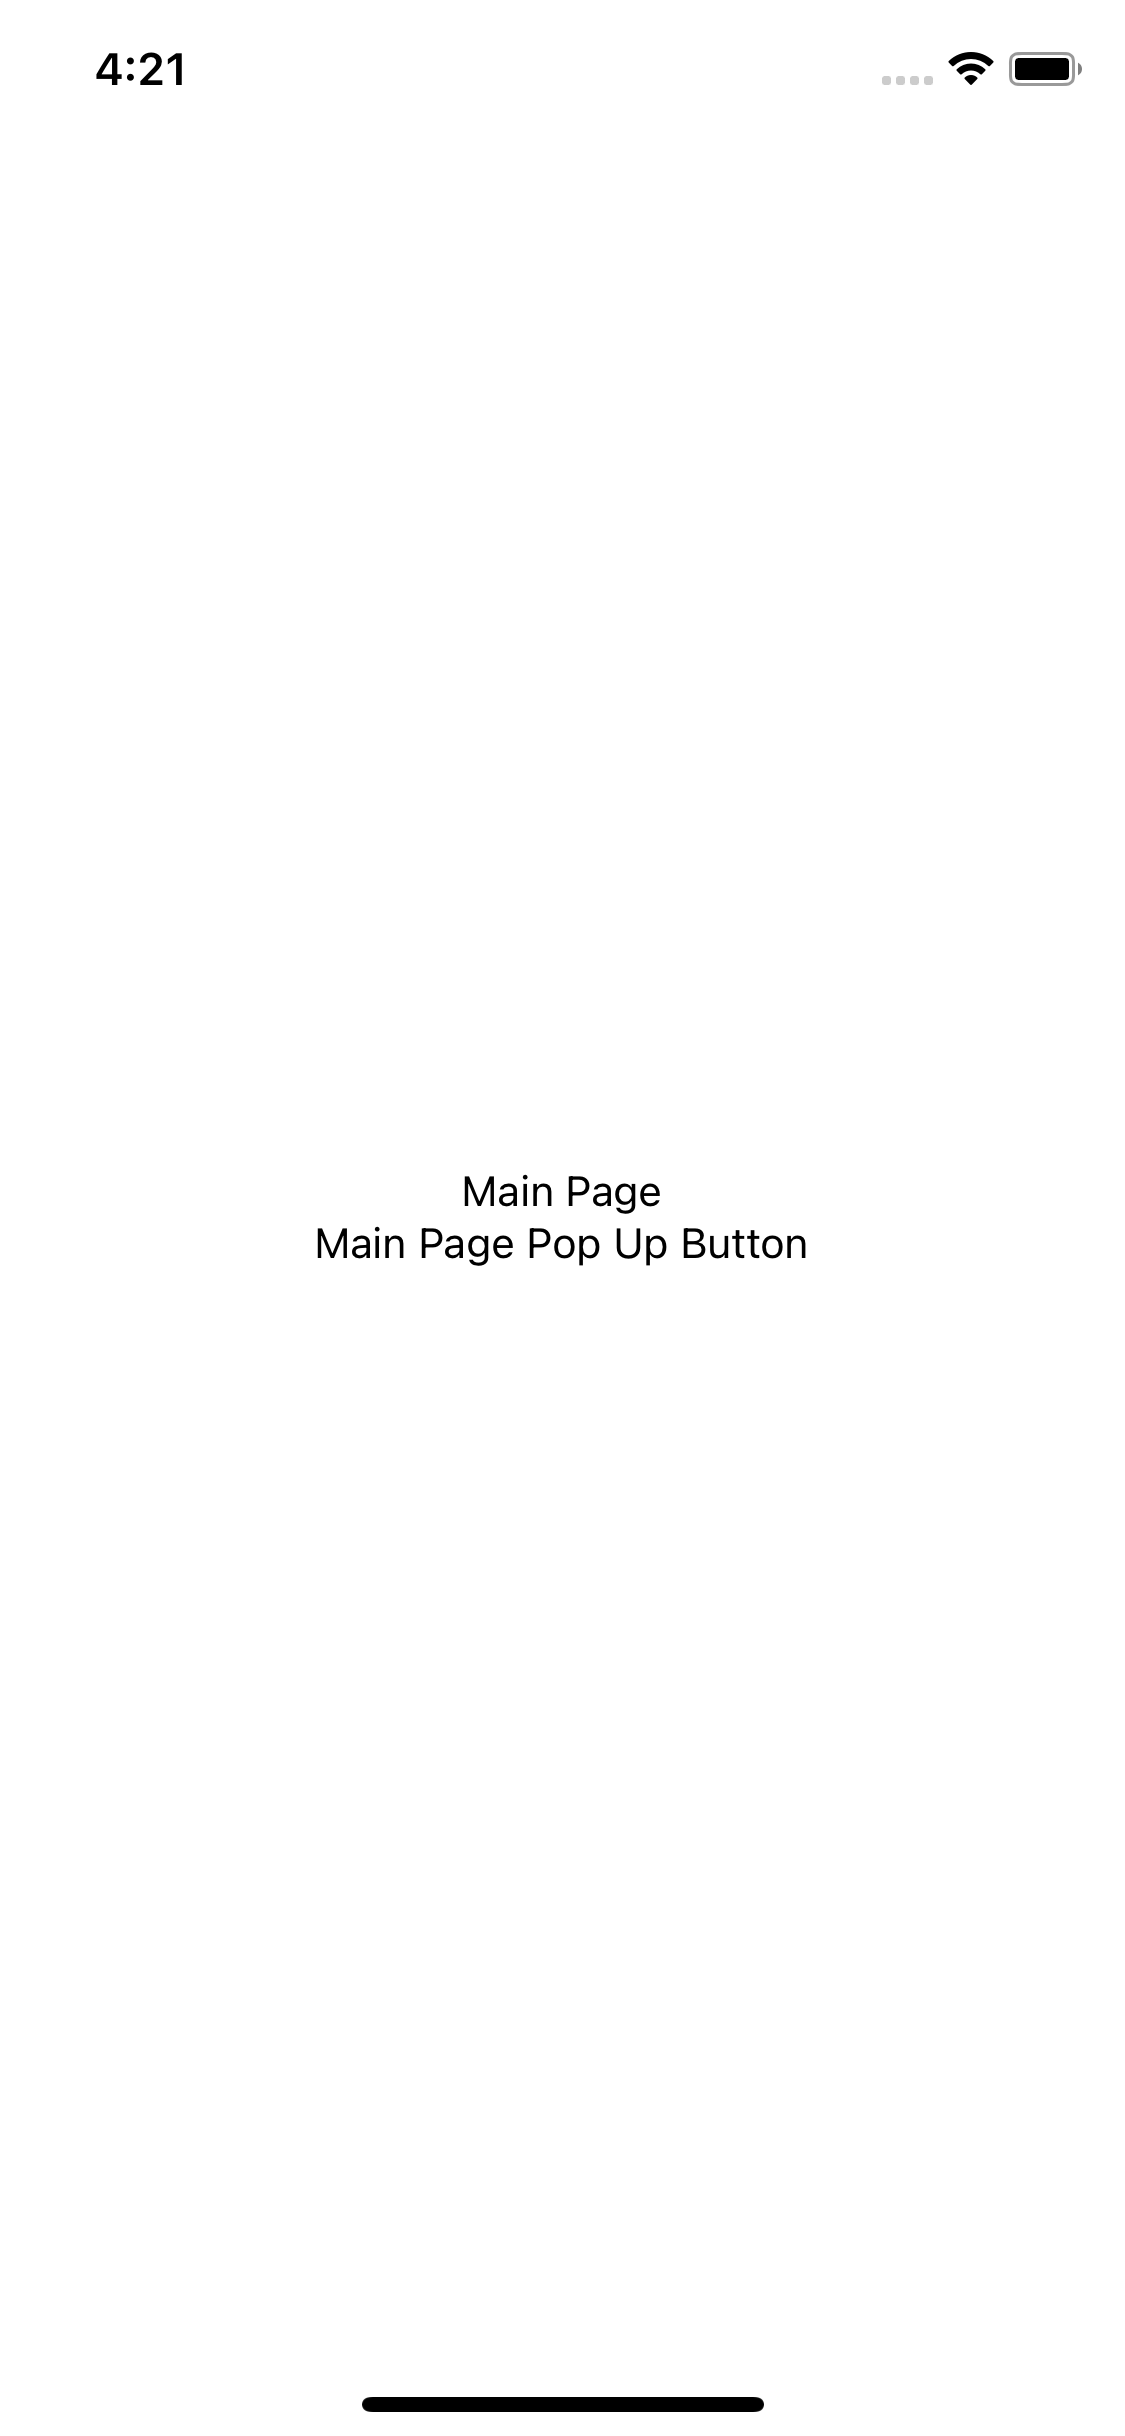
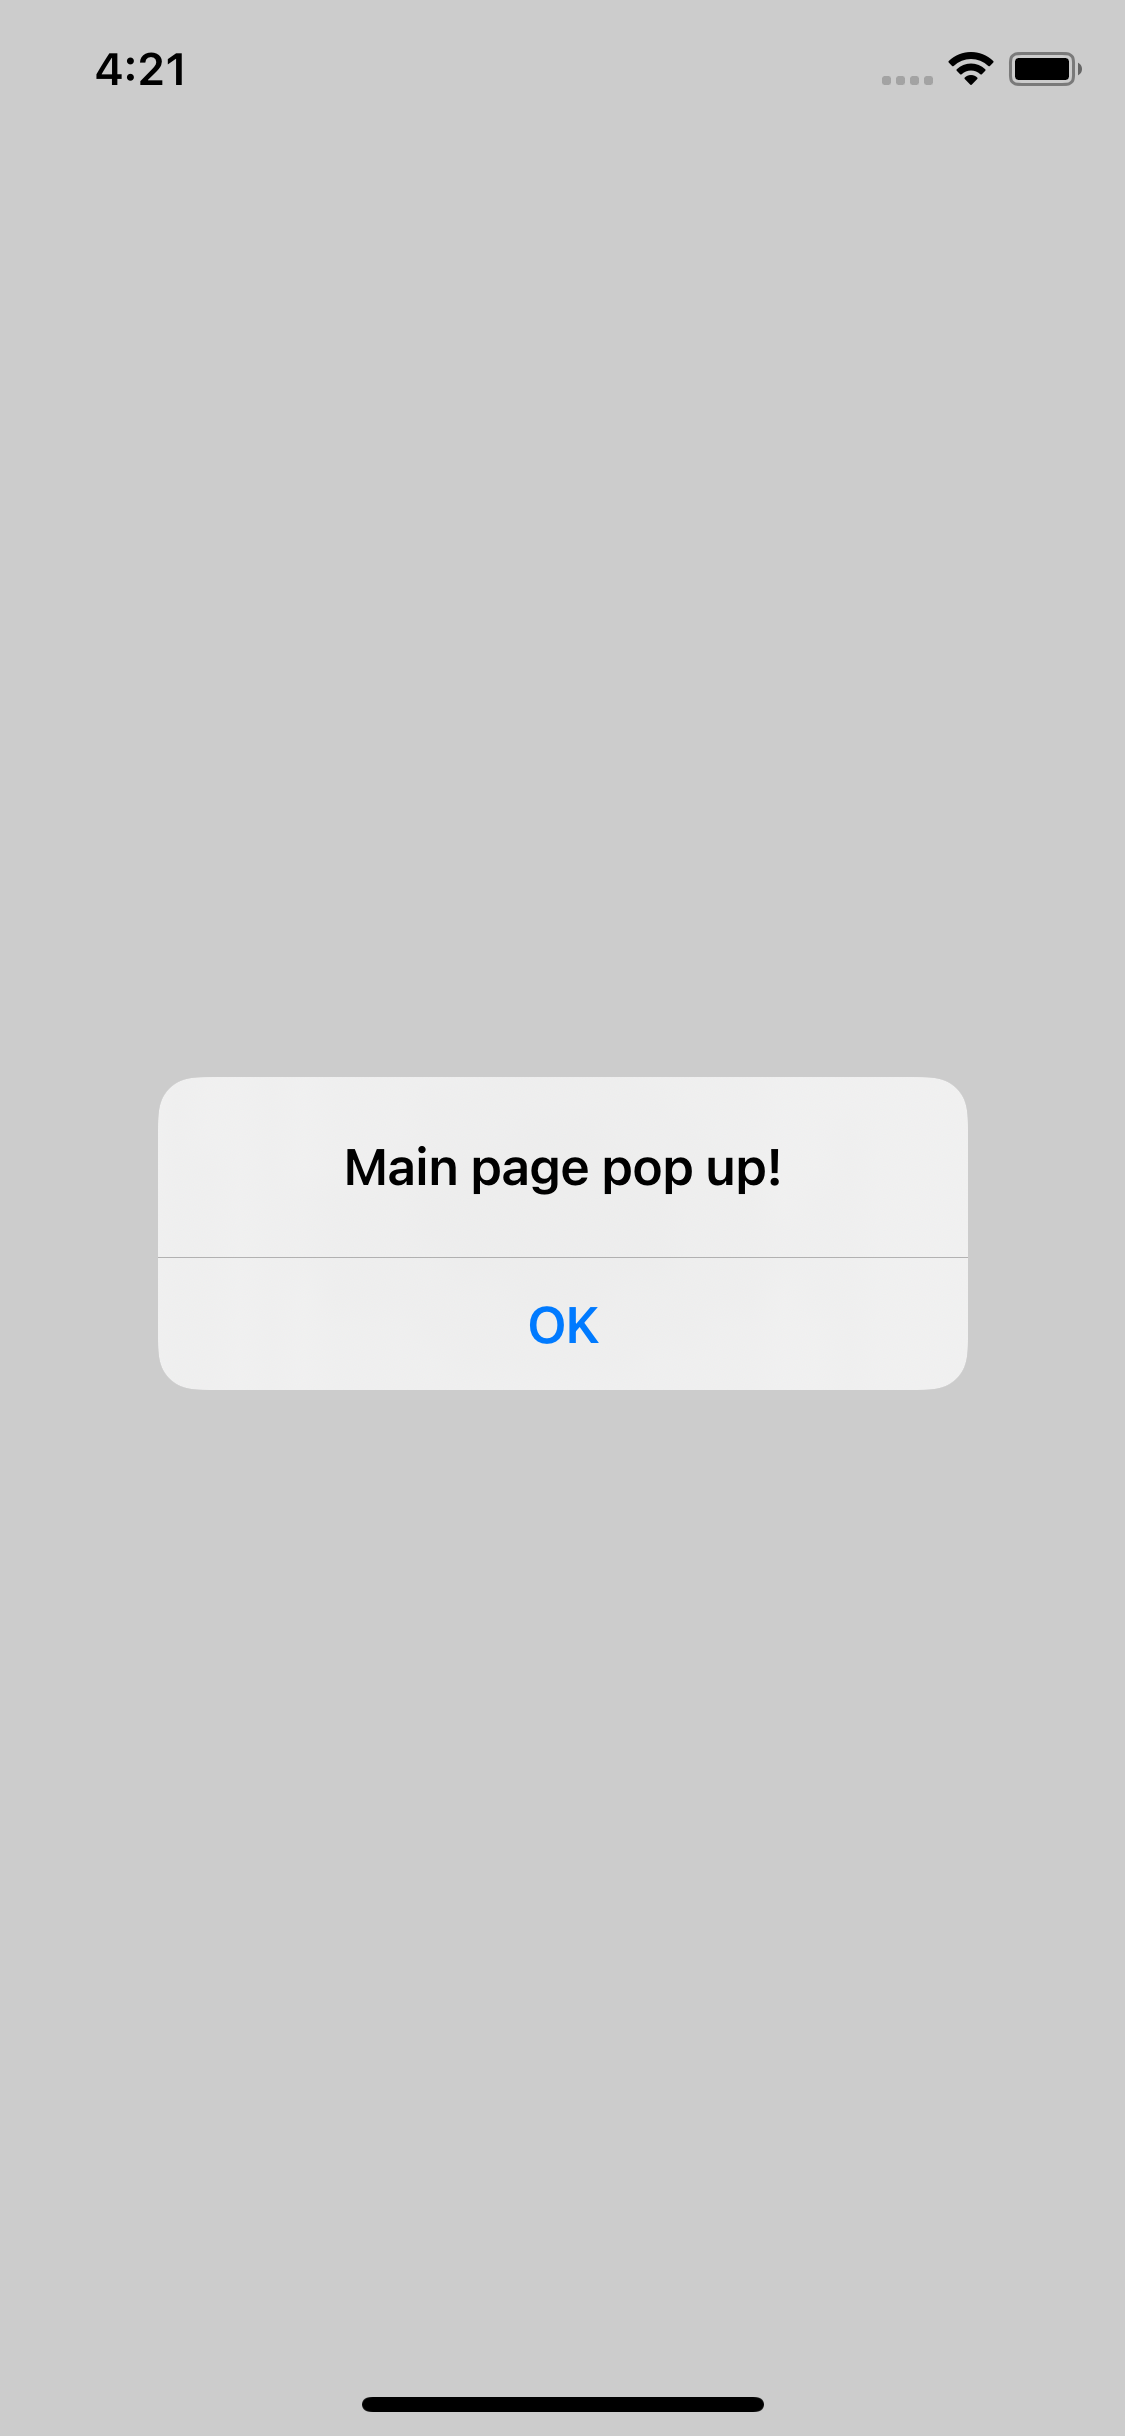
App.jsx
import React from "react";
import { StyleSheet, View, Text, Alert } from "react-native";
import PopupButton from "./components/PopupButton";

export default function App() {
  const CustomAlert = () => {
    Alert.alert("Main page pop up!");
  };

  return (
    <View style={styles.contianer}>
      <Text> Main Page </Text>

      <PopupButton CustomAlert={CustomAlert} title={"Main Page"} />
    </View>
  );
}

const styles = StyleSheet.create({
  contianer: {
    flex: 1,
    justifyContent: "center",
    alignItems: "center",
  },
});
PopupButton.jsx
import React from "react";
import { StyleSheet, View, Text, TouchableOpacity } from "react-native";

export default function PopupButton({ CustomAlert, title }) {
  return (
    <View>
      <TouchableOpacity onPress={CustomAlert}>
        <Text>{title} Pop Up Button</Text>
      </TouchableOpacity>
    </View>
  );
}

const styles = StyleSheet.create({});
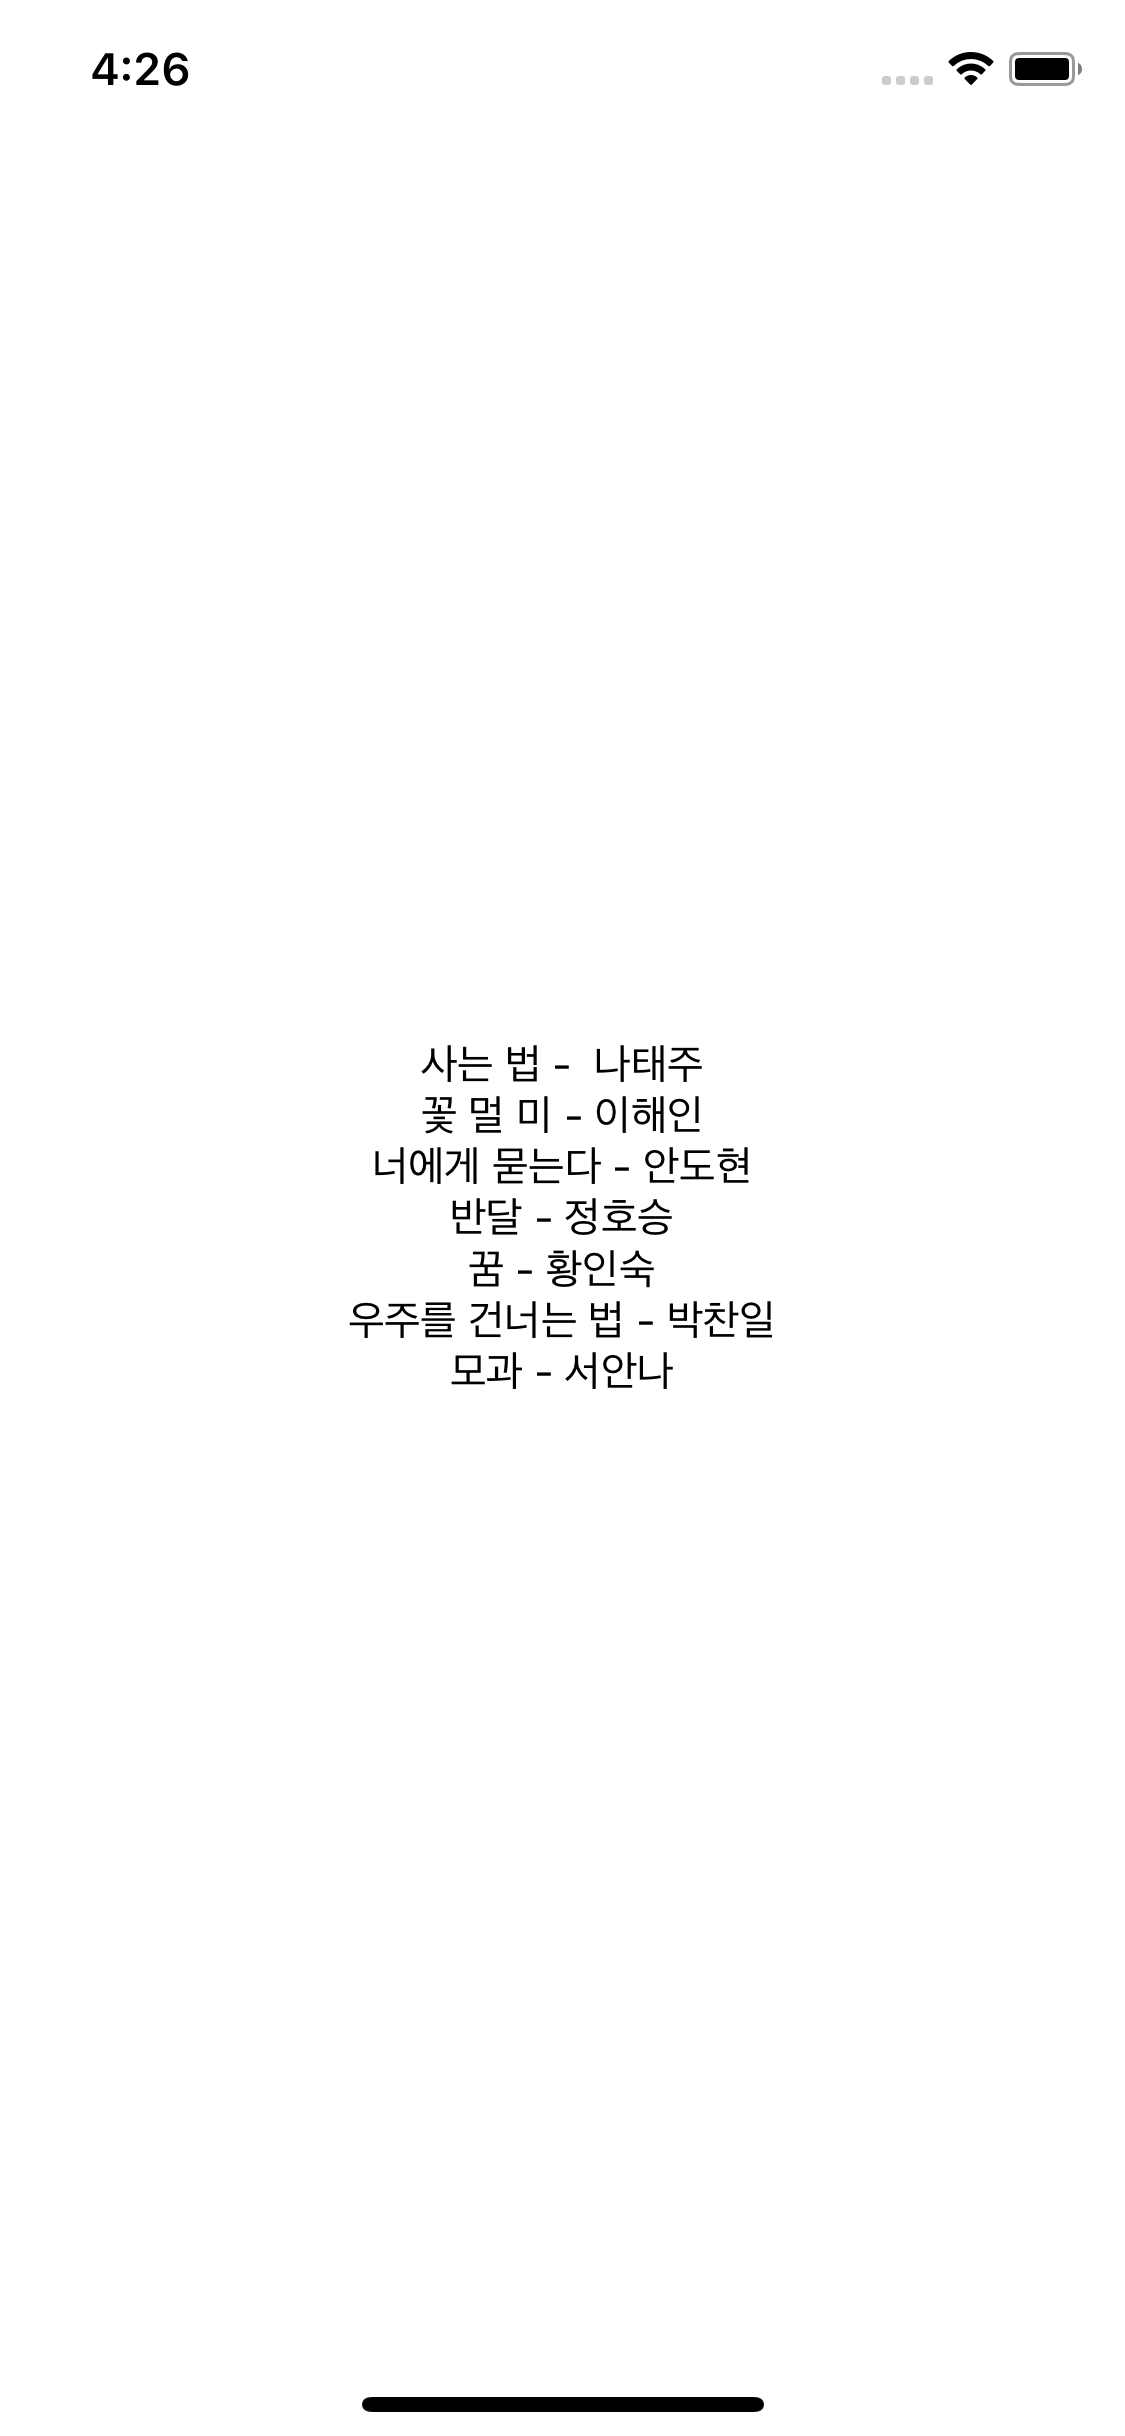
13. data.json & useEffect
App.jsx
import React from "react";
import { StyleSheet, ScrollView, View, Text } from "react-native";
import data from "./data.json";

export default function App() {
  return (
    <ScrollView contentContainerStyle={styles.contianer}>
      {data.diary.map((content, i) => {
        return (
          <View>
            <Text>{content.title}</Text>
          </View>
        );
      })}
    </ScrollView>
  );
}

const styles = StyleSheet.create({
  contianer: {
    flex: 1,
    justifyContent: "center",
    alignItems: "center",
  },
});
- 데이터를 리스트로 스크롤 -> ScrollView
- ScrollView에서 flex 사용 시 contentContainerStyle 속성에 스타일 이름 연결
- JSX 문법 안에서 자바스크립트 문법 사용 시 {} dksdptj tkdyd
- JSX 문법 안에서 반복문 사용 시 map 함수를 리스트에 연결시켜 사용
- 상단에서 data.json을 불러온 후 실제 사용할 리스트 값이 담긴 키 값을 map 함수에 연결
- 반복문 사용 시 map 함수 두 번째 인자로 받게 되는 인덱싱 i를 반복문 대상 태그에
key = {i}로 key 속성으로 연결 - 반복문에서 데이터 추출 시 리스트처럼 (content[0].title)이 아닌 content.title처럼 사용
- 반복문 매 순간마다 딕셔너리 하나씩 사용하듯이 사용
상태 (State, useState)
- 컴포넌트마다 데이터 보유 관리 가능
- 리액트에서는 컴포넌트에서 보유 / 관리되는 데이터를
상태라고 일컫음
UI = component(state) - UI (사용자 화면)은 컴포넌트 (component)에 어떤 데이터 (state)가 주입되고 변경되냐에 따라 변화
App.jsx
import React, { useState } from "react";
import { StyleSheet, ScrollView, View, Text, Alert } from "react-native";
import data from "./data.json";

export default function App() {
  const [state, setState] = useState(data.diary);
  return (
    <ScrollView contentContainerStyle={styles.contianer}>
      {state.map((content, i) => {
        return (
          <View key={i}>
            <Text>{content.title}</Text>
          </View>
        );
      })}
    </ScrollView>
  );
}

const styles = StyleSheet.create({
  contianer: {
    flex: 1,
    justifyContent: "center",
    alignItems: "center",
  },
});- 초기 상태값 세팅
useState(data.diary) - () 괄호 안에 리스트, 숫자형, 문자형, 딕셔너리형 등의 데이터를 넣으면 state는 해당 데이터를 갖는 변수의 성격
- 상태 값 변경 시 코드 상의 setState 함수 사용 (이름 임의 변경 가능)
14. useEffect
- 화면이 그려진 다음 가장 먼저 실행되는 함수
useEffect(()=>{

	...화면이 그려진 다음 가장 먼저 실행되야 할 코드 작성 공간

},[])- useEffect는 데이터 준비 시 사용 (데이터를 서버로부터 받은 후 상태(state)에 반영)
- 화면 추출
- useEffect가 데이터를 준비
- 상태 데이터 업데이트 후 화면 업데이트
- 화면이 그려진 후 서버에게 필요한 데이터 요청 및 수신 후 화면을 다시 업데이터할 때 사용
import React, { useEffect, useState } from "react";
import { StyleSheet, ScrollView, View, Text, Alert } from "react-native";
import data from "./data.json";
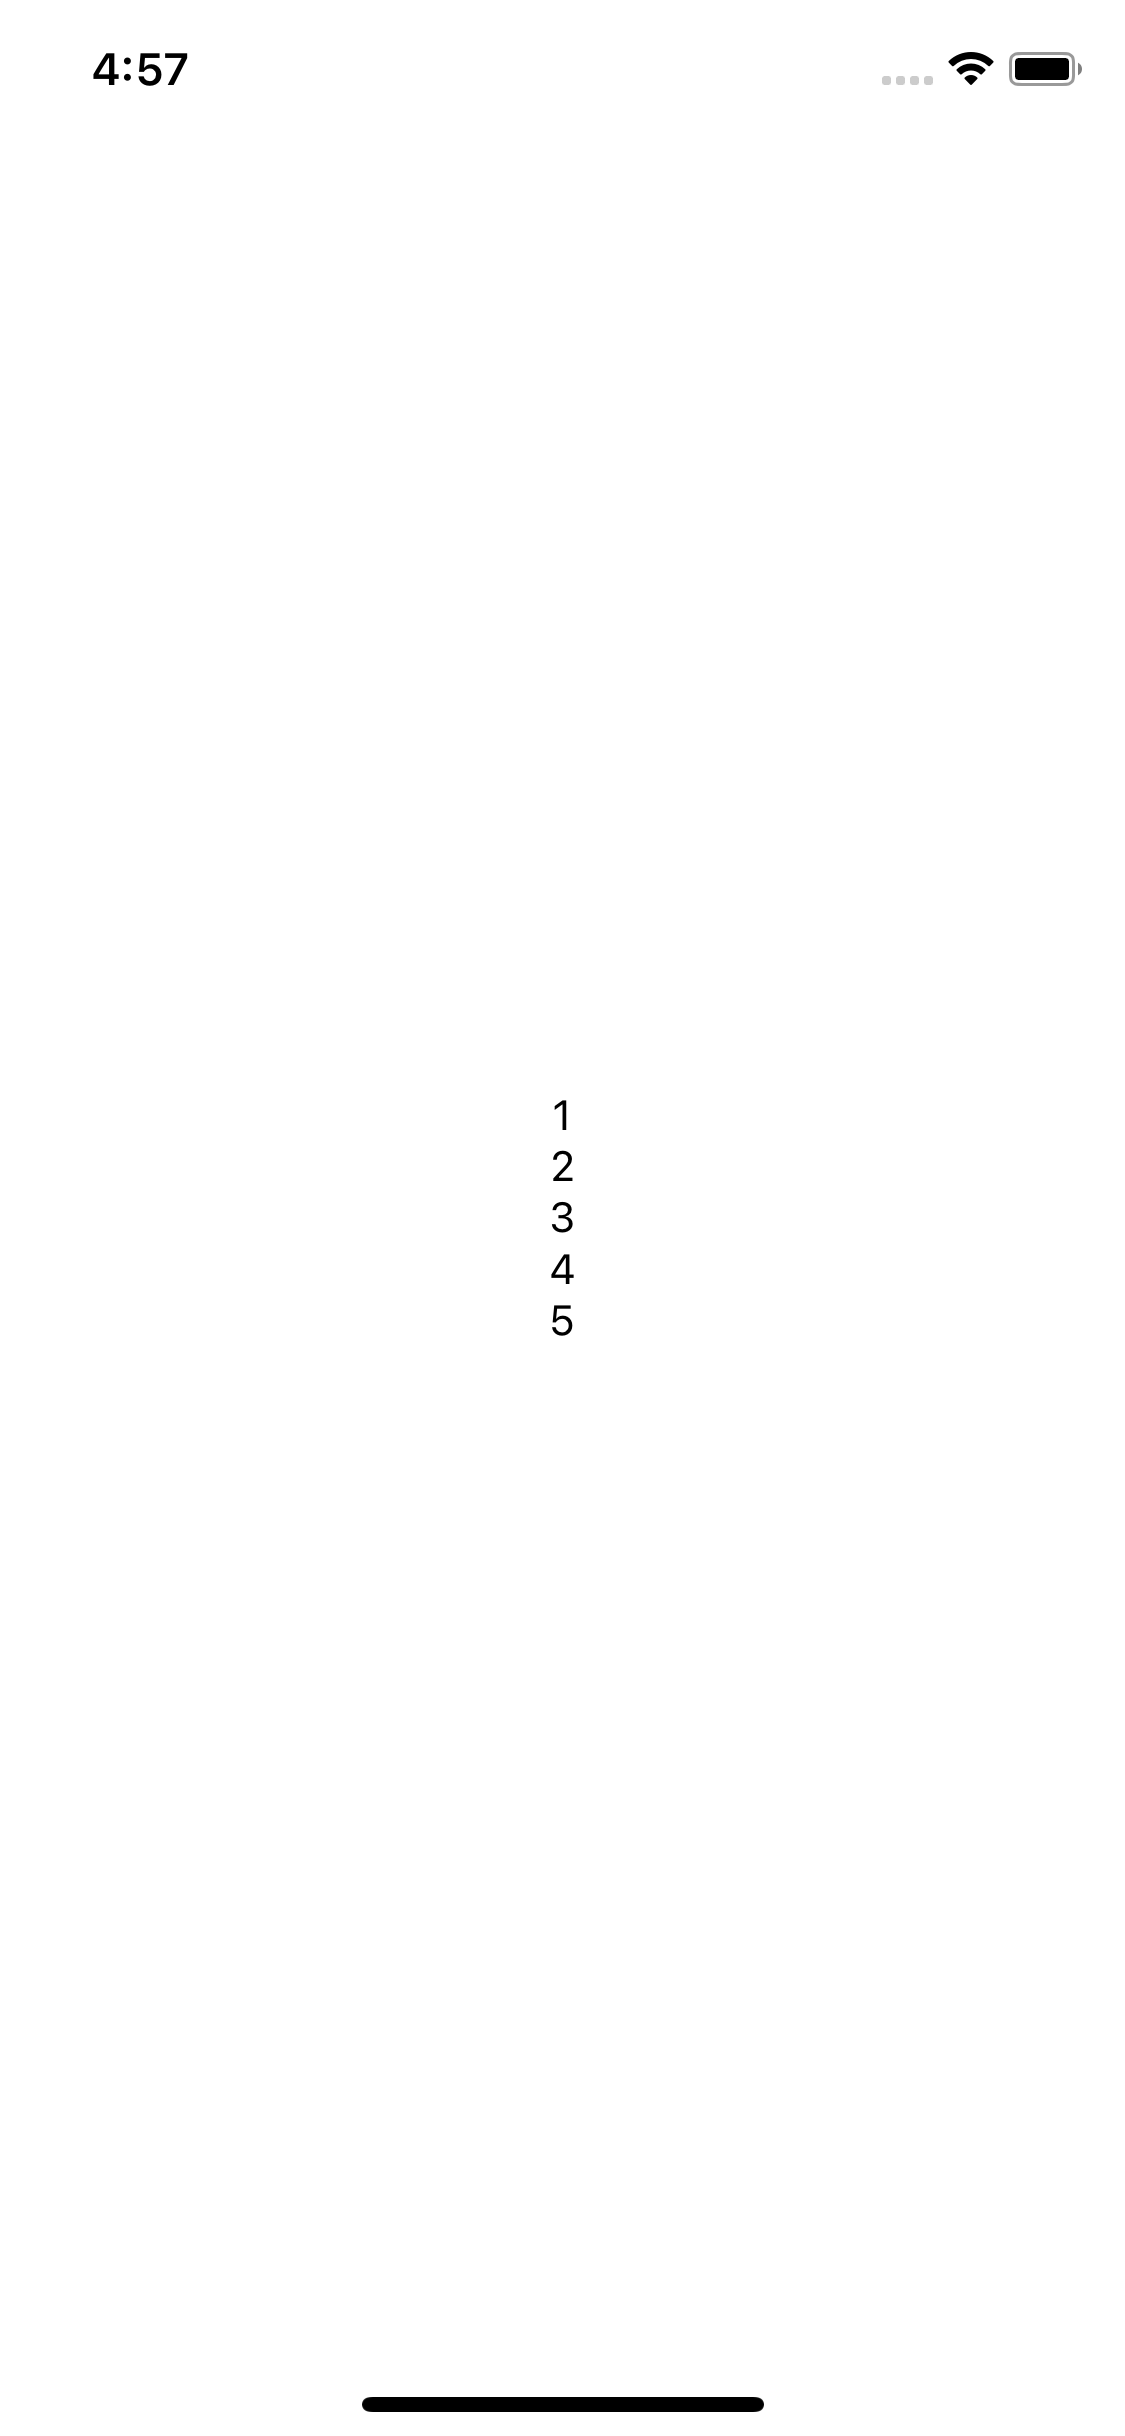
const tempList = [
{ title: 1 },
{ title: 2 },
{ title: 3 },
{ title: 4 },
{ title: 5 },
];
export default function App() {
const [state, setState] = useState(tempList);
useEffect(() => {
setTimeout(() => {
setState(data.diary);
}, 5000);
}, []);
return (
<ScrollView contentContainerStyle={styles.contianer}>
{state.map((content, i) => {
return (
<View key={i}>
<Text>{content.title}</Text>
</View>
);
})}
</ScrollView>
);
}
const styles = StyleSheet.create({
contianer: {
flex: 1,
justifyContent: "center",
alignItems: "center",
},
});