
이번 시간은 Google 계정으로 로그인하는 법에 대해 다뤄보도록 하겠다.
앱 등록
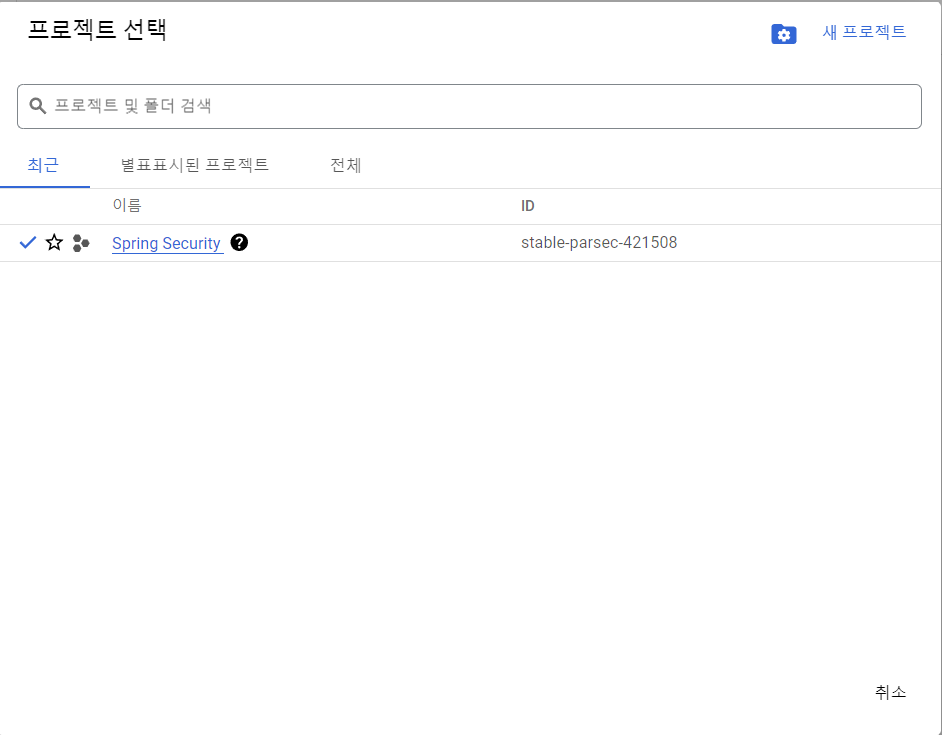
먼저 Google Cloud에 프로젝트를 하나 생성해놓자.
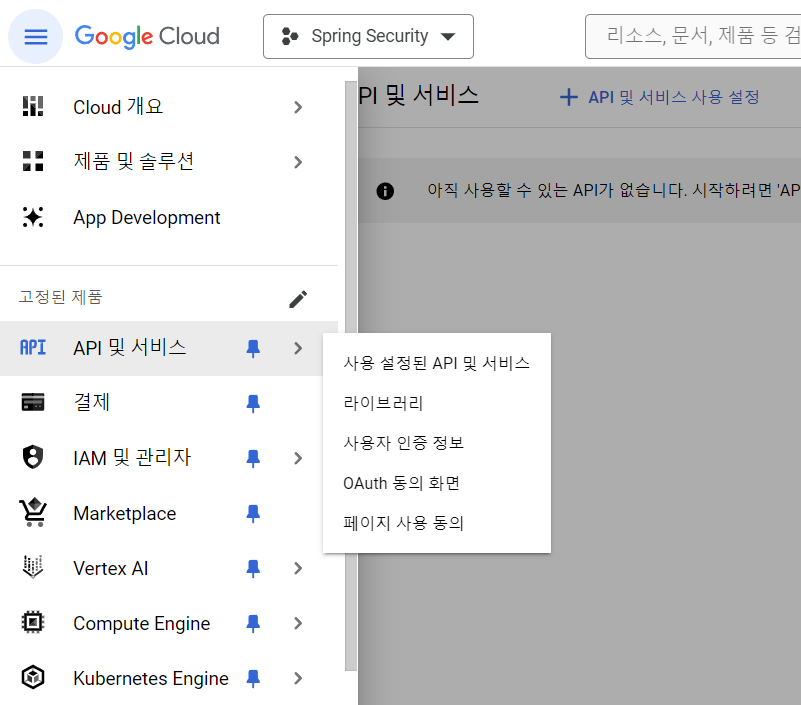
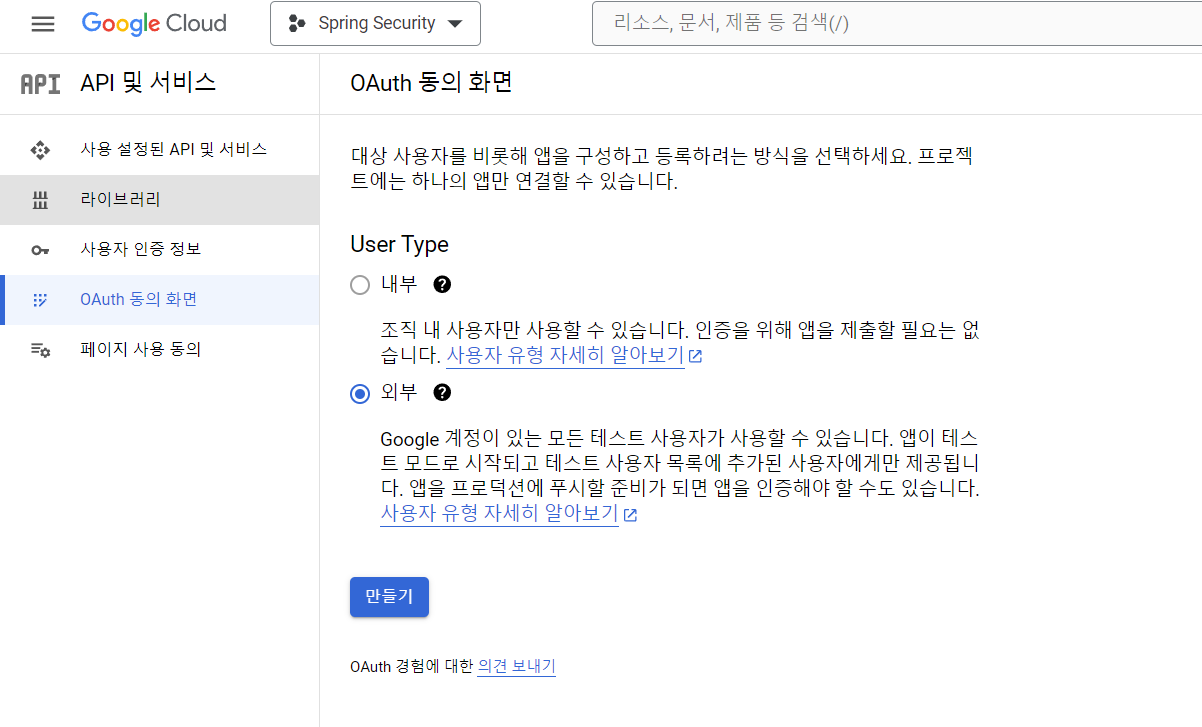
이후 API 및 서비스 -> OAuth 동의 화면으로 넘어가서
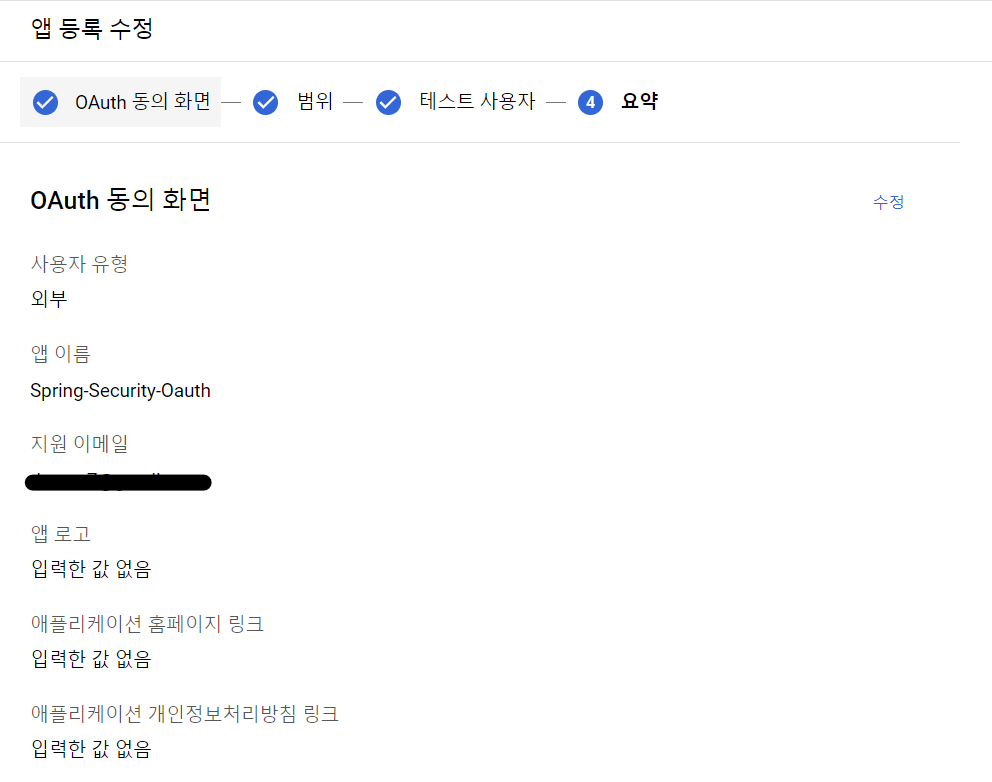
일련의 과정을 거치면 다음과 같이 앱을 등록하게 된다.
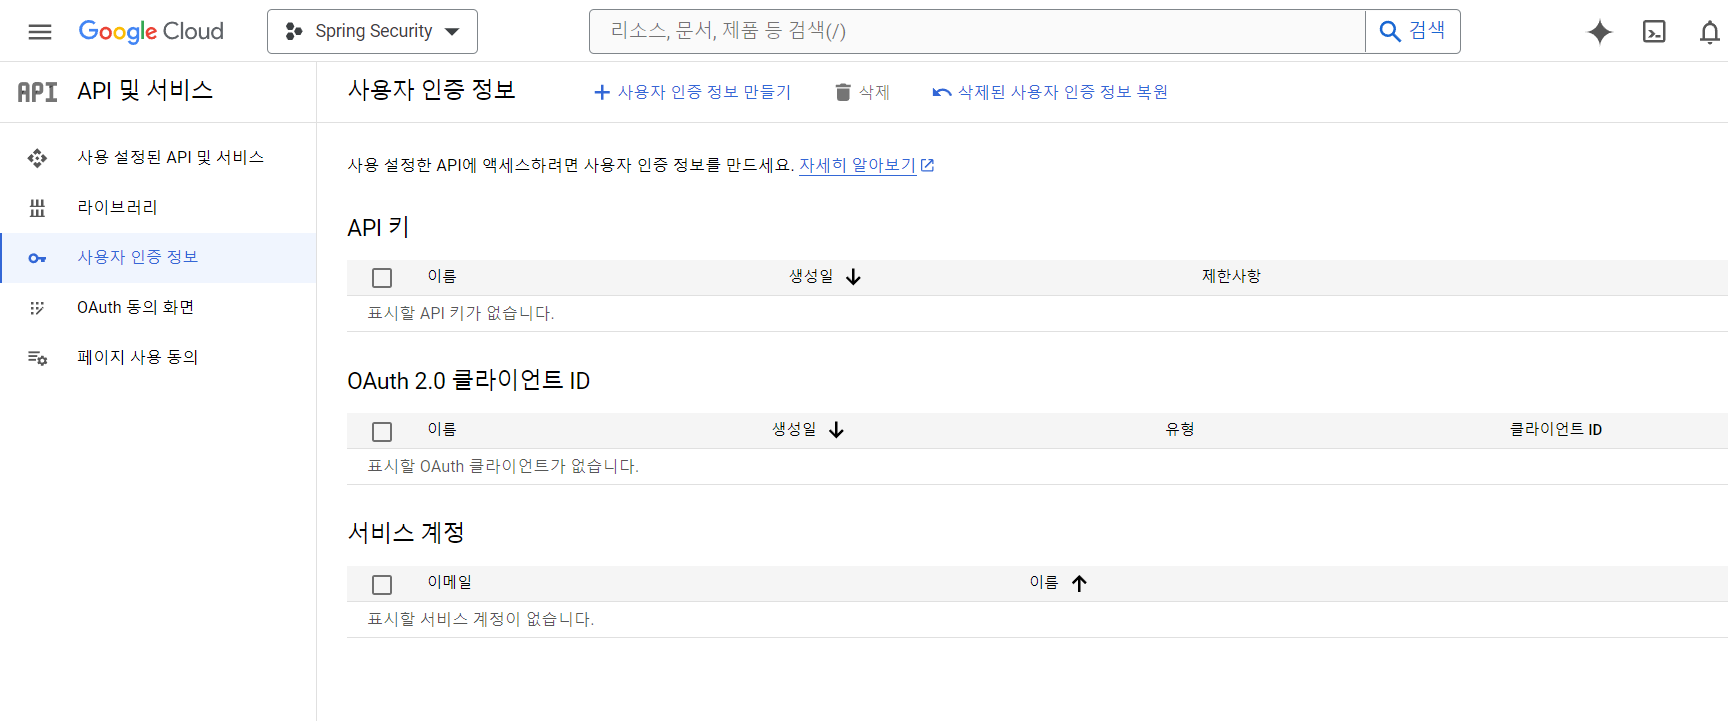
사용자 인증 정보 등록
다음으로 API 및 서비스 -> 사용자 인증 정보으로 넘어가서
상단의 사용자 인증 정보 만들기 버튼을 누르자.
다음과 같이 설정해 주도록 하자.
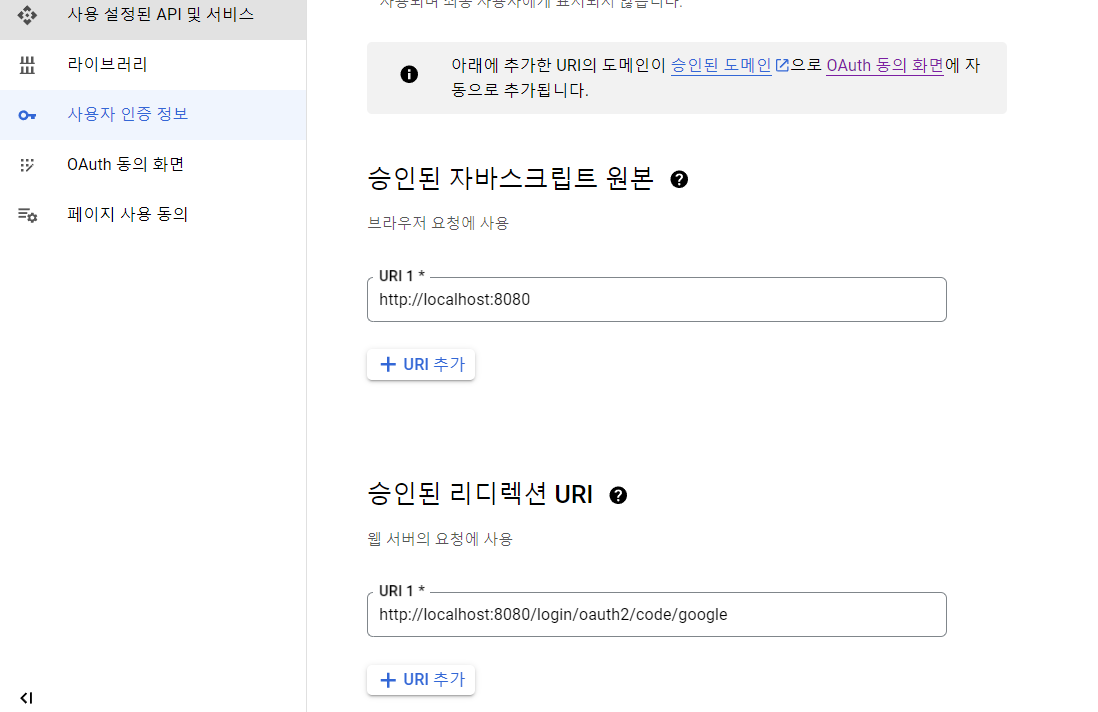
- 리다이렉션 경로: http://localhost:8080/login/oauth2/code/google
Google에서 사용자 인증을 마친후에 권한 부여 코드와 함께 해당 경로로 리다이렉션된다.
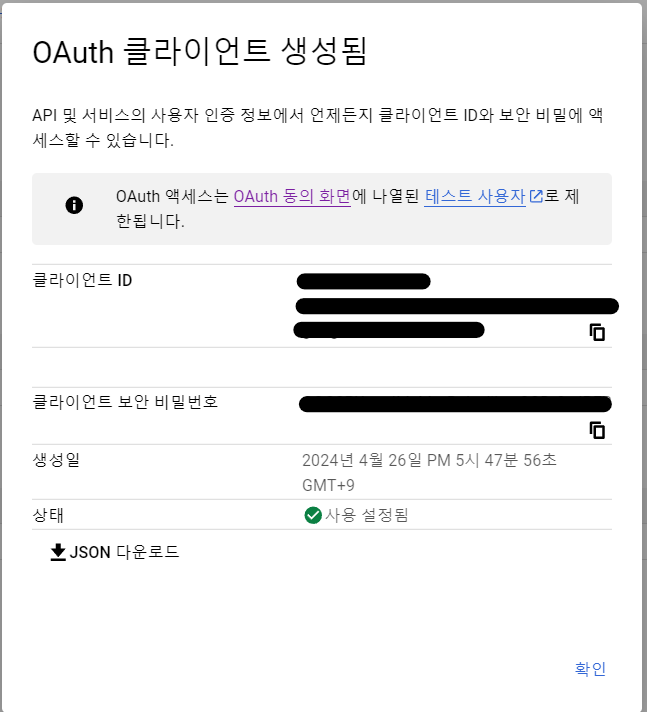
생성을 마치면 다음과 같이 클라이언트 ID와 비밀번호를 받게 된다.
환경설정 추가
이제 프로젝트로 돌아와서 application.properties에 다음과 같이 설정을 추가하도록 하자.
scope는 사용자 정보에 접근할 수 있는 범위를 의미한다.
spring.security.oauth2.client.registration.google.client-id=
spring.security.oauth2.client.registration.google.client-secret=
spring.security.oauth2.client.registration.google.scope=profile,email
CustomOauth2UserService
GoogleUserInfo
지난 포스팅에서 만들어둔 OAuth2UserInfo 인터페이스를 통해 구현하였다.
public class GoogleUserInfo implements OAuth2UserInfo {

    private Map<String, Object> attributes;

    public GoogleUserInfo(Map<String, Object> attributes) {
        this.attributes = attributes;
    }

    @Override
    public String getProviderId() {
        return (String) attributes.get("sub");
    }

    @Override
    public String getName() {
        return (String) attributes.get("name");
    }

    @Override
    public String getEmail() {
        return (String) attributes.get("email");
    }

    @Override
    public String getProvider() {
        return "google";
    }

}
processOAuth2User
이제 구글 로그인을 통해 인증된 사용자 정보를 처리할 수 있다.
    private OAuth2User processOAuth2User(OAuth2UserRequest userRequest, OAuth2User oAuth2User) {
        // 사용자 정보 객체 생성
        OAuth2UserInfo oAuth2UserInfo = null;
        if (userRequest.getClientRegistration().getRegistrationId().equals("google")) {
            oAuth2UserInfo = new GoogleUserInfo(oAuth2User.getAttributes());
        } else if (userRequest.getClientRegistration().getRegistrationId().equals("facebook")) {

        } else if (userRequest.getClientRegistration().getRegistrationId().equals("naver")){

        } else if (userRequest.getClientRegistration().getRegistrationId().equals("kakao")){

        }
타임리프 템플릿
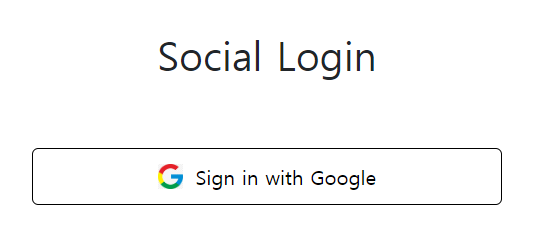
로그인 버튼은 다음과 같이 구현하였다.
<a href="/oauth2/authorization/google" class="google-btn">
<img th:src="@{/images/google-signin-button.png}" src="/images/google-signin-button.png" alt="google">
Sign in with Google
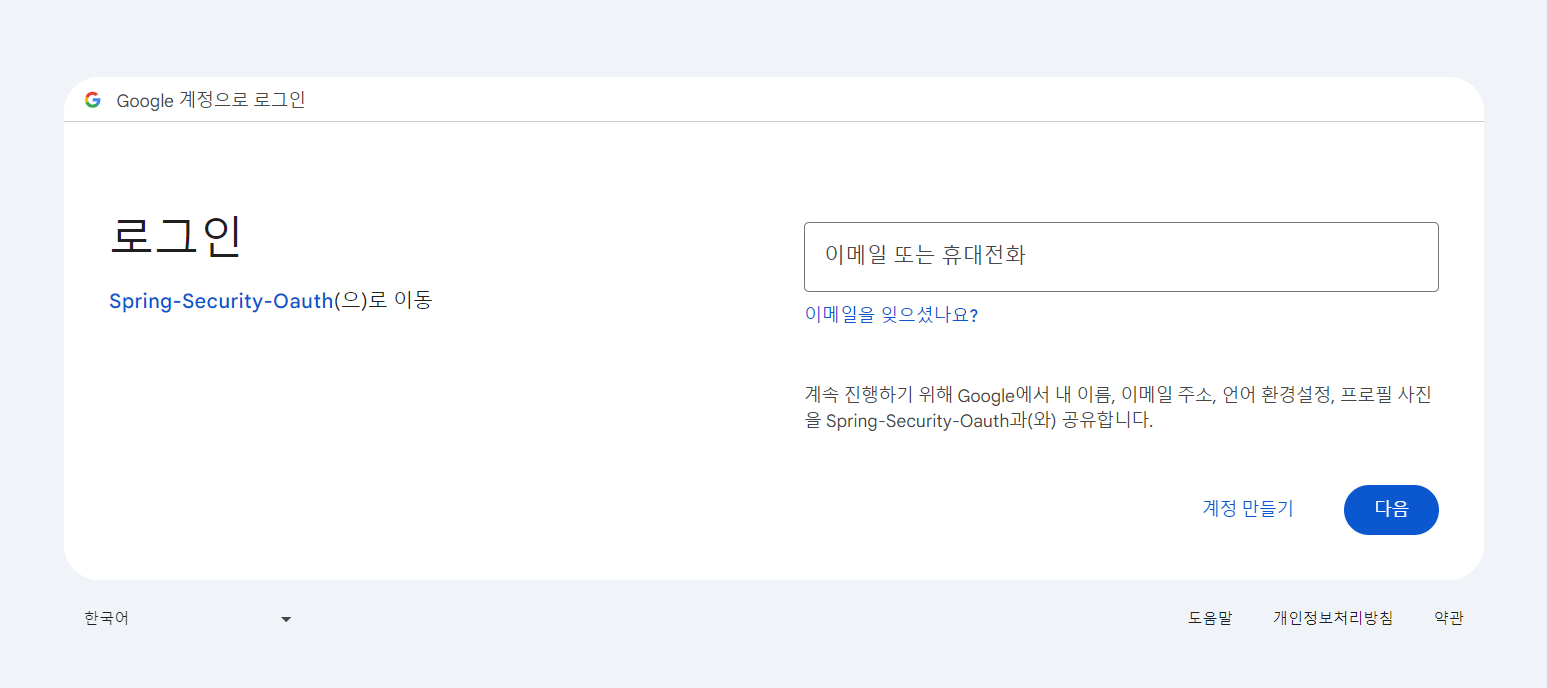
</a>해당 버튼을 누르게 되면
다음과 같이 구글 로그인 화면으로 넘어가게 된다.
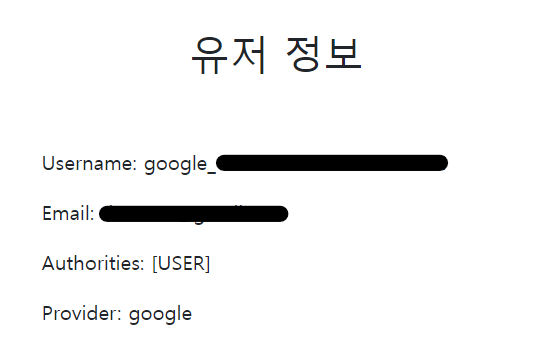
사용자 정보 확인
구글에서 인증을 마치게 되면 유저 페이지에서 다음과 같이 사용자 정보를 확인할 수 있다.
// 유저 페이지
@GetMapping("/user")
public void user(@AuthenticationPrincipal CustomUserDetails principal, Model model) {
	User user = principal.getUser();
    model.addAttribute("user", user);
}
설정한 대로 잘 출력되는 모습이다.
코딩 연구소